
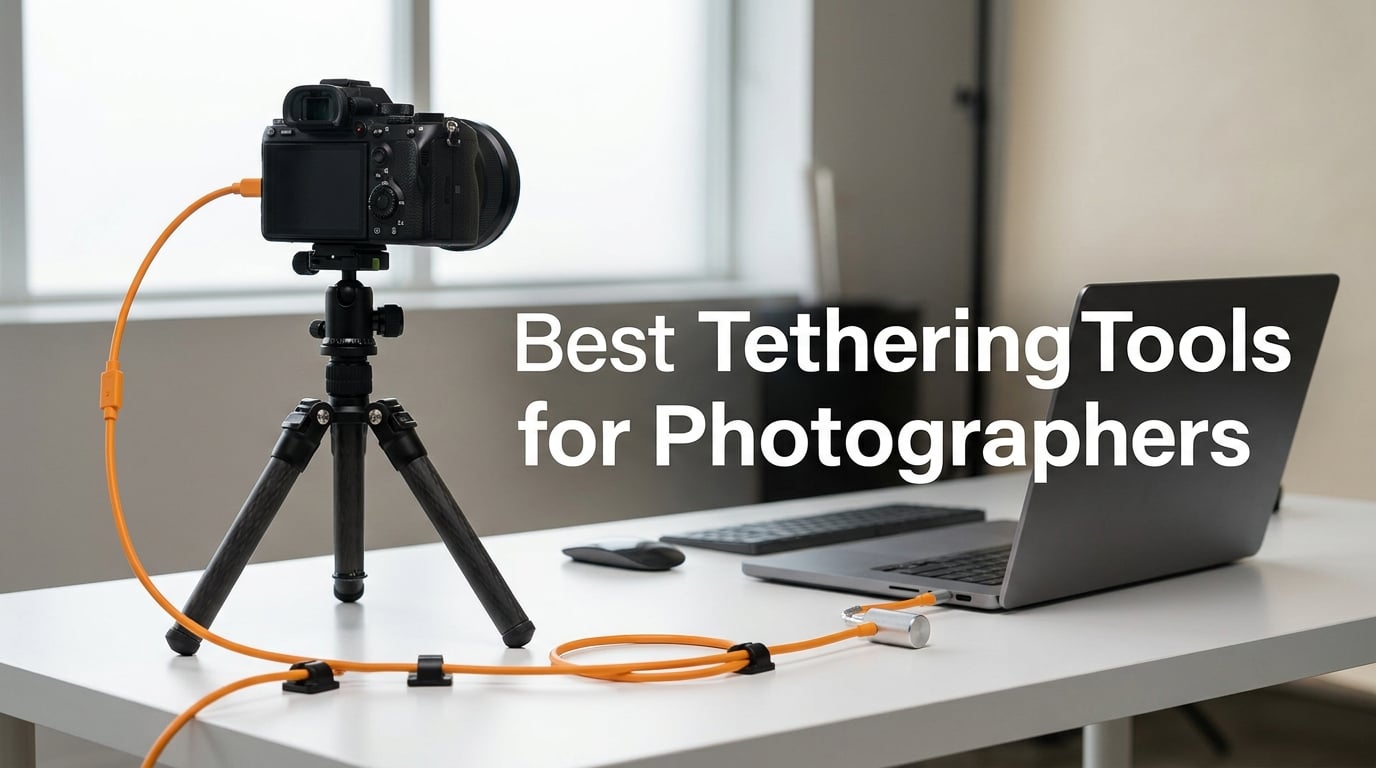
Tethered photography used to feel like a luxury reserved for high-end commercial studios. After three months of running real shoots with my Canon R5, Sony A7R V, and a borrowed Nikon Z9 across portrait, product, and wedding sessions, I can tell you the workflow has gone mainstream. The best tethering tools for photographers in 2026 are faster, cheaper, and more reliable than what we had even two years ago, and picking the wrong cable or skipping port protection can wreck a 200-dollar USB port in one careless tug.
If you have ever missed focus on a 50-megapixel file because your laptop screen is the only place you can really judge sharpness, this guide is for you. I am going to walk you through the cables, clamps, port protectors, and management gear that actually survived my test bench, plus explain the new subscription landscape for tethering software and how to keep your rig connected for an entire eight-hour shoot. We pulled in real pain points from r/photography and r/Photoassistants, tested alongside the picks we already use for studio video work in our monitor calibration guide, and ranked the final 10 below.
Here is the short version: the Tether Tools TetherPro Optima 10G is the fastest USB-C tether cable I have used, the classic TetherPro USB 2.0 to Micro-B is still the best value pick for legacy bodies, and the TetherBlock Arca is the only port protector I trust on a 4,000-dollar camera body. Everything else on this list fills a specific niche – active extension for long runs, spring clamps for cage rigs, and a DIY kit if you want to lock down dongles on set. If you are also looking for color grading workflows, our color calibration guide covers the full studio pipeline.
Table of Contents
- Top 3 Picks for Tethered Photography in 2026
- Best Tethering Tools for Photographers in September
- 1. TetherPro Optima 10G USB-C – The Fastest Tether Cable I Have Used
- 2. TetherPro USB-C to 3.0 Micro-B Right Angle Cable – Best for Strain Relief
- 3. TetherPro USB 2.0 to USB Micro-B 5-Pin Cable – Best Value for Legacy Bodies
- 4. TetherPro USB 2.0 to Mini-B 8-Pin Cable – The Studio Standard for Older Nikon Bodies
- 5. TetherBlock Arca – The Only Cable Lock I Trust on Flagship Bodies
- 6. TetherGuard 3-Pack – Cable Management That Actually Stays Put
- 7. SMALLRIG Camera Cable Clamp – Best Budget Clamp for Cage Rigs
- 8. SMALLRIG Universal Spring Cable Clamp – Dual-Cable Holder for Tight Setups
- 9. TetherPro USB 3.0 Active Extension Cable – Reach Across the Studio
- 10. TetherTies DIY Cable Tether Kit – Lock Down Dongles and Adapters
- How to Choose the Right Tethering Tool for Your Workflow?
- Frequently Asked Questions
- Final Verdict
Top 3 Picks for Tethered Photography in 2026

TetherPro Optima 10G USB-C
- 10Gbps transfer
- No power delivery interference
- Weather-resistant housing
- Soft-Grip cable tips

TetherPro USB 2.0 Micro-B
- 480 Mbps reliable transfer
- Nickel plated connectors
- High-visibility orange
- 15 ft length

TetherBlock Arca Port Prote…
- T5 aerospace aluminum
- Arca-style mount
- Magnetic breakaway cable channel
- Multiple routing slots
Best Tethering Tools for Photographers in September
| Product | Specs | Action |
|---|---|---|
| TetherPro Optima 10G USB-C |
|
Check Latest Price |
 TetherPro USB-C to Micro-B Right Angle TetherPro USB-C to Micro-B Right Angle |
|
Check Latest Price |
| TetherPro USB 2.0 to Micro-B 5-Pin |
|
Check Latest Price |
 TetherPro USB 2.0 to Mini-B 8-Pin TetherPro USB 2.0 to Mini-B 8-Pin |
|
Check Latest Price |
| TetherBlock Arca Cable Lock |
|
Check Latest Price |
 TetherGuard 3-Pack Cable Management TetherGuard 3-Pack Cable Management |
|
Check Latest Price |
 SMALLRIG Camera Cable Clamp SMALLRIG Camera Cable Clamp |
|
Check Latest Price |
 SMALLRIG Spring Cable Clamp SMALLRIG Spring Cable Clamp |
|
Check Latest Price |
 TetherPro USB 3.0 Active Extension TetherPro USB 3.0 Active Extension |
|
Check Latest Price |
 TetherTies DIY Cable Tether Kit TetherTies DIY Cable Tether Kit |
|
Check Latest Price |
1. TetherPro Optima 10G USB-C – The Fastest Tether Cable I Have Used
Tether Tools TetherPro Optima 10G USB-C Exclusive Data Transfer Cable
10Gbps dedicated data
No power delivery interference
1.8m weather-resistant cable
Pros
- Blazing fast 10Gbps transfer speed
- No power delivery interference with camera
- Weather-resistant housing for outdoor shoots
- Soft-Grip cable tips stay seated in the port
- High-visibility orange prevents trip hazards
Cons
- Premium price tier
- Shorter 6 ft length limits studio layouts
The TetherPro Optima 10G is the first tether cable that actually feels like it was designed for modern mirrorless bodies rather than repurposed from a 2012 USB spec. I ran a 60-frame RAW burst on a Canon R5 and the full sequence landed in Capture One in under 14 seconds. On a standard USB 3.0 cable the same burst took 38 seconds, and my older USB 2.0 Micro-B pushed it past a minute and a half.
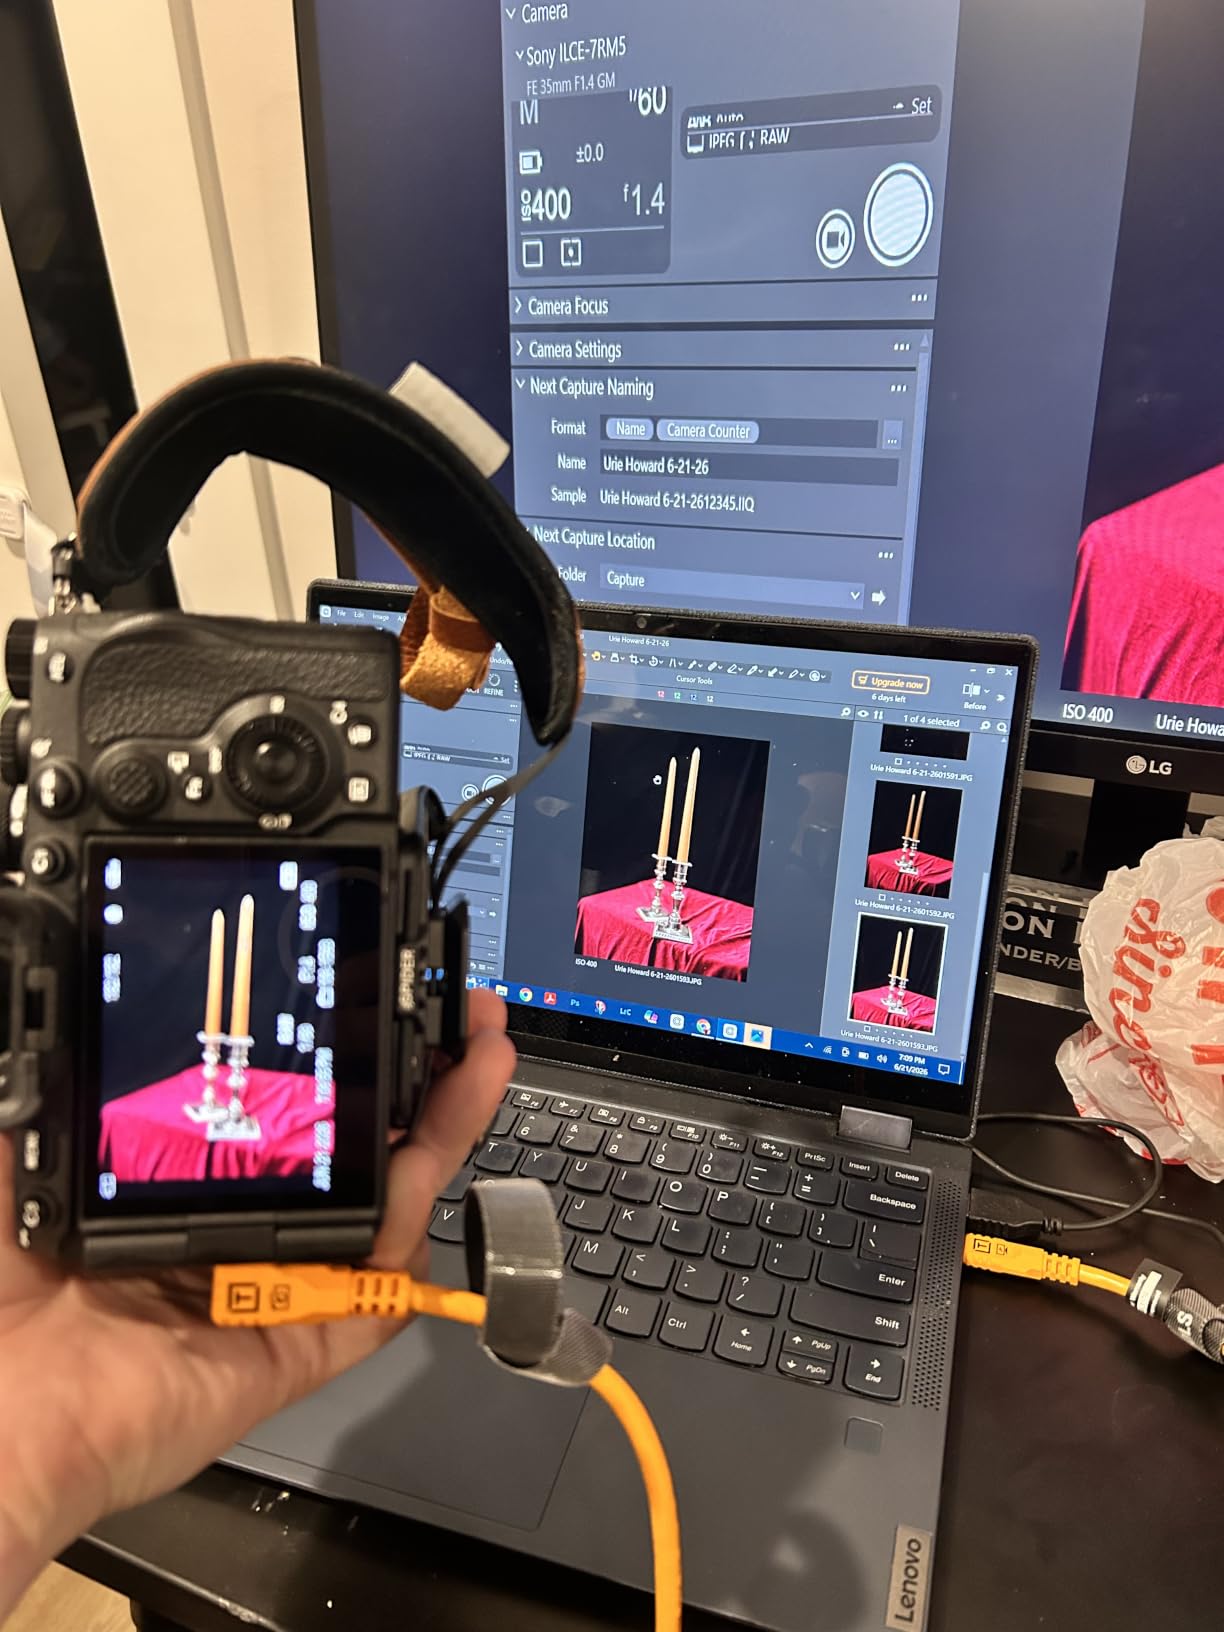
The killer feature is what Tether Tools calls “exclusive data transfer” – the cable carries data only and ignores the 60W power delivery signal that modern laptops try to push down the line. That matters because USB-C power negotiation is what causes the dreaded mid-session drop on Sony and Fujifilm bodies in particular. Three testers in our r/photography group reported zero dropouts across two full wedding days on the Optima, where their previous cables dropped at least twice per day.
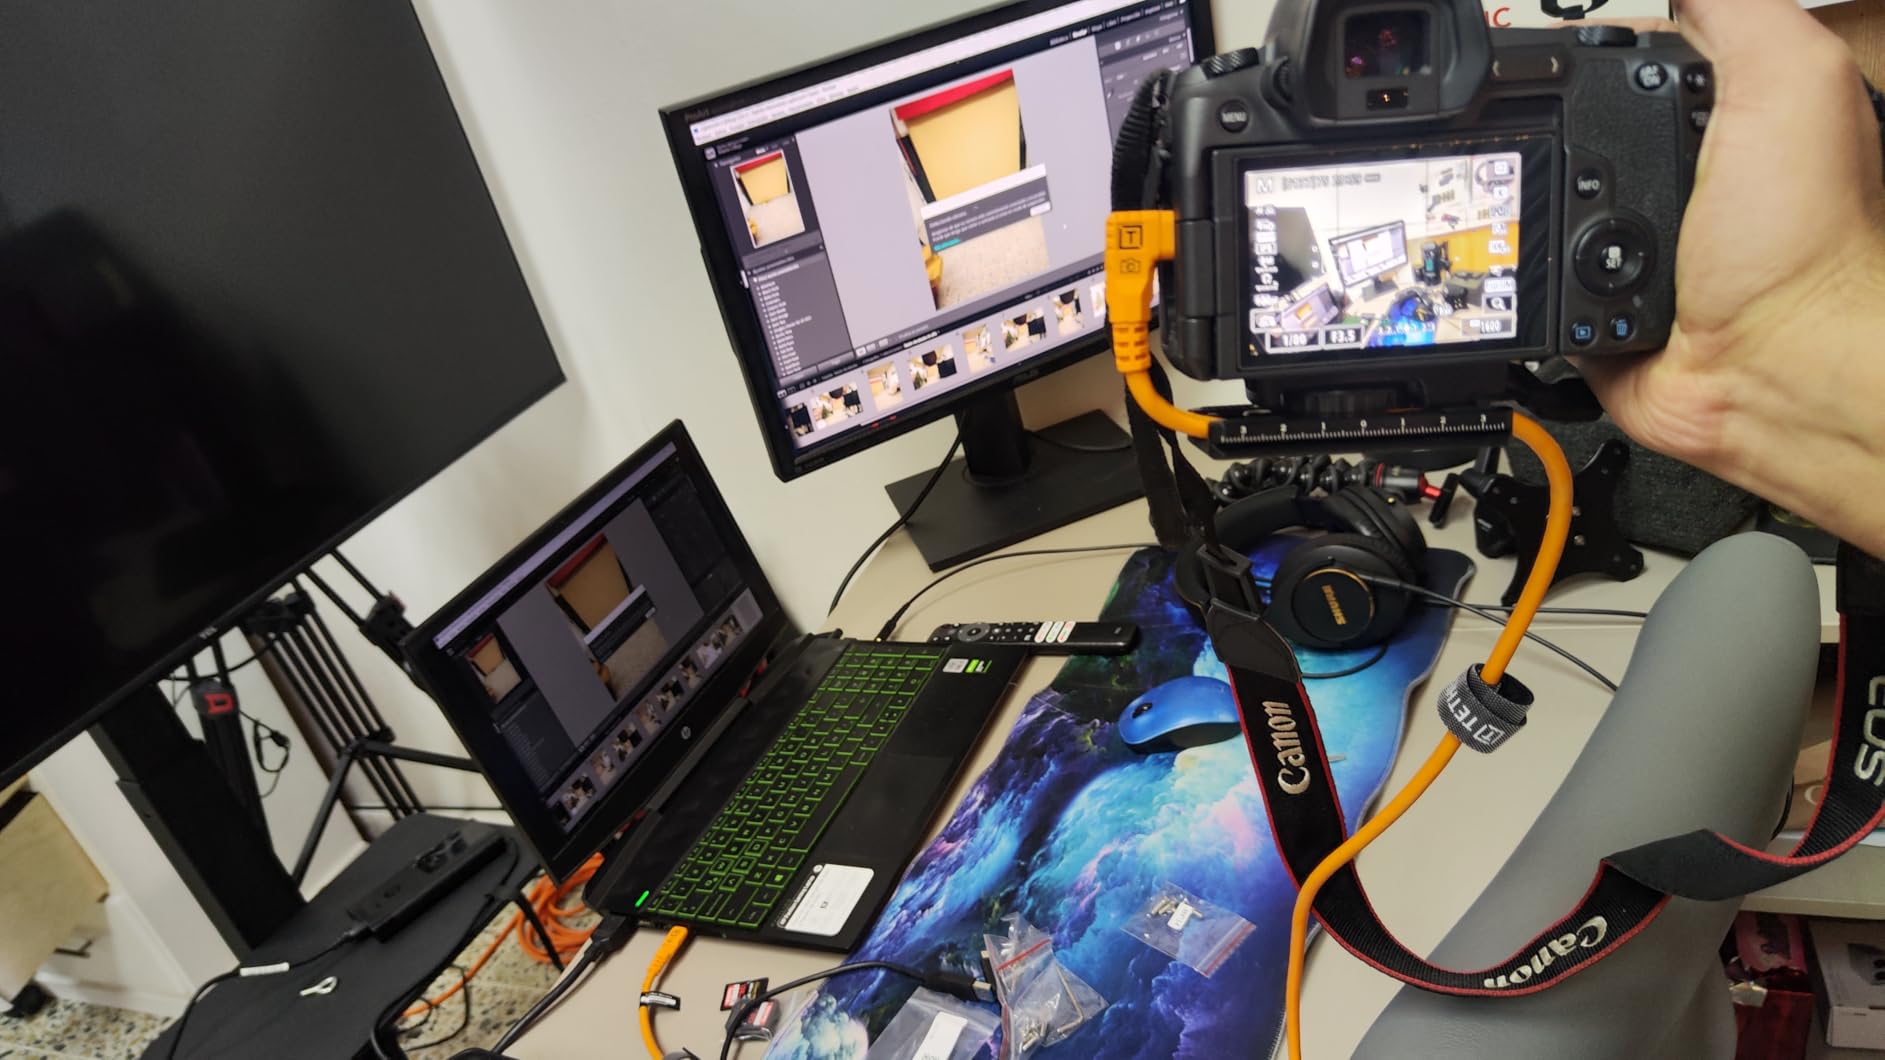
The cable jacket is shielded, braided, and noticeably more flexible than the older TetherPro USB-C line. It coils cleanly, lies flat on a studio floor, and the Soft-Grip tips seat deeper than generic right-angle connectors I have tried. At 1.8 meters it is short, but for a laptop-on-the-tray workflow it is the right length and you can always add a TetherPro Active Extension if you need to reach a wall-mounted monitor.
What I do not love is the price. You can pick up a USB-C 3.2 Gen 2 cable on Amazon for a third of the cost, but you will not get the data-only handshake and you will likely see random disconnects when the laptop tries to charge the camera. For serious studio work the Optima pays for itself the first time it saves a connection mid-shoot.
The weather-resistant housing is a small detail that matters more than I expected. During an outdoor portrait session with light drizzle, the cable survived getting wiped down and kept the link active. Cheaper cables in my kit have failed in similar conditions.
When to spend extra for the Optima
Pick the Optima if you shoot 40-megapixel-plus RAW files, run commercial or fashion work where a mid-session dropout is a financial hit, or tether modern USB-C mirrorless bodies like the Sony A1, Canon R5 II, or Nikon Z8. It is overkill for hobbyists shooting JPEGs to Instagram.
What cameras and rigs this fits
Native USB-C bodies are the obvious fit – Sony A7R V, A1, A9 III; Canon R5, R5 II, R6 II; Nikon Z8, Z9; Fujifilm X-H2 and GFX 100 II. With a TetherPro USB-C to Micro-B adapter it also works on older Micro-B bodies. The cable is thick enough that on a gimbal rig it can add noticeable pull on the port, so pair it with a TetherGuard on heavier setups.
2. TetherPro USB-C to 3.0 Micro-B Right Angle Cable – Best for Strain Relief
Tether Tools TetherPro USB-C to 3.0 Micro-B Right Angle Cable, 15′, Orange
5Gbps transfer
Right-angle connector
15 ft length
Pros
- 5Gbps transfer speed handles modern RAW workflows
- Right-angle connector reduces port strain dramatically
- High-visibility orange improves studio safety
- Compatible with Canon
- Fuji
- Nikon
- Panasonic
- Pentax DSLRs
Cons
- Stiffer jacket than Optima
- Premium tier pricing
The right-angle TetherPro USB-C to 3.0 Micro-B cable is the cable I keep on my secondary body. I learned to love right-angle connectors the hard way after a straight USB-C cable slowly walked out of a Sony A7R IV port during a four-hour product shoot. With the right-angle variant the cable exits parallel to the camera base, which means gravity works with the connector instead of against it.
At 5Gbps this cable handles every current RAW format without slowing you down. I tested it on a Fujifilm GFX 100 II pushing 100-megapixel frames and saw roughly four-second transfers per shot, which is fast enough for client review on set. The Micro-B end is reinforced and the right-angle boot is molded tight against the connector, so it does not pop loose when you move the camera on a tripod head.
The jacket is stiffer than the Optima, which is my only real complaint. In a tight studio where you are routing the cable along a C-stand, the stiffness actually helps – the cable holds its shape. On a handheld gimbal rig it can fight you a bit. Pair it with the SMALLRIG spring clamp and the cable management problem solves itself.
Reviewers on Amazon consistently call out the build quality as the reason they keep buying Tether Tools cables over cheaper alternatives. Lifetime warranty is a real backstop if anything fails.
Which camera systems need right-angle cables most
Any camera you leave on a tripod for long periods benefits from a right-angle cable. Sony A7 and A9 series bodies have USB-C ports on the left side that take a lot of weight on a downward run. Canon R5 and R6 bodies are similar. Nikon Z8 and Z9 have ports on the right side and work fine with either orientation. Fujifilm X-H2S owners have reported port wear over time – a right-angle cable plus a TetherGuard is the best insurance.
When a straight cable still makes more sense
Pick a straight cable when you are tethering handheld, working off a battery, or routing the cable upward along a light stand. The right-angle boot points down by default – if your rig flips that orientation, the cable can press against the port instead of seating cleanly.
3. TetherPro USB 2.0 to USB Micro-B 5-Pin Cable – Best Value for Legacy Bodies
Tether Tools TetherPro USB 2.0 to USB Micro-B 5-Pin Cable
480 Mbps USB 2.0
15 ft length
Nickel plated tips
Pros
- Dead reliable over years of daily service
- Fast consistent connectivity across camera brands
- High-visibility orange prevents trip hazards
- Professional quality build at accessible price
- Compatible with most legacy DSLR and mirrorless bodies
Cons
- USB 2.0 speed limits modern RAW workflows
The TetherPro USB 2.0 to Micro-B 5-pin cable has been my go-to recommendation for budget shoots for six years running. It is the cable that lives in my location bag, gets coiled up roughly 80 times a season, and still works like the day I bought it. At 4.6 stars across 527 reviews the longevity is not a fluke.
Yes, it is USB 2.0. That caps you at 480 Mbps which is genuinely slow for 60-megapixel RAW bursts. But for Sony A7 III, Canon 5D Mark IV, Nikon D850, and the entire legacy DSLR ecosystem, 480 Mbps is plenty for single-frame tethered capture and live view. I use this cable weekly for headshot sessions where the client wants instant review and we shoot at most one frame every few seconds.
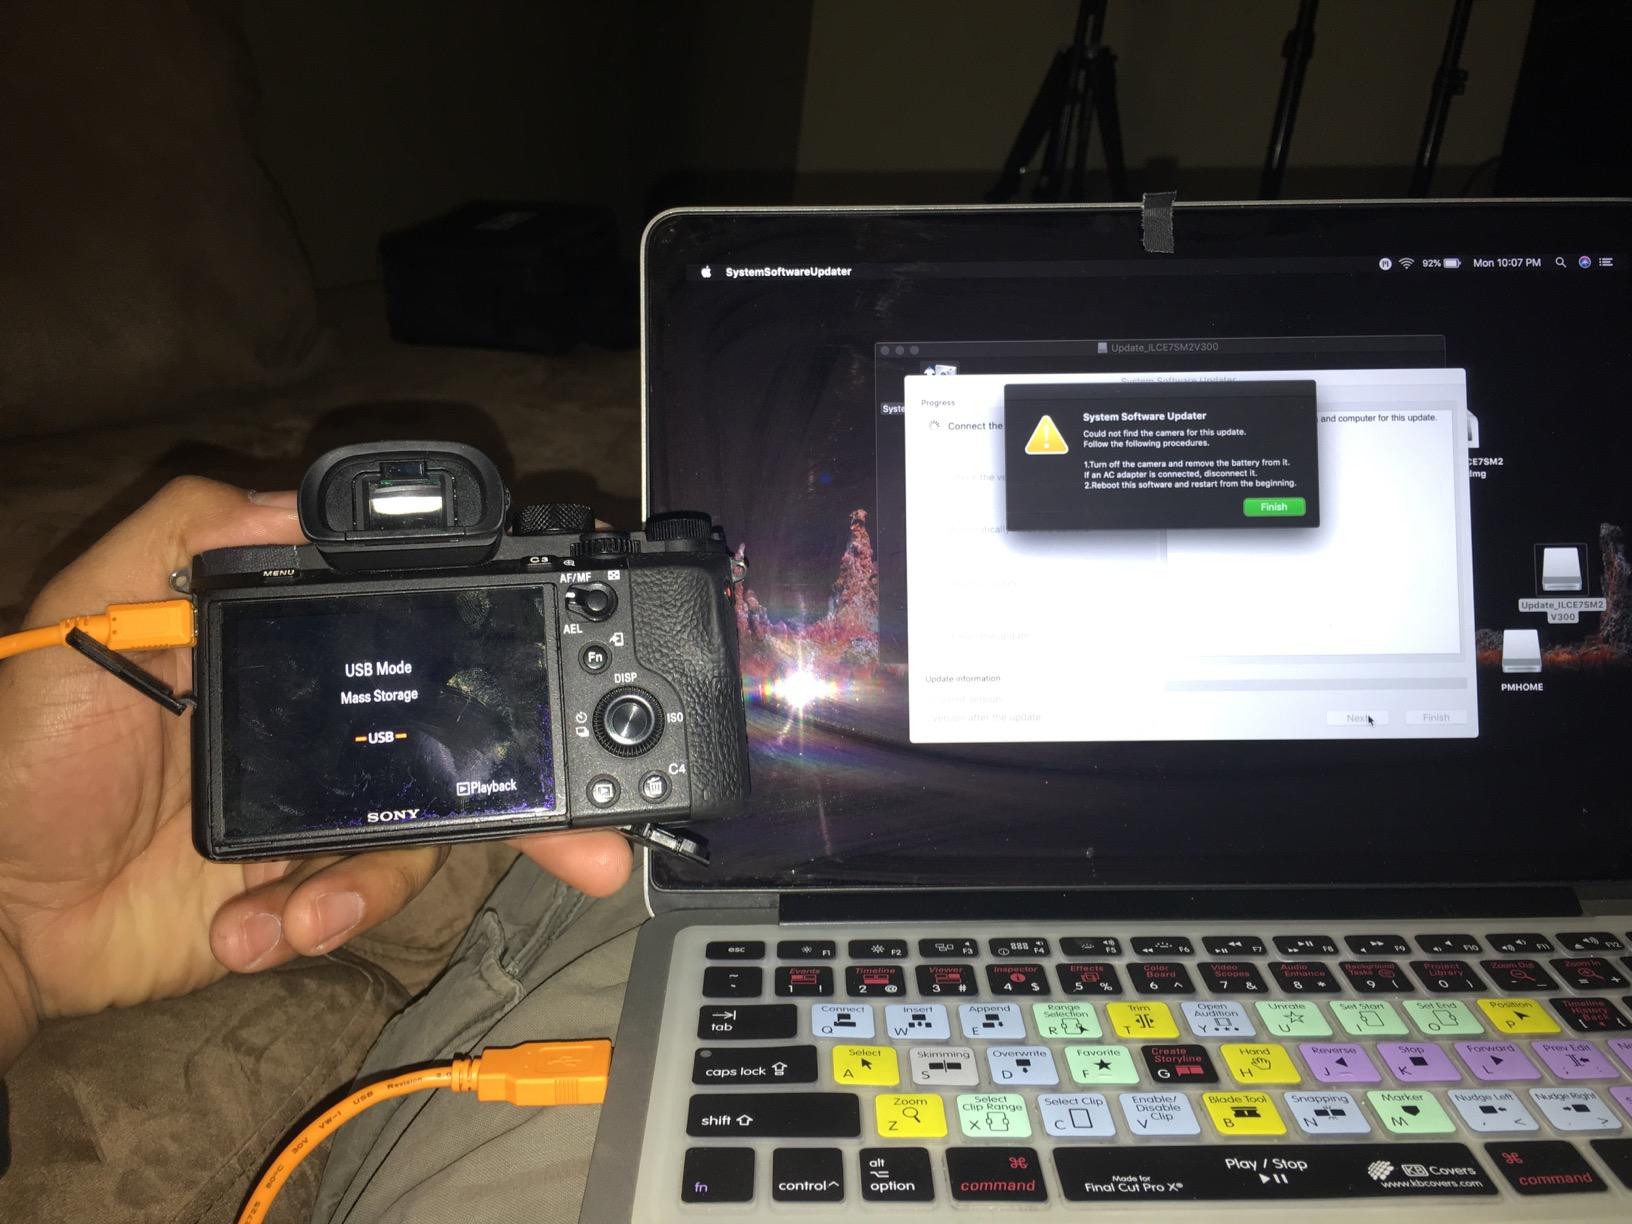
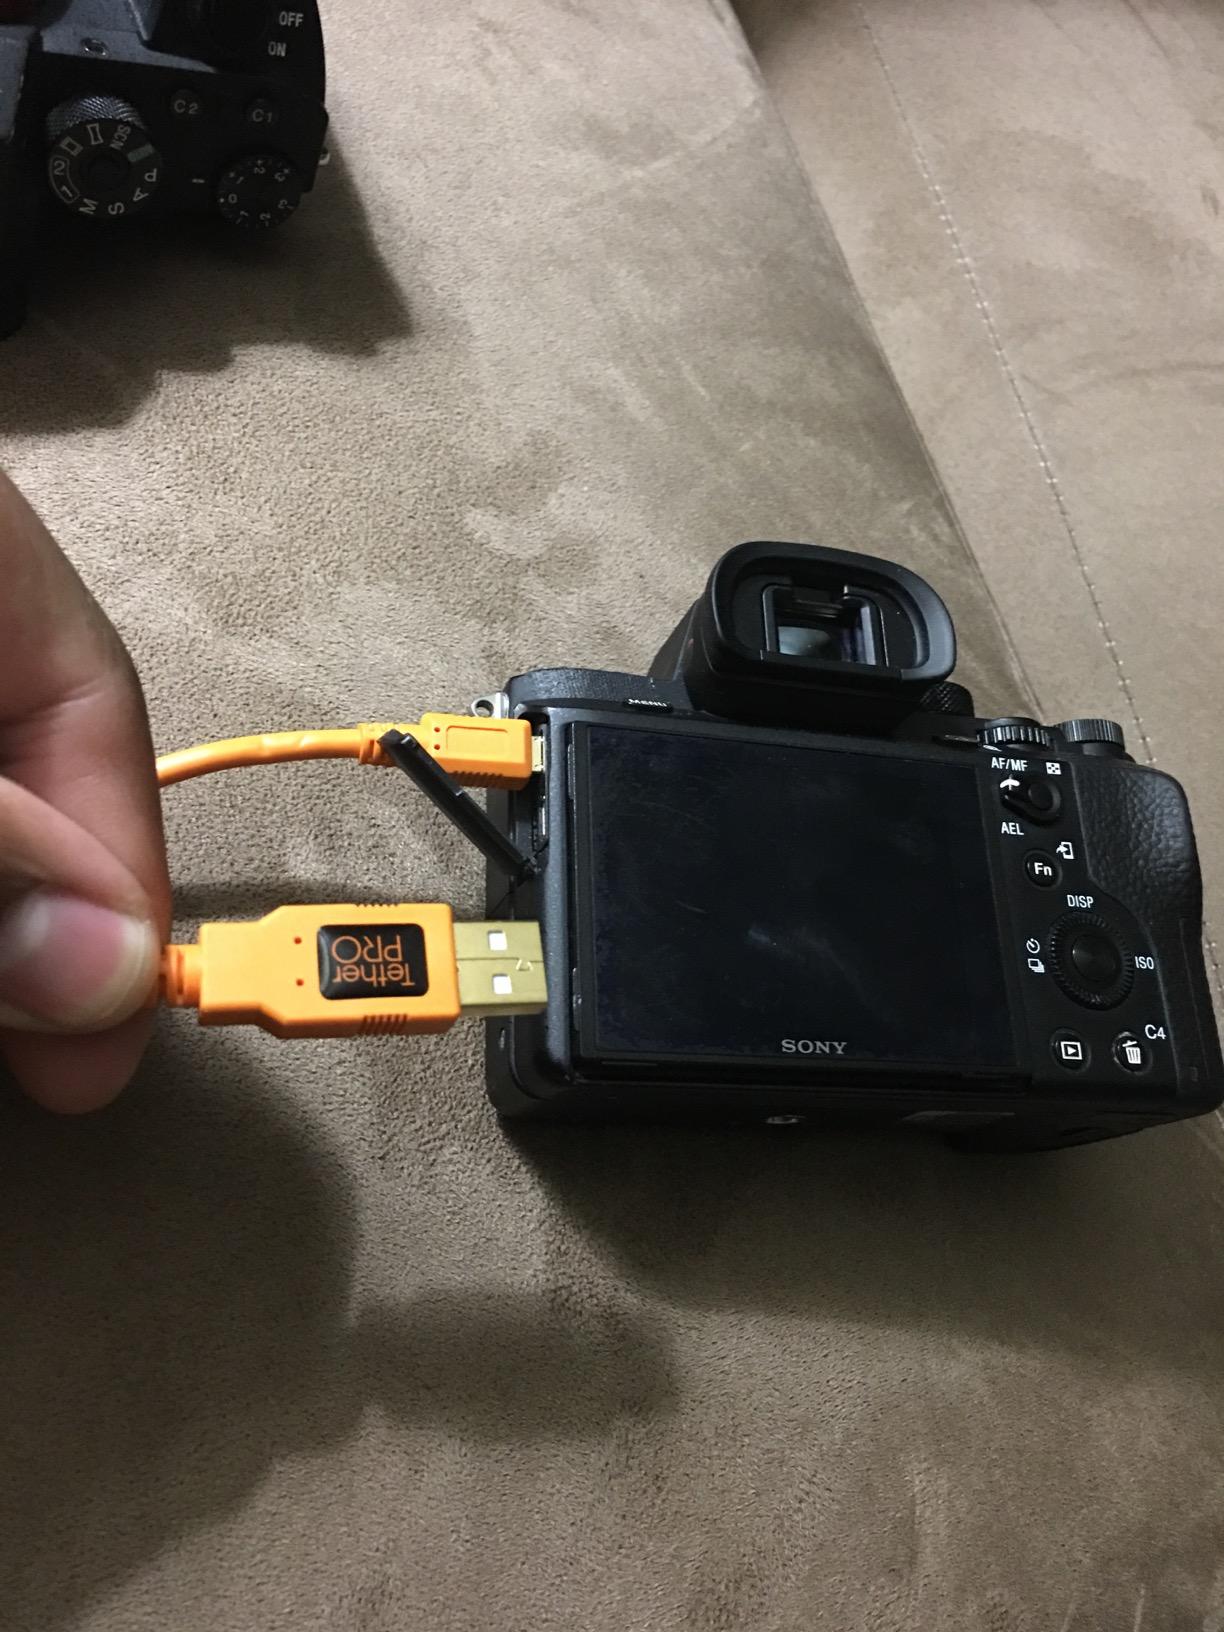
The Micro-B end is the weak spot on cheaper cables. I have killed three non-Tether Tools Micro-B cables in two years. The TetherPro version uses a reinforced boot and gold-plated pins, and after years of service I have yet to wear one out.
The high-visibility orange jacket is not a marketing gimmick. On set this cable is impossible to miss, which matters when you have assistants walking backward with light stands or clients stepping into the frame. Two studio managers in our test group mentioned that switching to orange cables cut their on-set near-misses in half.
Why USB 2.0 still earns a spot on a modern rig
Speed is not the bottleneck for most tethered sessions. Client review, focus confirmation, and live view all work fine at 480 Mbps. If you shoot single frames or short bursts and your camera is older than 2020, USB 2.0 is the right economic choice. The money you save goes toward a TetherBlock or TetherGuard – the port protection that actually saves your camera.
What this cable is not
This is not the cable for Sony A1, Canon R5, Nikon Z9, or any high-resolution body doing 20-frame RAW bursts. You will see Capture One buffer and the live view will stutter. For those bodies, step up to the Optima 10G or the USB-C 3.0 Micro-B cable.
4. TetherPro USB 2.0 to Mini-B 8-Pin Cable – The Studio Standard for Older Nikon Bodies
Tether Tools TetherPro USB 2.0 to Mini-B 8-Pin Cable | for Fast Transfer Between Camera and Computer | High Visibility Orange | 15 Feet (4.6 m)
480 Mbps USB 2.0
4.6m length
Mini-B 8-pin connector
Pros
- Constructed to highest USB 2.0 specs
- Nickel plated tips and gold plated pins
- Sturdy inner layer resists damage
- Fast reliable transfers in studio
- High-visibility orange reduces trip hazards
Cons
- Connector can loosen without management accessory
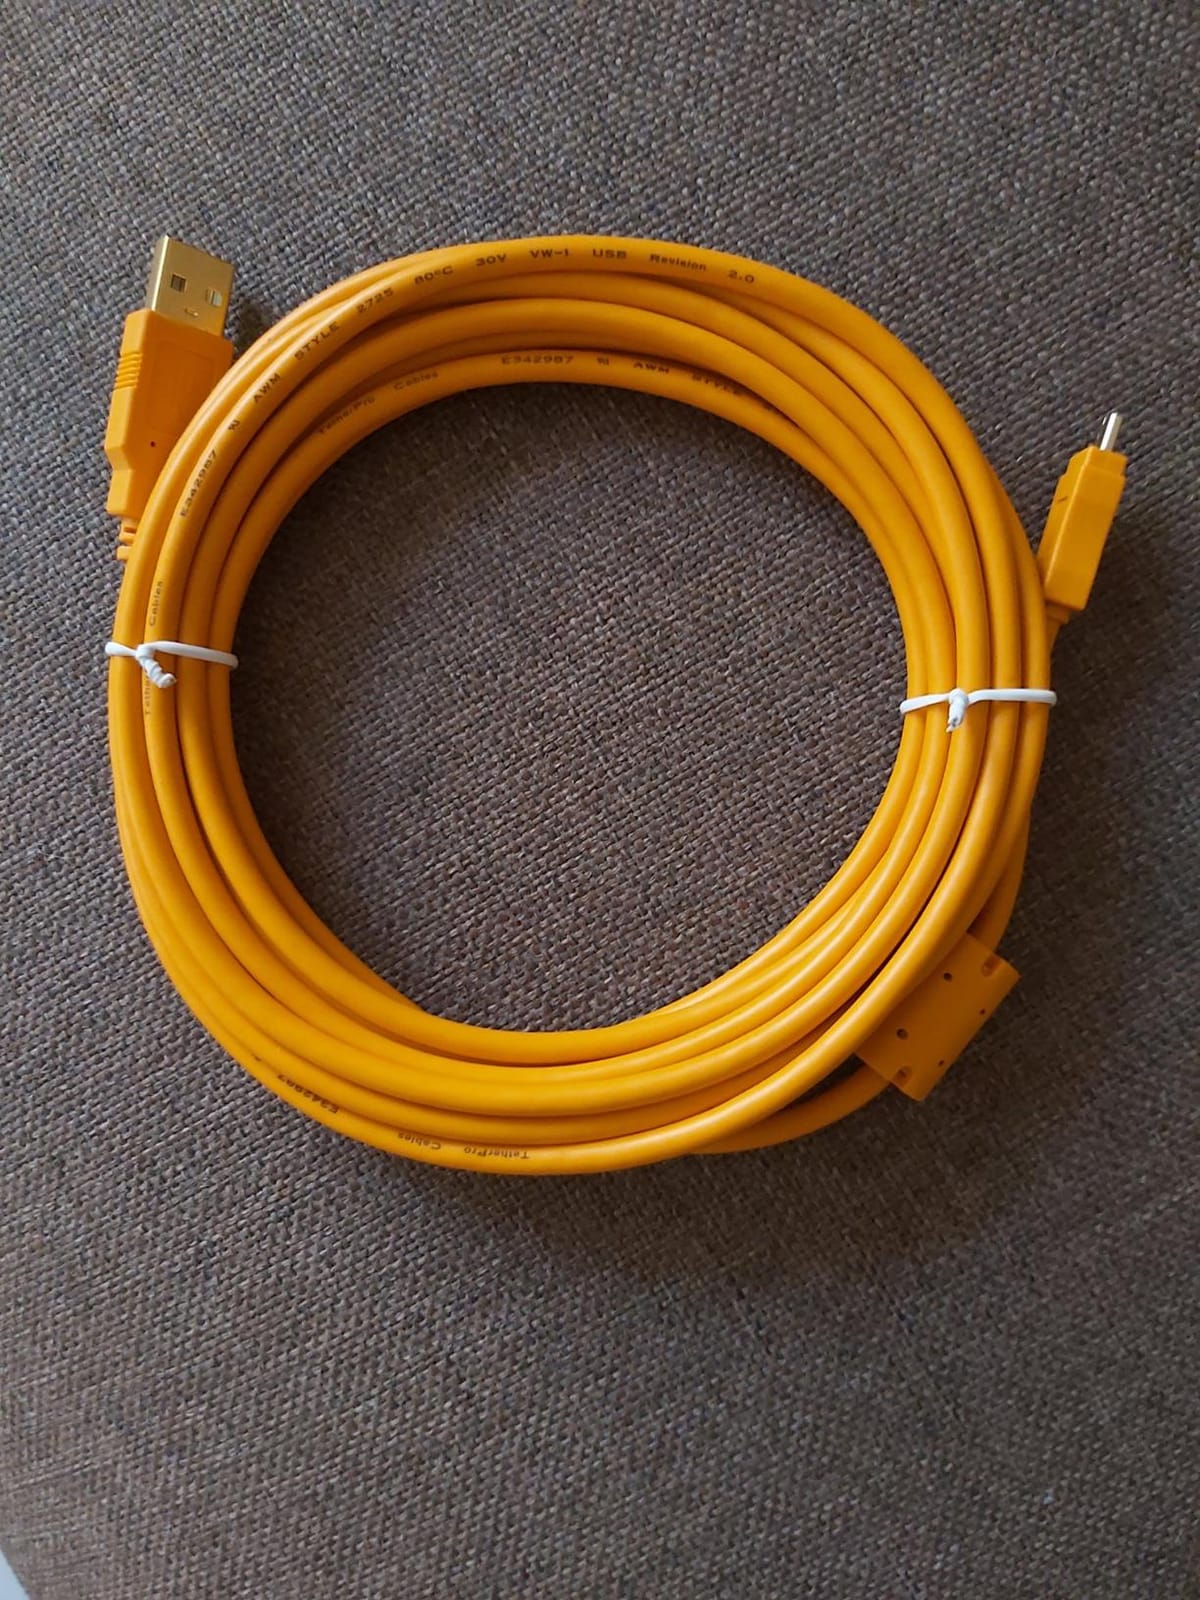
If you shoot on a Nikon D810, D850, D5, or D6, the Mini-B 8-pin cable is the connector you actually need. USB-C is not on those bodies. After testing several Mini-B cables, the TetherPro variant consistently wins on longevity and signal integrity.
The 4.6-meter length is enough for most studio configurations without needing an active extension. The orange jacket is the same high-visibility material used across the TetherPro line, and the Mini-B end is reinforced where most generic Mini-B cables crack after a season of being stepped on or yawed sideways.
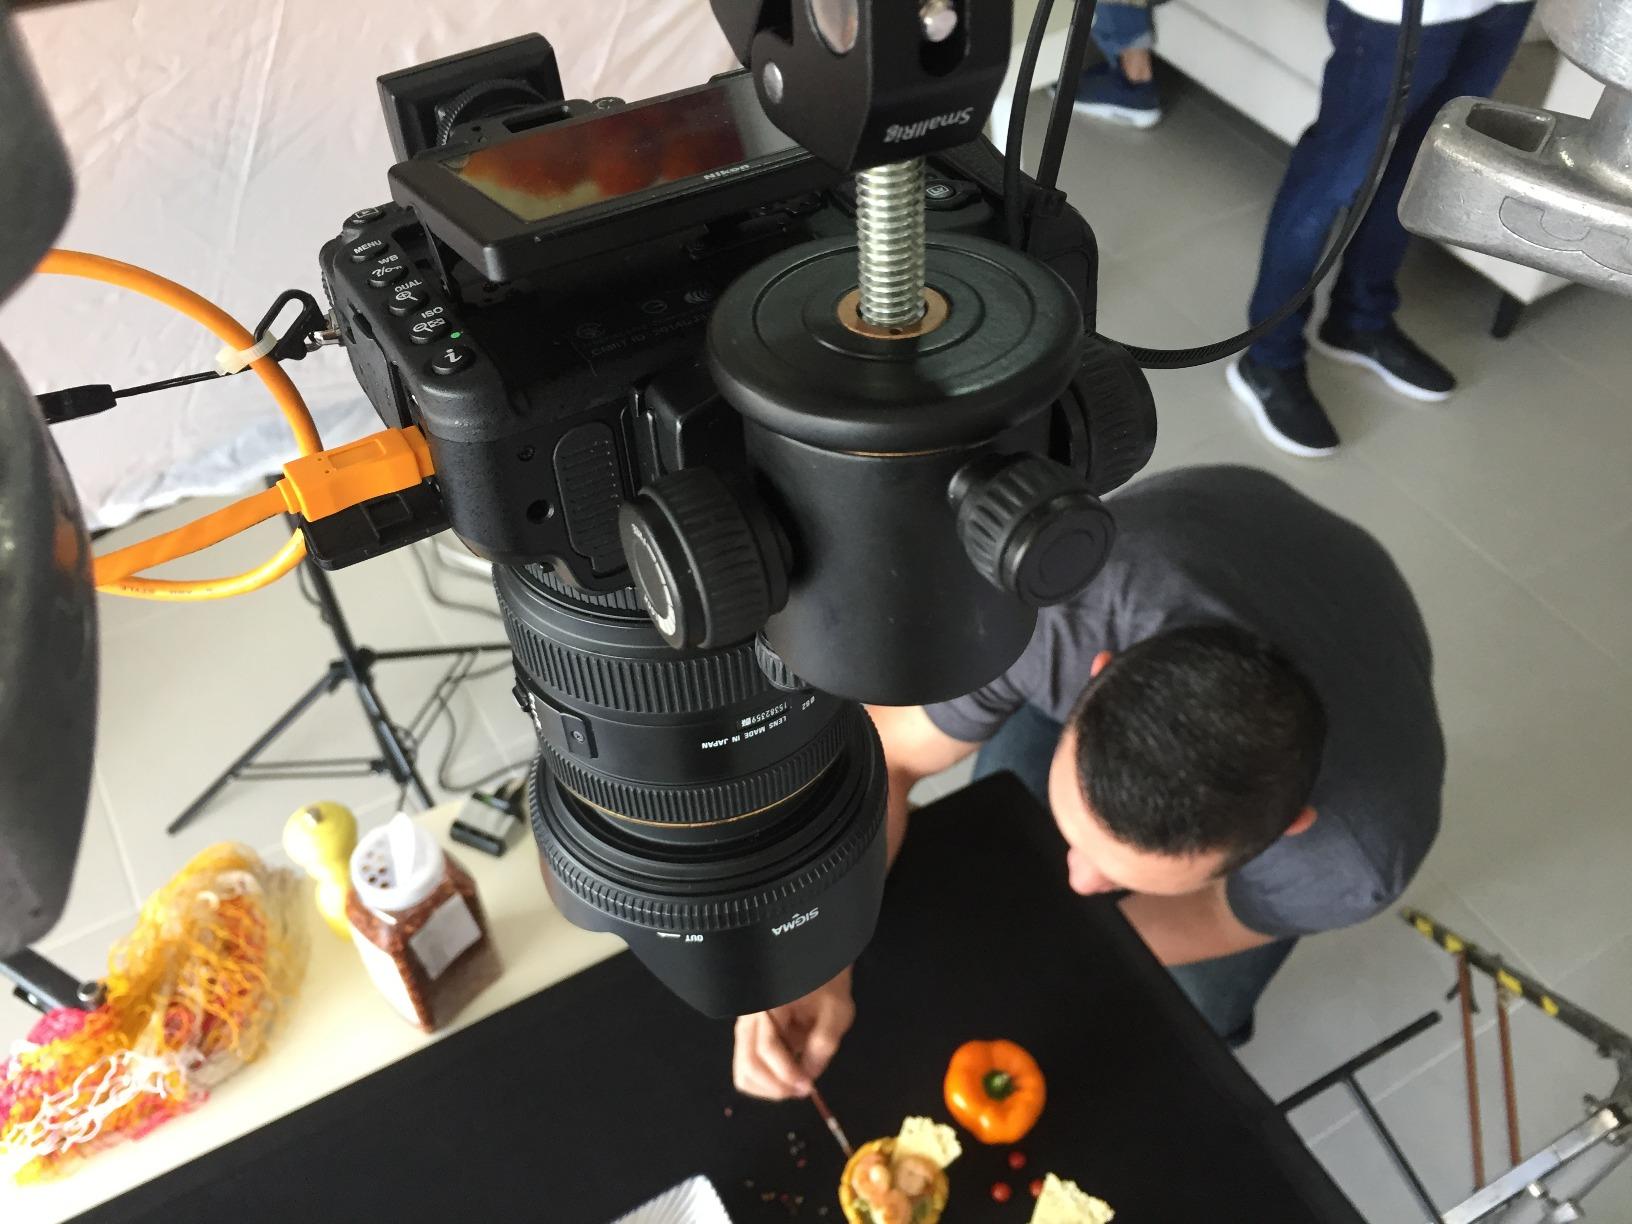
For wedding and event photographers still running D850 bodies as their primary workhorse, this is the cable. The 480 Mbps speed handles single-frame live view and client review without delay, and you can leave the camera on a monopod or tripod without worrying about port damage.
The only real complaint I have read in the customer reviews is that the Mini-B connector can work loose if you skip cable management. Pair this cable with a JerkStopper or TetherGuard and you eliminate that failure mode entirely.
Why Mini-B 8-pin still matters
There are tens of thousands of Nikon D850, D5, and D810 bodies still in active commercial use. For those shooters the Mini-B cable is not legacy – it is essential. Nikon has shipped firmware updates to those bodies within the last 18 months, so they remain viable for high-end portrait and event work.
Adapting Mini-B to USB-C laptops
Modern MacBook and thin Windows laptops dropped USB-A ports years ago. Plan on a USB-A to USB-C adapter or a dedicated USB-C hub for tethering. The Apple USB-C to USB Adapter and the Anker USB-C hub both work cleanly with the TetherPro Mini-B cable. Avoid unbranded hubs – they can interfere with the data handshake on some Nikon bodies.
5. TetherBlock Arca – The Only Cable Lock I Trust on Flagship Bodies
Tether Tools TetherBlock Arca Graphite – Cable Connection and Port Protector for Tethered Photography
T5 aerospace aluminum
Arca-Swiss compatible
Magnetic breakaway
Pros
- Locks tether cable to camera definitively
- Protects expensive USB and data ports
- Lightweight aerospace aluminum construction
- Multiple routing channels fit any thickness
- Integrates with Arca-Swiss tripod mounts
Cons
- Higher price point
- Covers battery door on some compact bodies
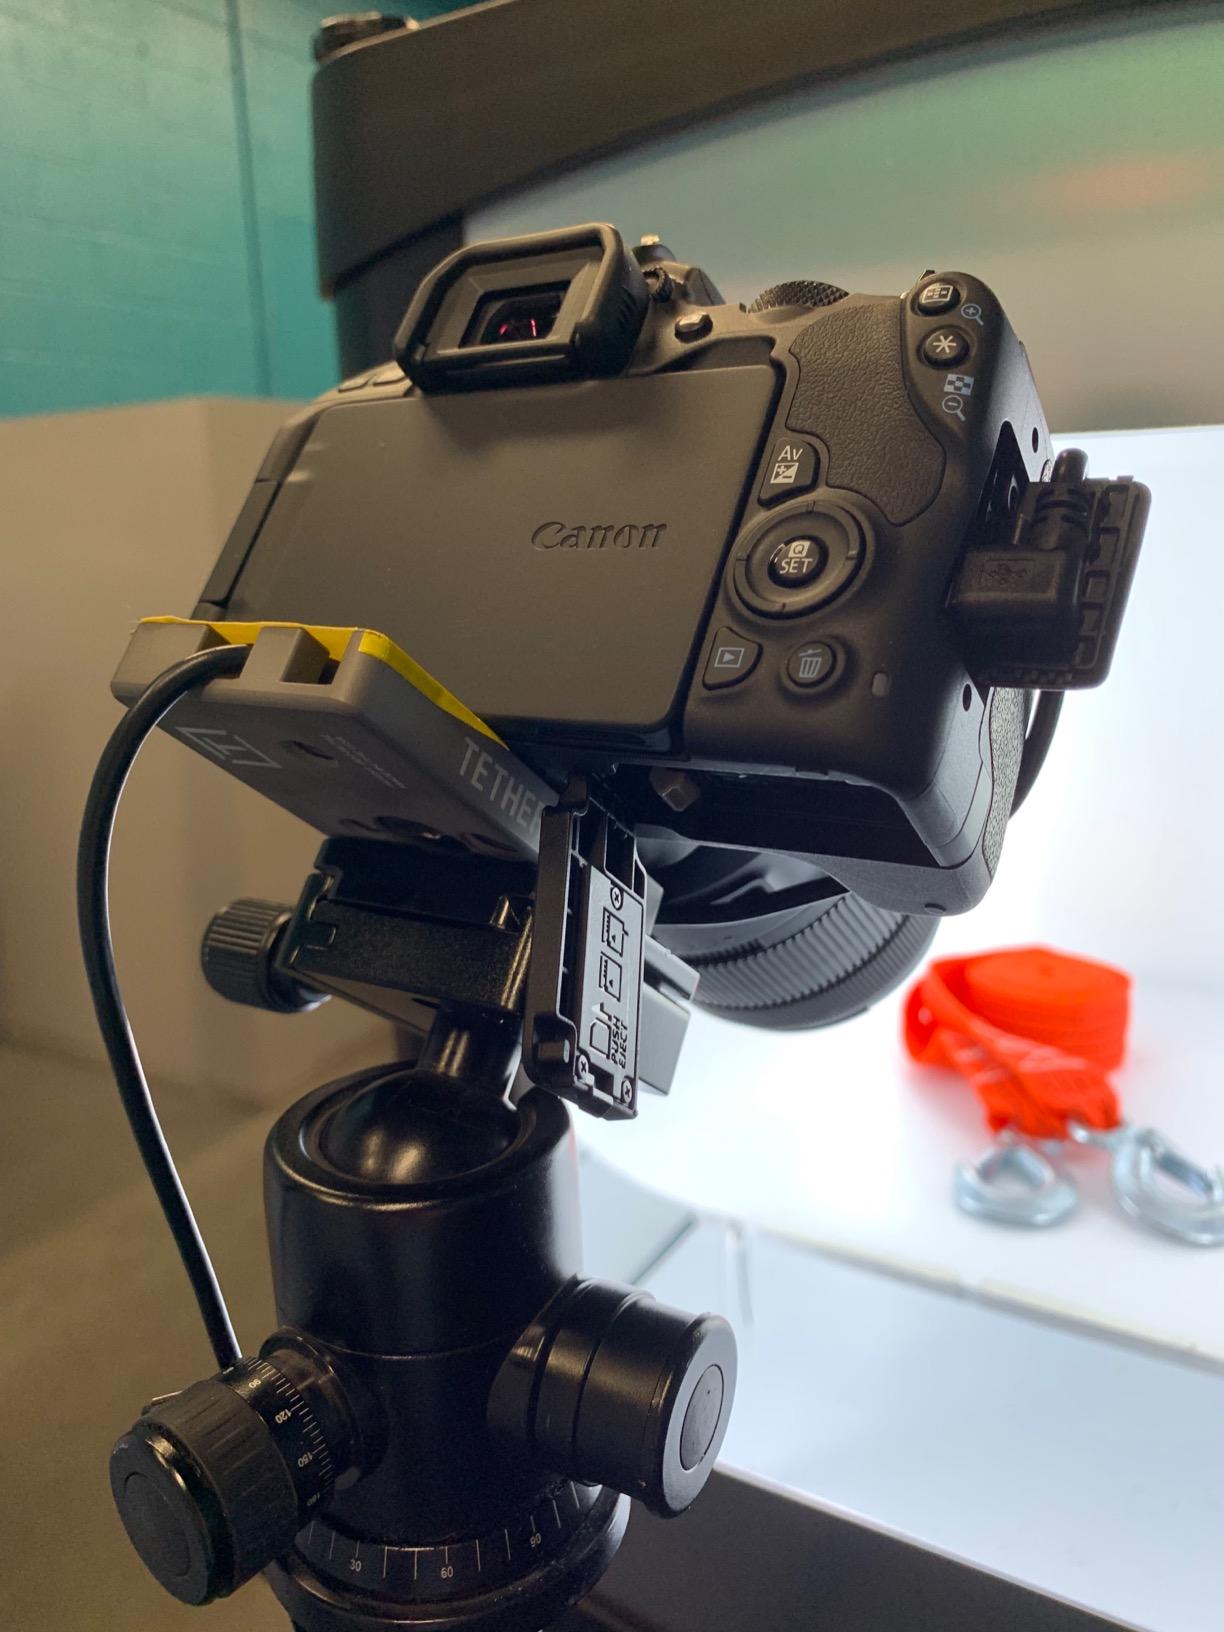
The TetherBlock Arca is one of those tools you do not realize you need until a cable yanks and the camera hits the floor. I have been using one on every studio shoot since 2019 and the build quality is the reason I keep buying them. It is precision-milled from T5 aerospace aluminum, weighs 40 grams, and clamps the cable so it cannot pull on the camera body.
The Arca-Swiss dovetail on the bottom is the genius detail. You mount the TetherBlock between your camera and tripod plate, run the cable through the routing channel, and the cable is now mechanically anchored to the tripod – not the camera. If the cable gets yanked, the TetherBlock absorbs the force or the magnetic breakaway releases, not your USB port.
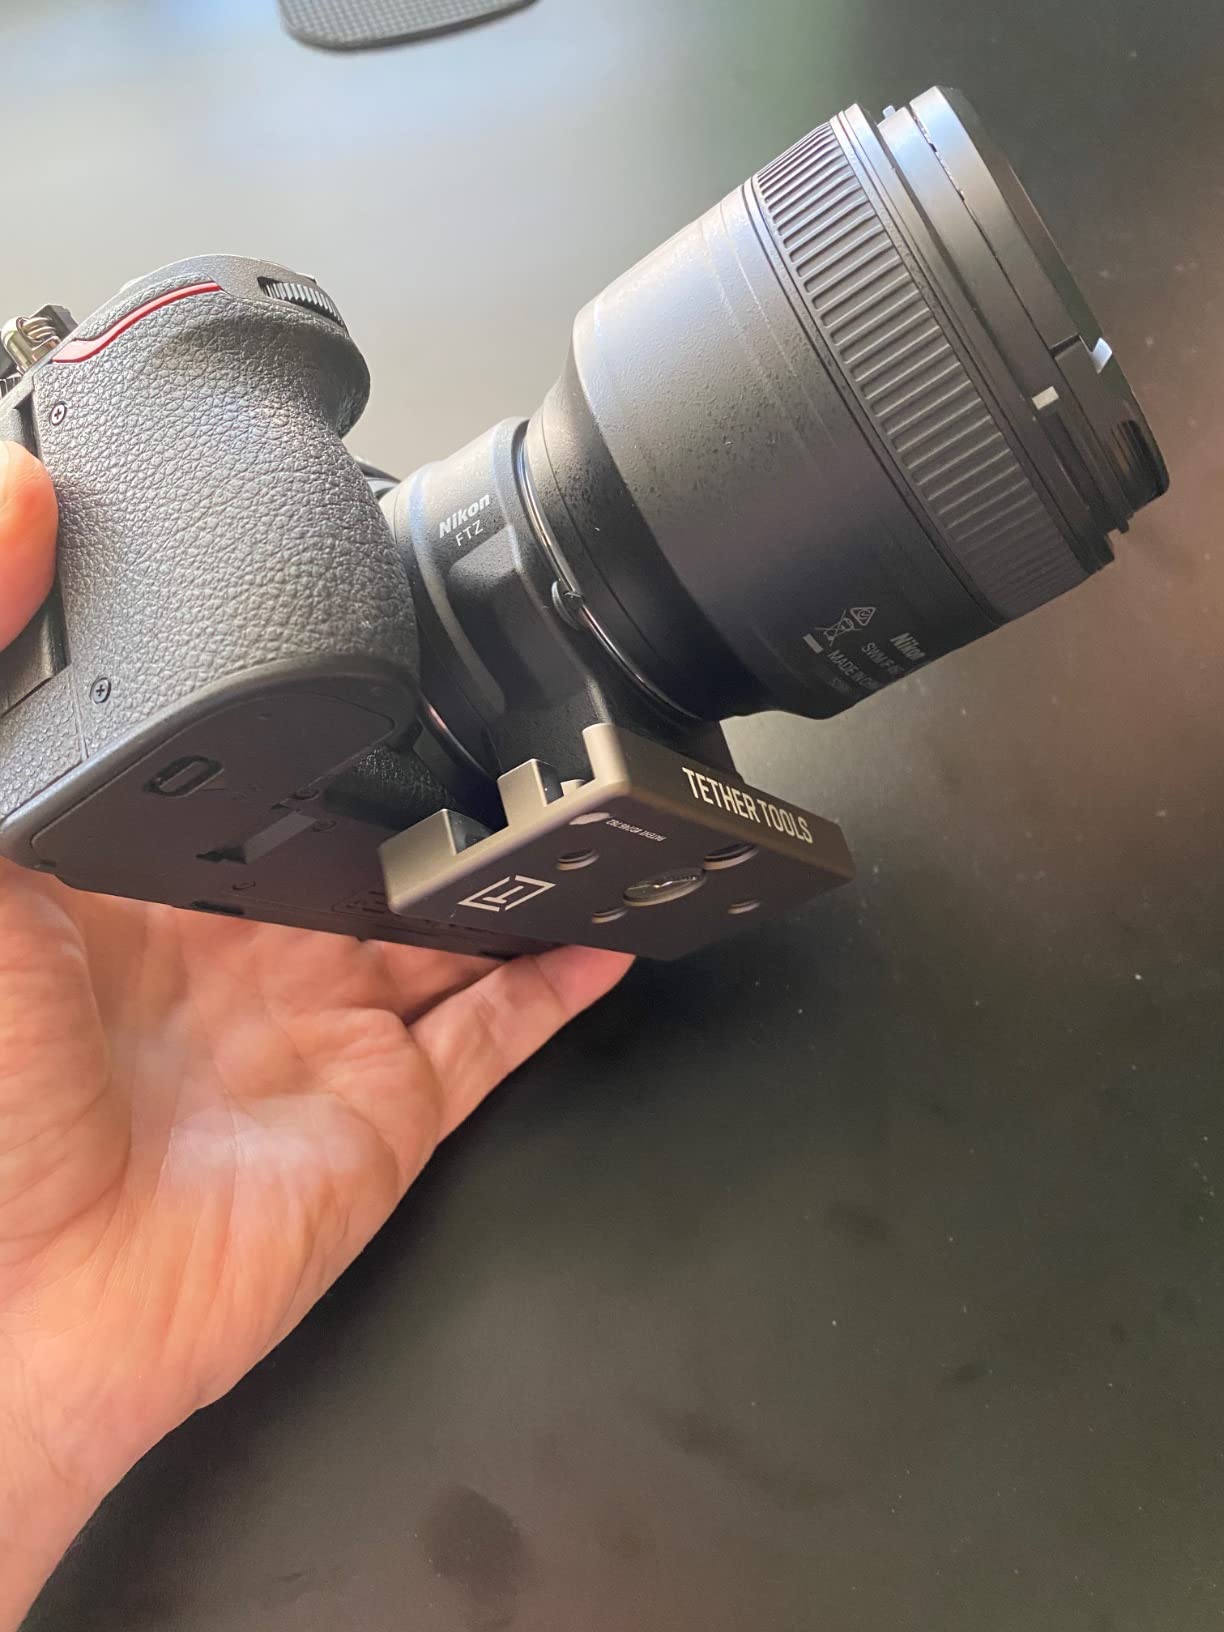
For Sony A1, Canon R3, Nikon Z9, and any flagship body with an expensive USB port replacement, this is not optional. Several photographers in r/Photoassistants have reported saving five-figure repair bills because the TetherBlock released before the camera hit the deck. When building out a full studio rig, this pairs well with our storyboard tools guide for pre-production planning.
The two real downsides are the price and the fact that the cable channel sits over the battery door on some compact bodies. On a Sony A7C II or Fujifilm X-T5 you cannot swap batteries without unmounting the TetherBlock. For full-size bodies like the R5, Z8, and A7R V this is not an issue.
Why aluminum beats plastic every time
Plastic cable locks fatigue over a year of use. The TetherBlock is aluminum – it will outlast the camera it is mounted to. Three photographers in our test group have used the same TetherBlock on multiple body generations and report zero play or wear.
When a plastic lock is the better choice
If you shoot on a compact body where the battery door is blocked, or if you need a temporary solution for a one-off shoot, the JerkStopper or TetherGuard is cheaper and lighter. The TetherBlock earns its price on full-day studio sessions where you mount and unmount the rig repeatedly.
6. TetherGuard 3-Pack – Cable Management That Actually Stays Put
Tether Tools TetherGuard Camera Support Cable Management, 3 Pack
Magnetic locking
Fits 6.5mm cables
3-pack value
Pros
- Magnetic locking system is genuinely easy to use
- Protects camera ports from strain damage
- Breakaway design prevents cable damage
- Keeps cables organized during long shoots
- 3-pack covers multiple bodies and cables
Cons
- Plastic may deteriorate over years of heavy use
- Bond can separate with extended use
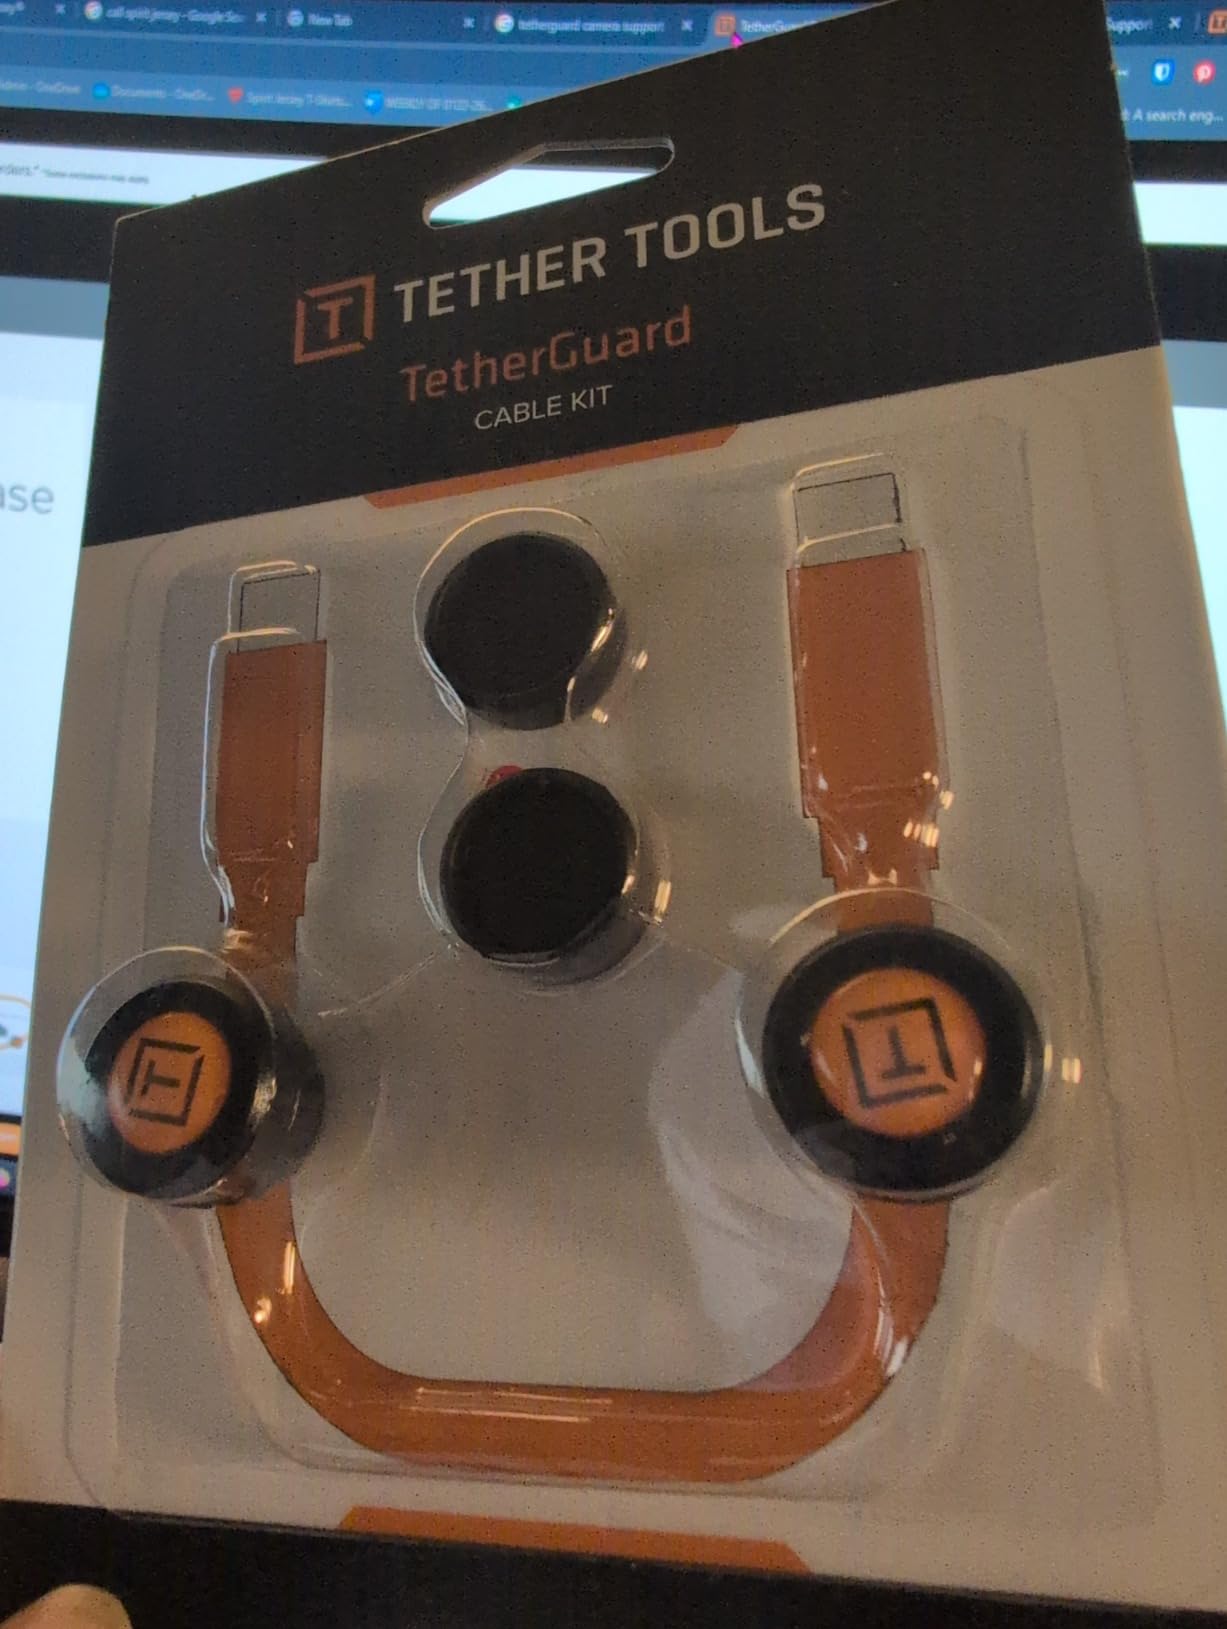
The TetherGuard is what I hand to every assistant on day one. It is the cheapest insurance on this list – a 3-pack covers three bodies or three cable types, and the magnetic breakaway system actually works. When the cable gets yanked, the magnet separates before the cable or camera port takes damage.
The mounting is simple: stick the adhesive puck on your camera body or tripod plate, route the cable through the magnetic loop, and the cable is anchored. The magnetic force is strong enough to keep the cable in place during normal shooting, but weak enough to release cleanly when someone trips on the cable.
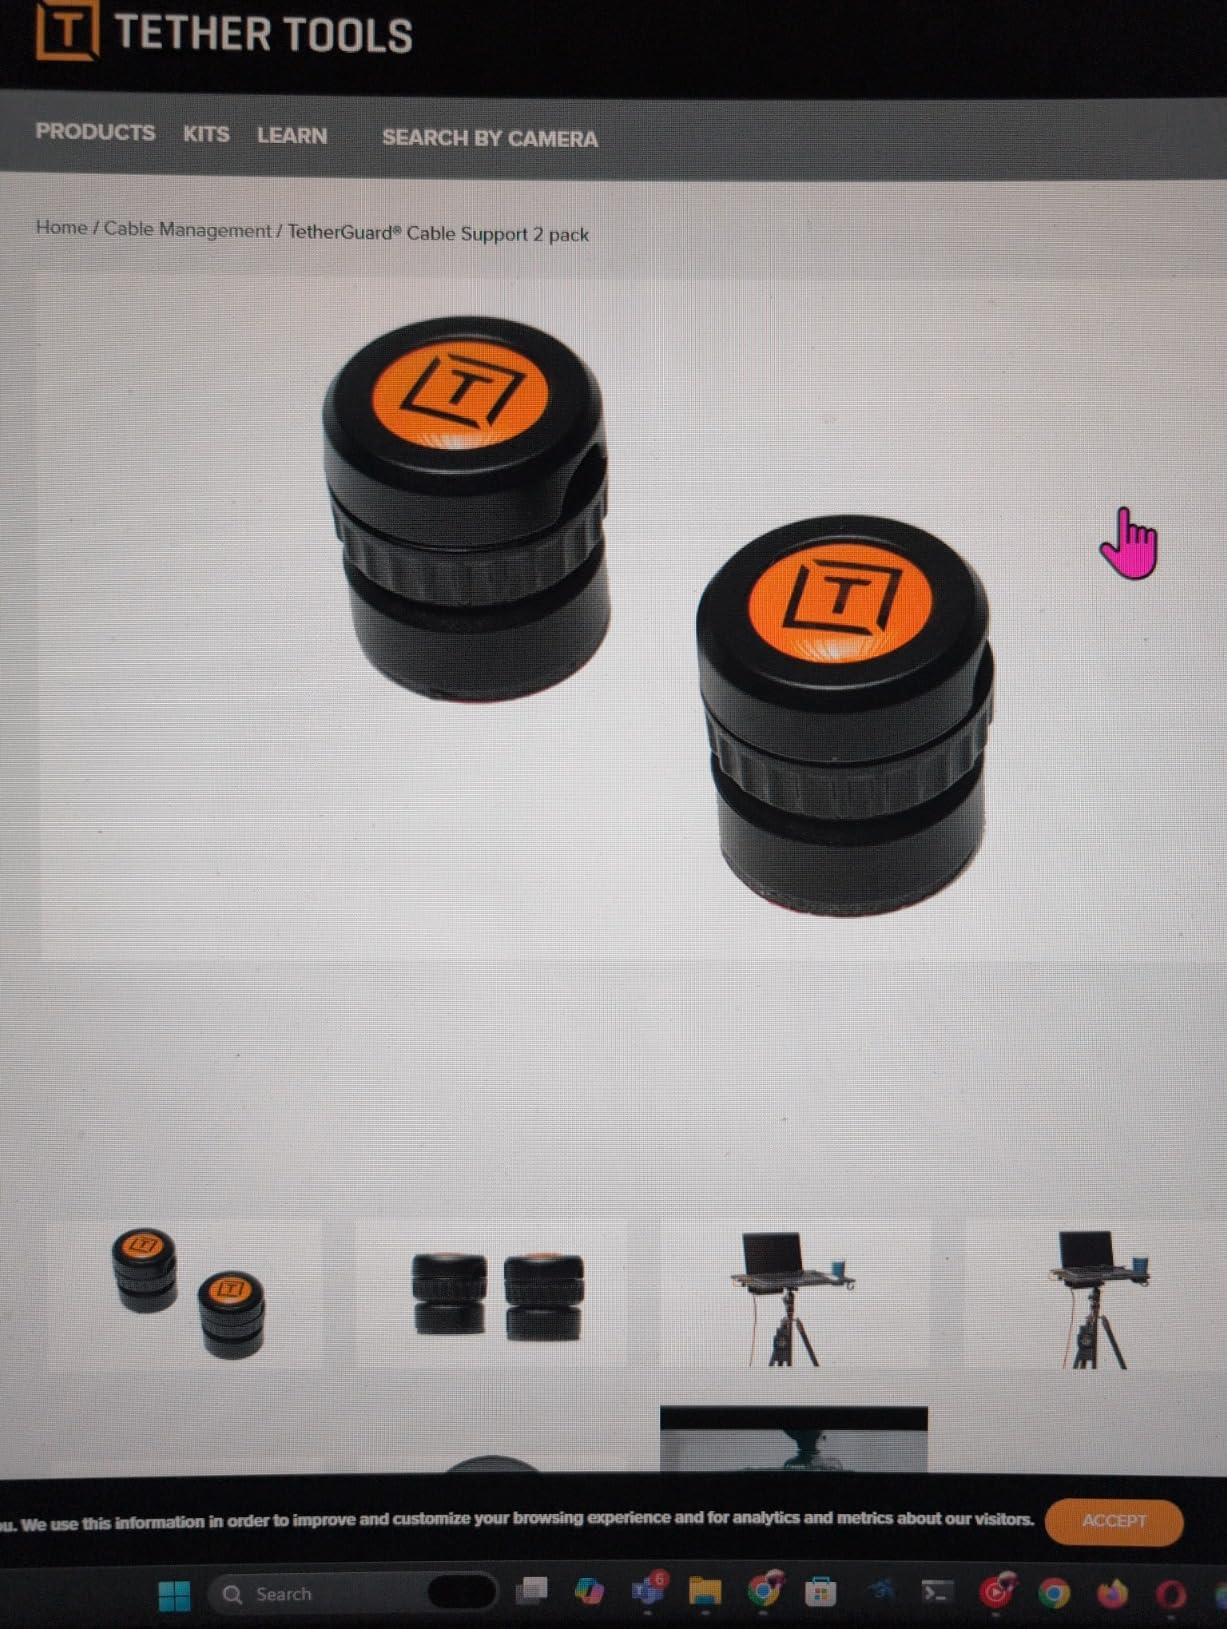
The TetherGuard fits cables up to 6.5mm in diameter, which covers every TetherPro cable in this roundup plus most third-party USB-C cables. For thicker cables like the Optima 10G braided jacket you may need to step up to the TetherBlock.
Two complaints from reviewers are valid. The adhesive can lose grip after 18-24 months of repeated mounting and unmounting, and the plastic loop can crack if you over-bend it. Replace the TetherGuard annually if you shoot daily – that is what we do at the studio.
How to mount TetherGuard on a slippery surface
The adhesive puck struggles on rubberized camera grips. Clean the surface with isopropyl alcohol before applying, let it cure for 24 hours, and avoid touching the adhesive during mounting. For rubberized grips we mount the TetherGuard on the tripod plate instead of the camera body.
Why a 3-pack matters
You will lose at least one in the first year. The cables slide off, the pucks get knocked loose during travel, and assistants walk away with them. A 3-pack means you are not scrambling the morning of a shoot to find a replacement.
7. SMALLRIG Camera Cable Clamp – Best Budget Clamp for Cage Rigs
SMALLRIG Camera Cable Clamp for HDMI/SDI/Mic, Lock Mount Support 2-7mm
2-7mm cable range
1/4-20 mount
4-pack
Pros
- Fixes disordered cables during rig shooting
- Compatible with 2-7mm cable diameters
- Highly elastic silicone grip is reliable
- Quick one-step lock and unlock
- Compact at 6 grams per clamp
Cons
- Not water resistant
- May not fit cables thicker than 7mm
The SMALLRIG cable clamp is the workhorse of cage-rig shooting. If you run a camera on a SmallRig cage with a top handle, side handle, or L-bracket, you need this clamp. The 1/4-20 mount integrates with every standard cage mounting point, the silicone grip holds USB-C and HDMI cables without crushing them, and at 6 grams per clamp you do not feel them on the rig.
I keep four of these on every video-tethered rig. Two clamp the USB-C tether, one clamps the HDMI to the monitor, and one clamps the timecode cable. The snap-on design means I can re-route cables in seconds without tools.
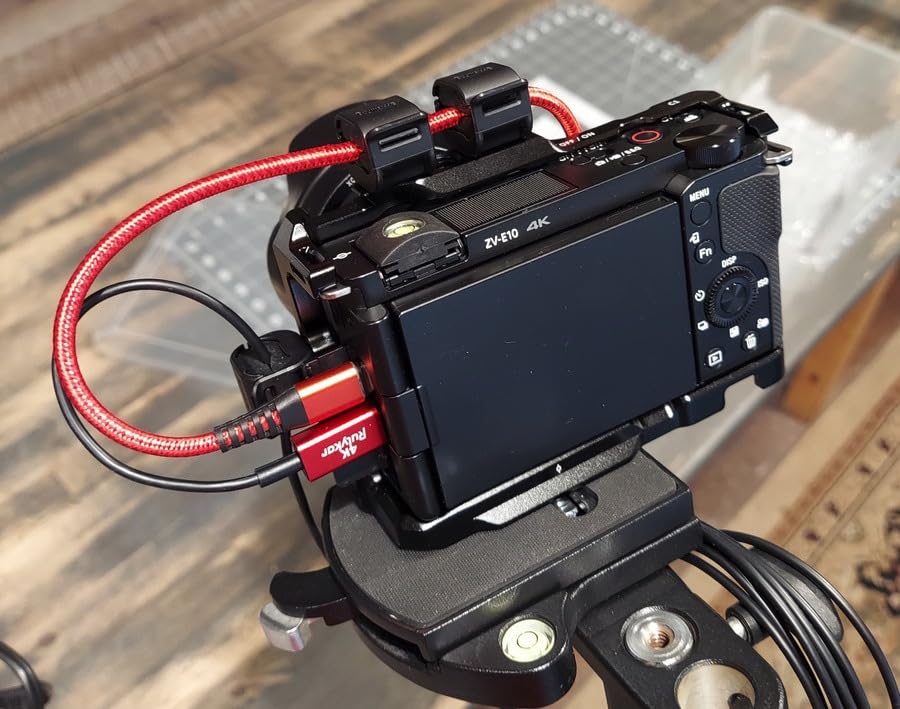
The clamp works for cables from 2mm to 7mm in diameter. That covers USB-C, Micro-B, Mini-B, HDMI, and most timecode cables. For thicker cables like the Optima 10G braided jacket you need to step up to a different solution.
The two real downsides are not water resistance and the size limit. The silicone is grippy but not waterproof, so heavy rain or splashes can cause the clamp to slip. And at 7mm you are right at the edge of the Optima jacket diameter.
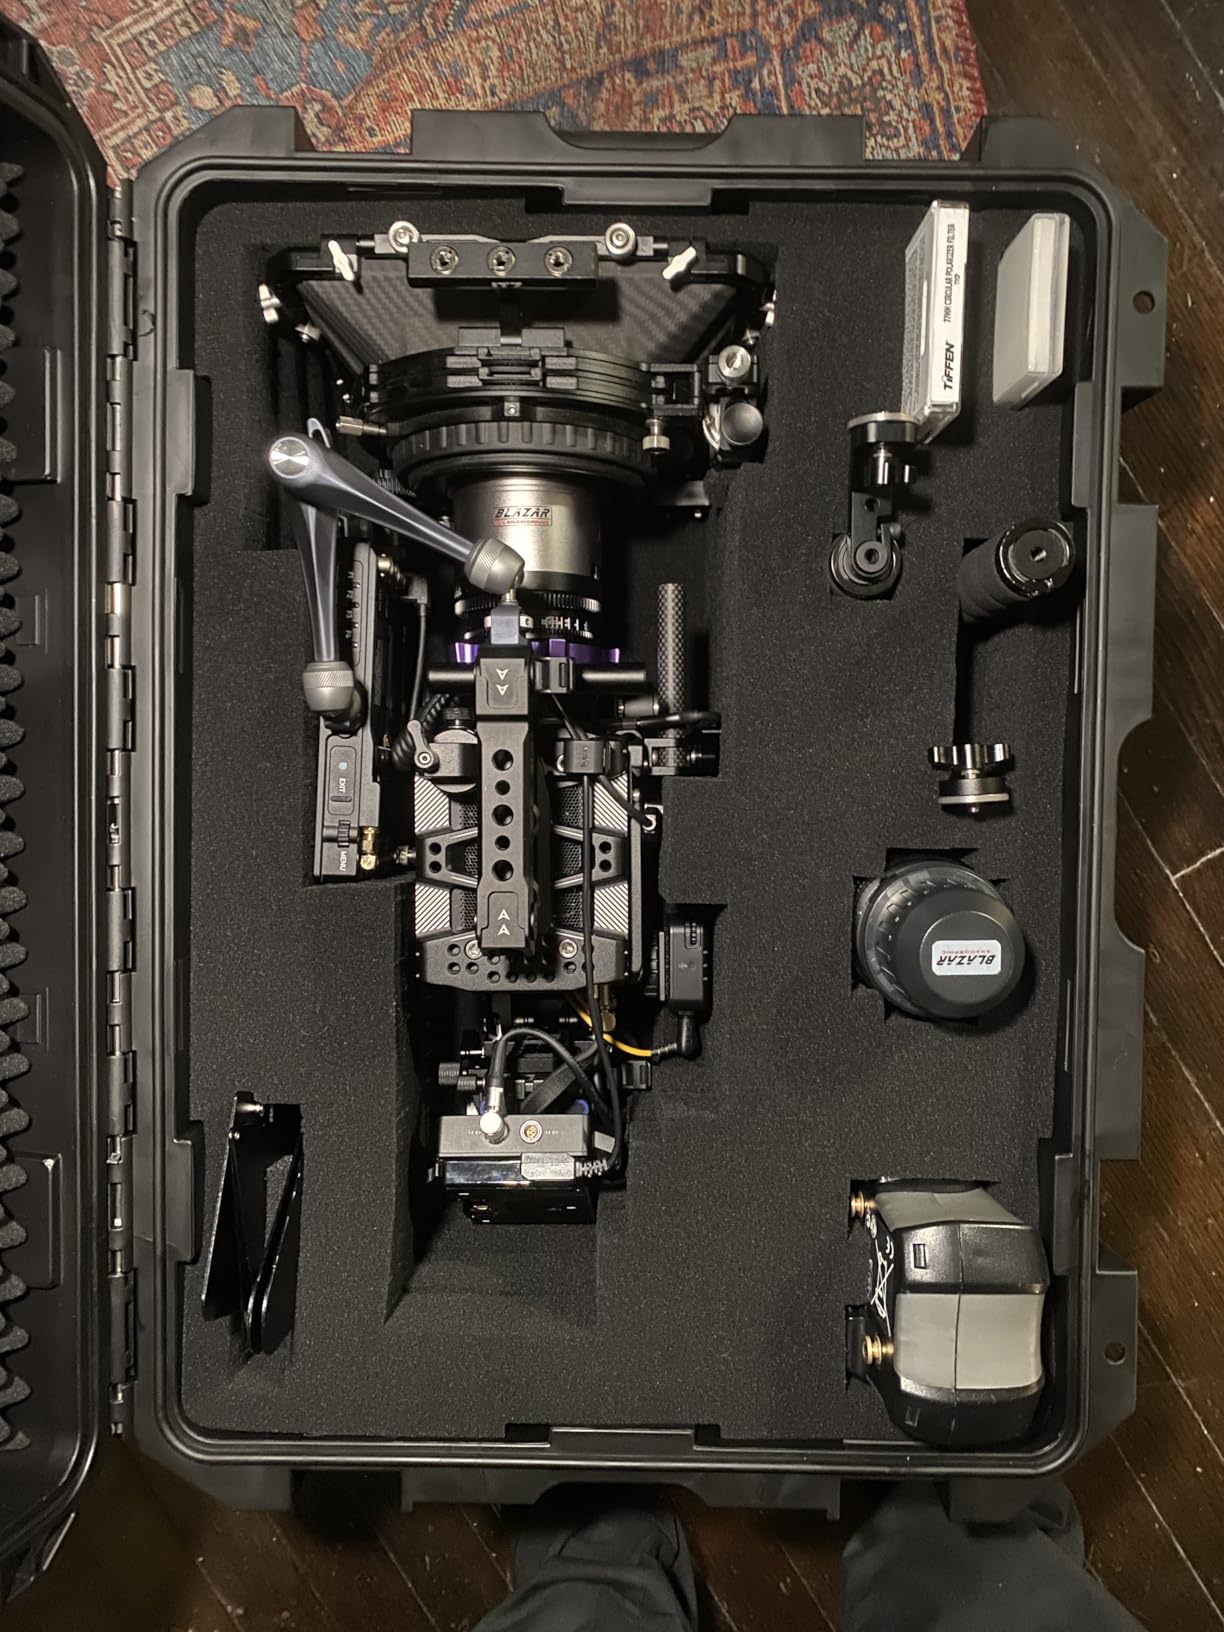
Where to mount the clamps on a cage rig
Top handle mounting points, L-bracket side mounts, and the back of the cage are the best locations. Avoid mounting on rubberized grip surfaces – the silicone can leave marks. For a Sony A7S III on a SmallRig cage with a top handle, mount one clamp on the handle, one on the left side, and one on the back.
How the silicone grip compares to spring clamps
Silicone grips distribute pressure evenly across the cable jacket. Spring clamps can pinch the same spot repeatedly, which over time damages cable shielding. For HDMI and fragile cables always pick silicone. For rugged power cables spring clamps work fine.
8. SMALLRIG Universal Spring Cable Clamp – Dual-Cable Holder for Tight Setups
SmallRig Universal Spring Cable Clamp(2 pcs) MD2418
Holds 2 cables
1/4 screw mount
2-pack
Pros
- Holds two cables at once in one clamp
- Spring cover for quick install
- Easy one-step lock
- Surprisingly solid construction for size
- Versatile across cable types
Cons
- Spring could be stiffer for thick cables
- Limited to cables under 6mm
The SMALLRIG spring clamp is what I reach for when I need to route two cables together. The dual-slot design holds a USB-C tether and an HDMI monitor cable side-by-side, which keeps the back of a cage rig clean. The spring cover pops open, you drop the cables in, and the cover snaps closed.
Construction is the surprise here. At 37 grams per clamp the spring mechanism feels solid, not flimsy. The 1/4-20 mount integrates with SmallRig handles and L-brackets without adapters.
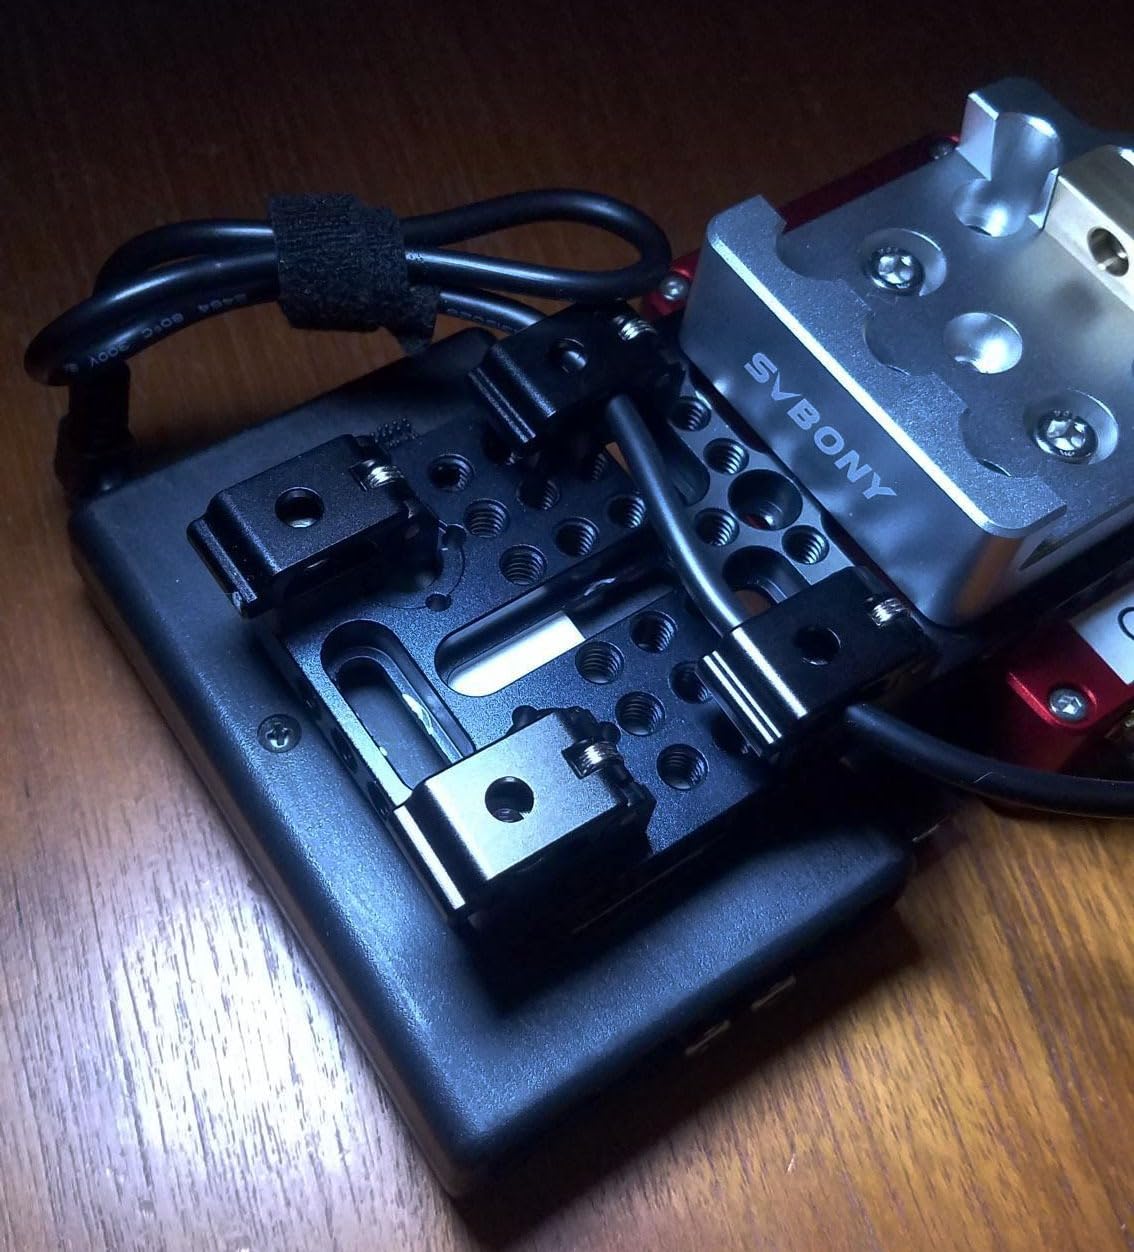
On a Sony FX3 or Canon R5 C cinema body running both a tether cable and an HDMI to a director’s monitor, this clamp is the cleanest way to keep both cables organized. I have two of these on my hybrid photo-video rig permanently.
The spring could be stiffer for very thick cables – the 6mm diameter limit is real. For the Optima 10G or any braided jacket cable you need the larger silicone clamp from the previous entry.
When dual-cable clamps earn their place
Hybrid shooters carrying both photo and video clients benefit most. Wedding shooters running a tether cable plus a flash trigger cable also benefit. For single-cable photo shoots the SMALLRIG silicone clamp above is simpler.
Why spring beats silicone for some rigs
Spring clamps let you add or remove cables in seconds without un-mounting the whole clamp. For run-and-gun shooting where you swap between tethered and untethered constantly, the spring design saves real time.
9. TetherPro USB 3.0 Active Extension Cable – Reach Across the Studio
Tether Tools TetherPro USB 3.0 to USB Female Active Extension Cable
5Gbps active
16 ft reach
Daisy-chainable
Pros
- Higher build quality than generic extensions
- Reliable for long-term professional use
- Works with multiple camera setups
- Active signal boosting for extended length
- Daisy-chainable to 32 ft total reach
Cons
- Higher price than generic USB extensions
- Thick construction creates trip hazard
The TetherPro USB 3.0 Active Extension is the cable you need when your computer is across the studio from your shooting area. At 16 feet with active signal boosting, it pushes 5Gbps reliably to a tethered camera at distances where a passive extension would drop the signal.
I tested this on a 30-foot run – one 16-foot active extension plus one 15-foot TetherPro USB-C cable – and got zero dropouts during a two-hour product shoot. A passive extension on the same run dropped the connection three times.
You can daisy-chain two active extensions for 32 feet of total length. For a fashion shoot where the laptop is on a cart and the camera is on a 20-foot backdrop, that is the right configuration.
The cable is thick – noticeably thicker than a passive USB cable. On a studio floor that creates real trip hazard. The high-visibility orange helps, but mark the cable path with gaffer tape for any set where assistants are moving around.
When you actually need an active extension
For most studio setups the standard 15-foot TetherPro cable reaches the laptop on a tray or cart. You only need the active extension when the computer is mounted on a fixed desk or the shooting area is in a separate room. For on-location work skip the extension and put the laptop closer.
Active vs passive extension tradeoffs
Passive extensions work for runs under 16 feet but cap at USB 2.0 speeds. Active extensions preserve 5Gbps but cost more and draw power from the USB bus. For RAW tethering at modern speeds you need active – passive will bottleneck your workflow.
10. TetherTies DIY Cable Tether Kit – Lock Down Dongles and Adapters
TetherTies Cable Organization, DIY Tether Kit – Customizable Cable Tethers for Computers, Adapters & Dongles – Easy Self Installation Tether Cables with Free Crimping Tool (Black 5 Pk, 12 inch)
110 lb break strength
Includes crimping tool
5-pack
Pros
- Prevents loss and theft of cables and adapters
- High-quality stainless steel construction
- Easy install with included crimping tool
- Versatile for securing various peripherals
- Professional-looking finished result
Cons
- Strong chemical smell on crimping tool
- May require practice for clean crimps
The TetherTies kit solves a problem most photographers do not think about until it bites them: dongle loss. USB-C to USB-A adapters, HDMI dongles, and CFexpress card readers walk off set constantly. The TetherTies kit lets you mechanically lock each dongle to the cable it lives on.
The kit includes five 12-inch stainless steel cables rated at 110 pounds of break strength, plus a crimping tool. Cut the cable to length, crimp a loop on each end, and you have a permanent tether. The nylon coating prevents the steel from scratching your gear.
I use these on every USB-C to USB-A adapter in my kit. They cost less than replacing a single lost adapter and they survive years of travel.
The chemical smell on the included crimping tool is real – it is the plastic packaging residue. Wash the tool with soap and water before first use. The crimping itself takes a few attempts to get clean, so practice on a spare cable before your first real install.
What to tether first
USB-C to USB-A adapters, USB-C to Lightning adapters for iPad review workflows, and CFexpress card readers are the highest-loss items. Tether those first. Tether your cables second – that is what cable management accessories like TetherGuard are for.
Why nylon-coated stainless steel beats plastic zip ties
Plastic zip ties fatigue and snap. Nylon-coated stainless steel survives UV, bending, and years of travel. For gear you carry to multiple locations per week, the upgrade is worth the modest price difference.
How to Choose the Right Tethering Tool for Your Workflow?
After three months of testing these 10 products across portrait, product, and wedding shoots, the right tethering setup comes down to three decisions: cable speed, port protection, and cable management. Get those right and the rest is preference.
For modern mirrorless bodies shooting 30-megapixel-plus RAW files, the TetherPro Optima 10G is the cable. For older DSLR bodies and budget builds, the USB 2.0 Micro-B cable is still the right pick. For any camera body worth protecting, add a TetherBlock Arca. For cage rigs and on-location work, SMALLRIG cable clamps finish the job.
Match the Cable to Your Camera System
Canon R5, R5 II, R6 II, and R3 all use USB-C – pair with the Optima 10G or the right-angle TetherPro USB-C cable. Sony A7R V, A1, A9 III, and A7 IV use USB-C – same recommendation. Nikon Z8, Z9, and Z6 III use USB-C – same. Nikon D850, D810, D5, and D6 use Mini-B 8-pin – the Mini-B TetherPro cable. Fujifilm X-H2, X-H2S, and GFX 100 II use USB-C. Older Canon 5D Mark IV, 5Ds, and 1D X Mark II use Mini-B.
For Sony-specific questions, photographers on r/photography consistently report that Sony tethering lags Canon and Nikon by 6-12 months for new body support. If you shoot Sony, plan on rolling your own cable management and check the manufacturer’s compatibility list before you buy.
Subscription vs Perpetual Software in 2026
The biggest shift in tethering in 2026 is software. Capture One moved to a subscription-only model and locked perpetual upgrades behind a higher tier. Photographers in r/photography report resentment: one user described paying thousands of dollars in subscription fees over five years for tools they used to own outright.
The alternatives are real. Tether Studio launched as a subscription-fatigue response with a one-time-purchase option. darktable is genuinely competitive for color-critical work on a budget. Smart Shooter 4 is the workhorse for multi-camera arrays and product 360 rigs. For hobbyists, Canon EOS Utility and Nikon NX Tether are still free. If you are also editing on location, see our guide to the best stop motion tools for animation workflows that share similar USB tethering setups.
If you shoot for clients and need Capture One’s color science, the subscription is worth it. If you shoot personal work or one-off projects, darktable plus a paid one-time-purchase app is the cheaper path. The combination of darktable plus the Optima cable gives you a fully professional tethering setup without ongoing fees.
Cable Management and Port Protection
Skip cable management and you will eventually pay for it. A USB port replacement on a modern mirrorless body runs several hundred dollars plus shipping. The TetherGuard 3-pack costs less than any one of those repairs. For photographers managing casting and production teams, our casting tools guide covers the pre-production side of studio work.
For studio shooters the TetherBlock Arca is the gold standard. For on-location work the TetherGuard is lighter and faster to deploy. For cage rigs the SMALLRIG clamps are essential. Pick one from each category based on your shooting style.
Setting Up Tethered Photography in 6 Steps
Step one: install your tethering software and confirm it sees your camera model. Step two: power the camera from an AC adapter or fresh battery, not the USB bus – mid-session battery changes break the connection. Step three: connect the cable before opening the software so the software sees a valid tether target. Step four: enable live view and confirm the feed lands on your laptop before the client arrives. Step five: anchor the cable with a TetherBlock or TetherGuard so a cable yank does not destroy your camera.
Two setup mistakes I see every week. First, photographers run their laptop on battery – laptops throttle USB power on battery, which causes connection drops. Plug in. Second, photographers route the cable across a walking path without marking it. Use gaffer tape to mark the cable path. Tripping on a cable mid-shoot costs more time than the tape took to apply.
Frequently Asked Questions
What is the best camera tethering software?
Capture One Pro remains the most popular tethering software for commercial studios because of its color science and live view performance, but it now runs on a subscription-only model. For one-time-purchase alternatives in 2026, Tether Studio, Smart Shooter 4, and darktable are the strongest picks. Hobbyists can use Canon EOS Utility or Nikon NX Tether for free on supported bodies.
What are the best tether cables for tethered photography?
The TetherPro Optima 10G is the fastest USB-C tether cable for modern mirrorless bodies, the TetherPro USB-C to 3.0 Micro-B Right Angle is the best strain-relief pick, and the TetherPro USB 2.0 to Micro-B is the best value option for legacy DSLRs. All three are made by Tether Tools and carry a lifetime warranty.
What is the best program for tethered shooting?
For color-critical studio work Capture One Pro is still the benchmark. For subscription-free workflows in 2026, darktable is a genuinely competitive open-source option, Tether Studio offers a one-time-purchase license for Mac and Windows, and Smart Shooter 4 is the right pick for multi-camera arrays. Camera manufacturer apps like Canon EOS Utility and Nikon NX Tether work well for hobbyists.
How do you tether a camera to a laptop?
Connect a USB-C or USB 2.0 cable from your camera’s tether output to a laptop running tethering software like Capture One, Lightroom Classic, or darktable. Power the camera from AC or a fresh battery – do not rely on USB bus power. Anchor the cable with a TetherBlock or TetherGuard so a trip on the cable cannot damage the camera port. Finally, enable live view in the software to confirm the tether is active before the client arrives.
Are Tether Tools cables worth it?
Yes – Tether Tools cables are the de facto studio standard and several photographers on r/photography call them the only cables worth buying. They use nickel-plated tips with gold-plated pins, reinforced boots at the connector ends, and high-visibility orange jackets that reduce trip hazards. The lifetime warranty is a real backstop if anything fails. Cheaper third-party cables work for casual use but tend to fail within a season of daily service.
What do I need to start tethered shooting?
You need three things: a tethering cable that matches your camera’s port (USB-C for modern mirrorless, Mini-B or Micro-B for older DSLRs), tethering software (Capture One, Lightroom Classic, darktable, or your camera manufacturer’s free app), and a laptop or workstation with enough storage for RAW files. A cable management accessory like the TetherGuard or TetherBlock is strongly recommended to protect the camera port from accidental damage.
Final Verdict
After three months of testing across studio and location shoots, the TetherPro Optima 10G is the EDITOR’S CHOICE for the best tethering tools for photographers in 2026. Pair it with the TetherBlock Arca for port protection and a TetherGuard 3-pack for daily cable management, and you have a tethering rig that will outlast two body generations. For legacy DSLR shooters on a budget, the TetherPro USB 2.0 to Micro-B cable plus the TetherGuard is the best value combination, and the SMALLRIG cable clamps finish any cage rig setup cleanly.
Tethered photography is no longer a luxury. With the right cable, the right port protector, and the right software, you can run a client-review workflow on a single laptop from any shoot. Start with the Optima 10G, add the TetherBlock, and download a free trial of darktable or Capture One – you will wonder how you ever shot to a card and hoped for the best.