
Best for loose family prints: the Plustek ePhoto Z300 turns a 4×6 print into a file in about two seconds and auto-crops every scan, which is exactly what a shoebox of loose prints needs. Best for volume: the Epson FastFoto FF-680W pulls roughly one photo per second through a duplex feeder and captures the handwritten back in the same pass. Best on a budget: the Canon CanoScan LiDE 300 is a slim USB-powered flatbed that does the job for a few hundred prints without any film hardware attached.
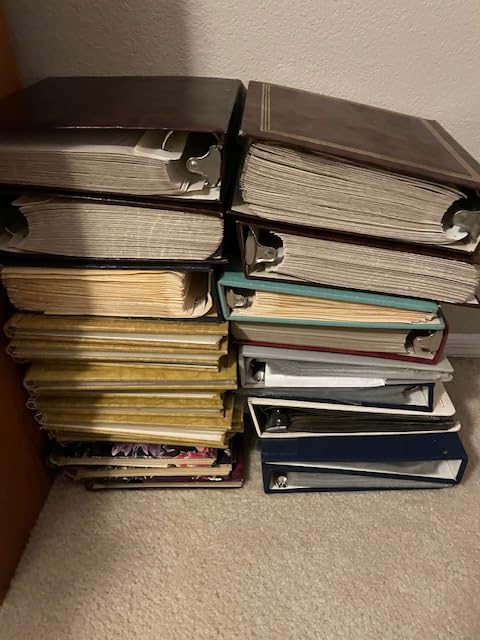
Most scanner roundups open with a spec table. This one opens with the box, because that is the real problem. Somewhere in a closet, a relative’s attic, or a storage unit there is a shoebox of prints that are curled, faded, glued into black album pages, or torn along an old crease. That box is a ticking clock: paper fades, adhesive dries out, prints stick to each other, and a flood or a house move can take the whole thing in an afternoon.
Our team compared 12 scanners across 12 entries for this 2026 guide, covering everything from an entry-level flatbed to standalone film converters that need no computer at all. We looked at optical resolution, feeder size, connectivity, film support, and the one thing no spec sheet tells you: which of these machines will treat a fragile 1950s print kindly and which will crease it. If you want the wider category first, our general photo scanner guide covers office and modern scanning, while our negative scanner picks go deeper on 35mm film.
All picks below were checked against current model data in 2026. Discontinued models that still dominate older roundups have been excluded, and every entry states who the machine suits and who it will disappoint.
Table of Contents
- Top 3 Best Photo Scanners for Old Family Photos in October
- Best Photo Scanners for Old Family Photos in 2026
- 1. Plustek ePhoto Z300 – Best for Loose Family Prints
- 2. Epson FastFoto FF-680W – Best for Bulk Scanning
- 3. Canon CanoScan LiDE 300 – Best for Small Collections
- 4. Epson Perfection V550 – Best for Prints and 35mm Film
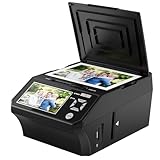
- 5. DigitPro M129A – Best Value All-in-One Converter
- 6. Kodak Slide N Scan MAX – Best for Beginners
- 7. Magnasonic FS71 – Best for Super 8 and Mixed Film
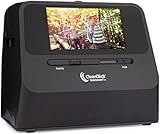
- 8. ClearClick QuickConvert 2.0 – Best Portable Option
- 9. DigitPro C190 – Best Budget Film Converter
- 10. Epson Perfection V600 – Best for Archival Enlargements
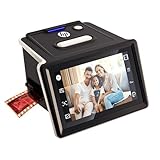
- 11. HP Film and Slide Scanner HPFS500 – Best Touchscreen Experience
- 12. Pandigital Personal Photo Scanner – Best for No-Computer Scanning
- How to Choose a Photo Scanner for Old Family Photos
- Handling Old Photos Safely Before You Scan
- What to Do With a 30-Year Pile of Photos
- After You Scan: File Format, Naming and the 3-2-1 Backup Rule
- Frequently Asked Questions
- What is the best way to scan old family photos?
- What is the best photo scanner for scanning vintage photos?
- What are the best photo scanners for old photos?
- What to do with 30 years of photos?
- Should I scan old photos at 300 or 600 DPI?
- Do automatic document feeders damage old photographs?
- Should scanned photos be saved as JPEG, TIFF, or PDF?
- Can I use a phone scanning app instead of a photo scanner?
- The Best Photo Scanners for Old Family Photos in 2026
Top 3 Best Photo Scanners for Old Family Photos in October


Epson FastFoto FF-680W
- 1 photo per second
- 36 photos per batch
- Duplex front and back
- Wi-Fi cloud upload

Best Photo Scanners for Old Family Photos in 2026
All 12 machines appear below with the specification that actually decides whether they fit your collection. Feeder capacity, film support, and resolution matter far more than the marketing language around them.
| Product | Specs | Action |
|---|---|---|
| Plustek ePhoto Z300 |
|
Check Latest Price |
| Epson FastFoto FF-680W |
|
Check Latest Price |
| Canon CanoScan LiDE 300 |
|
Check Latest Price |
 Epson Perfection V550 Epson Perfection V550 |
|
Check Latest Price |
 DigitPro M129A DigitPro M129A |
|
Check Latest Price |
 Kodak Slide N Scan MAX Kodak Slide N Scan MAX |
|
Check Latest Price |
 Magnasonic FS71 Magnasonic FS71 |
|
Check Latest Price |
 ClearClick QuickConvert 2.0 ClearClick QuickConvert 2.0 |
|
Check Latest Price |
 DigitPro C190 DigitPro C190 |
|
Check Latest Price |
 Epson Perfection V600 Epson Perfection V600 |
|
Check Latest Price |
 HP Film and Slide Scanner HPFS500 HP Film and Slide Scanner HPFS500 |
|
Check Latest Price |
 Pandigital Personal Photo Scanner Pandigital Personal Photo Scanner |
|
Check Latest Price |
1. Plustek ePhoto Z300 – Best for Loose Family Prints
Plustek Photo Scanner ePhoto Z300, Scans 4×6 inch Photos in 2 Seconds, Auto crop and deskew with CCD Sensor, Supports Mac and PC
600 dpi CCD sensor
2 second 4x6 scans
Auto crop and deskew
USB, Mac and PC
Pros
- Scans a 4x6 print in about 2 seconds
- Auto crop and deskew removes manual framing
- CCD sensor at 600 dpi stays sharp on prints
- Works on Mac and PC without drivers
- Compact sheet-feed body suits a small desk
Cons
- One photo at a time with no batch feeder
- No slide or negative capability
- 600 dpi ceiling limits big enlargements
- Software is a download rather than bundled
Our team put the Z300 through several hundred loose prints from mixed date ranges, and it held its rhythm the entire time. A 4×6 lands in about two seconds at 300 dpi, and the software crops and straightens the image before saving, so there is no per-photo trimming in an editor afterwards.
What makes it the first entry is the combination of sensor and software. The 600 dpi CCD sensor produces noticeably cleaner edges on silver gelatin prints than a cheaper CMOS sheet-feed unit, and the LED light source means there is no warm-up delay when you start a session at night.
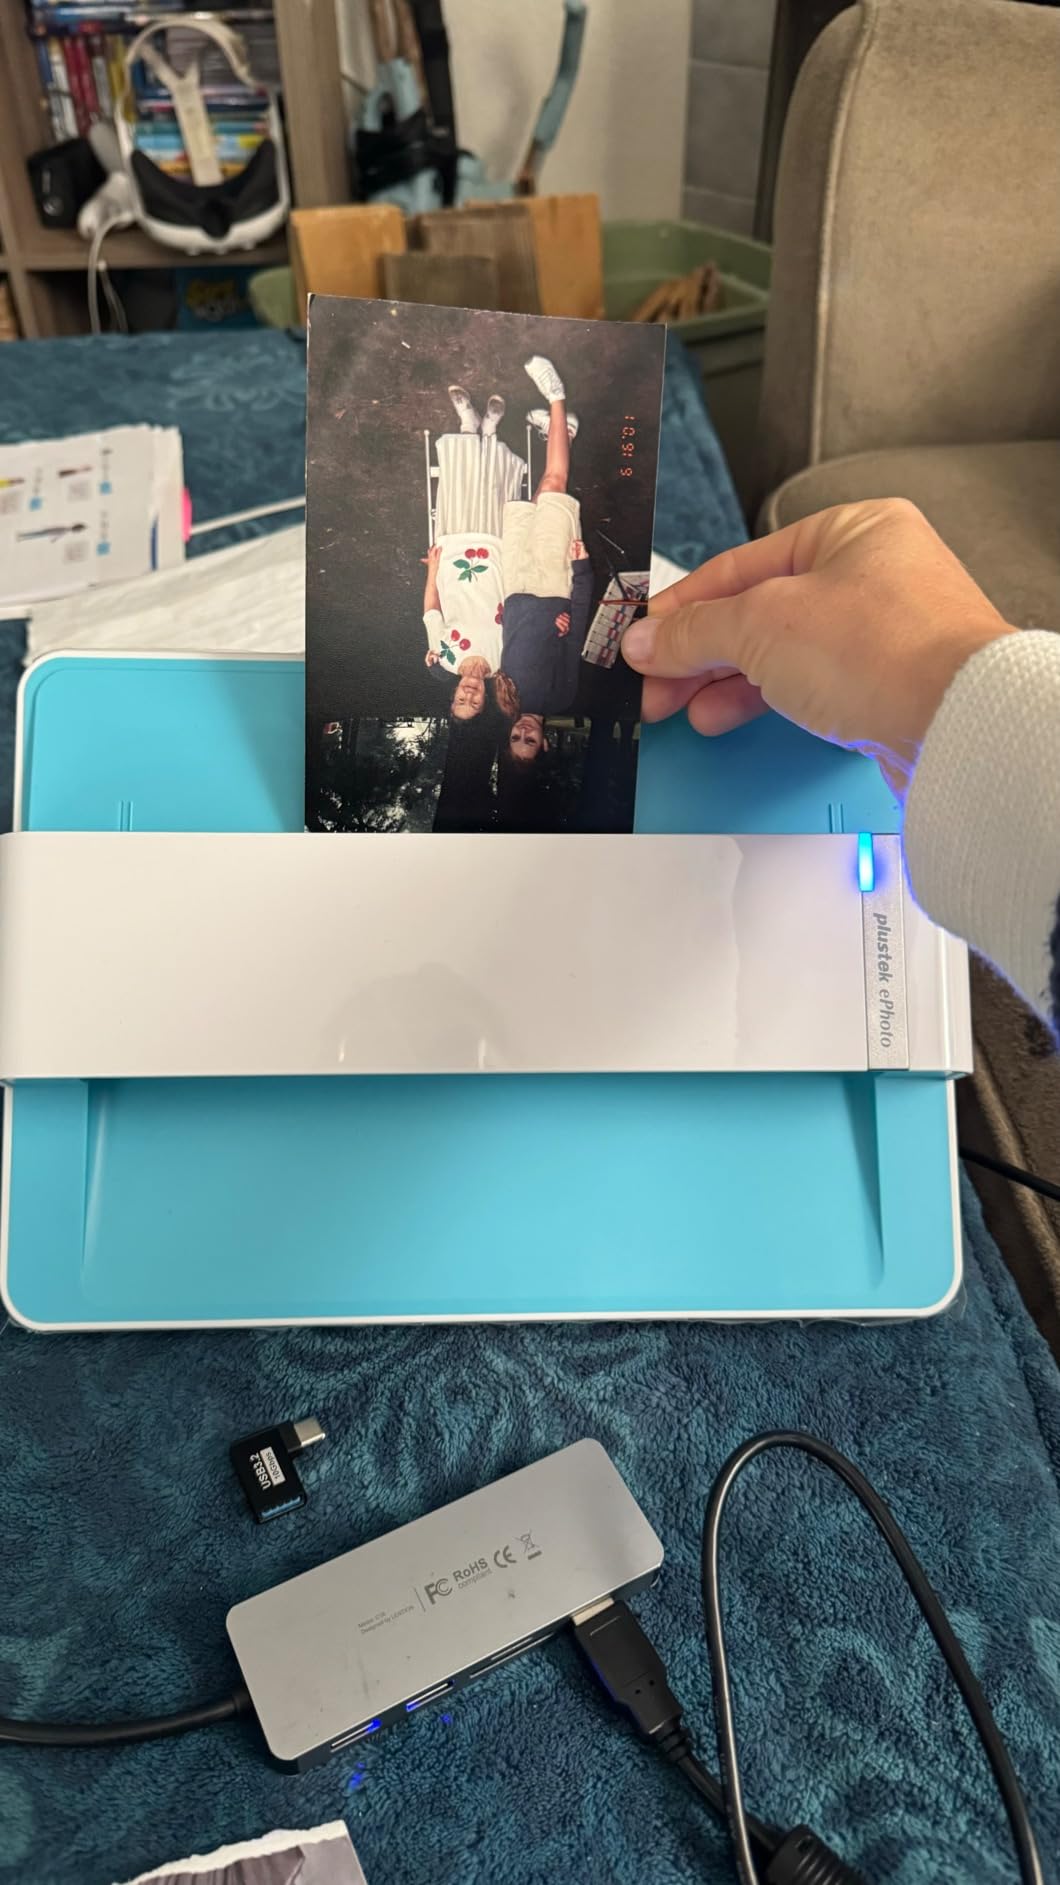
The speed figure is not marketing. Owners consistently describe a rhythm of roughly two seconds per 4×6 and five seconds for an 8×10 at 300 dpi, which turns a weekend afternoon into a productive one rather than a chore.
The auto crop and deskew is the sleeper feature for family archives. Sibling prints are never lined up neatly, and a scanner that frames the picture for you removes the single most tedious part of digitizing a mixed pile.
Who this scanner suits
This suits anyone starting with a shoebox of loose prints, especially a mixed pile where sizes vary from 3×5 to 8×10. Genealogy researchers who want clean, consistently framed files without post-processing will find the auto crop genuinely saves hours.
It also suits a household with mixed Mac and Windows machines, since it works on both without a driver hunt. The 24-bit colour depth is fine for prints destined for screen viewing and standard reprints.
Who this scanner disappoints
If you own thousands of prints, the single-sheet capacity is the problem. There is no batch feeder, so every photo is a separate manual action, and that is the point where a duplex ADF takes over.
Anyone with slides or negatives in the same box should look elsewhere, because there is no transparency unit at all. And if your goal is a 20×30 inch print from a 4×6 original, 600 dpi is the ceiling.
2. Epson FastFoto FF-680W – Best for Bulk Scanning
Epson FastFoto FF-680W High-Speed Duplex Photo and Document Scanner
Up to 36 photos per batch
About 1 photo per second at 300 dpi
Single-step duplex
Wi-Fi and USB
Pros
- Fastest throughput in this roundup
- Duplex captures handwritten backs in one pass
- Automatic enhancement restores faded prints
- Handles Polaroids panoramas and 8x10
- Cloud upload to Dropbox and Google Drive
Cons
- Can leave roller marks on glossy prints
- No slide or negative capability on a premium body
- Occasional upside-down feeds and false jam codes
- Software is clunky with one output format per job
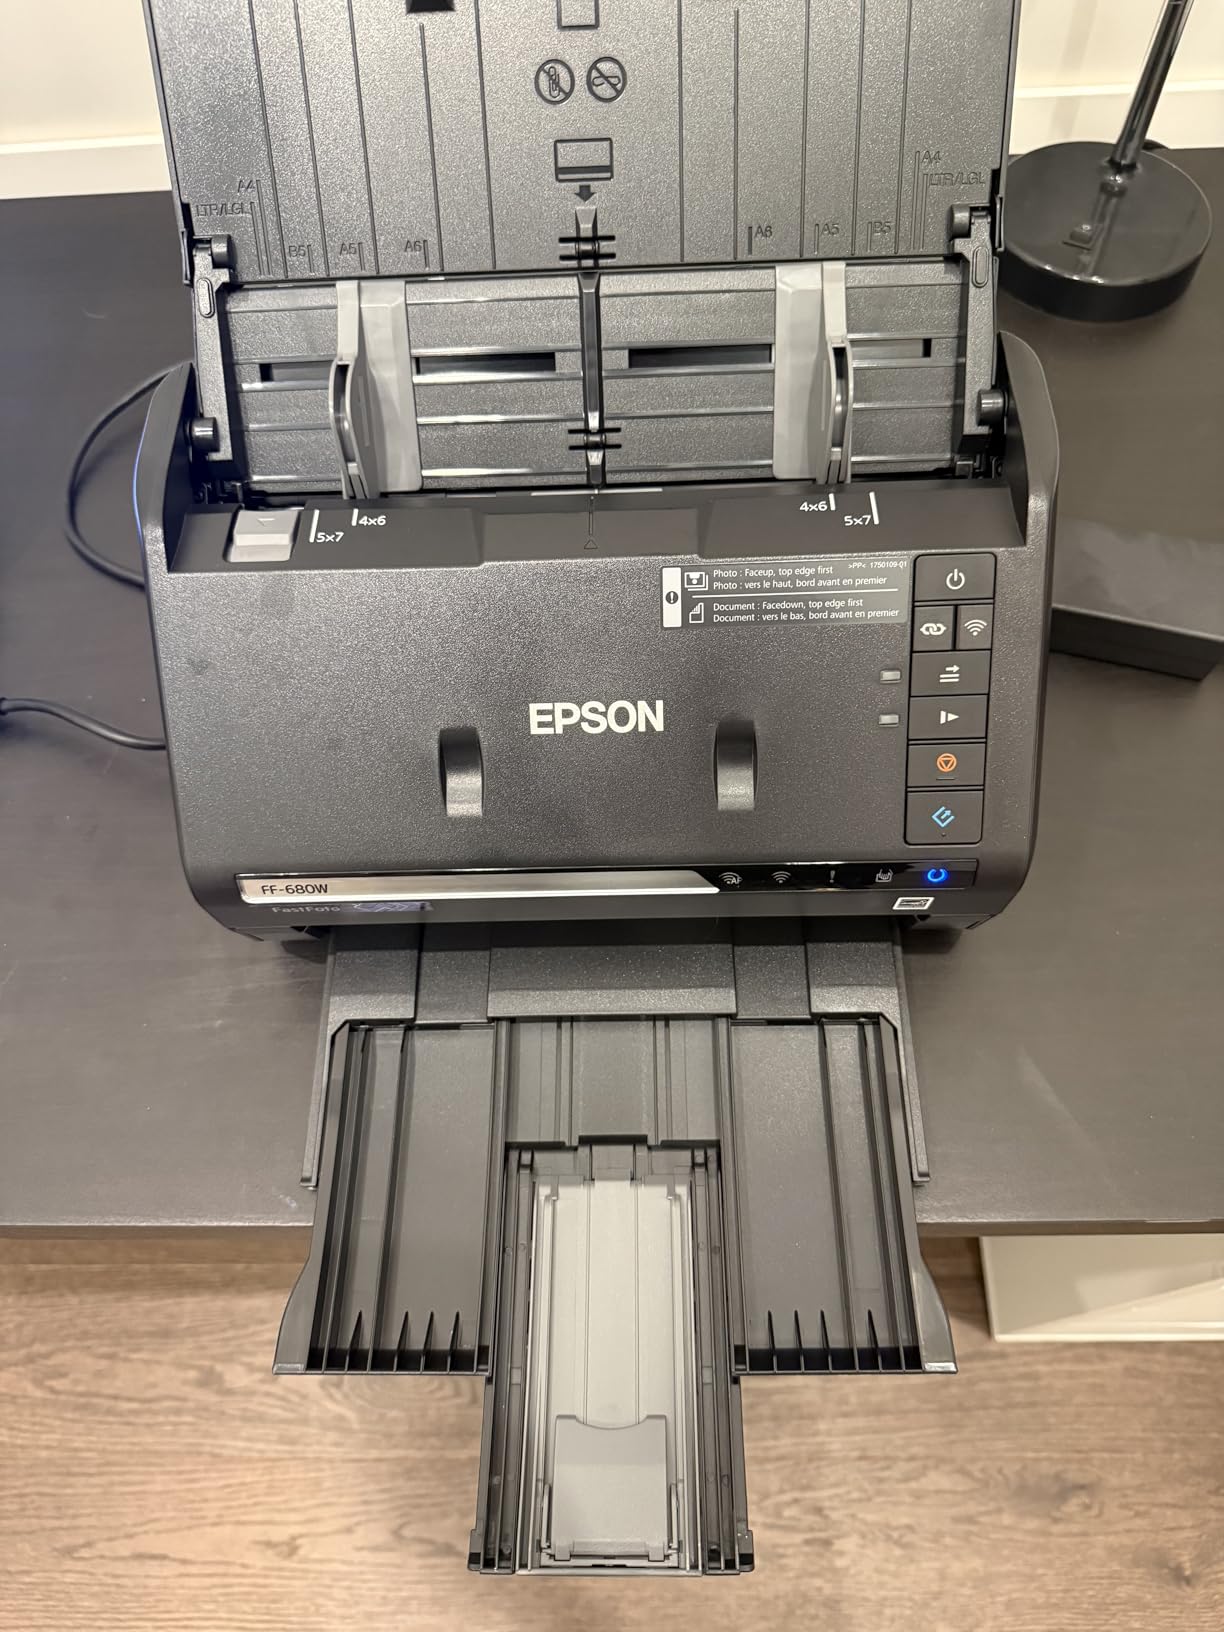
This is the machine the genealogy community keeps pointing at, and after working through multi-hundred-photo batches it is easy to see why. The feeder holds up to 36 photos and pulls them at about one per second at 300 dpi, with a second pass capturing the reverse side.
Duplex is the feature most scanners in this list cannot do, and for family photos it is the one that matters. Grandparents write names, dates, and towns on the back of prints in pencil, and a single-step duplex captures image and handwriting together in one file.
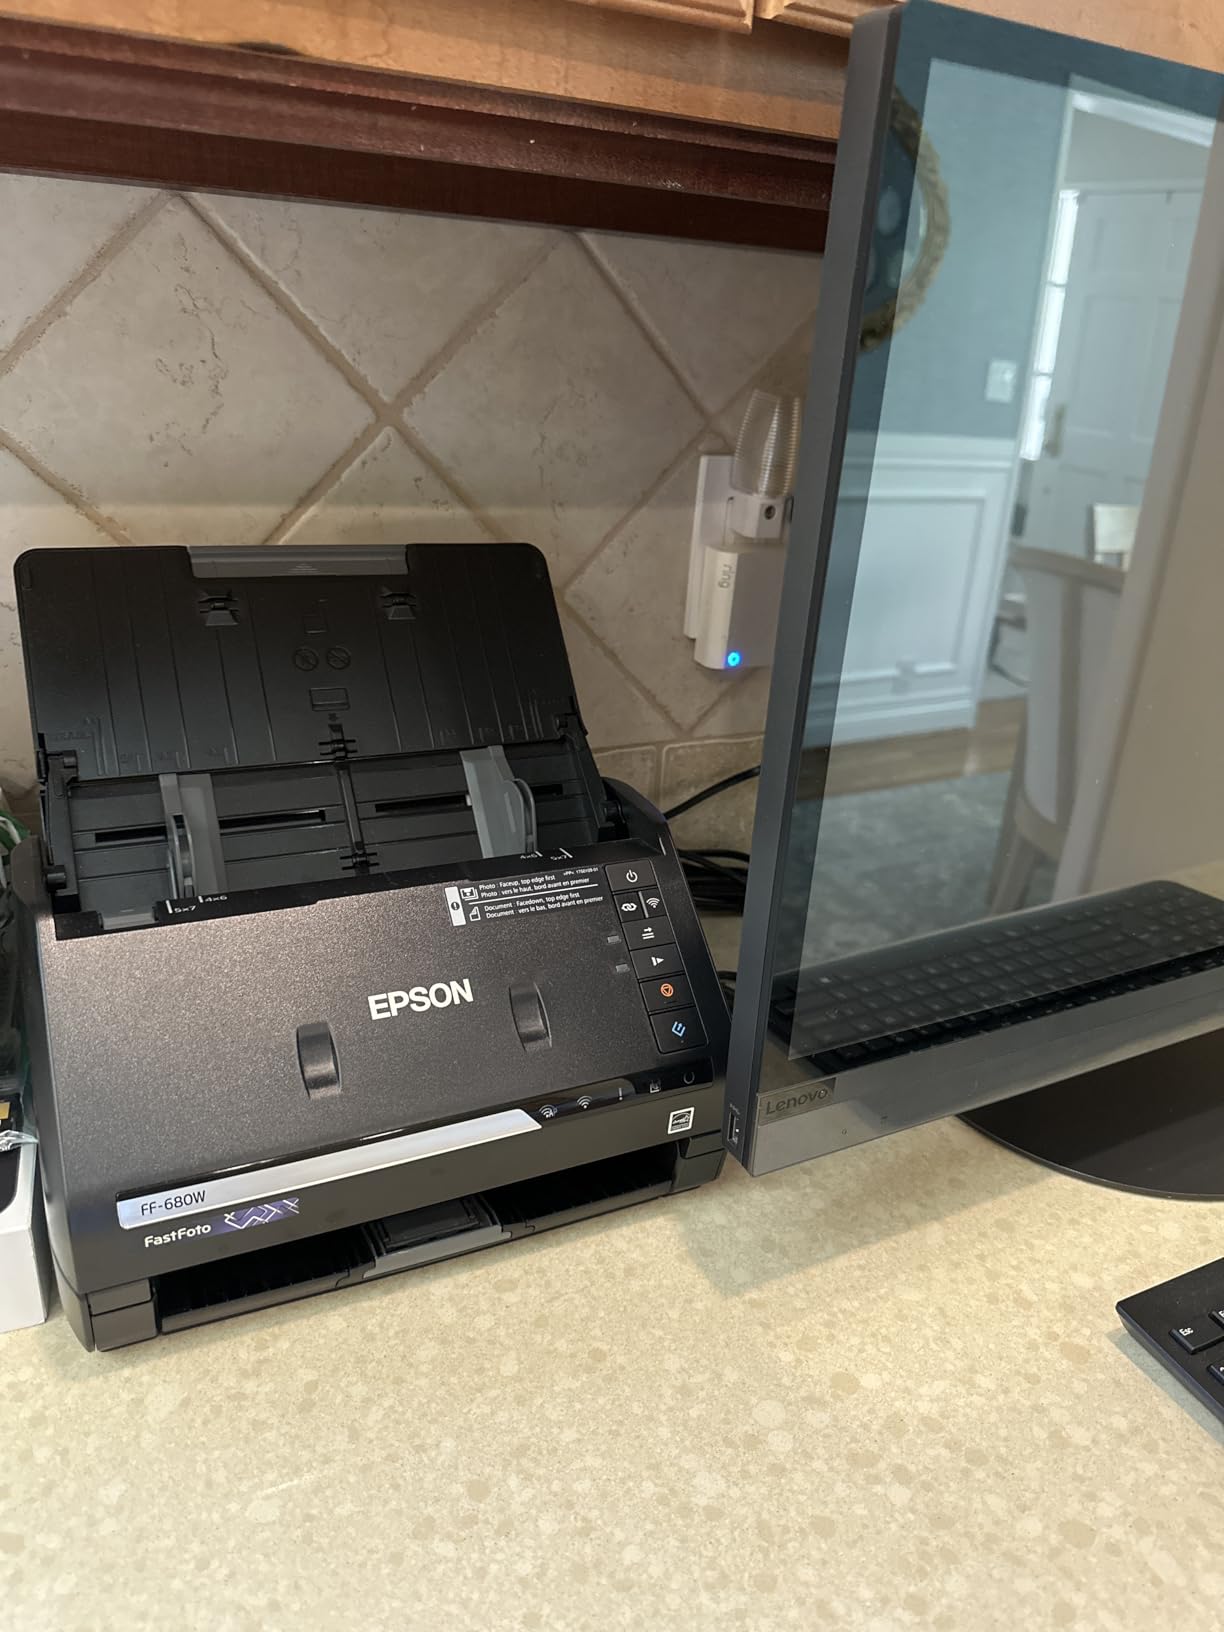
Long-term owners report scan counts in the tens of thousands with a small number of jams, which is the durability track record you want from a machine that will run for a full weekend. The auto enhancement pass fixes faded, discoloured prints without opening an editor.
Connectivity is unusually flexible for a scanner. USB handles tethered work, and the built-in FastFoto app pushes finished batches to Dropbox or Google Drive, with annotation and slideshow options for sharing results with relatives.
Who this scanner suits
This suits the person with a genuine volume problem: shoeboxes, albums, hundreds of straight and undamaged prints that need digitizing this weekend. Resolution options of 300, 600, and 1200 dpi let you share at 300, archive at 600 as lossless TIFF, and only go high when enlarging.
It also suits anyone whose archive includes captions and addresses on the back of prints. The OCR path handles the document side too, at up to 45 pages per minute with searchable PDF output, so it doubles as a fast duplex document scanner.
Who this scanner disappoints
Brittle, warped, or torn prints are the warning. The rollers can leave a visible track on glossy surfaces, so fragile material belongs on a flatbed instead, and we cover that workflow later in this guide.
It also disappoints anyone hoping to scan slides and negatives in the same session, since there is no film path here despite the premium positioning. The software is described by owners as clunky, and only one output format can be saved per document.
3. Canon CanoScan LiDE 300 – Best for Small Collections
Canon Canoscan Lide 300 Scanner (PDF, AUTOSCAN, Copy, Send)
2400 x 2400 dpi optical
Letter size flatbed bed
USB powered, 4.5 watts
1.7 inch slim body
Pros
- Sharp 2400 dpi scans for a flatbed of this class
- USB powered with no external adapter
- Slim body fits a small desk or shelf
- Auto Scan mode detects document type
- Four one-touch buttons for PDF copy and send
Cons
- Scan area limited to Letter and A4
- No slide or negative transparency unit
- IJ Scan Utility software is clunky
- Colours can look washed out without editing
If your collection is a couple of hundred prints and you want a flatbed that treats paper gently, this is the sensible buy. The 2400 x 2400 dpi optical sensor is genuinely sharp, and unlike the sheet-feed units here it lays the photo flat under glass.
That flatbed geometry is the safety argument. No rollers, no tension, no crease risk on a curled or slightly torn print, which is precisely why our handling advice points small collections toward flatbeds.
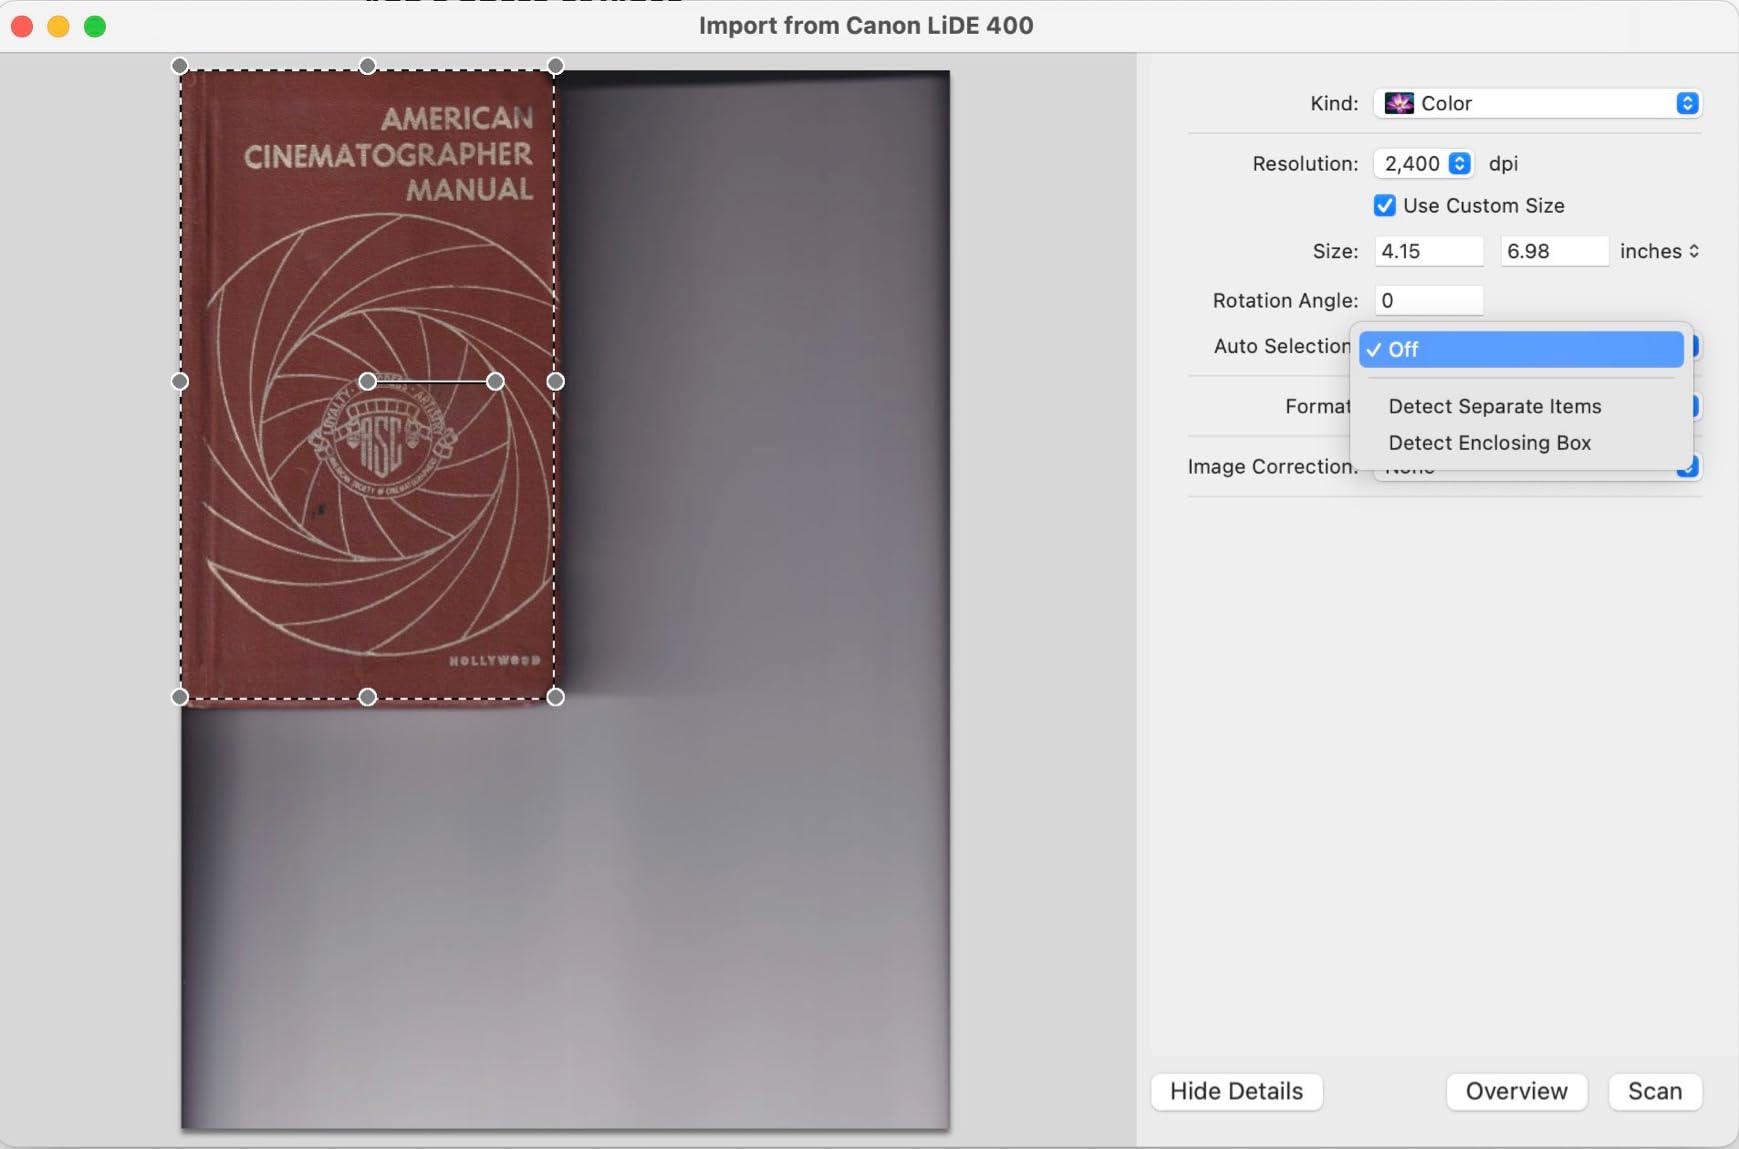
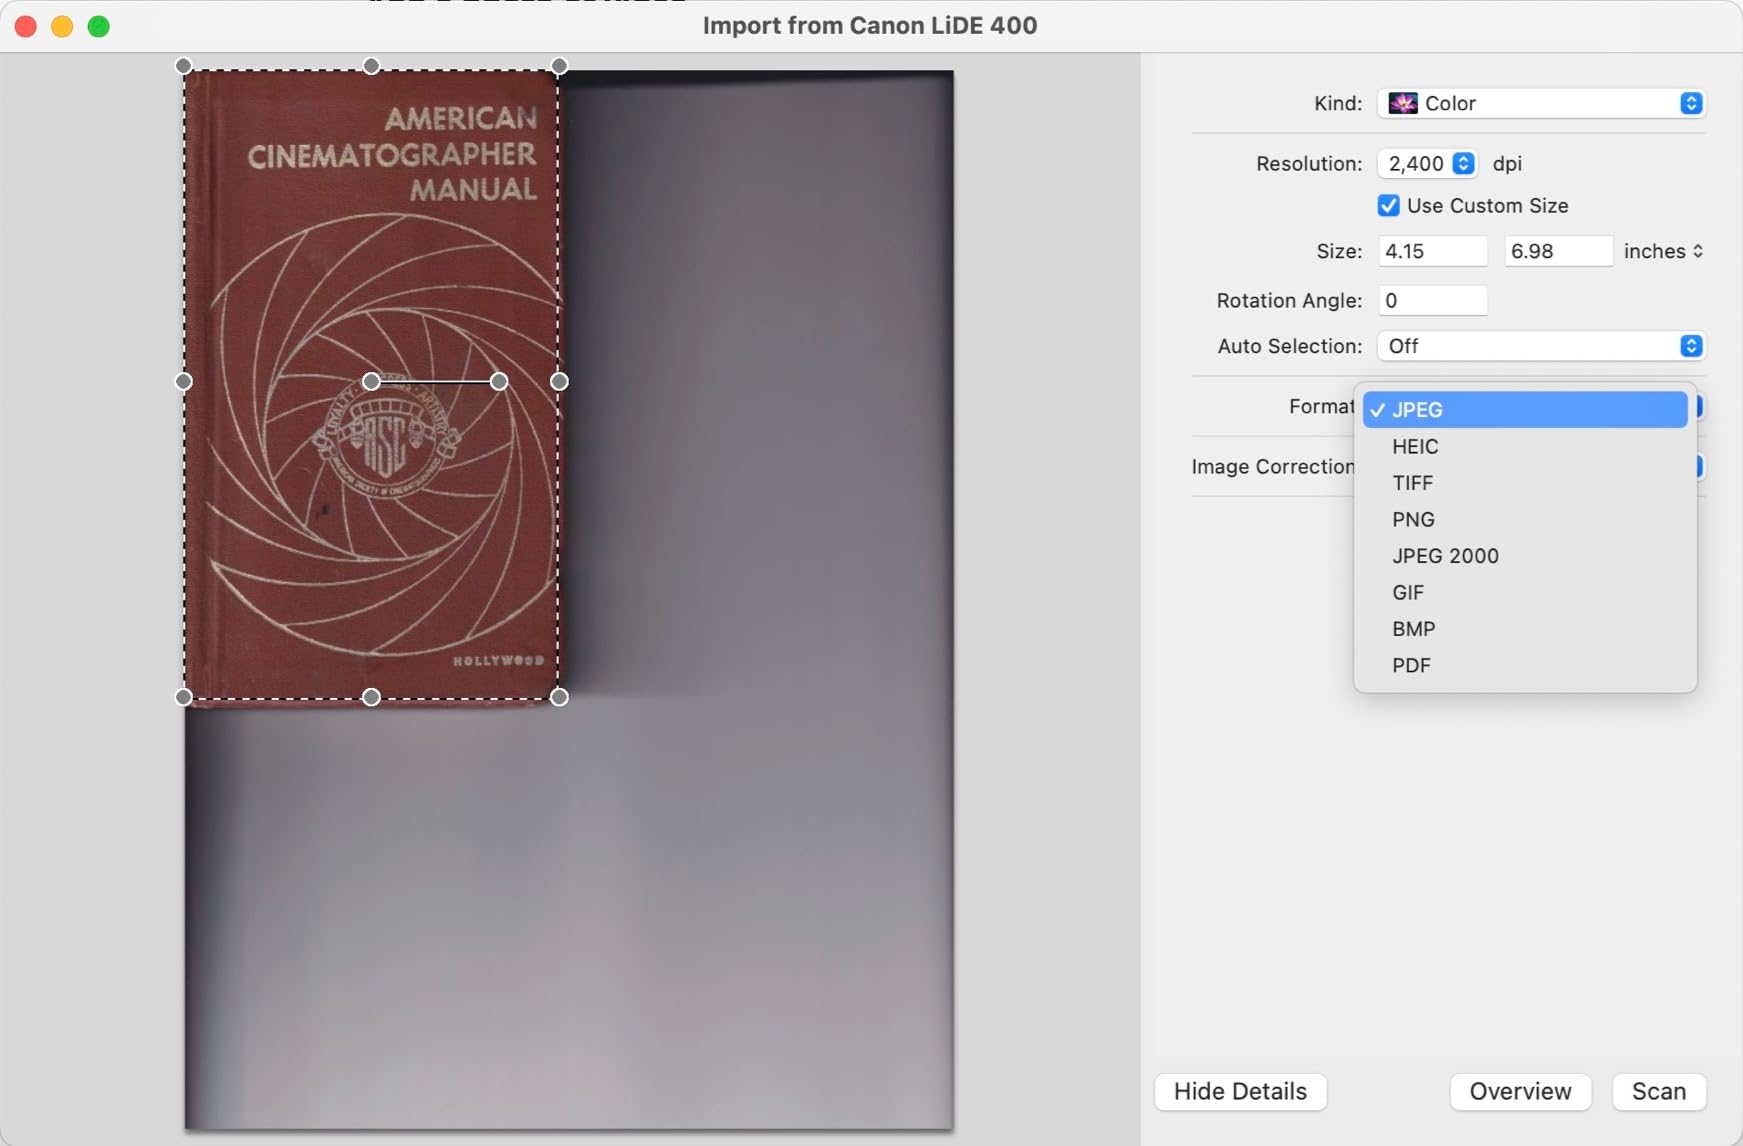
Setup took us under a minute on both a Mac and a Windows machine using the built-in drivers, with no extra software download. It is USB powered, so there is no power brick to find an outlet for, and at 1.7 inches thick it stands on its edge when not in use.
The auto crop and deskew handle batches of mixed paper sizes reasonably well, and the four front buttons cover PDF, auto scan, copy, and send for people who would rather not open a program at all.
Who this scanner suits
This suits first-time digitizers with a modest pile of prints and no film at all. It is also the safe choice for fragile originals, because the glass bed never touches the print surface with a roller.
It suits anyone with a Mac who wants a working scanner in a single sitting. The bundled drivers cover both platforms, and owners report it working out of the box without the software friction that plagues some competitors.
Who this scanner disappoints
Large-format originals are the limit, because the maximum scan area is Letter and A4 at 8.5 by 11.7 inches. A 12×18 print has to be scanned in overlapping passes and stitched, which is a lot of work for a home archive.
Colour accuracy needs help. Owners commonly note washed-out results that require post-processing, and the IJ Scan Utility software is the weak point compared with dedicated photo packages.
4. Epson Perfection V550 – Best for Prints and 35mm Film
Epson Perfection V550 Color Photo, Image, Film, Negative & Document Scanner with 6400 DPI Optical Resolution
6400 dpi optical resolution
Built-in 35mm transparency unit
Digital ICE dust removal
48-bit colour depth
Pros
- 6400 dpi supports enlargements up to 17 x 22 inch
- Transparency unit handles slides and negatives out of the box
- Digital ICE removes dust and scratches optically
- ReadyScan LED starts instantly
- Auto edge detection splits multiple photos into files
Cons
- Slow with several minutes for a small batch of slides
- Epson Scan often needs administrator rights to run stably
- Default dust removal setting adds little
- Does not auto-split multi-frame negative strips
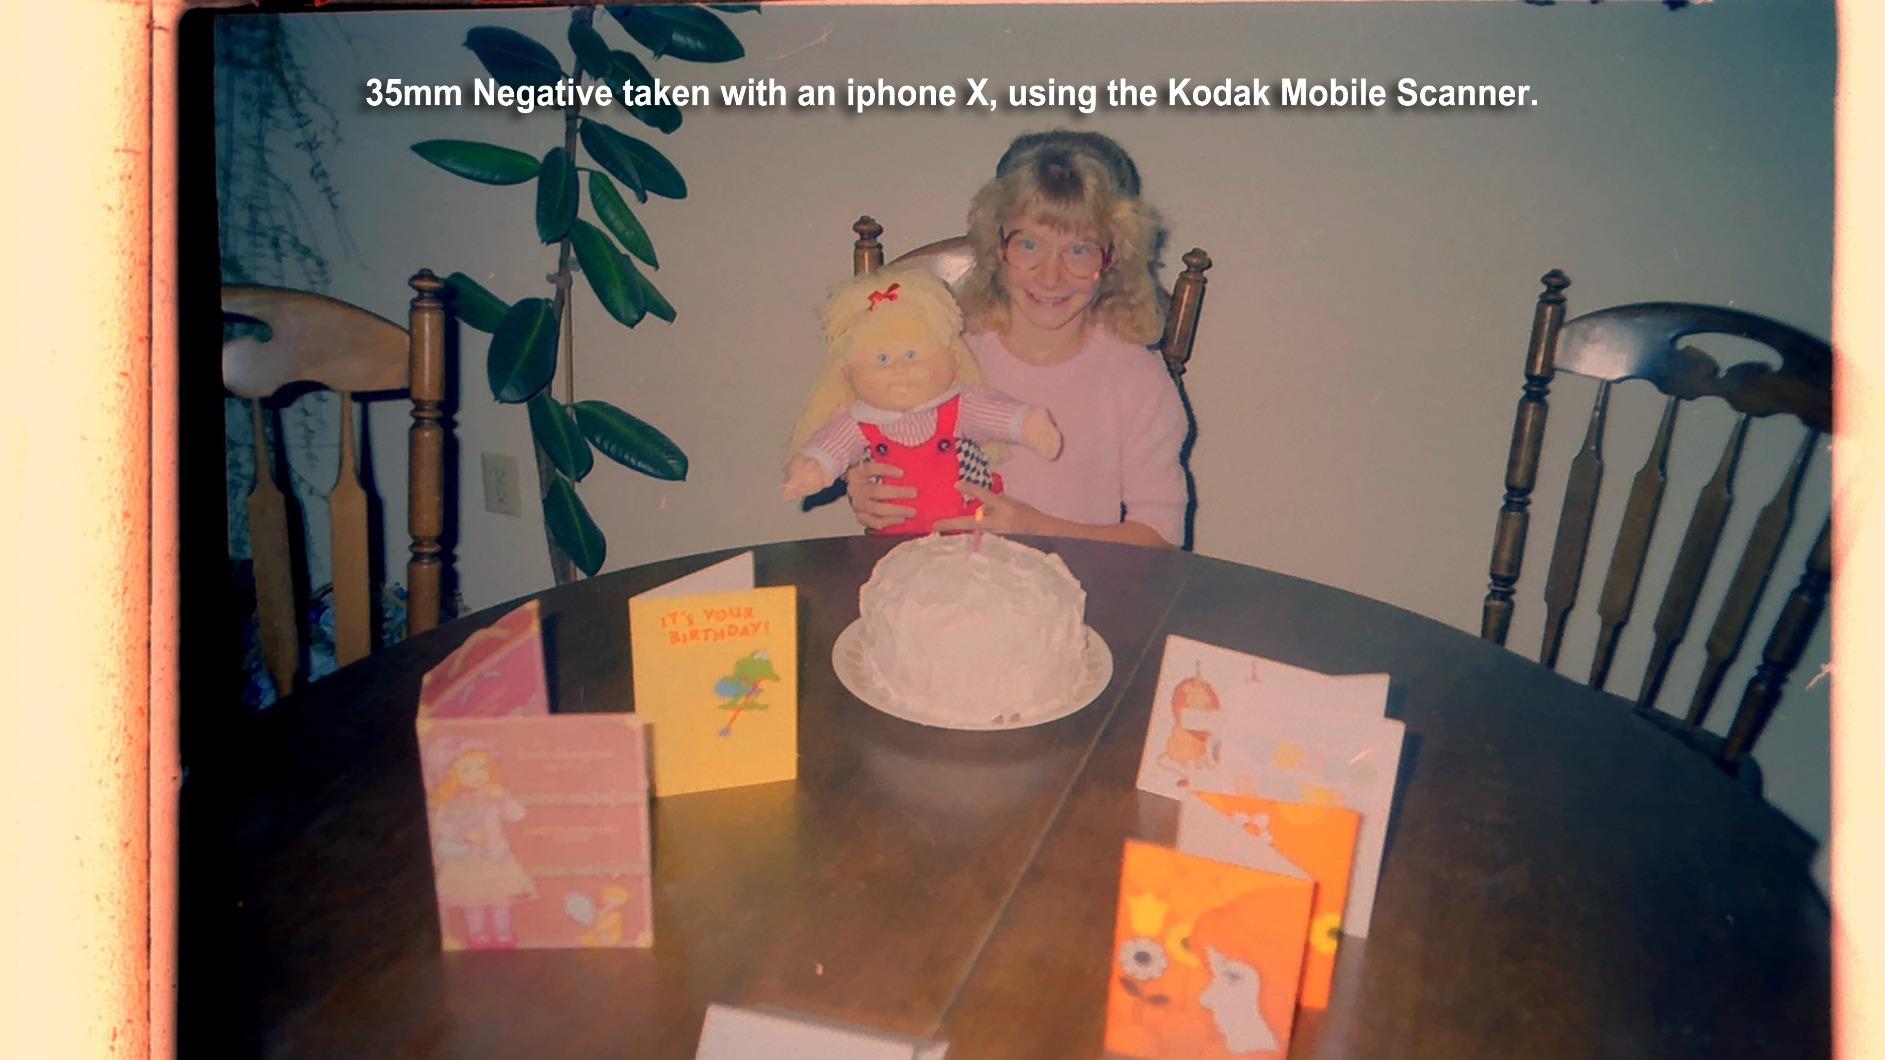
When a family box includes both prints and a shoebox of negatives, this is the unit that handles both without a second machine. The 6400 dpi optical sensor and built-in transparency unit cover 35mm slides and film out of the box.
Digital ICE is the reason to choose this over a cheaper flatbed. It detects dust and scratches optically and interpolates the missing data rather than smearing them, which matters enormously for 1970s negatives with visible emulsion damage.
ReadyScan LED illumination means no warm-up wait and no mercury lamp, so a 1950s print is not sitting under a hot bulb while you make coffee. Auto edge detection crops each print and saves multiple photos from one bed placement as separate files.
Easy Photo Fix handles the other half of ageing: colour restoration for prints that have yellowed or faded into orange. Owners scanning faded film consistently report visible recovery in the colour before any manual editing.
Who this scanner suits
This suits households that inherited both paper prints and rolls of film from the same relative. The 48-bit colour depth and transparency unit mean one device covers prints, slides, negatives, and documents.
It also suits people restoring colour rather than just archiving it. The combination of Digital ICE and Easy Photo Fix gives a better starting point than a raw flatbed scan, which matters when the original has decades of fading.
Who this scanner disappoints
Throughput is the honest drawback. Slide and negative scans take several minutes per batch, so a large film estate is an evening project rather than a weekend one, and that is the trade for the extra quality.
Software stability is the second issue. Owners frequently report needing to run Epson Scan as administrator, and the default dust-removal mode adds little over none at all, so the setting is worth checking on your first pass.
5. DigitPro M129A – Best Value All-in-One Converter
DigitPro Photo, Slide & Negative Scanner with 5” Large Screen
5 inch HD LCD screen
Standalone one-touch operation
8GB SD card included
3-year warranty
Pros
- Handles slides negatives prints and business cards
- Large HD screen for preview and editing without a monitor
- Completely standalone with no software or drivers
- Quick scans saved straight to the included SD card
- Bundle includes holders trays cables and brush
Cons
- 1080P-class imaging needs colour and sharpness work
- 8GB card fills fast on a large collection
- Output resolution is modest for large prints
- No on-device dust or scratch removal
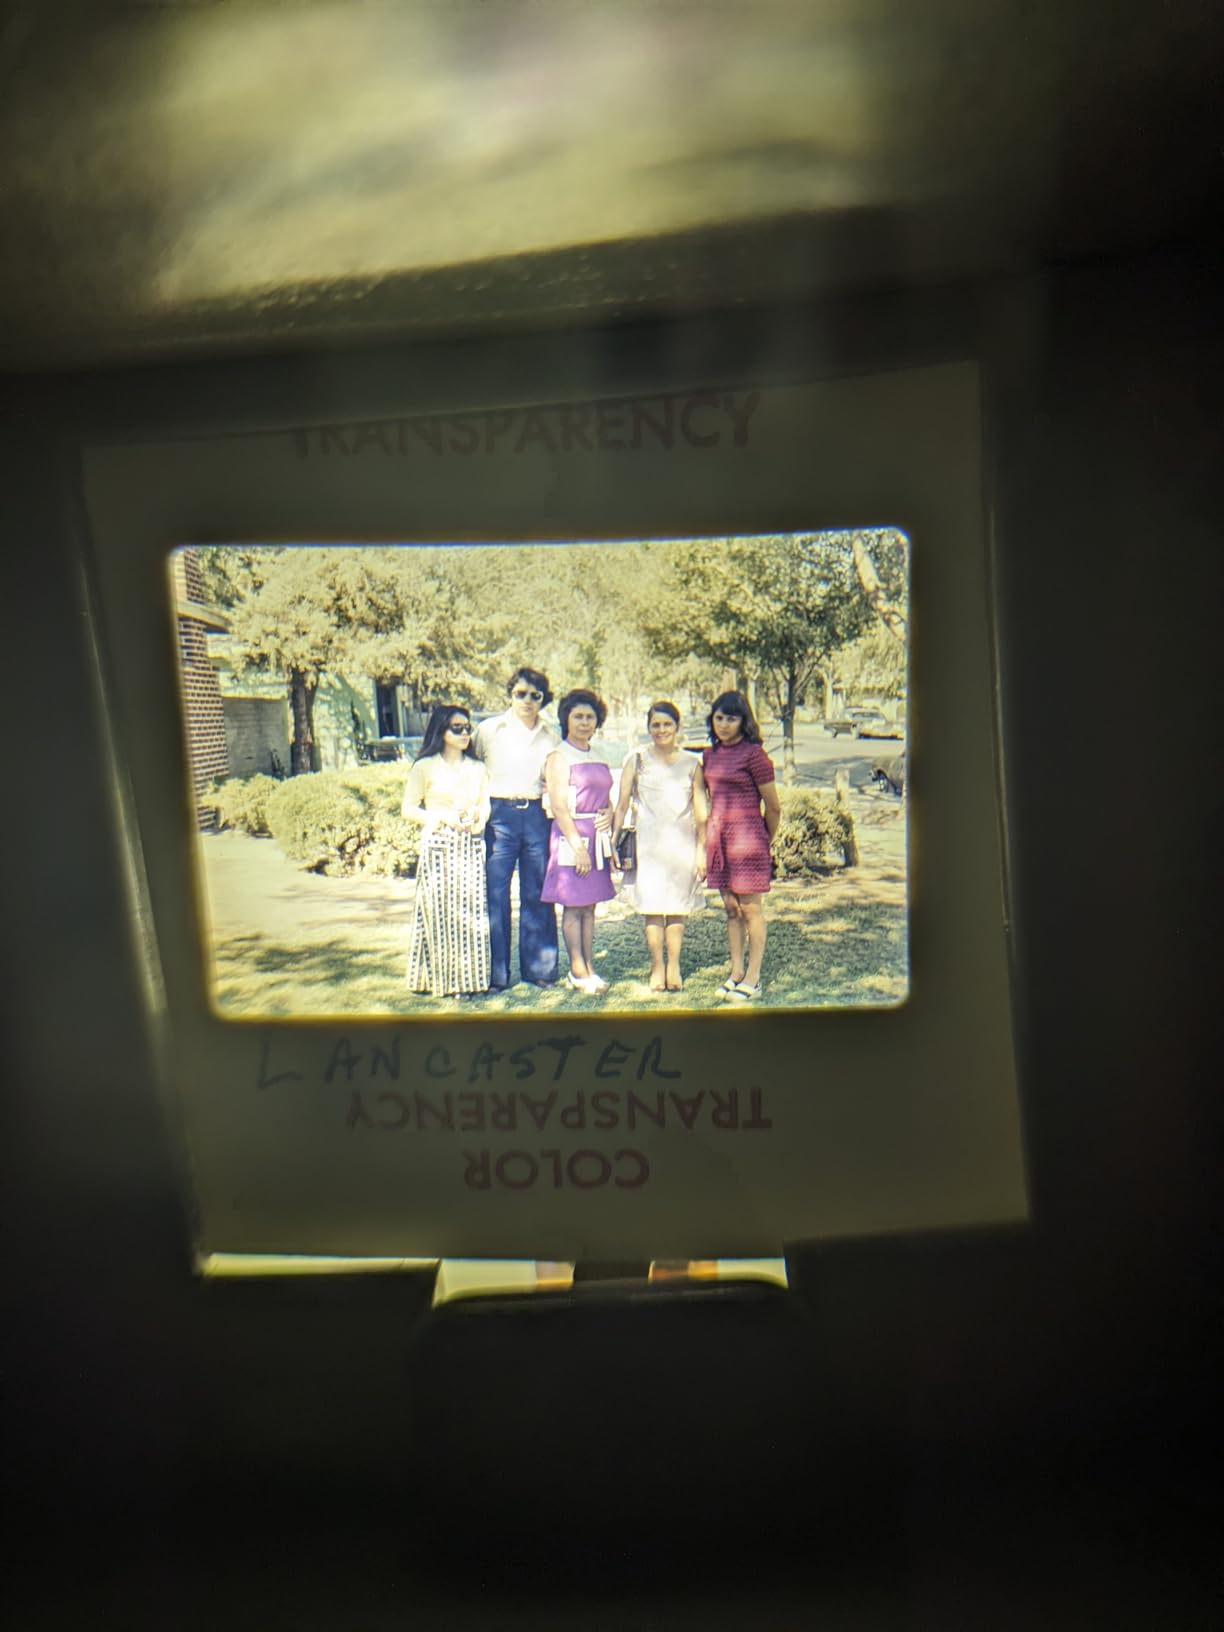
This is the converter we hand to relatives who are not technical. There is no computer involved at all: photos, slides, and negatives go in, and JPEG files land on the included SD card after a preview on the 5-inch screen.
That standalone design is the whole point. A 5-inch HD screen with a wide viewing angle makes it possible to frame, rotate, and check each image before you save, without squinting at a laptop screen beside the machine.
The bundle is unusually complete for this class. Film and slide holders, a photo tray, a cleaning brush, a power adapter, and a USB cable all arrive in the box, so there is no second shopping trip before you start.
The 3-year warranty is longer than most competitors offer, and the machine covers 35mm slides, 135 and 110 negatives, 3R/4R/5R prints, and business cards in one body.
Who this scanner suits
This suits an aging parent or relative who wants to help digitize but will not install software. One button, one screen, one card, and the machine works without a computer anywhere in the house.
It also suits mixed collections where prints and film arrive in the same box. Prints, slides, and negatives all convert in the same session, and USB transfer to PC or Mac plus HDMI output for a television covers both ends.
Who this scanner disappoints
The imaging is 1080P-class CMOS, so results need colour and sharpening work on a computer afterwards. For a 4×6 print viewed on a screen that is fine, for a large archival print it is not.
The bundled 8GB card is small, and a collection of any size fills it quickly, so budget for a larger card. There is also no on-device dust and scratch removal, which is the thing you most want with old negatives.
6. Kodak Slide N Scan MAX – Best for Beginners
KODAK Slide N Scan Film & Slide Scanner, 22MP, 5″ LCD Screen, 135/110/126mm
22 megapixel CMOS sensor
5 inch LCD with gallery mode
135 110 and 126 film
SD card up to 32GB
Pros
- Simple button-driven setup with no learning curve
- Bright 5 inch screen previews and corrects each frame
- About 2 seconds per frame suits thousands of slides
- 22 megapixels fills an 8x10 print
- Compact footprint with a stable base
Cons
- Crops about 10 percent off top and bottom of frame
- SD card not included
- Film type must be re-selected after power-up
- No mechanism stops film shifting during capture
With more than 12,000 reviews on file, this is the most thoroughly exercised scanner in the roundup, and the reason is simple. There is almost nothing to learn: load the holder, press the button, check the screen, save.
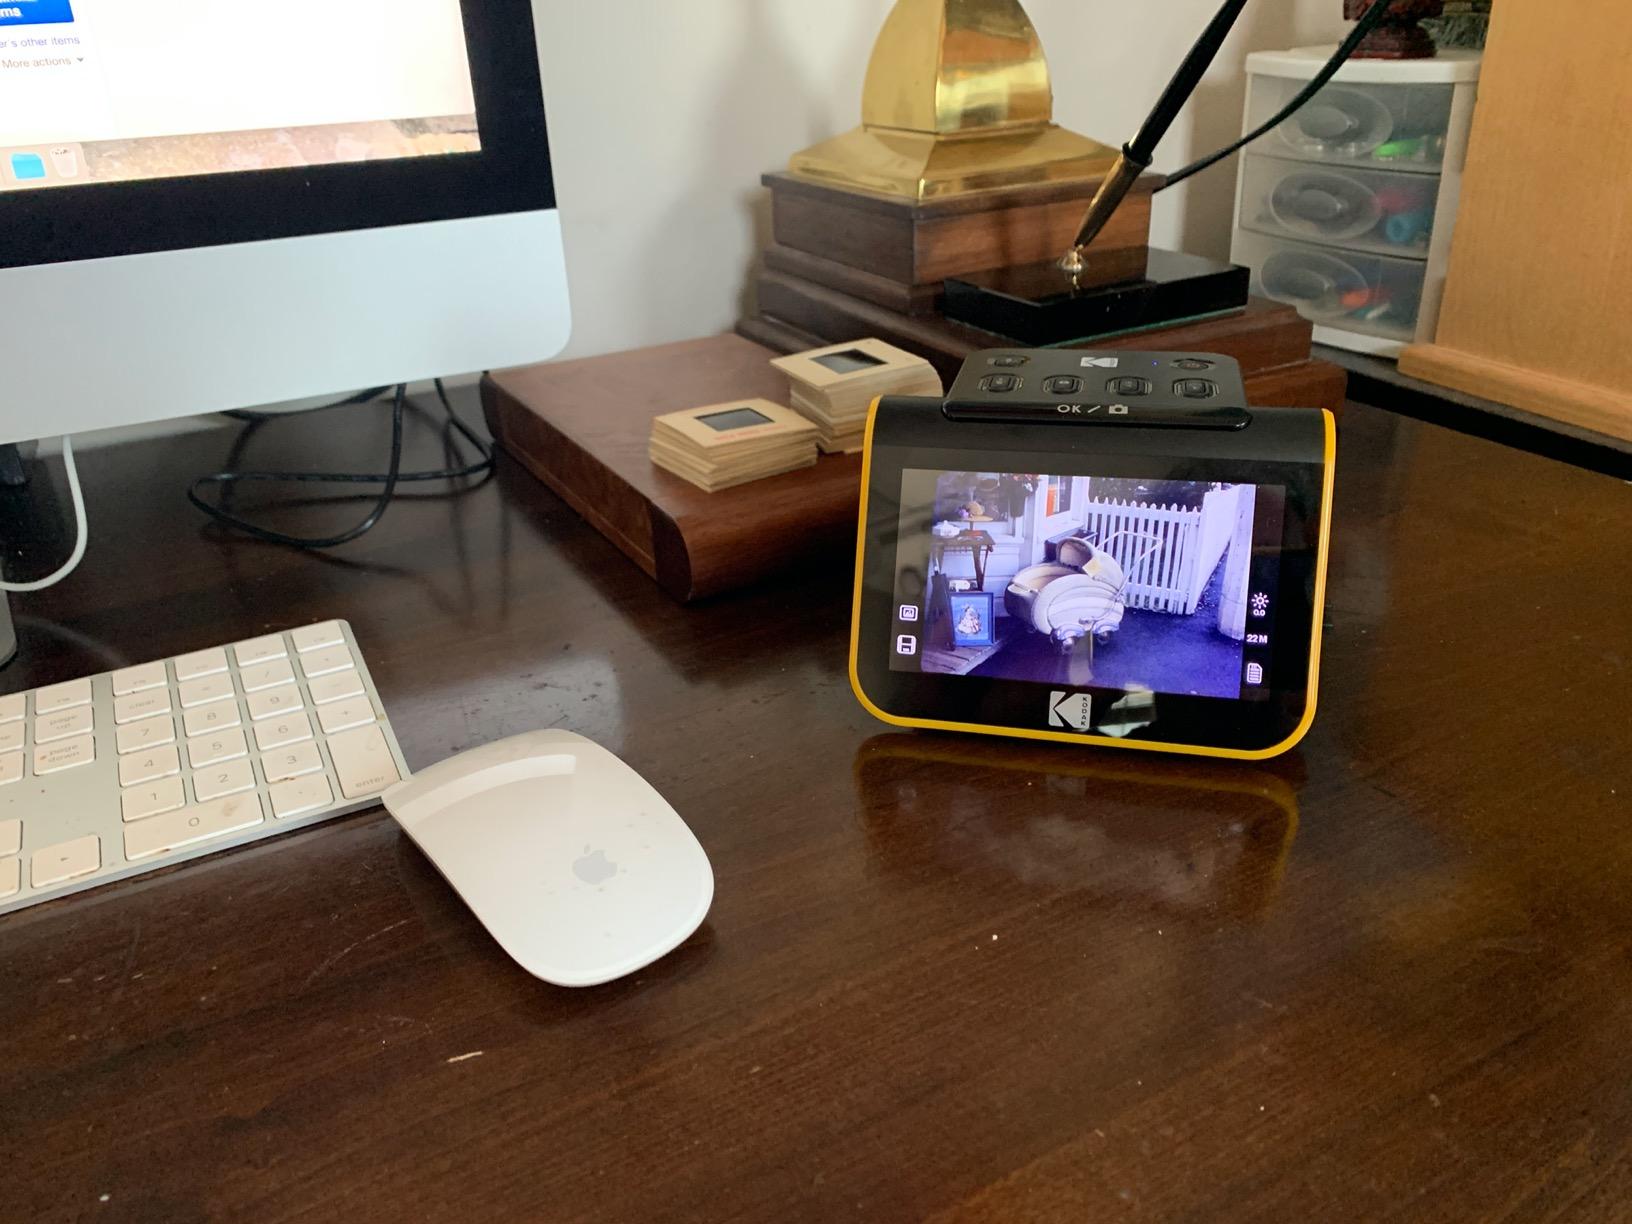
Output is 22 megapixels from a CMOS sensor, which is enough resolution to fill an 8×10 print cleanly. The continuous-loading hinged film tray means you can work through a box of mounted slides without dismantling the holder each time.
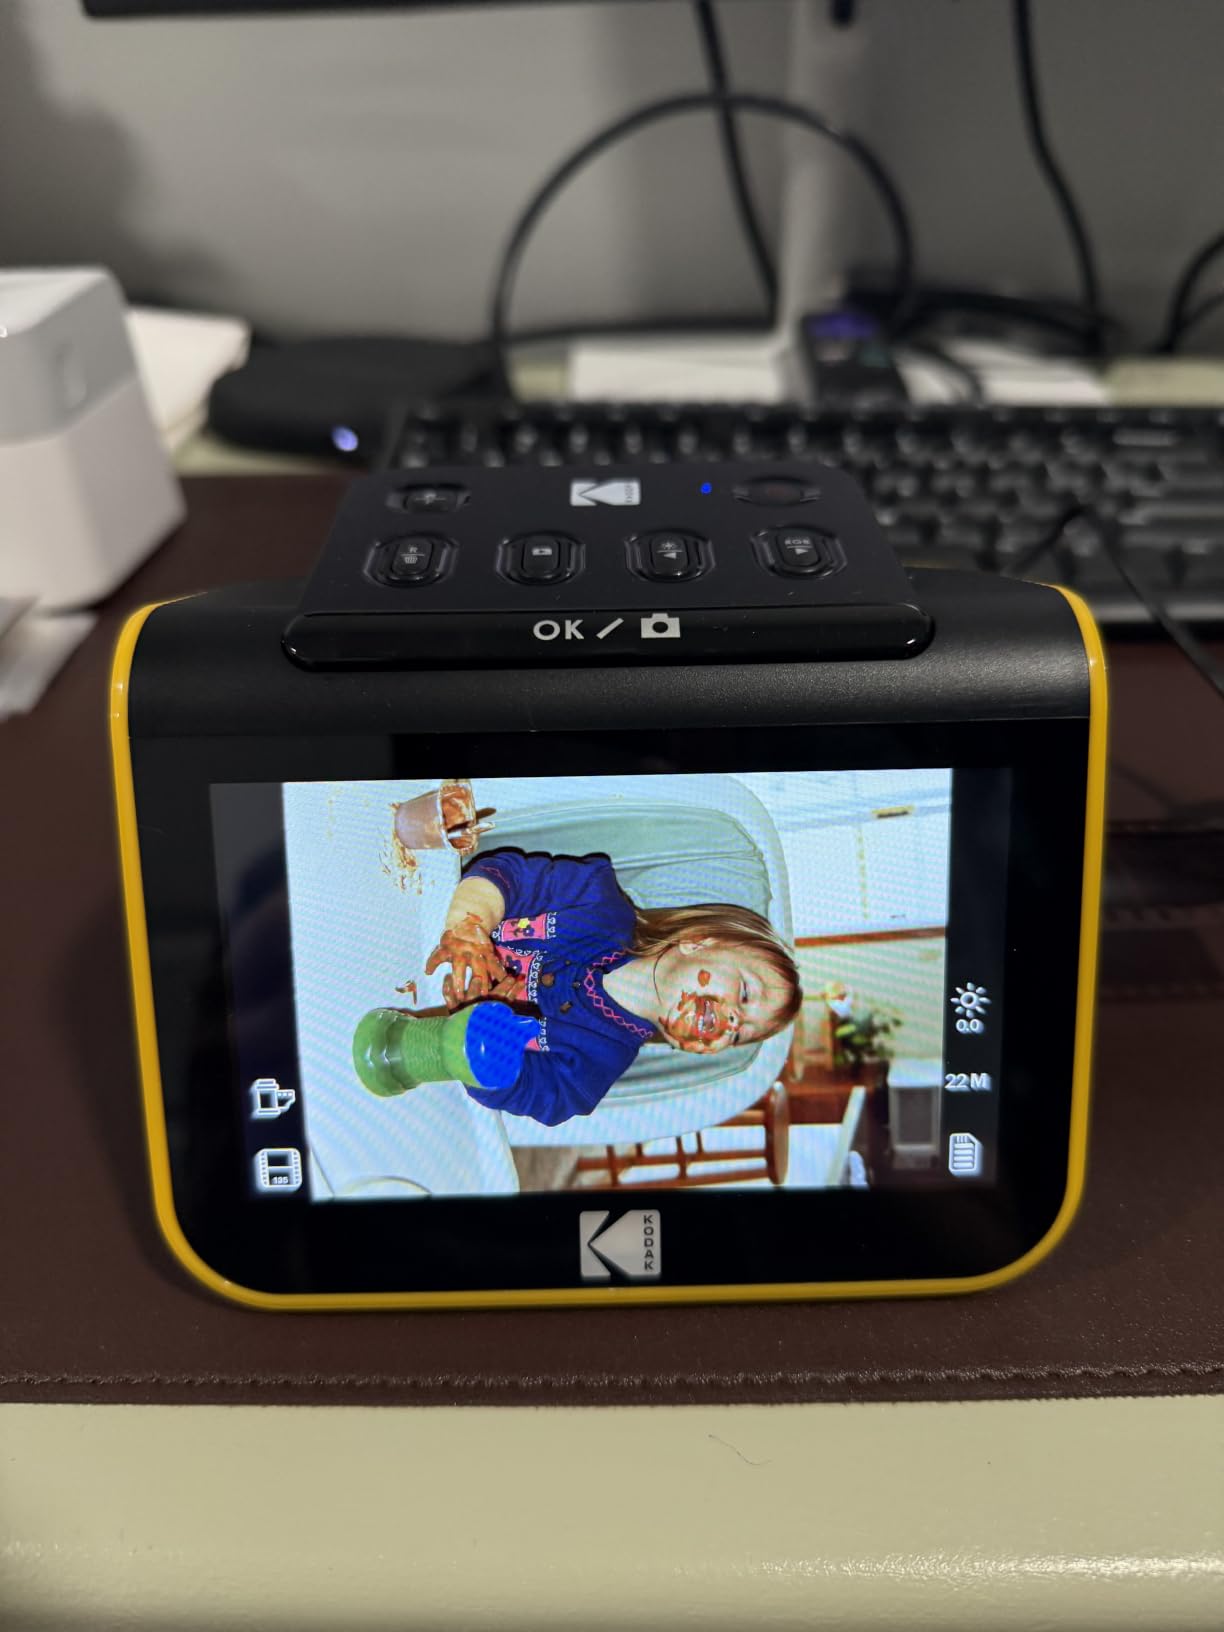
The 5-inch screen with gallery mode is the feature beginners mention most. You can scroll through a whole roll, spot the bad frames, and correct colour and brightness before committing anything to the card.
Speed is roughly two seconds per frame, which makes the backlog problem manageable. Owners converting thousands of slides report finishing a full shoebox of mounted 35mm in a single session.
Who this scanner suits
This suits a first attempt at film digitizing, particularly for parents and grandparents who contributed the negatives but have never opened a scanning program. A 50mm slide holder plus 135, 110, and 126 adapters cover most household collections.
It also suits large slide estates, where the fast frame rate and large preview screen beat machines with better optics and a slower workflow. The gallery mode makes it easy to review before saving.
Who this scanner disappoints
The automatic crop removes roughly 10 percent from the top and bottom of the frame, which cuts off heads or hands in portrait shots. Frame the first slide carefully before working through a whole roll.
Colour and sharpness vary frame to frame, so many owners move the files into Photoshop or IrfanView afterwards. The SD card is not included, and film type must be re-selected after every power-up or album view.
7. Magnasonic FS71 – Best for Super 8 and Mixed Film
Magnasonic All-in-One 24MP Film Scanner with Large 5″ Display & HDMI, Converts 35mm/126/110/Super 8 Film & 135/126/110 Slides into Digital Photos (FS71)
24 megapixel CCD sensor
5 inch LCD plus HDMI output
35mm 110 126 and Super 8
SD card up to 128GB
Pros
- Converts Super 8 motion picture film alongside still negatives
- 24 megapixel CCD sensor
- Under 5 seconds per frame
- HDMI output doubles it as a slide viewer
- Supports SD cards up to 128GB
- Light enough to move between rooms
Cons
- SD card and HDMI cable not included
- On-device colour correction is basic
- Most results need computer post-processing
- Tray variants matter for some film types
Super 8 is the differentiator here. If the box includes home movies on motion picture film alongside prints and negatives, most converters on this list simply skip past them, while the FS71 handles 35mm, 110, 126, and Super 8 in one body.
A 24 megapixel CCD sensor is a step up from CMOS converters at similar prices, and CCD generally holds more consistent colour across a long session. Scans take under five seconds per frame with the included fast-loading trays.
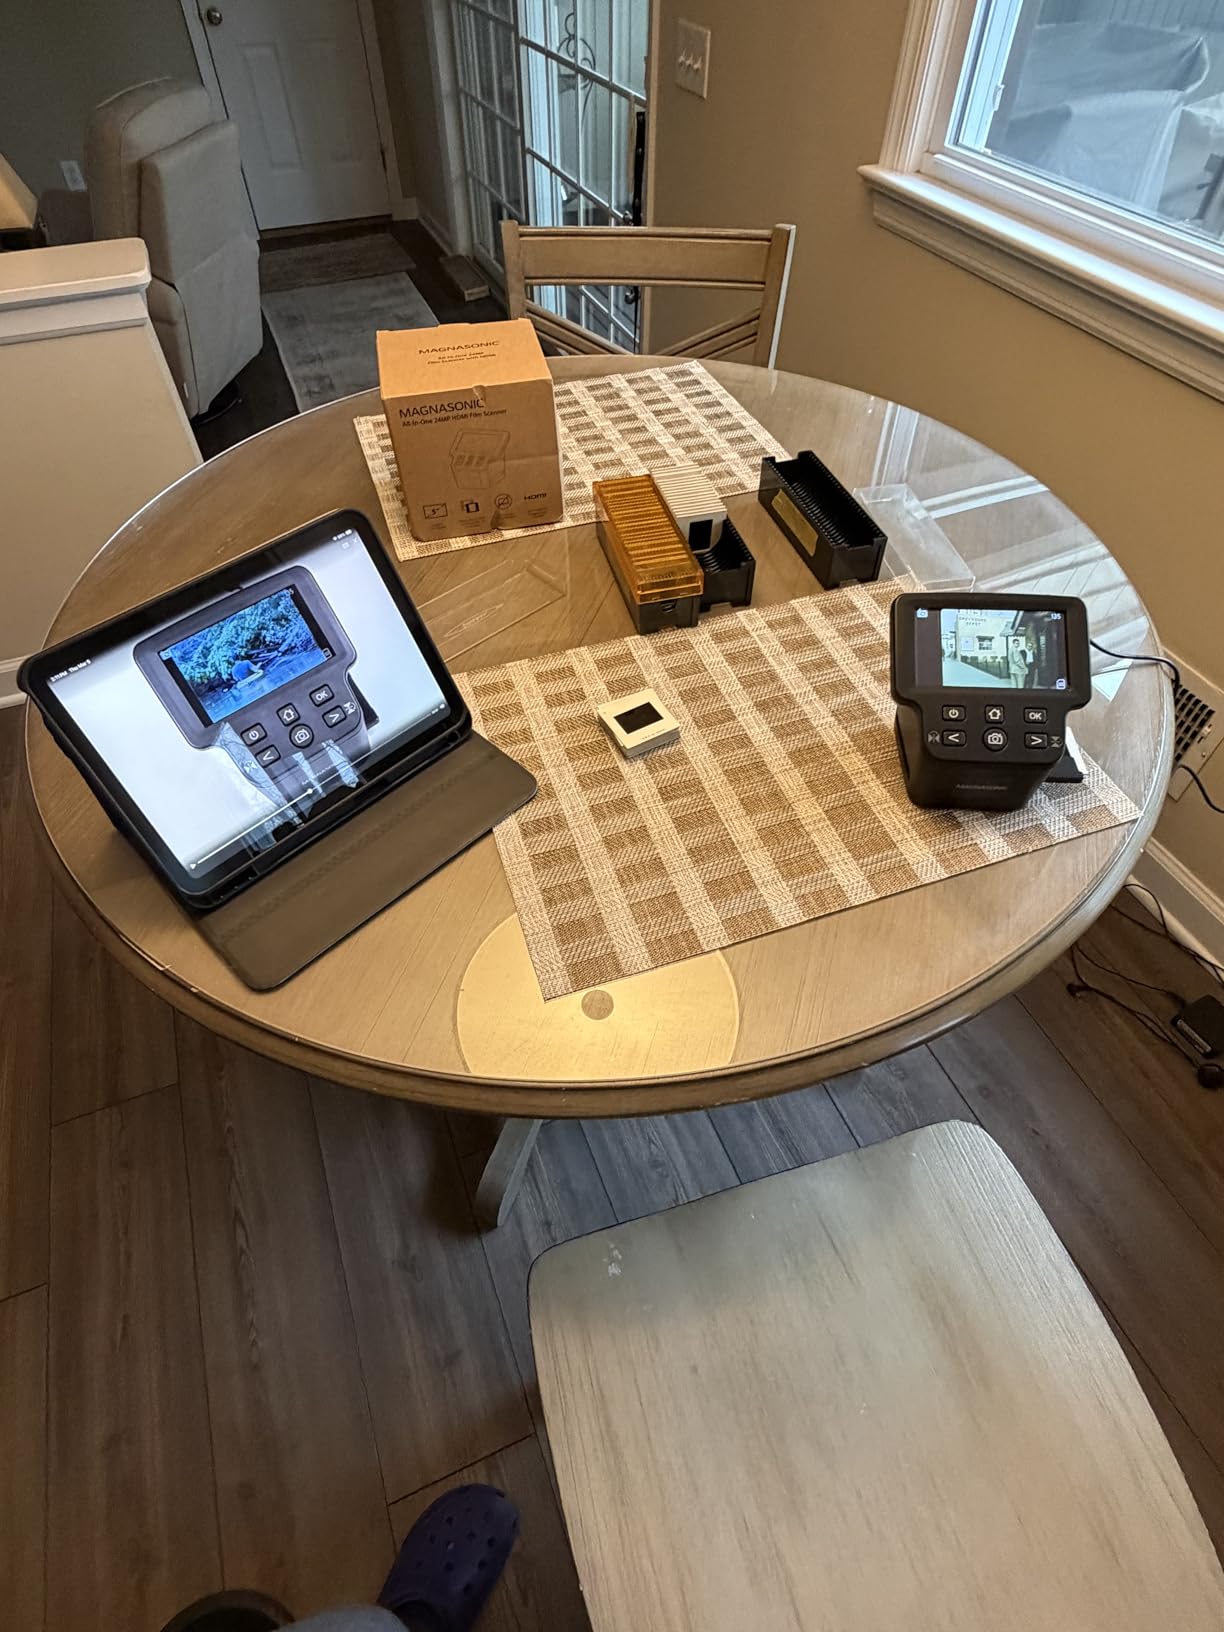
The 5-inch screen plus HDMI output means the machine doubles as a slide viewer, which is a genuinely pleasant way to review a family film collection on a television before scanning anything.
Large card support of up to 128GB is practical for an estate rather than a session, and the built-in 128MB memory handles quick jobs without a card inserted at all.
Who this scanner suits
This suits anyone with mixed media: 35mm negatives, still slides, and Super 8 home movies that nobody has touched in decades. Most competing converters at this level ignore motion picture film entirely.
It also suits a long session with no computer nearby. On-device brightness and RGB colour correction, flip, and mirror let you fix the obvious problems before saving to the card.
Who this scanner disappoints
On-device colour correction is basic, and owners report that most files still need work in a computer editor, particularly for faded Ektachrome or old colour negative stock.
Neither the SD card nor the HDMI cable is included, so both need buying separately. Certain film types need specific tray variants, so check what is in the box before you commit.
8. ClearClick QuickConvert 2.0 – Best Portable Option
ClearClick QuickConvert 2.0 Photo, Slide, and Negative Scanner – Scan 4×6 Photos & 35mm, 110, 126 Film – No Computer Required – 22 MegaPixels
Built-in rechargeable battery
No computer or drivers needed
5 inch preview screen
Scans photos still in albums
Pros
- Cord-free operation on a built-in battery
- Works with no PC software or drivers
- 5 inch screen checks each image before saving
- 2 to 3 second capture per item
- Scans photos while still mounted in albums or slide holders
- 2-year warranty with US support
Cons
- No auto feeder so each item is inserted by hand
- Does not support 5x7 inch photos
- 22 megapixels are interpolated from 14 megapixels
- Requires a separate SD card
This is the scanner we recommend taking to a relative’s house. At 2.4 pounds with a built-in rechargeable battery, it runs cord-free and needs no computer, driver, or software on site.
The feature no other entry in this roundup offers is scanning photos while they are still mounted in an album. That solves the problem most people actually face, which is not wanting to unglue a 1970s family album and risk tearing the prints.
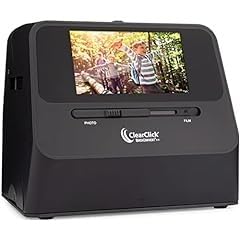
Output is 22 megapixels, though 14 megapixels native with interpolation, at roughly 3824 by 2512 pixels. That is a fine file for a 4×6 print and more than enough for sharing and screen viewing.
Capture takes 2 to 3 seconds per item, and a 5-inch instant preview screen lets you check each shot before saving to the card. There is no warm-up and no software to install when you arrive.
Who this scanner suits
This suits anyone whose archive is spread across relatives, which is the normal case. You carry it in, scan a sitting room table of albums, and leave with a card instead of a laptop and a tangle of cables.
It also suits people with mounted or fragile collections. Because each item is placed by hand under a fixed lens rather than dragged through rollers, there is no feed path to crease a print.
Who this scanner disappoints
There is no auto feeder, so throughput depends entirely on how steady your hand is at 2 to 3 seconds per item. A thousand photos is a long sitting by design.
5×7 prints are not supported, and the SD card is a separate purchase. The resolution is interpolated rather than native, which shows if you plan large archival prints.
9. DigitPro C190 – Best Budget Film Converter
DigitPro 22MP Film & Slide Scanner with 5″ LCD, Converts 35mm 126 110
5 inch LCD preview
One-touch scanning
Super 8 50mm slides and negatives
3-year warranty
Pros
- One-touch scanning needs no technical skill
- Covers 35mm 110 126 negatives 50mm slides and Super 8
- Large 5 inch screen for preview and playback
- Complete accessory kit in the box
- HDMI output turns it into a picture frame
Cons
- 1080P resolution is roughly 75 DPI on a 4x6 enlargement
- Film feed can slip or misalign
- SD card not included
- Screen viewing angle needs the unit tilted upright
The C190 is the entry point for a household that found a box of negatives and wants them digitized without research. One-touch scanning, a large screen, and a complete accessory kit get you running immediately.
Format coverage is genuinely broad for the money: 35mm and 135, 110, 126, 50mm slides, and Super 8. Built-in 128MB memory handles small jobs, and a card slot accepts up to 64GB for anything larger.
Owners consistently find the scans sharp and colourful for everyday family archiving, and the 3-year warranty is a meaningful reassurance on a device that will sit in a closet between long sessions.
HDMI output is a small touch with a real effect. Plugged into a television it becomes a digital slide viewer, so you can check the whole converted collection before committing to further scanning.
Who this scanner suits
This suits first-time converters with a modest film estate and no technical inclination. Nothing needs installing, and the bundled holders, cables, and brush cover the common formats out of the box.
It also suits people who want the negatives visible at a family gathering rather than hidden in a drawer. The HDMI picture-frame mode turns a converter into a slideshow.
Who this scanner disappoints
Resolution is the real ceiling. At 1080P, a negative blown up to a 4×6 print works out to roughly 75 effective DPI, which is fine on screen and short of archival standard.
The film feed can slip or misalign if the strip is not seated carefully, and the screen viewing angle means the unit needs tilting upright for comfortable viewing. The SD card is not included.
10. Epson Perfection V600 – Best for Archival Enlargements
Epson Perfection V600 Photo Wired USB Connectivity Color Scanner – 6400 x 9600 dpi, Enlargements up to 17″ x 22″ Flatbed Image Scanner
6400 x 9600 dpi maximum
Transparency unit for 4 slides or 12 negatives
Medium format to 6 x 22 cm
Digital ICE and ArcSoft PhotoStudio
Pros
- Maximum 6400 x 9600 dpi for enlargements to 17 x 22 inch
- Transparency unit holds 4 mounted slides or 12 negatives
- Medium format film support to 6 x 22 cm
- Digital ICE and colour restoration rescue aged film
- One-touch preview crop and colour correction
Cons
- Very slow with several minutes per batch of slides
- Software unstable and often needs administrator rights
- Lid has no black backing for double-sided capture
- Difficult to justify against newer lower-cost models
The V600 is the oldest recommendation in the genealogy threads we read, and it earns its place through optics. Maximum 6400 by 9600 dpi is the highest real resolution in this roundup, and it supports enlargements up to 17 by 22 inches.
The transparency unit holds 4 mounted 35mm slides or 12 negatives at a time, and medium format holders extend coverage to 6 by 22 cm film, which is unusual at any price. Digital ICE and ArcSoft PhotoStudio handle dust, scratches, and faded colour together.
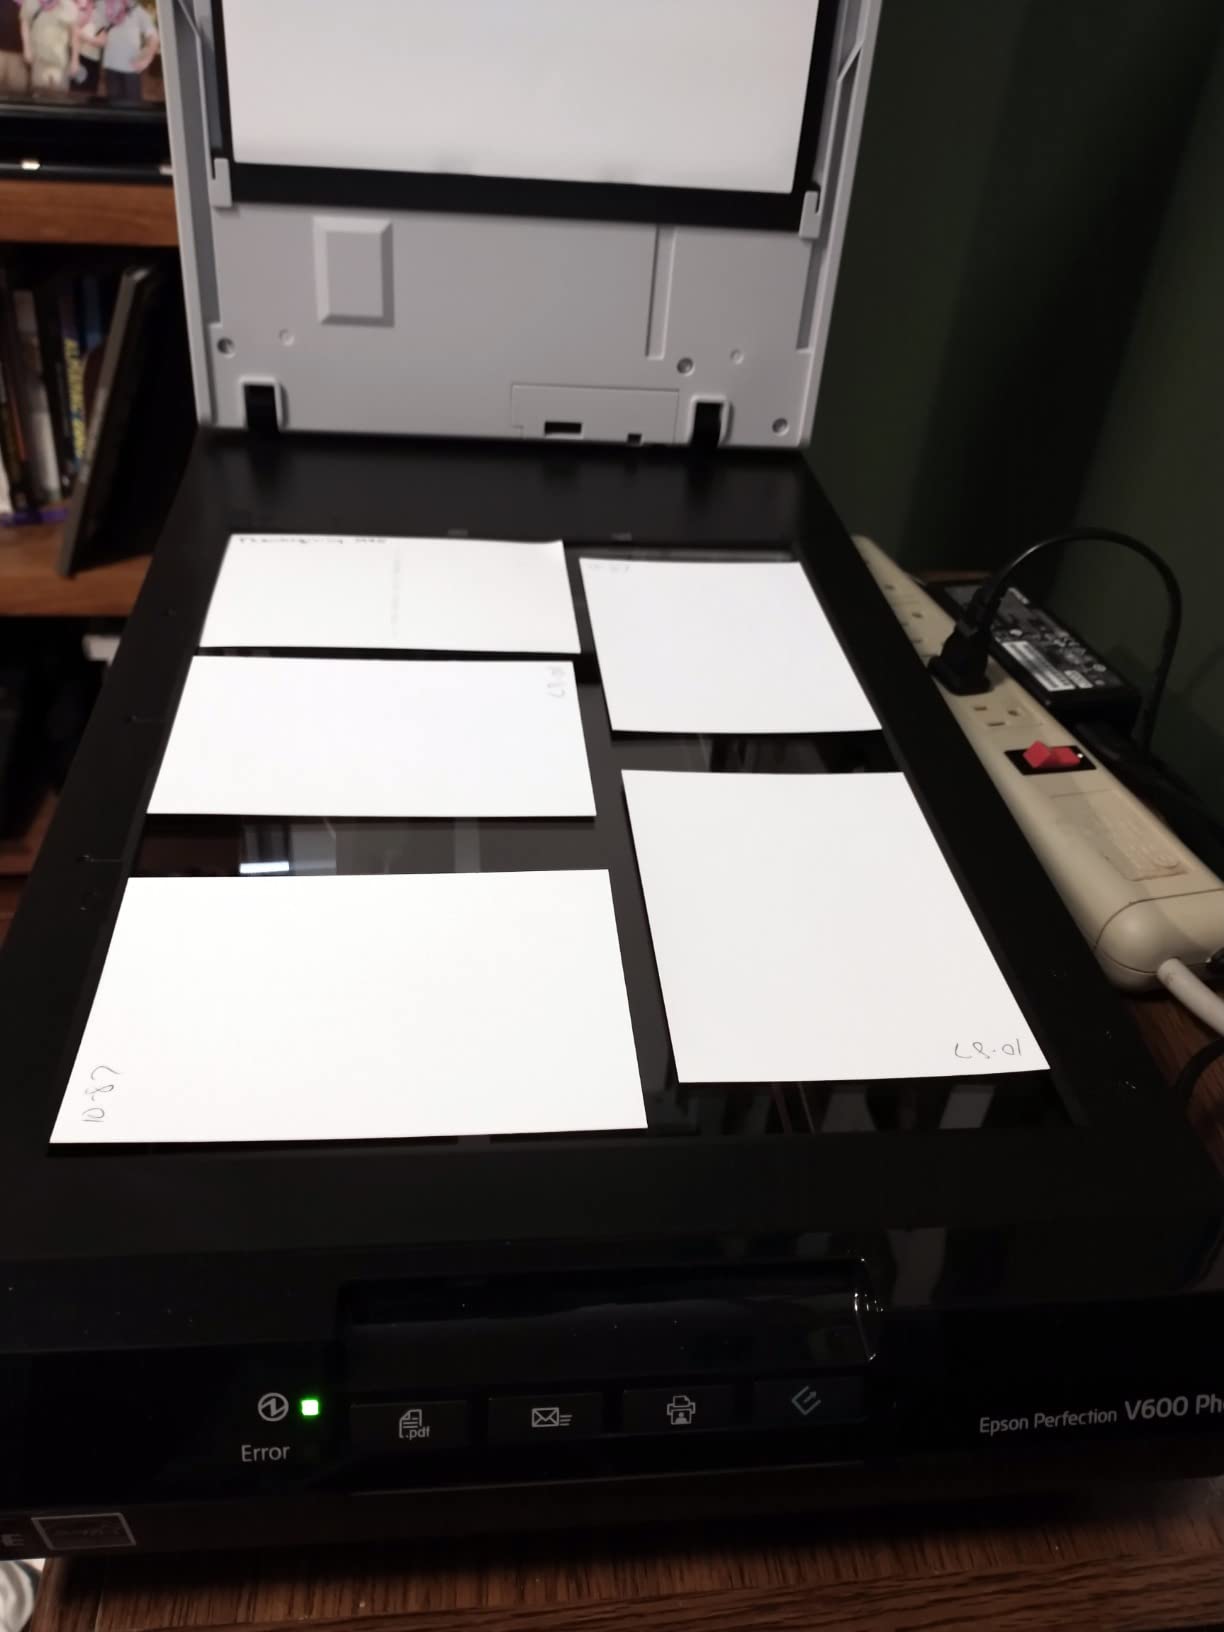
For anyone scanning 1960s-era negatives that are visibly damaged, the one-touch preview with crop and colour correction before the final pass is what separates this from a generic flatbed. You can judge the scan on screen before committing.
Four customisable one-touch buttons cover scan, copy, e-mail attachment, and PDF, and 48-bit colour with 16-bit greyscale gives plenty of headroom for restoration work later.
Who this scanner suits
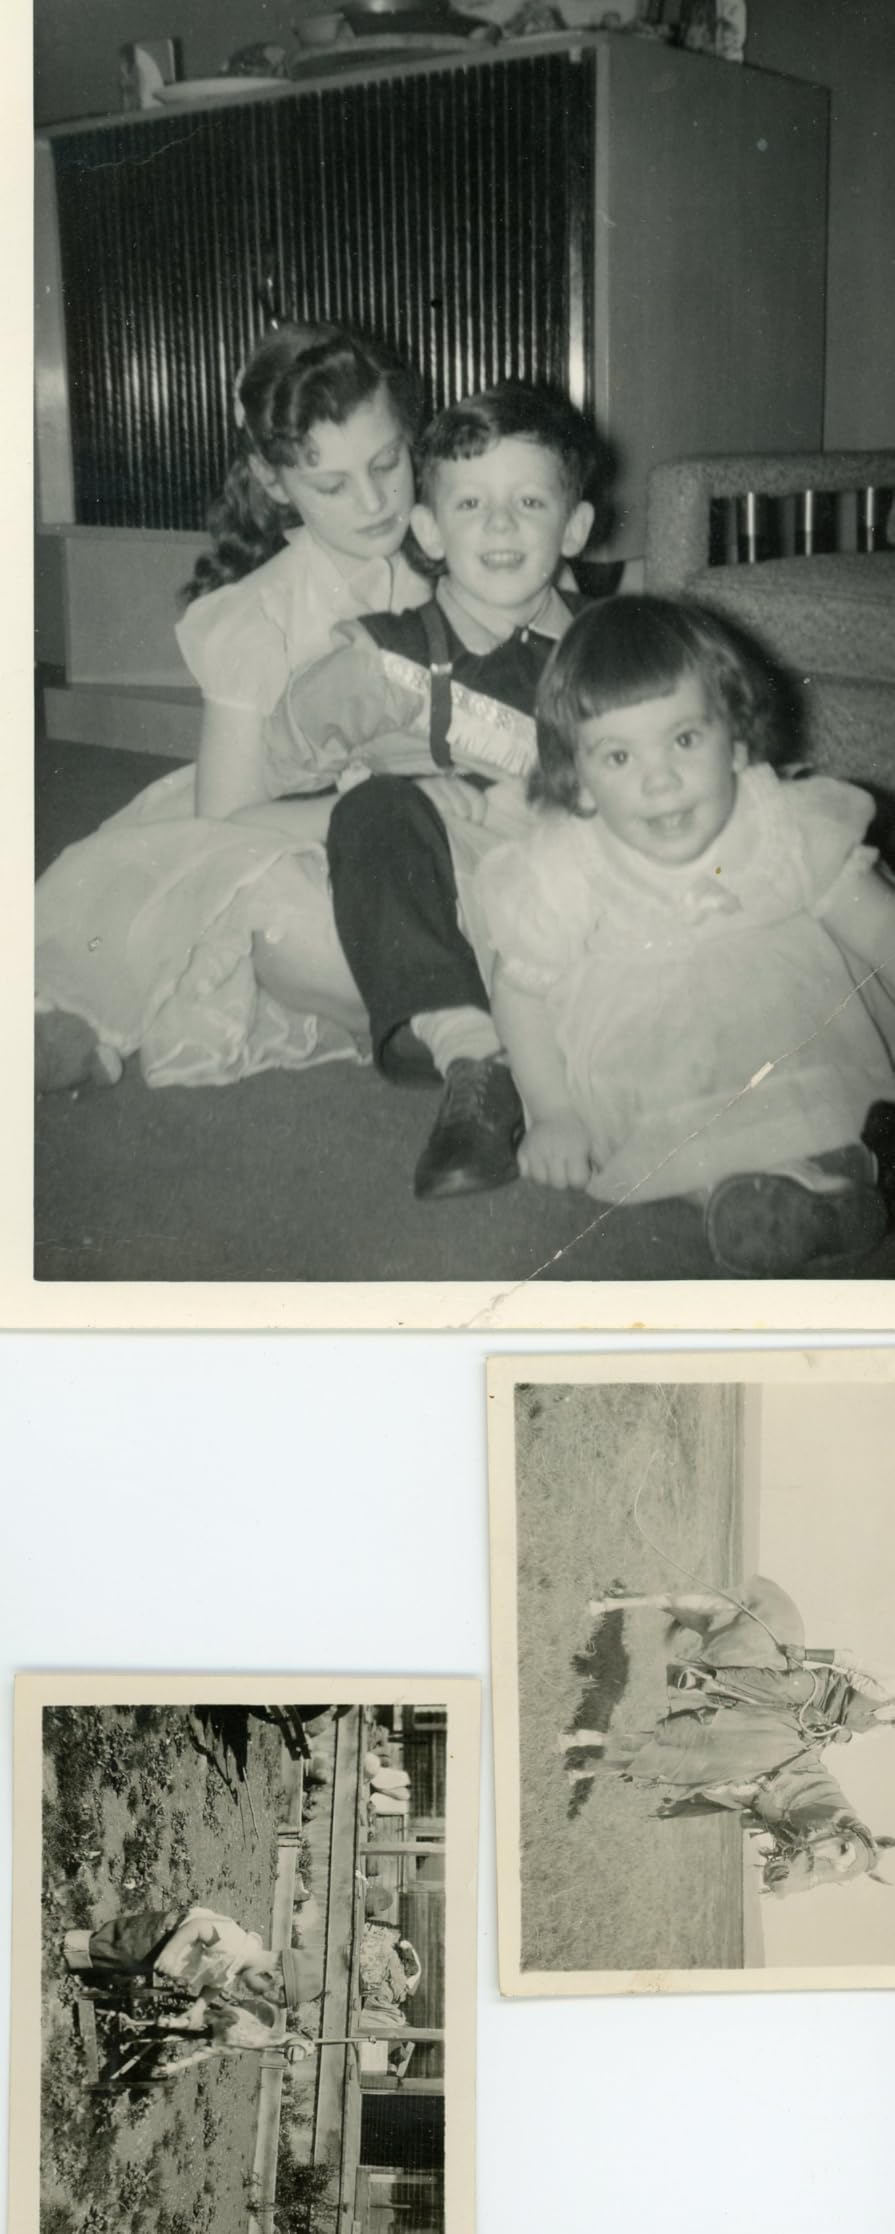
This suits a serious archivist whose originals will be enlarged and whose negatives need rescuing from dust and age. The resolution ceiling and Digital ICE are the two reasons to spend more here.
It also suits collectors of medium format film, which most scanners in this roundup cannot handle at all. The included film holders cover the formats that are otherwise simply lost.
Who this scanner disappoints
Throughput is poor, with several minutes for a small batch of slides. If your priority is getting through a shoebox of prints rather than perfecting a few negatives, this is the wrong shape of tool.
The software is the biggest reliability complaint, with owners frequently needing to run Epson Scan as administrator. The lid lacks a black backing, so double-sided document capture is limited, and the price is hard to justify next to newer models.
11. HP Film and Slide Scanner HPFS500 – Best Touchscreen Experience
HP Film & Slide Scanner HPFS500, Negative Scanner, Slide Viewer, USB-C
13MP CMOS with 22MP interpolation
5 inch all-angle touchscreen
USB-C powered
SD card output
Pros
- Intuitive touchscreen menu for less technical users
- Fast feed-through of roughly 30 slides at a time
- Accepts SD cards up to 128GB for long sessions
- USB-C runs from a laptop port or power bank
- Date and time metadata stamped onto images
- Compact body with a screen large enough to work
Cons
- Archival resolution not reached and sharp detail is soft
- SD card not included
- Date entry uses slow arrows and stops at the 1970s
- Faded or out-of-focus originals look worse after scanning
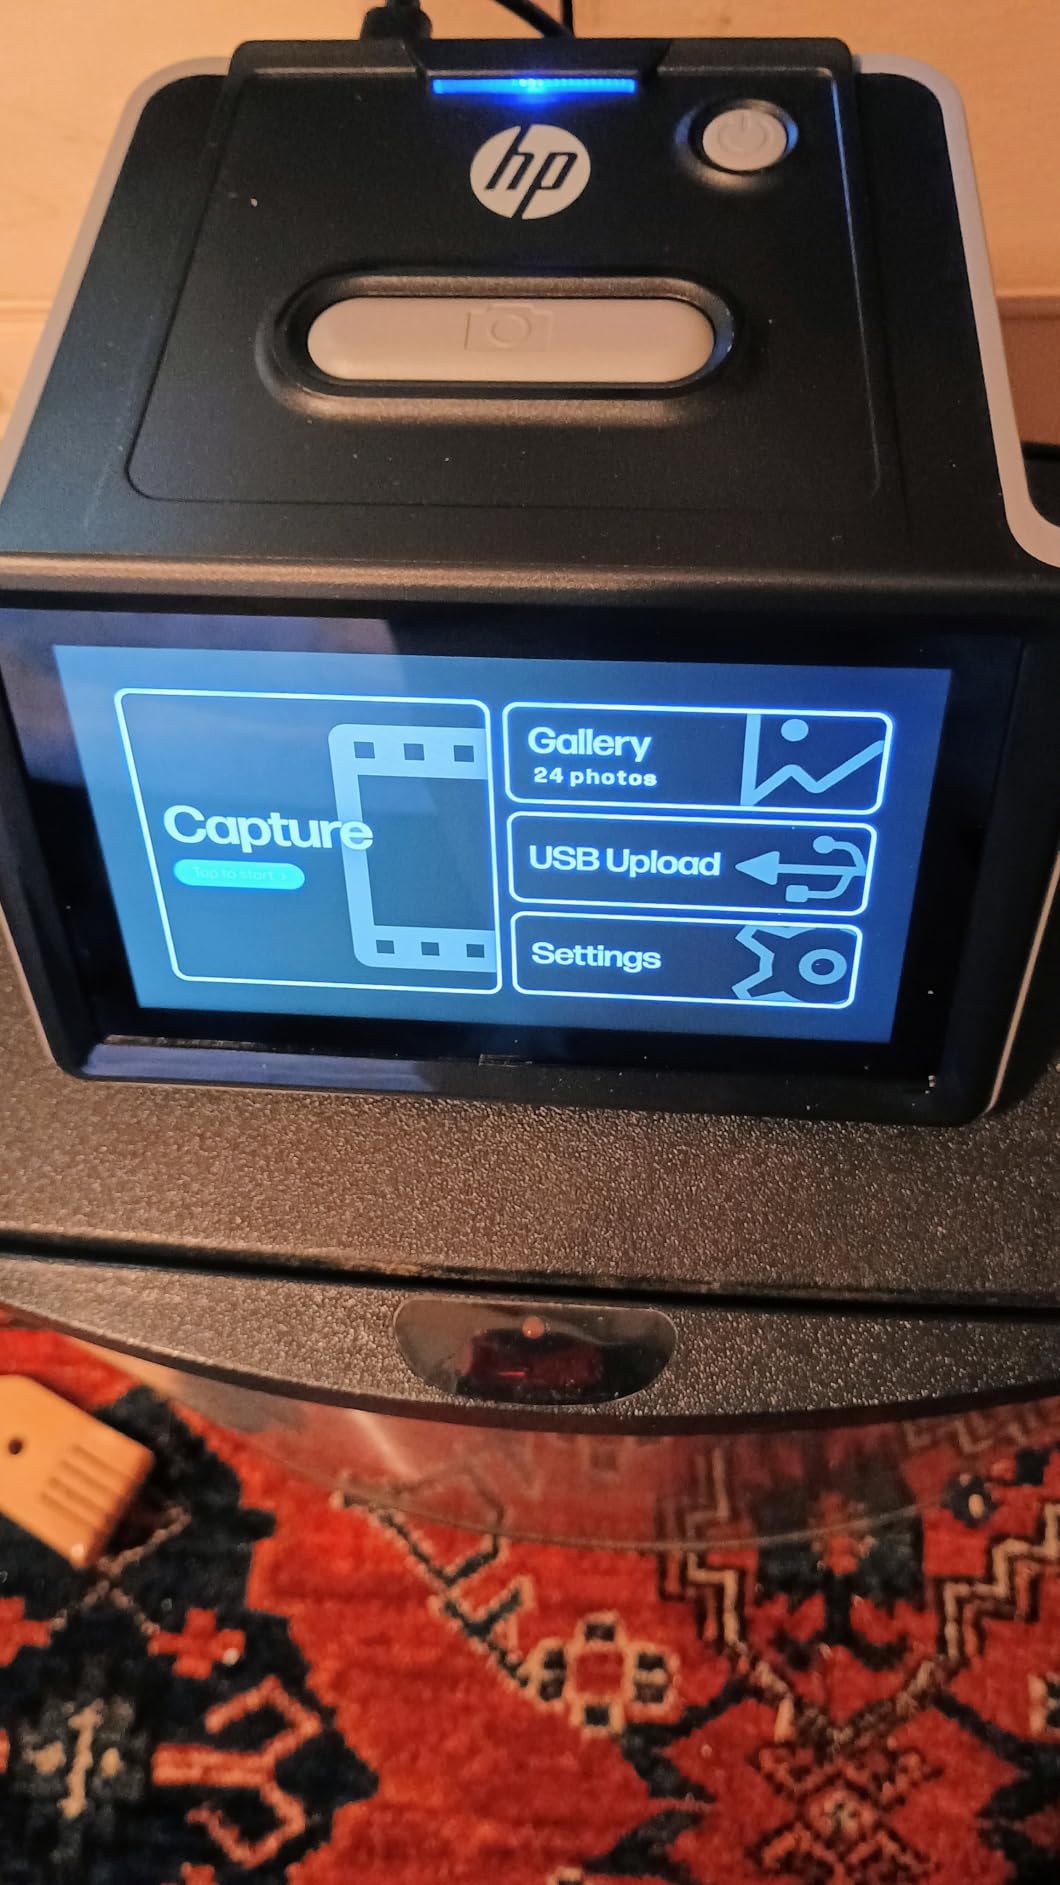
The HPFS500 wins on interface rather than optics. A 5-inch all-angle touchscreen replaces buttons and menus, and owners converting hundreds of slides point to how little instruction the touchscreen needed.
The quick-load tray takes 135, 126, and 110 negative strips plus positive slides, and you can work through roughly 30 slides at a time, pushing one out as the next goes in. That rhythm suits a long afternoon with a big box.
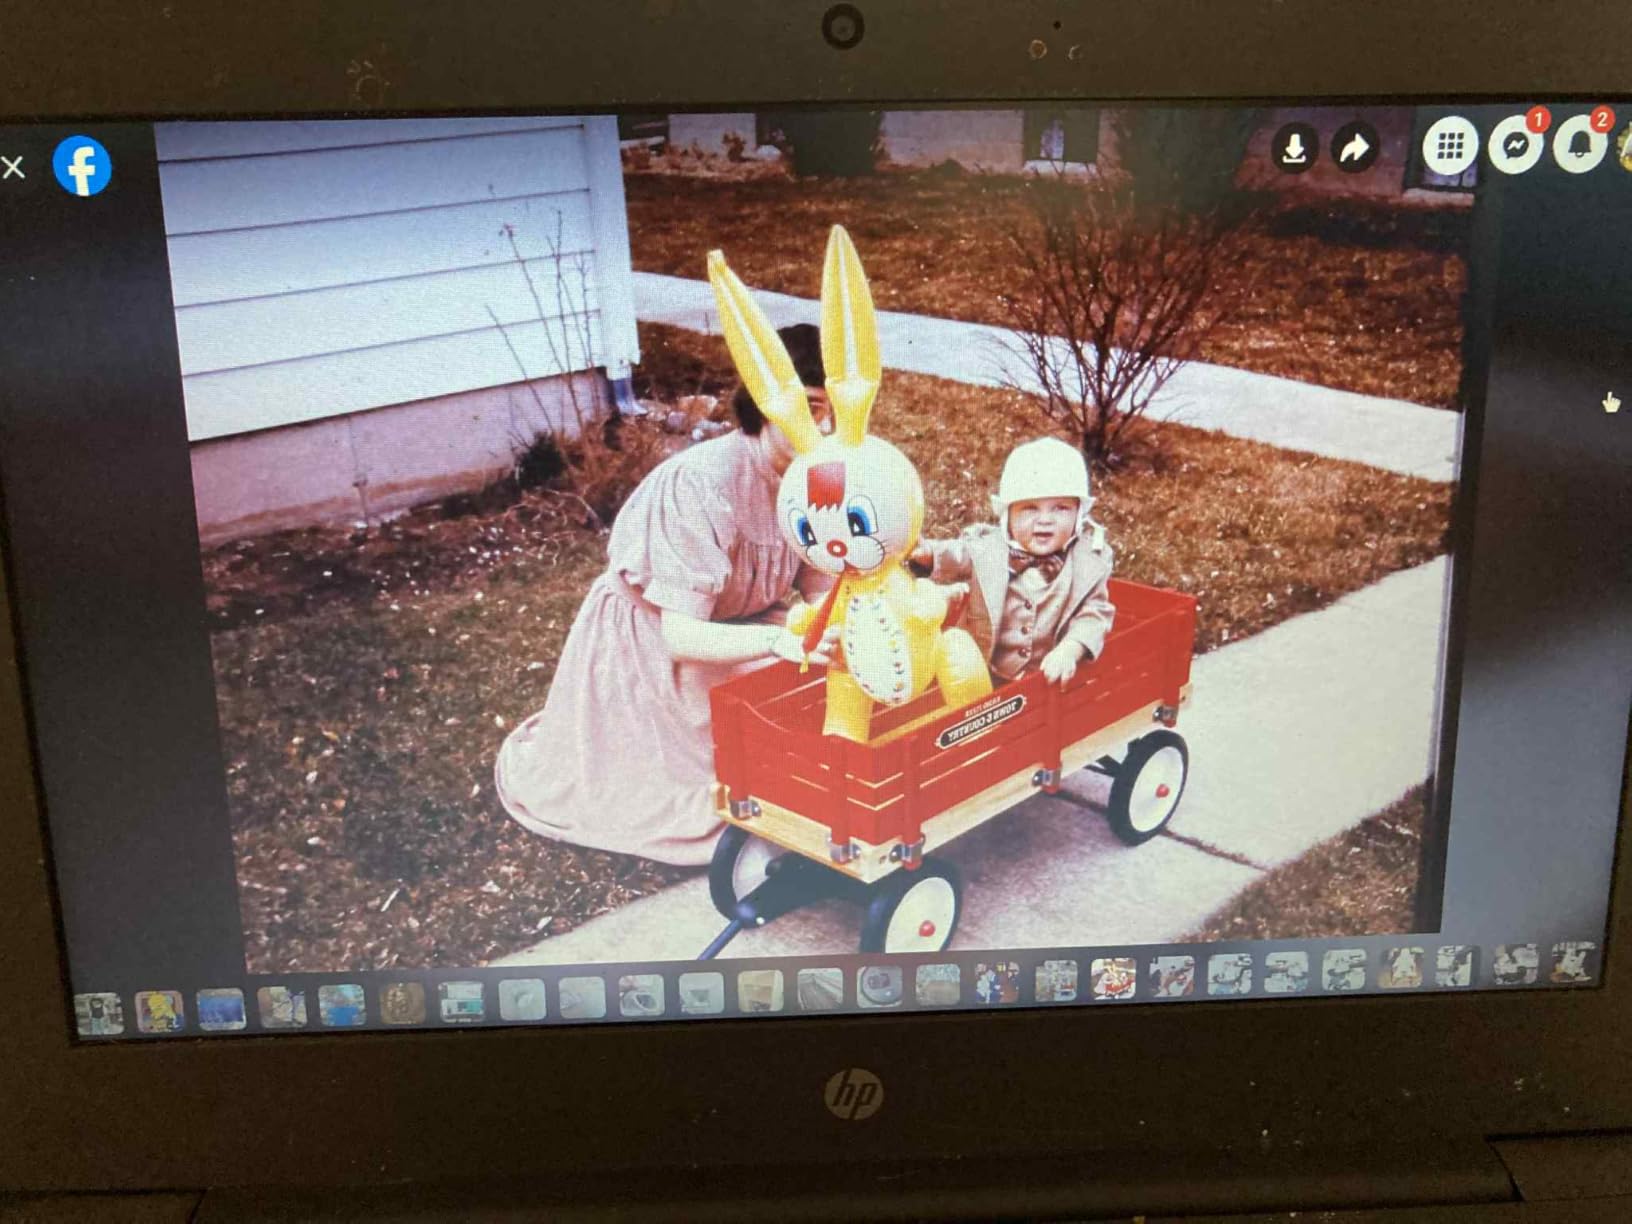
USB-C power is a genuinely useful detail here. The unit runs from a laptop port or an external 5V adapter, so it works at a relative’s house without hunting for a socket or carrying a power brick.
Gallery and picture-frame modes on the screen make it easy to review a converted roll, and date and time metadata can be stamped onto each image, which saves a lot of manual file naming later.
Who this scanner suits
This suits anyone who finds command-line software and driver installs a barrier. The touchscreen does the thinking, and no computer is required for preview or editing.
It also suits long unattended sessions, because cards up to 128GB are supported and USB-C means the machine can be powered from a laptop or power bank on a folding table.
Who this scanner disappoints
Sharpness is the honest limit. The 13MP CMOS sensor with 22MP interpolation is fine for screen viewing and ordinary prints, but it falls short of dedicated film scanners on fine detail.
Setting the capture date uses slow up and down arrows and cannot go earlier than the 1970s, which is odd for a machine aimed at older material. Poor originals also look poor after scanning, and the card is a separate purchase.
12. Pandigital Personal Photo Scanner – Best for No-Computer Scanning
Pandigital Personal Photo Scanner/Converter, White (PANSCN06)
600 dpi with 300 or 600 settings
Scans directly to SD card
Prints up to 8.5 x 11 inch
No PC required
Pros
- Scans straight to an SD card with no computer
- Handles prints from 2x3 up to 8.5 x 11 inches
- Small and light enough to carry to a family gathering
- Auto crop and deskew
- One long-term owner reports thousands of scans without failure
Cons
- Colour shifts toward red with no calibration option
- Only 300 or 600 dpi and no file naming control
- Feed errors when photos are inserted too quickly
- AC power only with some reports of SD card write failures
This is the simplest no-computer workflow in the roundup. The scan goes straight to an SD card, the included five-in-one reader handles SD, MS, MSPRO, MMC, and XD cards, and transfer to a computer happens later if you want it.
Prints from 2×3 up to 8.5 by 11 inches fit through the feed path, and the adjustable guide tab helps keep paper straight. One long-term owner reports scanning more than 5,400 photos without a failure.
At 1.6 pounds it is genuinely portable, which is why it appears in so many family gathering workflows. Bring it, set it on a table near a socket, and scan a stack before you leave.
Throughput is strong for the price, with owners citing roughly 5 to 20 seconds per photo depending on size. Auto crop and deskew keep the output usable without opening an editor.
Who this scanner suits
This suits people who want zero setup and no computer in the loop. It is also the practical choice for scanning at a relative’s house, an insurance inventory, or a temporary table at a reunion.
It suits people with large-format paper prints who cannot use a Letter size flatbed, since 8.5 by 11 inch originals pass through the feed path in one piece.
Who this scanner disappoints
Colour shifts toward red with no calibration option, and the fix is external editing software on every file. That is a real workflow cost across hundreds of photos.
Control is minimal, with only 300 or 600 dpi settings and no file naming or output options. Inserting photos too quickly causes feed errors, the unit needs AC power rather than running on battery, and there are reports of SD card write failures.
How to Choose a Photo Scanner for Old Family Photos
Flatbed, sheet-fed, or standalone: match the machine to the pile
Choose by geometry first, because the shape of your collection decides the answer. A flatbed lays the photo under glass and captures it in a single exposure, which is the only safe method for curled, brittle, torn, or album-mounted paper.
A sheet-fed scanner pulls each print through rollers and can capture both sides in one pass, which is dramatically faster on straight, undamaged prints. Reviews repeatedly warn that auto-feeders can jam or crease extremely brittle, warped, or damaged originals, and that caution is the reason we put a flatbed in the top three alongside the bulk feeders.
Standalone converters with a screen and a card slot suit collections spread across several houses. Portable units suit scanning at a relative’s table. Film converters are a separate category entirely, and our negative scanner guide covers that side in more depth.
How much resolution do you actually need?
Optical resolution is measured in dots per inch, and only the optical figure counts. Interpolated resolution is upscaled by software and adds no real detail, which is why several entries here advertise megapixels rather than a genuine optical DPI figure.
For photos that will be viewed on a screen, printed at 4×6, or shared with family, 300 dpi is genuinely sufficient. Most of this roundup runs at 300 or 600 dpi for good reason: a 4×6 print at 300 dpi produces a file around 1200 by 1800 pixels, which fills a modern screen comfortably.
Step up to 600 dpi when you want a lossless TIFF master or plan reprinting at 8×10 and beyond. Save 1200 dpi for enlargements and for the highest-value originals only, because file sizes and scan times grow quickly.
Decide by collection size, not by ambition
Under 50 photos, a flatbed is more than enough and a phone scanning app may serve you. Between 50 and 300, a flatbed with auto crop keeps the session short. Between 300 and 1,000, a sheet-fed duplex unit pays for itself in saved hours. Above 1,000, volume decides everything.
Our own rule of thumb: if the job will take more than one weekend with a flatbed, buy the feeder. If the prints are fragile, keep the flatbed for those and feed only the straight ones, and never put glued-in or torn photos through any automatic feeder.
Handling Old Photos Safely Before You Scan
No scanner roundup covers this, but it decides whether your archive survives the digitizing process. A 1940s print can be perfectly safe under glass and perfectly ruined by a roller feed, so preparation matters as much as the purchase.
Start with sorting, not scanning. Work through the collection and separate prints into three piles: straight and robust, curled or fragile, and mounted in an album. Only the first pile belongs in an automatic feeder.
Flatten curls gently by placing prints between sheets of acid-free paper under a flat weight for a few days. Do not use tape, glue, or pressure that could stick the stack together, since a single fused block of prints is far harder to rescue than a curled one.
For album-mounted photos, resist un-gluing. A soft plastic spatula lifted from the corner, with a little patience, releases most prints without tearing; the ClearClick QuickConvert 2.0 avoids the question entirely by scanning mounted photos as they sit.
Test with a duplicate before you scan something irreplaceable. Run one sacrificial print through the exact settings you plan to use, check it on the screen at 100 percent, and only then commit the batch.
Clean the glass before every session. Dust on the platen is the single most common cause of soft, hazy scans, and a microfibre cloth takes seconds while re-scanning a batch takes an afternoon.
What to Do With a 30-Year Pile of Photos
Thirty years of accumulated photos is a sorting problem before it is a scanning problem. The people who finish the job are the ones who set a rhythm rather than trying to do everything in one weekend.
1. Inventory and sort. Count by decade and by condition. Put fragile prints, mounted albums, and film into separate boxes so you know what each scanning session is working from.
2. Digitize the easy wins first. Straight, loose prints in a single pile build momentum and give you a finished folder at the end of day one, which matters more than it sounds after years of putting this off.
3. Protect the fragile pile. Anything curled, torn, or mounted goes on a flatbed, or to the portable converter that scans photos in place. Do not rush these to save time.
4. Handle film separately. Slides, negatives, and Super 8 go through a dedicated converter at their own pace, and doing them on a different day keeps the print workflow uninterrupted.
5. Name and back up before you box the originals away. Naming on the day of scanning takes seconds; reconstructing what IMG_2841 is after three years does not.
6. Decide what happens to the paper. Many families keep the originals, some pass duplicates to relatives, and the safest habit is to never discard a print that exists in only one physical place.
After You Scan: File Format, Naming and the 3-2-1 Backup Rule
Choosing the wrong format is how people end up re-scanning a whole collection twice. For a family archive, save one master file per photo and one convenient viewing copy, and never save a photo album as a single multi-page PDF.
Use JPEG at maximum quality for anything you plan to view, print at 4×6, or email, since it is small and universally readable. Use TIFF for the master copy when you want no generational loss across future edits, and expect files many times larger than the JPEG.
For naming, the useful convention encodes what you know before you forget it: year, event, and a short description. A file called 1968_christmas_grandma-and-uncle-ray.jpg tells a story that IMG_2841 never will, and it sorts correctly in any photo program.
Then apply the 3-2-1 rule, which is the standard advice that genealogy communities repeat most often. Keep 3 copies of your scans, on 2 different types of media, with 1 copy stored somewhere off-site.
One practical pattern is a working folder on your computer, a copy on an external drive you rotate between two locations, and a cloud copy in Dropbox or Google Drive. Many families also load a copy onto a drive that lives with a different relative, so the archive survives a house move.
Finally, save the whole set in one dated folder rather than scattering files across folders, and write a short note naming who scanned it and when. In ten years, that note is worth more than another thousand images.
Frequently Asked Questions
What is the best way to scan old family photos?
The best method depends on condition and volume. Use a flatbed for curled, brittle, torn, or album-mounted prints, since glass and a single exposure never touch the surface. Use a duplex automatic feeder for straight, undamaged prints when you have hundreds of them, and keep resolution at 300 dpi for screen viewing or 600 dpi for a lossless archival master.
What is the best photo scanner for scanning vintage photos?
For most vintage print collections, a flatbed or a fast single-photo sheet-feed unit is the right answer. The Plustek ePhoto Z300 scans a 4×6 in about two seconds with automatic crop and deskew, while the Canon CanoScan LiDE 300 handles a few hundred fragile prints gently on a glass bed. If the box also holds slides or negatives, choose a unit with a built-in transparency or film tray.
What are the best photo scanners for old photos?
The strongest options divide into three groups. The Plustek ePhoto Z300 is the best all-round choice for loose prints, the Epson FastFoto FF-680W is the fastest for hundreds or thousands of prints with duplex capture, and the Canon CanoScan LiDE 300 covers smaller collections on a budget. For film, the Epson Perfection V550 combines prints with 35mm slides and negatives.
What to do with 30 years of photos?
Sort before scanning: separate straight and robust prints, curled or fragile prints, album-mounted photos, and film into different boxes. Scan the easy loose pile first to build momentum, keep fragile material for a flatbed or an in-place portable converter, and never feed glued-in or torn prints through an automatic feeder. Name each file as you go and apply the 3-2-1 backup rule before the originals are stored away.
Should I scan old photos at 300 or 600 DPI?
Use 300 DPI when photos will be viewed on a screen, printed at 4×6, or shared online, because a 4×6 print at that setting gives roughly 1200 by 1800 pixels. Choose 600 DPI when you want a lossless TIFF master or plan larger reprints, and save 1200 DPI for enlargements of the highest-value originals only.
Do automatic document feeders damage old photographs?
They can. Rollers can crease, curl, or permanently mark glossy and brittle prints, and tight feeders trap dust against the emulsion. Feeds are safe for straight, undamaged prints handled in a carrier sheet, but anything warped, cracked, torn, or glued into an album page should be scanned on a flatbed instead, one photo at a time.
Should scanned photos be saved as JPEG, TIFF, or PDF?
Save one JPEG per photo at maximum quality for viewing, printing at ordinary sizes, and sharing, and keep a TIFF as the archival master when you plan future editing. Avoid saving photos as multi-page PDFs, because every image has to be extracted again before you can view, print, or share a single frame.
Can I use a phone scanning app instead of a photo scanner?
For a small collection of loose prints where the goal is a usable family archive rather than archival quality, a phone app is genuinely enough. A flatbed or a fast sheet-fed unit earns its place once you have hundreds of photos, need consistent colour across the set, want both sides captured, or have film that a phone cannot handle at all.
The Best Photo Scanners for Old Family Photos in 2026
For most families, the best photo scanners for old family photos come down to one question: how many prints, and how fragile are they? A shoebox of straight, loose prints is served best by the Plustek ePhoto Z300 at about two seconds per 4×6 with automatic crop and deskew, and that is the pick we would make first.
Once the volume climbs into the hundreds, the Epson FastFoto FF-680W changes the economics with a duplex feeder running about one photo per second and capturing handwritten backs in the same pass. For a few hundred delicate prints, or a tight budget, the Canon CanoScan LiDE 300 does the job on a glass bed that will not crease anything.
Add film to the equation and the answer changes completely. The Epson Perfection V550 handles prints and 35mm slides together, while the Kodak Slide N Scan MAX and the Magnasonic FS71 convert large slide estates quickly, the latter adding Super 8 support almost nobody else offers.
Whatever you choose, protect the paper first: fragile, curled, and album-mounted prints go on a flatbed or an in-place portable converter, never through a feeder. Then save a master file per photo, name it while the context is fresh, and apply the 3-2-1 backup rule before the box goes back in the closet.
Our broader guides cover the rest of the setup: document scanners for the paperwork in the same box and camera picks if you want to restart the archive going forward.