
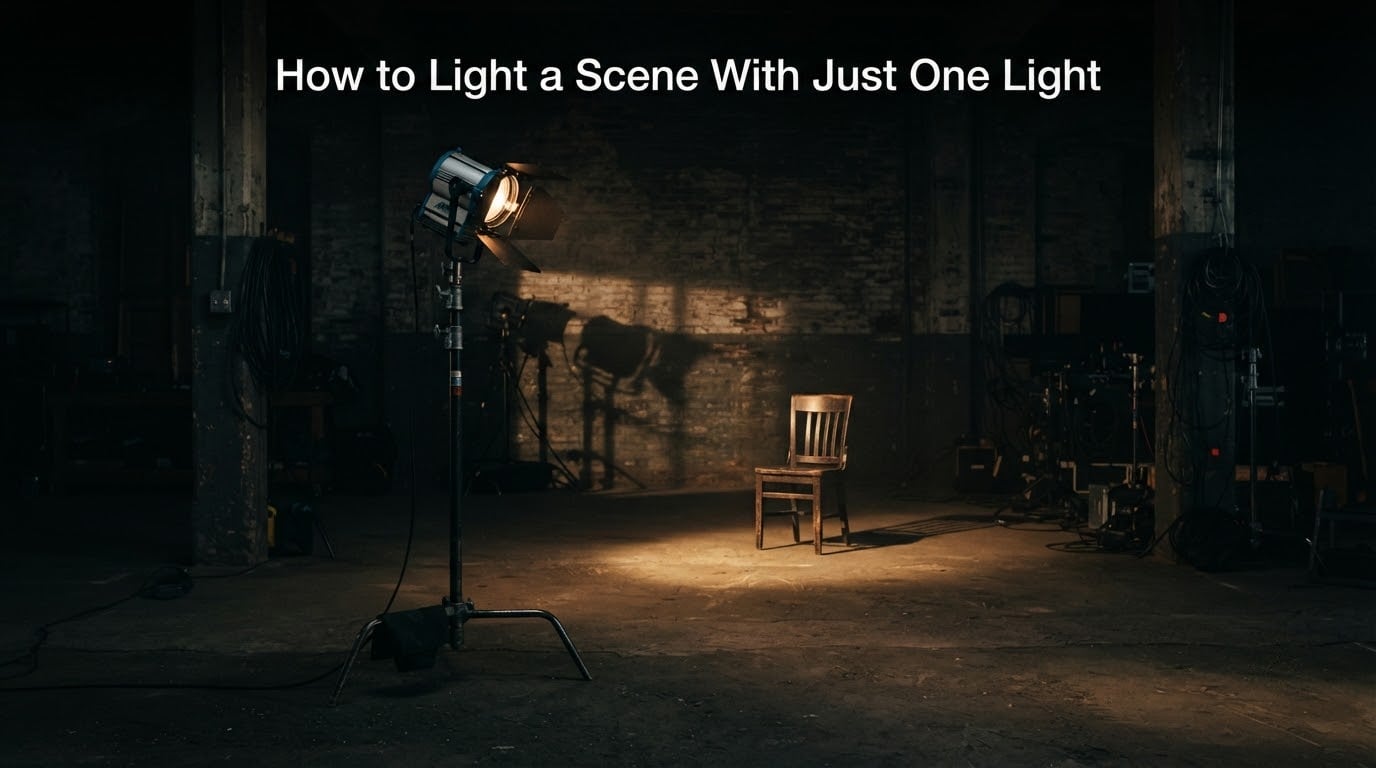
Yes, you can light a scene with just one light. Single-source lighting is the cinematographic technique of illuminating a frame with only one key light, relying on placement, intensity, and reflection to do all the work that three-point lighting normally does. Some of cinema’s most iconic images – from Gordon Willis on The Godfather to Roger Deakins on Sicario – were built around a single motivated source.
I learned this the hard way on my own short films. The first time I tried a single-source setup, my face went flat, the background fell to black, and I assumed I needed another light. I didn’t. I needed better placement, a flag, and a bounce card. That single fix changed how I plan every dialogue scene.
In this guide, I’ll walk through how to light a scene with just one light using techniques the masters use. You’ll get a featured-snippet-friendly definition, the five directions that cover almost any scene, a step-by-step setup checklist, and cheap DIY builds that still look cinematic. If you’re starting from scratch on gear, our best LED lights for low-light video guide is a solid starting point.
Table of Contents
- What Is Single-Source Lighting in Film?
- Three-Point Lighting vs One Light: What Changes?
- The Five Single-Source Lighting Directions
- Hard Light vs Soft Light With One Source
- How to Light a Scene With Just One Light: Step-by-Step Checklist
- Color Temperature, Gels, and Negative Fill on a One-Light Set
- Budget Builds for Indie and Short Film One-Light Shoots
- Why One Light Still Works: Story and Constraint
- Frequently Asked Questions
- Final Take: Make One Light Do the Work
What Is Single-Source Lighting in Film?
Single-source lighting is the practice of shaping an entire frame using one primary light, with everything outside that source allowed to fall into shadow or to be motivated indirectly. It is not a compromise. It is a deliberate creative constraint that produces higher contrast, stronger mood, and more decisive storytelling than evenly lit three-point setups.
Cinematographers reach for single-source lighting for three reasons. First, it forces a clear visual decision about where attention belongs. Second, it matches the way our eyes actually see – one dominant source, everything else subordinate. Third, it is the realistic option on a short film or indie shoot where you have one fixture, one cable run, and thirty minutes to reset between setups.
The technique covers a wide tonal range. Hard single-source lighting leans into chiaroscuro and noir. Soft single-source lighting – think a window with a sheer curtain – delivers the naturalistic look you see in The Crown. Both styles share one rule: there is only one motivated source doing the heavy lifting. If you’re choosing between approaches for a larger project, our roundup of lighting kits for a one-room short film shows how pros scale up without losing that constraint.
Three-Point Lighting vs One Light: What Changes?
Three-point lighting uses a key light, a fill light, and a backlight to model a subject evenly. One-light filmmaking removes the fill and the backlight, leaving the key light to carry shadow, separation, and shape on its own. The fill that remains comes from bounce cards, walls, or negative fill – surfaces that subtract or redirect light rather than add a second source.
What you gain by going single-source is contrast, mood, and speed on set. What you lose is forgiveness: a small mistake in placement reads instantly because there is no fill to soften it. The good news is that the techniques below give you a repeatable way to avoid those mistakes. Many of the same problems – flat faces, disconnected backgrounds, hard shadows on the wall – are the same problems cinematographers solve with negative fill when they do have more lights, so the skills transfer.
The Five Single-Source Lighting Directions
Every single-source setup starts with one decision: where do you put the light relative to the subject? These five directions cover the vast majority of scenes you’ll shoot. Pick the direction that matches the emotion you want, then refine intensity and diffusion to taste.
- Front Light (Flattening): Light directly in front of the subject, slightly above eye level. Removes most shadows and reads as flat or beauty-shot. Used sparingly for confrontation or for stylized scenes where you want the audience to feel exposed. Aputure-style LED panels placed dead-on work here.
- Three-Quarter Front (Rembrandt Setup): Light 30 to 45 degrees off-axis and slightly above the subject. Creates a small triangle of light on the cheek opposite the source – the classic Rembrandt triangle. It is the most flattering single-source starting point for dialogue.
- Side Light (Chiaroscuro): Light 90 degrees off-axis. Half the face falls into shadow, half is sculpted by the source. This is the noir and chiaroscuro look that defined Gordon Willis’s work on The Godfather and Deakins on Sicario.
- Top Light (Overhead): Light almost directly above the subject. Hides eyes in shadow and creates dramatic pools of light below. The Lighthouse, directed by Robert Eggers and shot by Jarin Blaschke, uses top light as a near-constant motif to suggest isolation and obsession.
- Backlight (Silhouette and Rim): Light behind the subject, aimed at the camera. Produces a halo or full silhouette, separates the subject from the background, and is the cheapest way to make a single-source scene feel cinematic. Backlight is also how you keep the background readable when your key is the only thing illuminating the face.
- Omnidirectional / Practical Source: A motivated source inside the frame – a tube light taped to the ceiling, a bedside lamp, a phone screen. First Man cinematographer Linus Sandgren famously used a single tube light on the ceiling of the spacecraft set to motivate the entire scene.
Hard Light vs Soft Light With One Source
Hard single-source lighting comes from a small, distant, or unmodified source. It throws crisp shadows with sharp edges and sculpts every pore and wrinkle. Hard single-source is the look of Prisoners, where cinematographer Roger Deakins used a ring light as the only source to interrogate the characters with cold, forensic detail. It is the cheapest way to get high contrast and the easiest to set up on a budget.
Soft single-source lighting comes from a large or diffused source – a window with a sheer curtain, a panel bounced off white foamcore, or a small LED through a shower curtain clipped to a C-stand. It wraps around the subject, hides flaws, and reads as naturalistic. The Crown uses soft daylight from a single window to motivate nearly every interior scene. If you’re building a soft single-source setup, our guide to light modifiers lists the diffusion tools that get you there fastest.
Pick hard light when the scene is forensic, threatening, or stylized. Pick soft light when the scene is intimate, naturalistic, or emotional. The same one-light rule applies to both – only the size of the source and its distance from the subject change.
How to Light a Scene With Just One Light: Step-by-Step Checklist
This is the on-set workflow I run before I turn a single light on. It is the gap no competitor fills, and it is the answer to the most common forum question: how do I avoid a flat face and a dead background?
- Place the subject first. Mark the actor’s position with tape. Decide which side of the frame they face – this locks your light direction before you rig anything.
- Pick the light direction. Match direction to the emotion from the list above. Dialogue defaults to three-quarter front. Conflict defaults to side or top. Reveals default to backlight.
- Set the key light at deliberate height. Eye level for flattering dialogue, above the subject for dramatic top light, below for horror-style uplight. The 5’7″ rule – a common rule of thumb in interview lighting – is a starting height for the key light when the subject is seated.
- Set intensity before adding anything else. Adjust the dimmer or move the light until the exposure on the face reads correctly on your monitor. Stop. Look at the background.
- Decide on diffusion or gel. Diffusion softens and reduces intensity. A gel adds color or corrects tungsten/daylight mismatch. Add one modifier at a time and re-evaluate.
- Check the eye-light. Walk to camera and confirm there is a catchlight in the subject’s eyes. No catchlight usually means flat lighting; reposition before adding diffusion.
- Add a bounce or negative fill. A white foamcore on the shadow side opens the shadows. A black flag or duvetyne on the shadow side deepens them. Neither adds a second source – both shape the existing light.
- Re-evaluate without a meter. Squint at the monitor. The shadow side of the face should still hold detail, not crush to black. The background should sit at least one stop behind the subject’s skin tone. If either fails, fix placement before adding gear.
Color Temperature, Gels, and Negative Fill on a One-Light Set
Color is the silent decision in most one-light scenes. Tungsten fixtures run around 3200K, daylight around 5600K, and most modern LEDs can match either. If you mix temperatures without gels, the face will look orange against a blue window or vice versa. Decide the scene’s color temperature first, then gel mismatched sources to match.
The 60-30-10 rule applies here. 60 percent of the frame should be your dominant color temperature (usually the motivated source), 30 percent a secondary, and 10 percent an accent. With one light, this often becomes a 90-10 split where the single source owns the frame and a small practical light provides the accent.
Negative fill is the unsung tool of one-light filmmaking. A black flag, a piece of duvetyne, or even a black wardrobe on the shadow side of the subject absorbs bounce light and deepens shadow. Reddit DPs regularly report that adding negative fill does more for their single-source scenes than adding a second light. It is free, it travels in a backpack, and it solves the most common complaint about one-light setups: faces that look flat because the room is bouncing too much fill back into the shadow.
Know when to break the one-light rule. If the dialogue is two-sided and both actors need to read clearly, a single bounce card on the off-side actor often does the job without adding a true second source. If the scene needs a motivated backlight plus a motivated key, a small LED hidden in the set is still a one-light story to the camera. The rule is about visual intent, not a count of fixtures in the truck.
Budget Builds for Indie and Short Film One-Light Shoots
The cheapest cinematic single-source setup is a hard light – a bare bulb or a hardware-store clamp light with a dimmer. Place it through a window for soft single-source, or bounce it off a white wall for wraparound fill. Indie DPs on Reddit’s cinematography forum have built entire short films on this rig.
A DIY ring light costs a fraction of a commercial unit and gives you the same forensic single-source look used in Prisoners. Build a ring from a piece of plywood, a handful of LED bulbs, and a dimmer circuit – the construction steps are widely documented on nofilmschool and YouTube. Mount it just out of frame and let it do all the work.
Shower-curtain diffusion is the indie workaround for a six-figure silk. Clip a white shower curtain to a C-stand or a doorway, place your single light behind it, and you have a soft source the size of a wall. Pair that with a small LED tube light – the Aputure MC and similar RGB tubes are popular among short film shooters – and you have a motivated practical plus a soft key for under the cost of a single mid-range LED panel. Our roundup of all-in-one studio kits is a good fallback when DIY isn’t an option.
Why One Light Still Works: Story and Constraint
One-light filmmaking is not a budget compromise. It is a creative constraint that produces more decisive images. When you only have one source, every choice is on the record – where the light sits, how hard it is, what color it throws. There is no fill to hide a weak decision.
The masters treat single-source lighting as a storytelling tool. Gordon Willis shaped The Godfather with motivated practicals and one dominant key. Roger Deakins uses single-source or near-single-source setups when he wants the frame to feel honest and forensic. Linus Sandgren taped a single tube light to the ceiling of a spacecraft for First Man and built the entire scene around it. Light becomes a character, and the constraint becomes the style.
When you treat one light as a creative limit instead of a deficit, your scenes start to feel intentional. The audience reads the constraint as confidence.
Frequently Asked Questions
Can you light a scene with just one light?
Yes. Single-source lighting uses one key light to do the work of three-point lighting. Placement, diffusion, and bounce shape the look while everything outside the source falls into shadow. Iconic films from The Godfather to Sicario were lit this way.
What is the 3 lighting rule?
The three-point lighting rule uses a key light to model the subject, a fill light to soften shadows, and a backlight to separate the subject from the background. A one-light setup removes the fill and the backlight and uses bounce or negative fill instead.
What is a good lighting setup for filming?
A good lighting setup starts with the subject’s position, then places one key light at a deliberate angle – typically three-quarter front for dialogue or side light for drama. Adjust intensity, add diffusion or a gel, and finish with a bounce card or negative fill to shape the shadows.
What is the 60-30-10 rule in filmmaking?
The 60-30-10 rule guides color balance in a frame. 60 percent of the image should be the dominant color, 30 percent a secondary color, and 10 percent an accent color. With a single light, this often becomes a 90-10 split between the key and a small practical.
What is the 5’7u0022 lighting rule?
The 5’7u0022 rule is a starting height for interview lighting. It suggests placing the key light roughly 5 feet 7 inches above the floor when the subject is seated, putting the source just above eye level for a flattering angle.
What is single-source lighting in film?
Single-source lighting is the cinematographic technique of illuminating a scene with only one key light. Placement, diffusion, gels, and bounce cards do the work that additional lights would normally handle.
Final Take: Make One Light Do the Work
Learning how to light a scene with just one light is the fastest way to make your work feel cinematic. Pick the direction that matches the emotion, set the intensity, add one modifier at a time, and finish with bounce or negative fill. The constraint forces every decision to count, and the audience reads that confidence on the screen.
Start with one scene this week and shoot it single-source. Once you’ve run the checklist a few times, the three-point setup will feel optional rather than required. When you are ready to upgrade your fixtures or plan a larger short, our DaVinci Resolve Studio guide and lighting kit roundups will help you plan the next step without losing the discipline one light teaches you.