
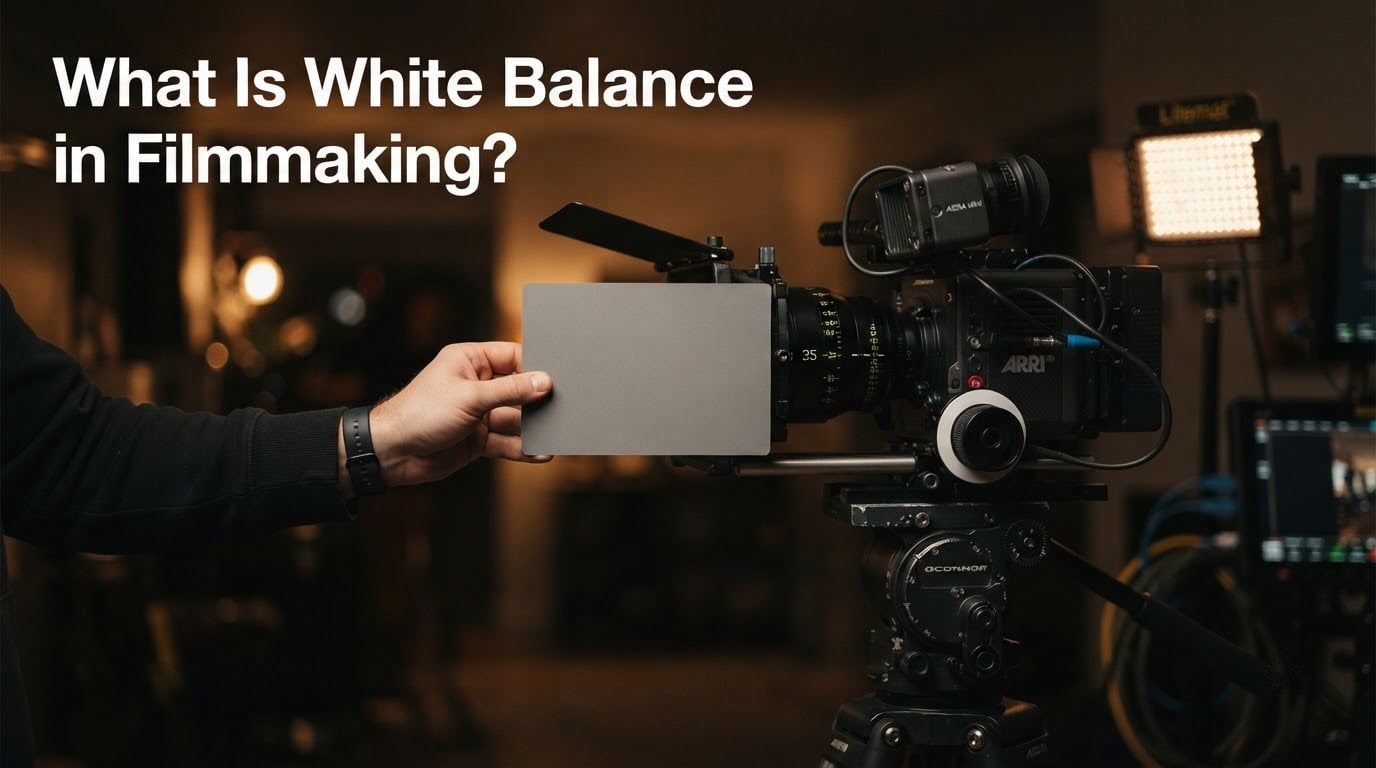
White balance in filmmaking is the camera setting that tells your sensor what “white” looks like under the current lighting, so every color in the frame is measured accurately from a neutral starting point. When you get it right, skin tones look healthy and your footage matches from shot to shot. When you get it wrong, your actors look like they just walked off a spaceship or out of a yellow-tinted 1970s film.
I have been on indie sets where the director spent the whole afternoon reshooting because nobody checked white balance before rolling. I have also walked onto sets where the gaffer and DP sorted it in three minutes flat and the footage cut together like butter. The difference almost always comes down to one simple habit: setting white balance deliberately, on purpose, before each new lighting setup.
If you are shooting a short film, a YouTube piece, or anything on your phone, this guide will walk you through what white balance actually is, how the Kelvin scale works, how to set it in-camera, and how to fix it later if life happens. I will also dig into a question almost no other article covers: how to navigate the white balance “dance” when you finally hire a gaffer. Let’s get into it.
Table of Contents
- What Is White Balance in Filmmaking?
- What Is Color Temperature and the Kelvin Scale?
- How to Set White Balance In-Camera
- White Balance Cards vs Gray Cards: When to Use Each
- Fixing White Balance in Post-Production
- Common White Balance Mistakes and How to Spot Them
- Working with a Gaffer: The DP/White Balance Workflow
- Using White Balance Creatively
- White Balance for Smartphone and Short Filmmakers
- Frequently Asked Questions
- Conclusion
What Is White Balance in Filmmaking?
White balance is a camera setting that establishes what counts as “white” in the current lighting, then measures every other color from that neutral baseline. If your camera knows what neutral white looks like under tungsten light at 3200K, it can render the orange glow as a faithful white and keep skin tones, costume colors, and product packaging looking natural.
Filmmakers obsess over white balance because once footage is recorded, the color relationship is locked in. You can nudge it in post, but you cannot fully recover a wildly incorrect white balance if the channels clipped. In practical terms, that means: get WB as close as possible in-camera, then refine in color.
The easiest mental model I give to new short film crews is this. Imagine you walk into a living room lit only by lamps. Your eyes automatically “see” the lamps as light bulbs, not as orange lights. Your camera cannot do that without a hint. White balance is your way of telling the camera, “Hey, that lamp is your reference white.” Once it knows, every other color falls into place.
Why White Balance Matters for Short Film Shoots
On a short film, you rarely have the time or budget to color-correct your way out of a problem. A 5-minute short might have 40 setups across two locations. If white balance drifts between setups, the edit bay turns into a nightmare of color-matching windows. If it is consistent, you can spend that time on creative grading instead of fixing mistakes.
White balance also protects skin tones. Audiences forgive a lot, but they do not forgive actors who look green, yellow, or sunburned when the scene calls for “normal.” A neutral WB lets you push the image warmer or cooler for style later, without first having to undo a baked-in color cast.
What Is Color Temperature and the Kelvin Scale?
Color temperature describes the color of light, measured in Kelvin (K). Lower Kelvin numbers mean warmer, more orange or yellow light. Higher Kelvin numbers mean cooler, more blue light. The Kelvin scale is named after Lord Kelvin, who figured out that if you heat a black body radiator, it changes color in a predictable way as the temperature rises. Tungsten bulb filament at 3200K glows warm; midday sun at roughly 5600K appears more neutral to slightly cool; open shade at 7000K-plus looks distinctly blue.
How Color Temperature Works:
- Kelvin (K) measures the color of light, not its brightness. A candle and the sun can produce the same Kelvin color at wildly different intensities.
- Lower K equals warmer light (orange/amber). Higher K equals cooler light (blue).
- Your camera balances the color of the recorded image against a target Kelvin value, then applies the opposite color shift so the result looks neutral.
- Your eye adapts automatically. Your camera does not, which is why white balance exists.
Here is the cheat sheet I taped inside my camera case for years:
| Light Source | Typical Kelvin | Camera Preset | Look |
|---|---|---|---|
| Candle / matches | 1800-2000K | Tungsten (warmer) | Deep orange |
| Household tungsten / incandescent bulbs | 2700-3200K | Tungsten (3200K) | Warm amber |
| Sunset / golden hour | 3000-3500K | Tungsten or manual | Romantic warm |
| Studio tungsten (3200K balanced) | 3200K | Tungsten | Neutral under bulbs |
| Studio daylight (5600K balanced HMI) | 5600K | Daylight | Neutral outdoors |
| Direct midday sun | 5400-5600K | Daylight | Slightly warm |
| Overcast sky | 6500-7500K | Cloudy / Shade | Cool / bluish |
| Open shade / blue sky | 8000-10000K | Shade (push cool) | Strong blue cast |
The 5600K “Daylight” Myth
Most textbooks list 5600K as “daylight,” but Wolfcrow’s Sareesh Sudhakaran has pointed out that real midday sun lands closer to 5400-5600K, golden hour drops to around 3000K, and open shade climbs above 7000K. Treat 5600K as a useful default, not gospel. Check the actual sky and sun angle before trusting the preset.
How to Set White Balance In-Camera
Every modern camera gives you four ways to handle white balance: auto white balance (AWB), presets, manual Kelvin, and a custom white balance. Here is how they work and when to use each.
Auto White Balance (AWB)
AWB lets the camera guess. On most modern cameras, AWB is surprisingly good in simple lighting. It is also wildly inconsistent in mixed lighting, sodium-vapor street lamps, and dim interiors. Reviewers in cinematography forums report AWB occasionally producing infrared-looking or jaundice-style footage because the algorithm locked onto the wrong dominant source. Use AWB for run-and-gun documentary style work where consistency matters less than capturing the moment.
White Balance Presets
Presets lock your camera to a specific Kelvin value (typically Tungsten 3200K, Daylight 5600K, Fluorescent, Cloudy, Shade). They are fast, predictable, and good when you know what kind of light you are under. Most cinema cameras and even a solid tripod-mounted filmmaking setup benefit from a preset when shooting time is tight.
Manual Kelvin
Manual Kelvin lets you dial in any value between roughly 2000K and 10000K. Pick this when you want to bias the image deliberately warm or cool for creative intent, or when you are correcting AWB’s bad guess by eye. It is faster than custom WB and more controllable than presets.
Custom White Balance with a Gray or White Card
A custom WB is the most accurate method, and the one professional DPs lean on for hero shots. The camera reads a spectrally neutral target and calculates a precise color shift from that reference.
How to set a custom white balance with a gray card:
- Place an 18% gray card (or white balance card) in the same light hitting your subject, frame-filling if possible.
- Switch the camera to manual focus and zoom so the card fills the center of the frame.
- Make sure no other colors are reflecting onto the card (no green grass, no colored gel leak).
- Set exposure first. White balance only works if exposure is correct; clip the highlights and you will clip the WB reading.
- Trigger the custom WB function (often labeled “Set WB,” “One Push WB,” or an icon). The camera stores the color temperature.
- Reframe your shot. The custom WB stays active until you change it.
Pro tip: re-white-balance every time your key light changes or your scene shifts from interior to exterior. A card costs almost nothing. The time you save in post is enormous.
White Balance Cards vs Gray Cards: When to Use Each
A gray card is an 18% gray spectrally neutral reference, designed to reflect equal amounts of red, green, and blue light across the visible spectrum. A white balance card is a similar concept, sometimes true white, sometimes neutral gray, sometimes a multi-patch target like the Calibrite ColorChecker. The terms are often used interchangeably.
For most short film work, an 18% gray card does the job perfectly. If you want a more thorough reference (skin tone patches, color patches, calibrated white), upgrade to a spectrally neutral chart like the DSC Labs OneShot or Calibrite ColorChecker. Both give you reliable WB plus a reference for color grading later.
If you want a deeper comparison of the most trusted options, our best gray cards for white balance guide breaks down the brands we have tested on set.
When to White Balance With a Card
Use a card when:
- Your lighting setup is the hero of the shot (interview, dialogue scene, product shot).
- You have time to place the card under the same light as the talent.
- You are mixing daylight and practical lights and need one trustworthy reference.
- Your color palette is critical (brand work, fashion, food).
Skip the card and use a preset or manual Kelvin when you are run-and-gun, on a moving subject, or shooting in lighting that will change every 30 seconds. The card does not help if your light source is shifting faster than you can re-card.
Fixing White Balance in Post-Production
Post-production is your safety net. Modern color tools let you rebalance footage that was captured at the wrong Kelvin, shift tint, and grade creatively. Tools like DaVinci Resolve, Final Cut Pro, and Adobe Premiere all ship with white balance controls.
Color Correction vs Color Grading
Color correction fixes what was wrong in-camera. White balance, exposure, and matching shots between takes are all correction work. Color grading is the creative layer after correction: the warm sunset look, the cold sci-fi mood, the bleached film print feel. Adobe contributor Mike Leonard puts it well: correction gets you back to neutral, grading makes a statement.
The Eyedropper Workflow
Most NLEs include an eyedropper (or “white balance picker”) that lets you click on something that should be neutral white or gray in the frame. The tool automatically calculates the temperature and tint shift needed to neutralize that area. It works best on a clearly white or gray object (a t-shirt, a wall, a piece of paper) that was lit by the same source as your subject.
RAW vs LOG Footage
White balance is far more flexible in RAW or LOG footage than in compressed formats. RAW preserves the full sensor data, which means you can swing Kelvin by hundreds of degrees with no quality loss. LOG footage (a flat, low-contrast gamma curve) gives you similar latitude. If you know you will need to fix WB later, shoot RAW whenever your storage budget allows.
Compressed formats (h.264, h.265) bake in the WB at the time of recording. You can still adjust, but expect noise and banding if you push the temperature slider too far.
Common White Balance Mistakes and How to Spot Them
What happens when white balance is off? Reviewers in r/cinematography threads describe footage that looks “alien,” “sickly,” or like the actors have jaundice. The signs are consistent.
Common symptoms of wrong white balance:
- Yellow or orange cast on skin (camera was set too cool for warm lighting).
- Bluish or purple cast on skin (camera was set too warm for cool lighting).
- Green tint in shadows (mixed fluorescent and daylight with no card reference).
- Pink or magenta shift (mixed LED lighting, especially cheap panels).
- Shots that look fine alone but refuse to cut together on the timeline.
Mixed Lighting Challenges
Mixed lighting is the number-one cause of “I cannot fix this in post” complaints. If your interior scene has a 5600K LED key, a 3200K practical lamp in the background, and a window letting in 6500K daylight, no single WB can neutralize everything. You have three options.
- Gel your lights so they match (color-correction gels on the practical).
- Block the daylight with blackout curtains.
- Embrace the contrast and grade the look deliberately.
Working with a Gaffer: The DP/White Balance Workflow
On a Reddit thread in r/cinematography, user raddatzpics wrote: “I’m fairly new to working with gaffers, and I never know exactly how to tackle white balance… The camera vs light WB dance is a tricky thing for me to understand.” If that is you, you are not alone. Here is how the workflow actually runs on a real set.
Who Owns the White Balance Decision?
The DP (director of photography) owns the final look, but the gaffer owns the light. White balance sits at the seam between the two. The standard approach is this: the DP decides the target color temperature for the scene (say, 4000K for a neutral-but-slightly-cozy interior), and the gaffer matches the lighting fixtures to that target using gels and dimmers.
The White Balance “Dance”
The dance works like this. The DP sets WB to a value that gives the look they want. The gaffer measures the actual light hitting the subject and, if the sources are inconsistent, applies correction gels (typically CTS or CTO) until the reading matches. Both check with their own tools: the DP with the camera’s WB, the gaffer with a light meter or spectrometer.
If you are a one-person crew with no gaffer, the dance becomes a conversation with yourself. Pick a target Kelvin, place an 18% gray card under the key, set WB, then adjust your practical lights by eye or by gel until the look matches. The math is the same; you are just doing both roles.
Communication Tips
- Tell the gaffer your target Kelvin before they start lighting, not after.
- Re-white-balance after any major lighting change (a flag removed, a window opened, a gel swapped).
- When in doubt, place a gray card under the talent’s eyeline and lock WB there.
Using White Balance Creatively
Correct white balance is not always the right choice. Some of the most iconic shots in cinema are intentionally wrong.
In The Matrix, the real world is graded with a green tint to make the audience feel uneasy, while the simulated Matrix is a cooler blue. In Traffic, director Steven Soderbergh split his color palette: warm orange for the Mexican storyline, cold blue for the suburban storyline, all reinforced with deliberate white balance choices. These are not errors. They are storytelling.
If you shoot a candlelit scene and white balance for “accurate” 3200K tungsten, the result is often too clinical. Pushing the WB slightly warmer (say, 2500K) keeps the candlelight feeling, which is the entire point of the scene. Wolfcrow calls this out explicitly: sometimes “wrong” white balance is the right call.
When to Push WB Cool
Push cooler (higher Kelvin than your light) for night exteriors, sci-fi, horror, sterile hospital scenes, and any moment you want the audience to feel isolated. Aim for 7000K-plus if you want the moonlit look without moonlight.
When to Push WB Warm
Push warmer (lower Kelvin than your light) for nostalgia, romance, sunset, fireside, or any moment that should feel inviting. Aim for 2500-3500K when you want candlelight vibes on a daylight-balanced set.
White Balance for Smartphone and Short Filmmakers
Smartphones handle white balance automatically, and they are remarkably good at it under clean light. They also struggle with mixed lighting in exactly the same way a cinema camera does. If you are shooting on an iPhone or Android, lock your WB manually using an app like FiLMiC Pro, Blackmagic Camera, or the native manual controls on newer phones.
For indie run-and-gun shoots, three tips have saved me hours in the edit bay:
- Lock WB at the start of each scene. Touching the screen mid-shot triggers AWB to re-evaluate, which causes the color to drift mid-take.
- For Indoors, shoot an 18% gray card or even a piece of white printer paper under the key light. Set custom WB if your phone allows it.
- For Outdoors, the default daylight setting is usually fine. Watch out for open shade, which is much cooler than direct sun.
If you need a mobile rig that helps you control WB alongside focus and exposure, our guide to mobile filmmaking accessories for creators lists the tools our team actually uses.
Frequently Asked Questions
What is a good white balance for video?
A good white balance for video is whatever Kelvin temperature matches your dominant light source. Under household tungsten bulbs, set 3200K. Under direct midday sun, set 5600K. Under overcast skies, push toward 7000K. The most accurate method is a custom white balance using an 18% gray card placed under the same light as your subject. For most short film dialogue scenes, a properly executed custom WB at 3200K (interior) or 5600K (exterior) is the safest starting point.
What does black balance mean?
Black balance is a separate calibration step some cameras require, especially older professional video cameras and certain cinema cameras. It tells the sensor what ‘black’ looks like under current conditions so the camera can suppress noise and color shifts in the shadows. Black balance is unrelated to white balance; you can do one without the other, though many camera menus require you to black-balance first as part of a full calibration routine.
What happens when white balance is off?
When white balance is off, white objects in your frame appear orange, blue, green, or magenta, and every other color is skewed from there. Skin tones look sickly, costume colors distort, and shots that should match refuse to cut together on the timeline. Common symptoms include a yellow-orange cast (camera too cool), a blue-purple cast (camera too warm), green shadows (mixed fluorescent and daylight), and pink or magenta shifts (mixed LED sources).
Is ISO the same as white balance?
ISO is not the same as white balance. ISO controls the camera sensor’s sensitivity to light and affects exposure and noise. White balance controls the color of light the camera treats as neutral and does not affect brightness. A change in ISO makes the image brighter or darker. A change in white balance shifts the color cast. Both are independent settings, and both matter for a clean image, but they solve different problems.
Conclusion
White balance in filmmaking is the single camera setting that decides whether your actors look human or sick. Set it deliberately using a Kelvin preset that matches your light, push to manual when AWB guesses wrong, and reach for an 18% gray card when the shot matters. If you remember nothing else, remember this: get white balance right in-camera, and you will save hours of color correction in post.
Take this cheat sheet, tape it inside your camera case, and start every setup with a quick WB check. The next time you are on a short film set, you will be the crew member who looks calm while everyone else is scrambling to fix the color in the edit.