
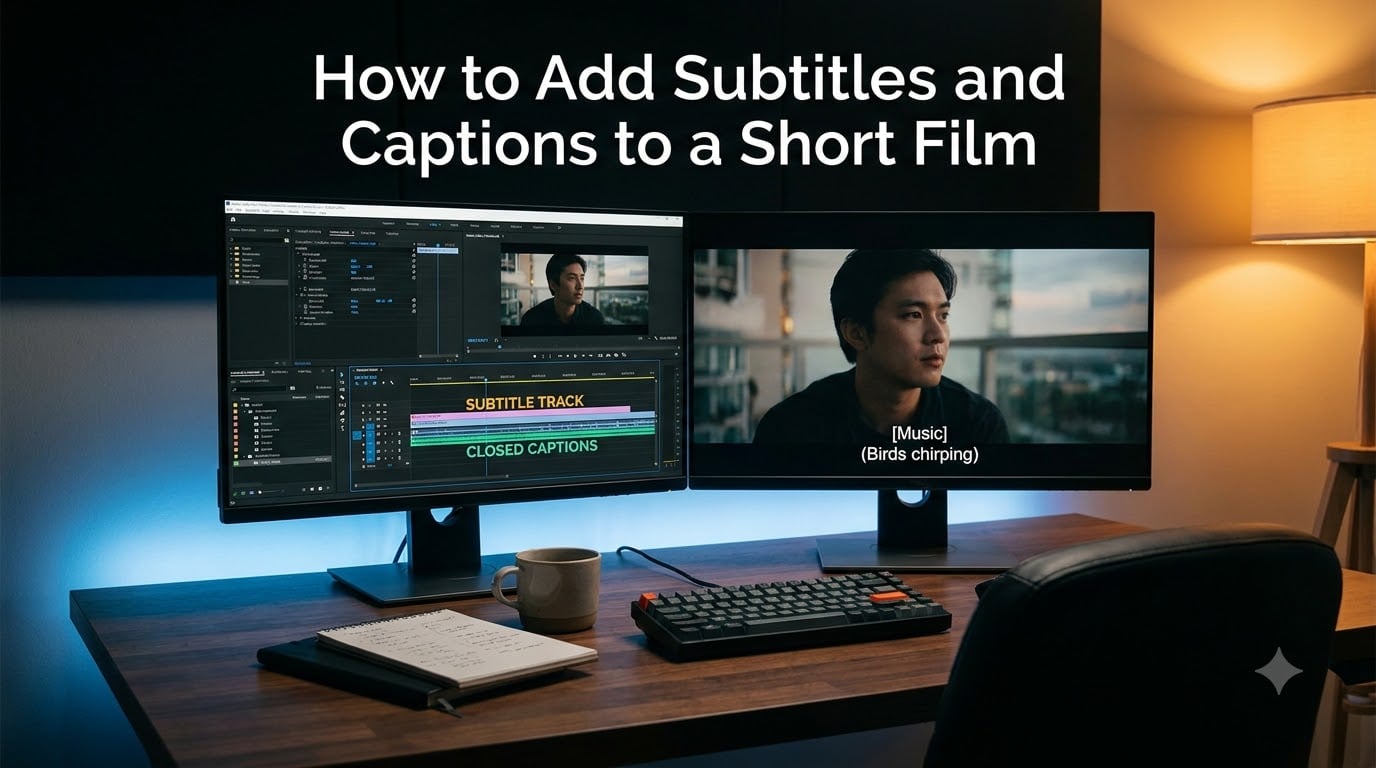
Adding subtitles and captions to a short film used to feel like a technical chore, but it is one of the fastest ways to make your work accessible, festival-ready, and discoverable online. In this guide, I will walk you through the exact workflow I use when finishing my own shorts: writing the transcript, building the SRT file, syncing timestamps, choosing readable fonts, and exporting for YouTube, Vimeo, or a festival submission. You will also get my best practices for contrast, character limits, and timing so your captions look professional from the first frame.
Table of Contents
- Understanding Subtitles vs Captions for a Short Film
- Why Subtitles and Captions Matter for Your Short Film
- Step-by-Step: How to Add Subtitles and Captions to a Short Film
- Subtitle File Formats Explained (SRT, VTT, ASS)
- Best Tools for Adding Subtitles to a Short Film
- Best Practices for Readable Subtitles and Captions
- Common Mistakes to Avoid When Adding Subtitles
- Platform-Specific Guidelines: YouTube, Vimeo, and Film Festivals
- Frequently Asked Questions
- Conclusion
Understanding Subtitles vs Captions for a Short Film
Subtitles and captions are not the same thing, and knowing the difference will save you headaches on festival submissions. Subtitles assume the viewer can hear the audio, so they only display spoken dialogue in another language (or in the original language for clarity). Captions are designed for deaf or hard-of-hearing viewers and include spoken dialogue, speaker identification, plus descriptions of important sound effects and music cues.
You will also run into two delivery methods. Open captions are burned directly into the video file and cannot be turned off. Closed captions sit in a separate sidecar file (SRT or VTT) that viewers or platforms can toggle on or off. Most film festivals accept closed captions, while social platforms like YouTube prefer a sidecar file you upload alongside the video.
Quick Definitions You Will Reuse
- Subtitle: On-screen text of spoken dialogue, usually in a different language.
- Caption: On-screen text that includes dialogue plus sound effects and speaker tags.
- Open captions: Permanently embedded into the video image.
- Closed captions: Stored in a separate file the viewer can switch on or off.
Why Subtitles and Captions Matter for Your Short Film
I always add captions, even to my English-language festival shorts. The Reddit filmmaking community feels the same way: most viewers now watch videos muted on phones, and captions keep your story landing even when audio is off. Subtitles also unlock international festival submissions and let your film travel without a dub.
Beyond reach, captions are an accessibility right. ADA and EAA compliance rules are tightening worldwide, and platforms like Netflix, Amazon, and most major festivals now require caption files for any submitted film. Treating captions as a finishing step, not an afterthought, is the difference between a film that screens and one that gets disqualified at the paperwork stage.
Step-by-Step: How to Add Subtitles and Captions to a Short Film
Here is the exact workflow I follow every time, from raw cut to captioned master.
Step 1: Transcribe Your Dialogue
Watch your final cut and transcribe every line of spoken dialogue. I type mine in plain text first, breaking the dialogue into readable chunks before I ever touch timestamps. This is also where I write a column for sound effects and music cues if I am producing true captions.
Step 2: Break Text into Caption Blocks
Cue each line so it can be read in one to two lines within two to four seconds. I aim for roughly 32 to 42 characters per line and never more than two lines per cue. Long monologues get split at natural breathing points, not mid-thought.
Step 3: Add Timestamps
Open a free subtitle editor (Subtitle Edit, Aegisub, or the built-in editor in Premiere Pro). Play the film, hit a shortcut to mark the in-point when a line starts, then mark the out-point when it ends. Repeat for every cue.
Step 4: Choose a Subtitle File Format
Save your file in SRT for most platforms and VTT for HTML5 video players. I always export both, because some festivals and platforms will silently reject the wrong format.
Step 5: Burn In or Sidecar
Decide if you want open captions (burned in) or closed captions (sidecar). For festival submissions, I export both: a clean version with sidecar captions and a safety backup with open captions burned in.
Step 6: Style for Readability
Set a sans-serif font, white text with a black outline or drop shadow, and bottom-center placement. Avoid italics for spoken dialogue, save them for narration and off-screen voices.
Step 7: QC the Sync Twice
Watch the film with captions on, checking for timing drift, typos, and missing cues. Then watch a second pass with the sound off to confirm the captions stand alone. This two-pass QC catches 90 percent of the errors I see in first-round captions.
Subtitle File Formats Explained (SRT, VTT, ASS)
The three formats you will see most often are SRT, VTT, and ASS. Each one solves a slightly different problem, and picking the right one upfront saves you from re-encoding later.
SRT (SubRip Subtitle)
The most widely supported subtitle format. SRT uses simple timecodes like 00:00:12,500 --> 00:00:15,000 with the text below. YouTube, Vimeo, Facebook, and most film festivals accept SRT without issue. If you only have time to export one format, export SRT.
WebVTT (.vtt)
The HTML5 standard. VTT looks almost identical to SRT but uses a period instead of a comma in the timestamp and supports styling, positioning, and metadata. Use VTT when you are embedding a video on your own website or distributing through HTML5 players.
ASS/SSA (Advanced SubStation Alpha)
A fancier format that supports fonts, colors, and animations. ASS is what fansubbing communities use for stylized anime and karaoke effects. Most film festivals do not accept ASS, so only use it when you are delivering to a platform that specifically asks for it.
Sample SRT Block
1
00:00:01,200 --> 00:00:04,500
She told me to meet her at the bridge.

2
00:00:05,000 --> 00:00:07,800
But the bridge had been gone for ten years.
Best Tools for Adding Subtitles to a Short Film
You do not need a paid editor to get professional captions. I have used every tool on this list across shorts, featurettes, and client work, and each one has a clear best use case.
Free Subtitle Editors
- Subtitle Edit (Windows): The best free editor for SRT and VTT, with built-in translation mode and a visual timeline.
- Aegisub (cross-platform): Powerful ASS editor popular for stylized captions and karaoke timing.
- YouTube Studio: Built-in editor that auto-generates captions and lets you fix the timing in the browser.
AI Auto-Captioning Tools
Otter.ai, Descript, and Adobe Speech to Text can generate a rough transcript in minutes. AI captions have improved a lot in 2026, but they still miss speaker tags, drop quiet dialogue, and mis-time fast exchanges. Always treat AI output as a first draft, then manually fix names, punctuation, and sync.
Paid Professional Editors
- Adobe Premiere Pro: Native SRT/VTT import and export with caption styling controls.
- Final Cut Pro: Built-in caption inspector with role-based text styles.
- DaVinci Resolve: Free version supports SRT import; Studio adds full styling and burn-in.
Best Practices for Readable Subtitles and Captions
Readable captions come down to four levers: length, contrast, timing, and clarity. Master these and your captions look broadcast-quality even on a tight deadline.
Character and Line Limits
Keep lines to 32 to 42 characters and never more than two lines on screen at once. BBC and Netflix both enforce 42 characters per line. Anything longer forces the eye to scan and pulls viewers out of the scene.
Timing and Duration
Each cue should stay on screen long enough to read at a comfortable pace. The rule of thumb I use: 1 second for every 15 characters, with a minimum of 1 second and a maximum of 6 seconds for normal dialogue.
Contrast and Font
White sans-serif text on a subtle drop shadow or black outline reads cleanly on any background. Avoid decorative fonts, yellow on white, or placing captions over busy action. Sans-serif options like Arial, Helvetica, and Roboto are safe choices across platforms.
Speaker Identification
Use a dash at the start of a new speaker: - I never said that. When the speaker is off-screen or narrating, italicize the line and add (V.O.) or [whispering] as appropriate.
Sound Effects and Music
For true captions, include non-speech audio in brackets or italics: [door slams], (soft piano music). Keep these on their own cue line so they never compete with spoken dialogue.
Common Mistakes to Avoid When Adding Subtitles
I have judged enough festival submissions to know the same mistakes show up again and again. Avoiding these will put you ahead of most filmmakers.
- Timing drift: Captions that look fine at the start slowly slip out of sync by the end. Always QC the last five minutes, not just the opening.
- One long line per cue: A single 80-character line forces viewers to read like a book. Break it into two shorter lines.
- Burned-in captions with no sidecar: Festivals want a closed caption file. Always submit both.
- Skipping manual review of AI captions: Auto-captioning tools confidently invent words. Fix every name and number by hand.
- Ignoring festival-specific rules: Some festivals require open captions, others require SDH (Subtitles for the Deaf and Hard of Hearing). Read the submission fine print before exporting.
Platform-Specific Guidelines: YouTube, Vimeo, and Film Festivals
Each platform has its own quirks. Here is how I handle the big three so nothing fails on upload.
YouTube
Upload an SRT file or use YouTube Studio’s built-in caption editor. YouTube auto-translates your captions into other languages, which is a free way to reach international viewers. Set the language and label the track before publishing so the captions appear in the player.
Vimeo
Vimeo accepts SRT and VTT. Pro and Business plans let you upload multiple language tracks and toggle them on the embed player. I always upload the original-language SRT plus at least one translated track when I am distributing internationally.
Film Festival Submissions
Most festivals (Sundance, SXSW, Cannes Short Film Corner) require SDH captions and an SRT or SCC file. Some require open captions burned in. The Indie Shorts Mag guide and each festival’s submission page list exact specs. When in doubt, contact the festival coordinator before you master your film.
Frequently Asked Questions
How do I add subtitles and captions to a short film?
Create an SRT file using a free editor like Subtitle Edit, add timestamps for each line of dialogue, style it with a readable sans-serif font, and upload it as a sidecar file on YouTube, Vimeo, or your festival submission. For open captions, burn the text into the video using Premiere Pro, Final Cut, or Resolve.
What is the best format for video subtitles?
SRT is the most widely supported subtitle format and works on YouTube, Vimeo, Facebook, and most film festivals. Use VTT when you need HTML5 styling for a website. Only use ASS when a platform specifically requires advanced styling and animations.
What are the standard guidelines for subtitles?
Keep lines to 32-42 characters, no more than two lines per cue, and leave each cue on screen for 1-6 seconds depending on length. Use white sans-serif text with a drop shadow or outline, place captions at the bottom center, and add speaker tags with a dash. For accessibility, include sound effects in brackets and italicize off-screen narration.
How do I add captions for free?
Use YouTube Studio’s free auto-captioning tool, then manually correct the timing and text in the browser editor. For offline work, Subtitle Edit and Aegisub are free, open-source subtitle editors that support SRT, VTT, and ASS exports on Windows, macOS, and Linux.
Should I add subtitles to an English-language short film?
Yes. Captions help deaf and hard-of-hearing viewers, support muted playback on social media, and meet the submission requirements for nearly every major film festival. Adding subtitles also makes your film eligible for international audiences who rely on translated captions.
Conclusion
Learning how to add subtitles and captions to a short film is a one-weekend project that pays off for the life of your film. Start by transcribing and timestamping in SRT, keep each line short and readable, then export both a closed caption file and a burned-in safety master for festival submission. Always QC twice, once with sound and once without, and your captions will look as professional as the picture they sit under. Your next step: open Subtitle Edit (or your editor of choice), drop in a short scene from your film, and run through the seven-step workflow above before you scale it up to the full cut.