
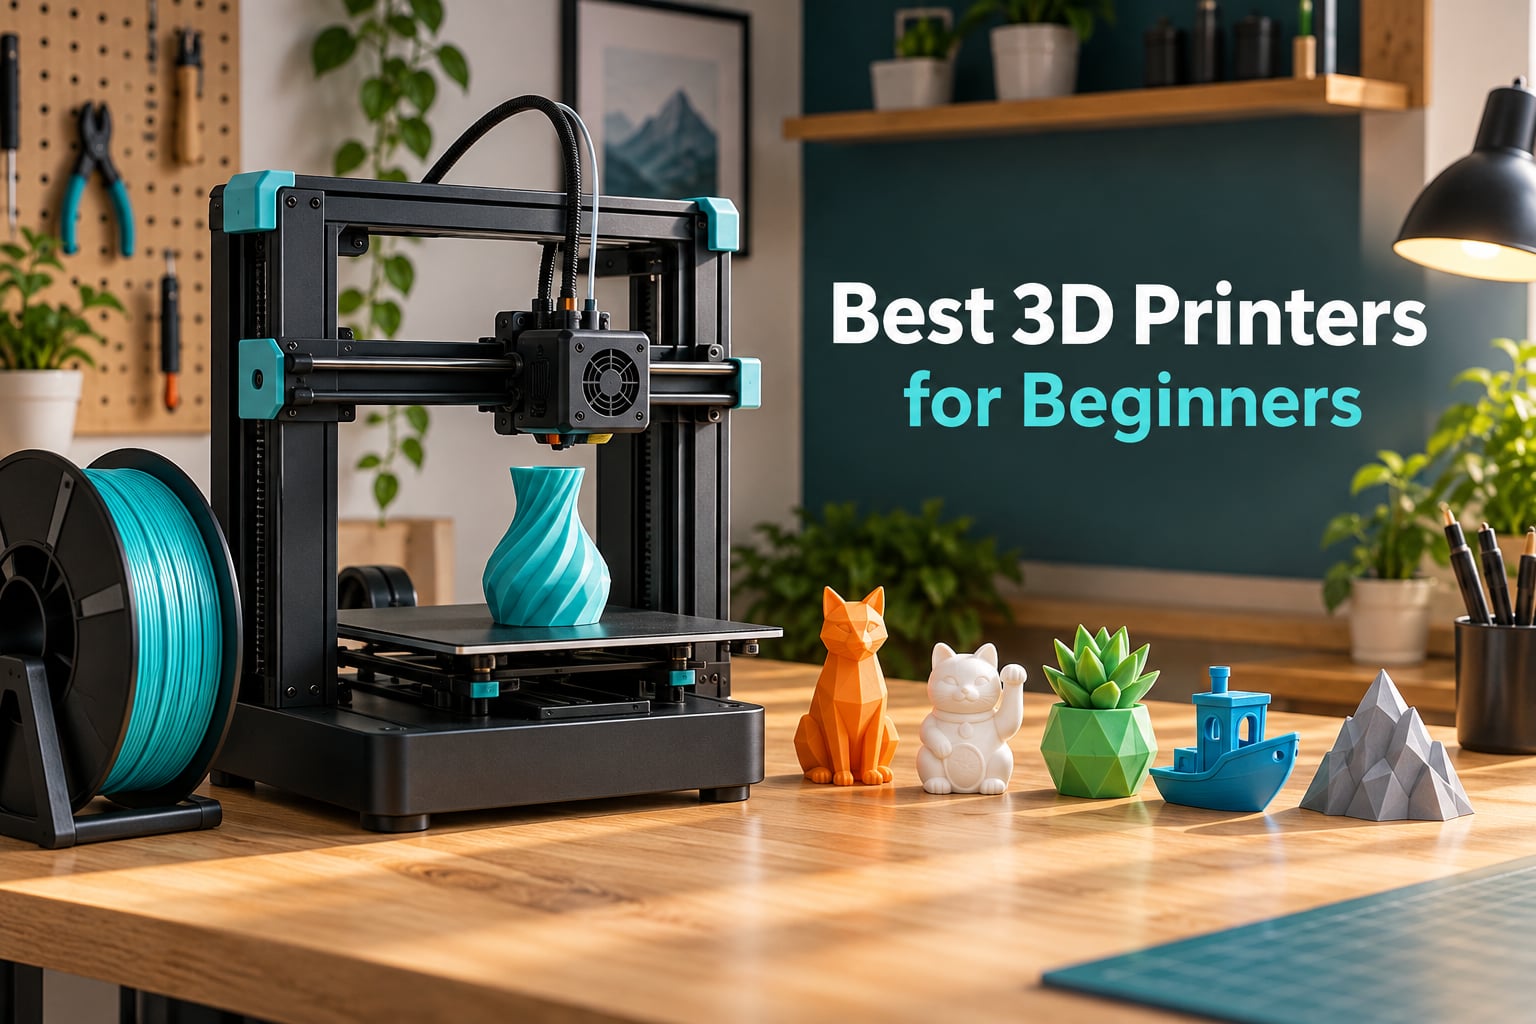
The best 3D printers for beginners are the machines that print a good part on the first try without a calibration marathon, a wiring diagram, or a weekend of belt tensioning. That is a narrower bar than the spec sheets suggest. I have spent the last few months living with entry-level FDM machines, unboxing them, running the factory test, printing organizers, brackets and articulated models, and comparing how each one behaved when I walked away from it overnight.
Most of the machines in this guide fall into one of three camps. Fully automatic machines calibrate themselves and get out of the way. Pre-assembled machines remove the build step entirely. Traditional bedslingers still demand some setup but cost less and teach you more in the process. All of them will make something useful on day one if you pick the right one for the size of the models you want.
One note before we start, because it trips up a lot of newcomers. A 3D printer is a digital fabrication tool, not a toy, and the thing that decides your experience is the model library, not the machine. If your goal is 3D animation work, you will spend your time in Blender or Maya rather than in a slicer, and it helps to understand rigging and modeling before you buy hardware. Our 2D vs 3D animation guide covers the pipeline, and what rigging is in 3D animation covers the part most beginners skip.
Here is everything we tested, ranked, and explained for a first-time buyer in 2026.
Table of Contents
- Top 3 Best 3D Printers for Beginners in 2026
- All 12 Printers at a Glance in October
- How We Picked These Printers
- The 12 Best 3D Printers for Beginners, Reviewed
- 1. Creality Ender 3 V3 SE – The Most Proven First Printer
- 2. Bambu Lab A1 – The Least Intimidating Entry
- 3. FLASHFORGE Adventurer 5M – CoreXY Speed and Auto Leveling
- 4. Creality SPARKX i7 – Best Camera and Build Volume Combo
- 5. Creality K2 SE 4C – Multi-Colour Without Extra Hardware
- 6. Bambu Lab P1S – The Enclosed All-Rounder
- 7. TINA2S Starter Kit – Best for Kids and First Projects
- 8. Entina Tina2C – Best Guided App Experience
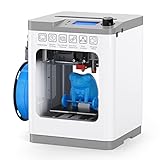
- 9. Entina Tina2 Basic – The Entry-Level Assembled Printer
- 10. Bambu Lab A1 Mini – Best for Small Desks
- 11. FLASHFORGE AD5X – Four-Color Prints on a CoreXY Frame
- 12. Anycubic Kobra X – Quietest Multi-Color Option
- What to Look for in a First 3D Printer
- FDM vs Resin for Beginners
- What to Buy With Your First Printer and the First 30 Days
- Frequently Asked Questions
- Our Final Picks for First-Time Owners
Top 3 Best 3D Printers for Beginners in 2026
If you only read one section, read this one. These three cover the realistic range of what a first machine should do: the most proven and heavily reviewed, the least intimidating, and the fastest under the hood.

Creality Ender 3 V3 SE
- CR Touch auto leveling
- Sprite direct drive extruder
- 250mm/s max speed


FLASHFORGE Adventurer 5M
- CoreXY motion
- 600mm/s with vibration compensation
- One-click auto leveling
All 12 Printers at a Glance in October
| Product | Specs | Action |
|---|---|---|
| Creality Ender 3 V3 SE |
|
Check Latest Price |
| Bambu Lab A1 |
|
Check Latest Price |
| FLASHFORGE Adventurer 5M |
|
Check Latest Price |
 Creality SPARKX i7 Creality SPARKX i7 |
|
Check Latest Price |
 Creality K2 SE 4C Creality K2 SE 4C |
|
Check Latest Price |
 Bambu Lab P1S Bambu Lab P1S |
|
Check Latest Price |
 TINA2S Starter Kit TINA2S Starter Kit |
|
Check Latest Price |
 Entina Tina2C Entina Tina2C |
|
Check Latest Price |
 Entina Tina2 Basic Entina Tina2 Basic |
|
Check Latest Price |
 Bambu Lab A1 mini Bambu Lab A1 mini |
|
Check Latest Price |
 FLASHFORGE AD5X FLASHFORGE AD5X |
|
Check Latest Price |
 Anycubic Kobra X Anycubic Kobra X |
|
Check Latest Price |
How We Picked These Printers
Our weighting came straight from the failures beginners report. First-layer adhesion and automatic bed leveling mattered more than raw speed, because a failed first layer wastes a whole spool of filament and an evening. Direct drive extruders scored well because they handle TPU and reduce the stringing that makes prints look bad to a new owner.
We also read build volume against the models people actually want to make. Anything under about 100mm cube frustrates people within months, and that frustration shows up in review text long before it shows up in spec comparisons. Software workflow counted too: a slicer that produces a usable profile without a YouTube tutorial is worth a great deal to someone who has never held a 3D printer before.
Finally, we weighted long-term owner reports over first impressions. A machine that needs attention in month six is a worse first printer than a slightly slower machine that runs for a year untouched, so we looked hard at clogging, belt maintenance and support response.
The 12 Best 3D Printers for Beginners, Reviewed
1. Creality Ender 3 V3 SE – The Most Proven First Printer
Creality Ender 3 V3 SE 3D Printer with Sprite Extruder
250mm/s max speed
CR Touch 16-point auto leveling
Sprite direct drive
Dual Z-axis lead screws
Pros
- Direct drive handles TPU with fewer clogs
- Auto leveling removes the manual chore
- Dual Z-axis lead screws cut wobble on tall prints
- 96% pre-assembled with most owners printing within 30 minutes
- Quiet enough for a shared desk
Cons
- Assembly sheet and wiring diagram are hard to follow
- Included filament will not finish the bundled test model
- Manual belt tensioning and first tuning still expected
This is the most heavily reviewed printer in the roundup, and that matters. When 3000-plus owners have written about a machine, the rough edges are documented rather than discovered, which is exactly what a first-time buyer needs.
I unboxed the V3 SE expecting the classic Ender 3 experience of a bag of screws and a Sunday afternoon. That is not what arrives now. The unit is 96% pre-assembled, and most owners are printing within about half an hour of opening the box. My own first print was a calibration cube and a simple clip, both of which came out clean with no manual bed levelling.
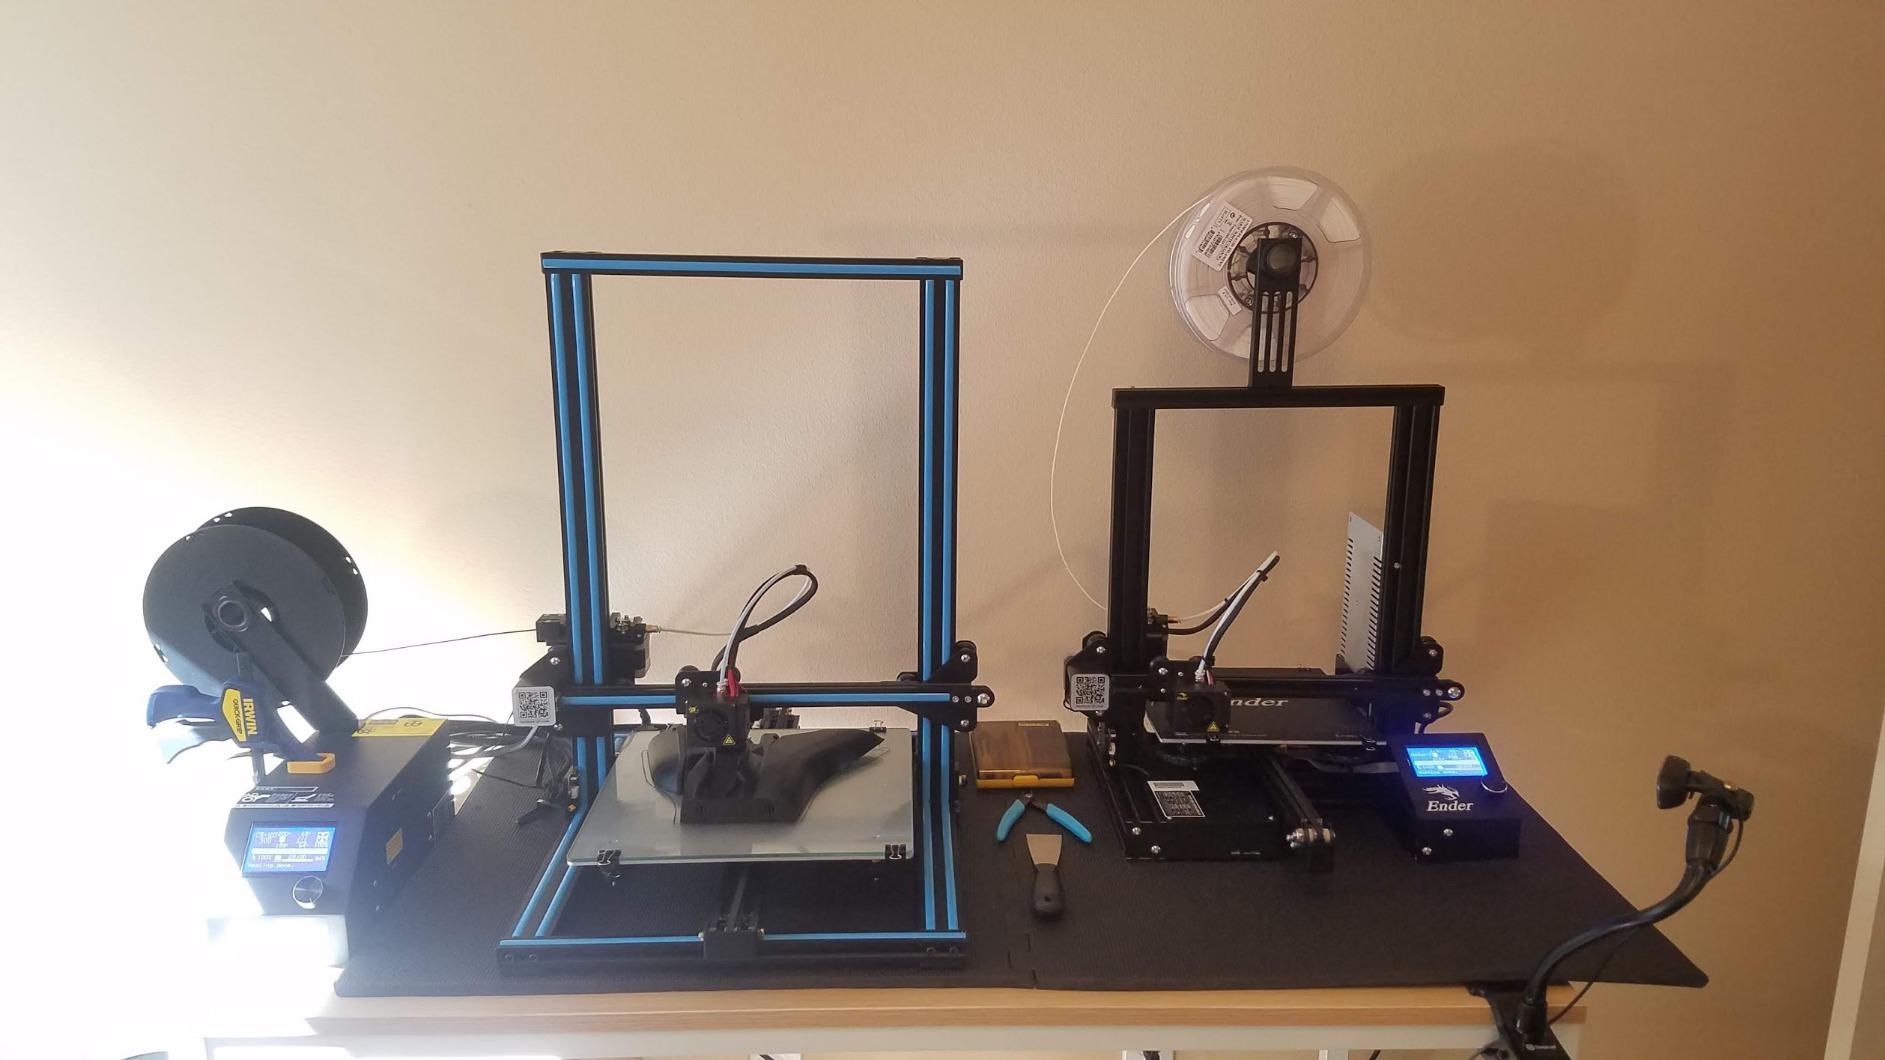
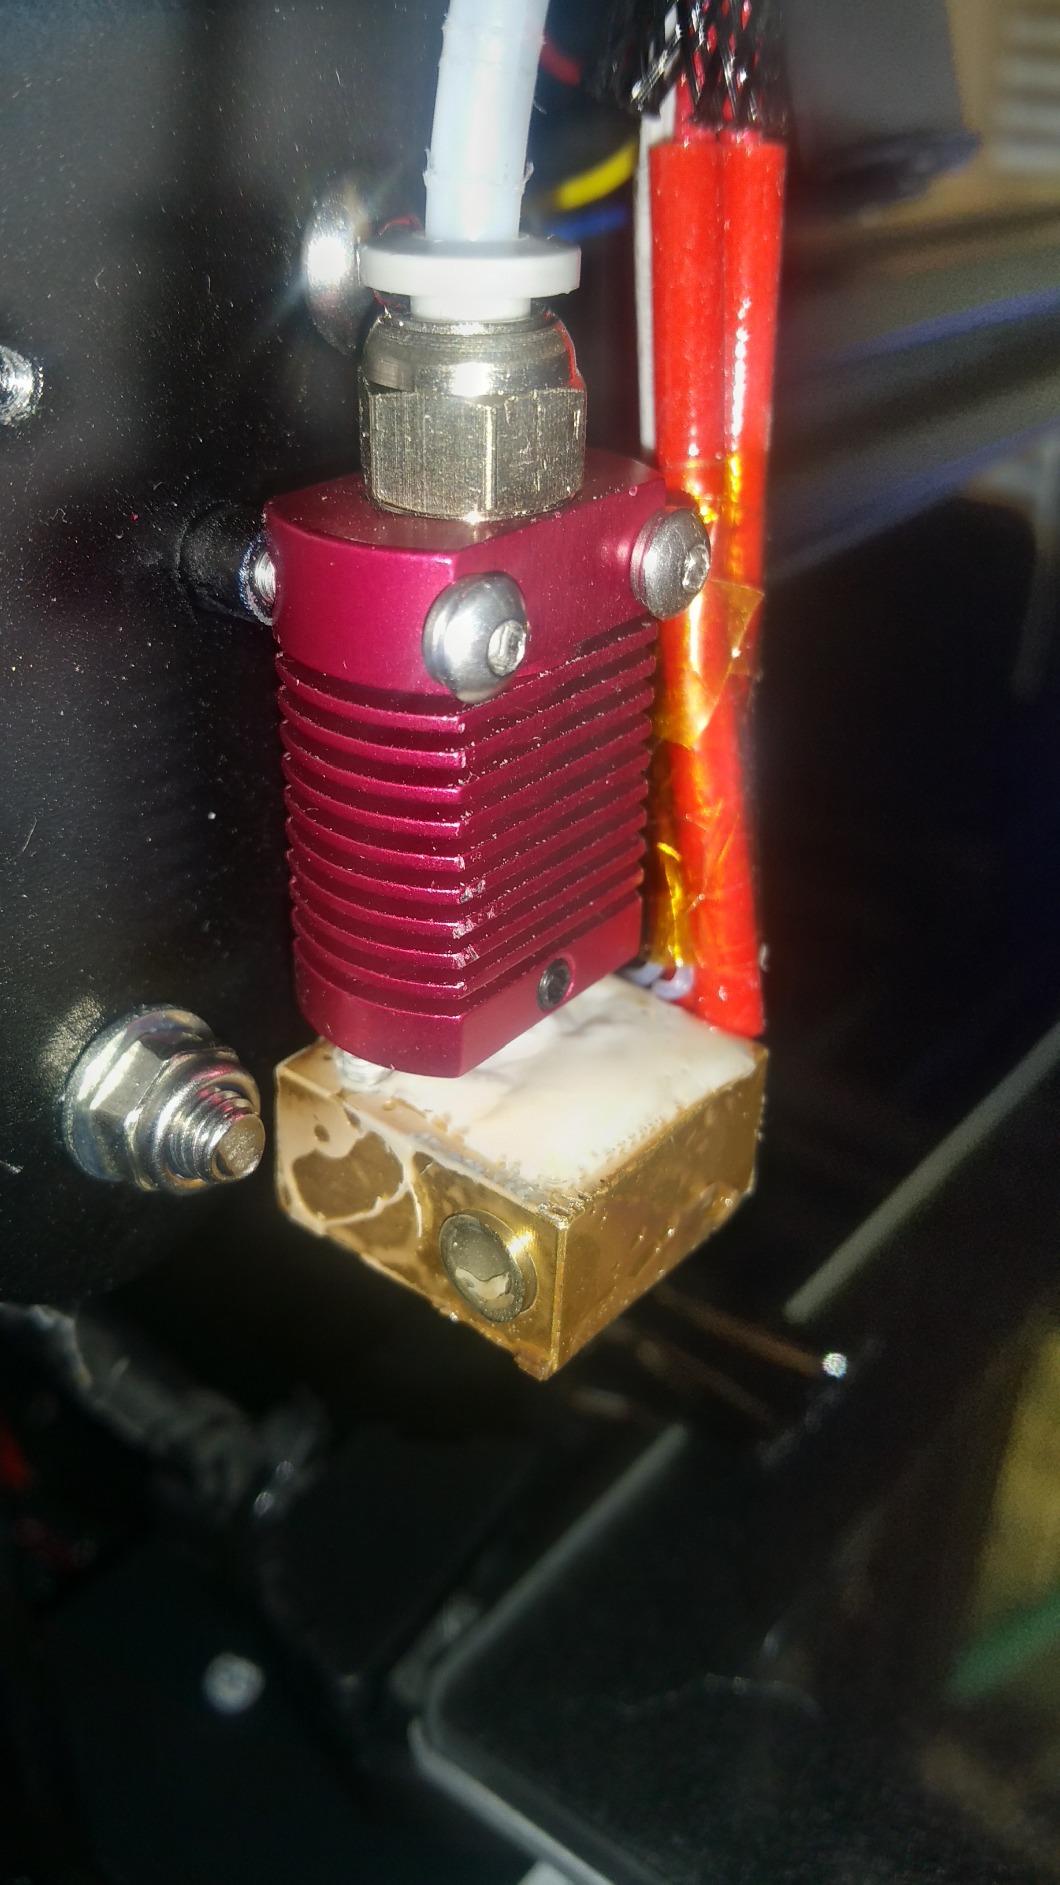
The two upgrades that define this generation of the Ender line are the Sprite direct drive extruder and CR Touch automatic bed levelling. Direct drive means the filament runs a short path from spool to nozzle, so flexible TPU has far less chance of snagging and clogging, and retraction is cleaner on ordinary PLA and PETG. CR Touch takes a 16-point measurement of the bed, which removes the single most common beginner failure.
Maximum print speed is listed at 250mm/s, dual Z-axis lead screws keep tall prints from shifting, and the 32-bit mainboard runs quietly enough to sit beside a normal workday. Power loss recovery is a small touch that matters when a print runs eight hours. Auto filament load and unload means you are not fighting a spool mount at midnight.
Why the Ender 3 V3 SE works for a first workshop
Direct drive and auto levelling handle the two things that most often send new owners back to the store, and the dual Z-axis lead screws mean tall prints such as shelving brackets or lamp stands do not develop a visible lean. At 16.15 pounds it is heavy enough to feel stable and light enough to move between a desk and a shelf.
It is also a machine you can learn on. The parts are standard, the community around the Ender line is enormous, and almost every problem you will hit has a documented fix. If you decide months from now that you want to move to core materials, this frame is a reasonable base for that upgrade path.
Where the Ender 3 V3 SE asks too much
Documentation is the weak point. Owners repeatedly describe the assembly sheet as confusing and the wiring diagram as hard to follow, so budget an hour of patience rather than assuming a fifteen-minute setup. The included filament is also not enough to finish the bundled test model, so buy a spool before the first evening.
Initial tuning is still part of the deal. A loose X-axis belt and early warping show up on some machines out of the box, and a small number of owners had a Z axis fault that needed a return. None of this is serious, but it is not the zero-effort experience a Bambu machine gives you either.
2. Bambu Lab A1 – The Least Intimidating Entry
Bambu Lab A1 3D Printer, Ready-to-Use FDM 3D Printer for Beginners and Kids
Full-auto calibration
AMS lite multi-color
10000 mm/s2 acceleration
1-clip quick swap nozzle
Pros
- High average rating in the group at 4.7
- Full-auto calibration removes nearly all manual setup
- Very little maintenance over months of daily use
- Bambu Studio and the app workflow are simple
- Prints accurately from small holders to large organizers
Cons
- Multi-color needs the AMS lite bought separately
- Closed-source ecosystem bothers experienced users
- First-run Z fault is usually an unseated USB-C connector
The A1 carries a 4.7 average rating in this group, with 87% of reviews at five stars. That is not a marketing artifact. Owners describe it as the least intimidating entry into 3D printing, and a few experienced users who already own Prusa and Creality machines rate it higher than what they have.
My first hour with the A1 was the shortest I have had on a new printer. Full-auto calibration covers Z-offset and bed levelling, active flow rate compensation tunes extrusion automatically, and the 1-clip quick swap nozzle means a clog or a material change does not require tools. I moved from unboxing to a finished multi-part organizer without touching a physical adjustment.
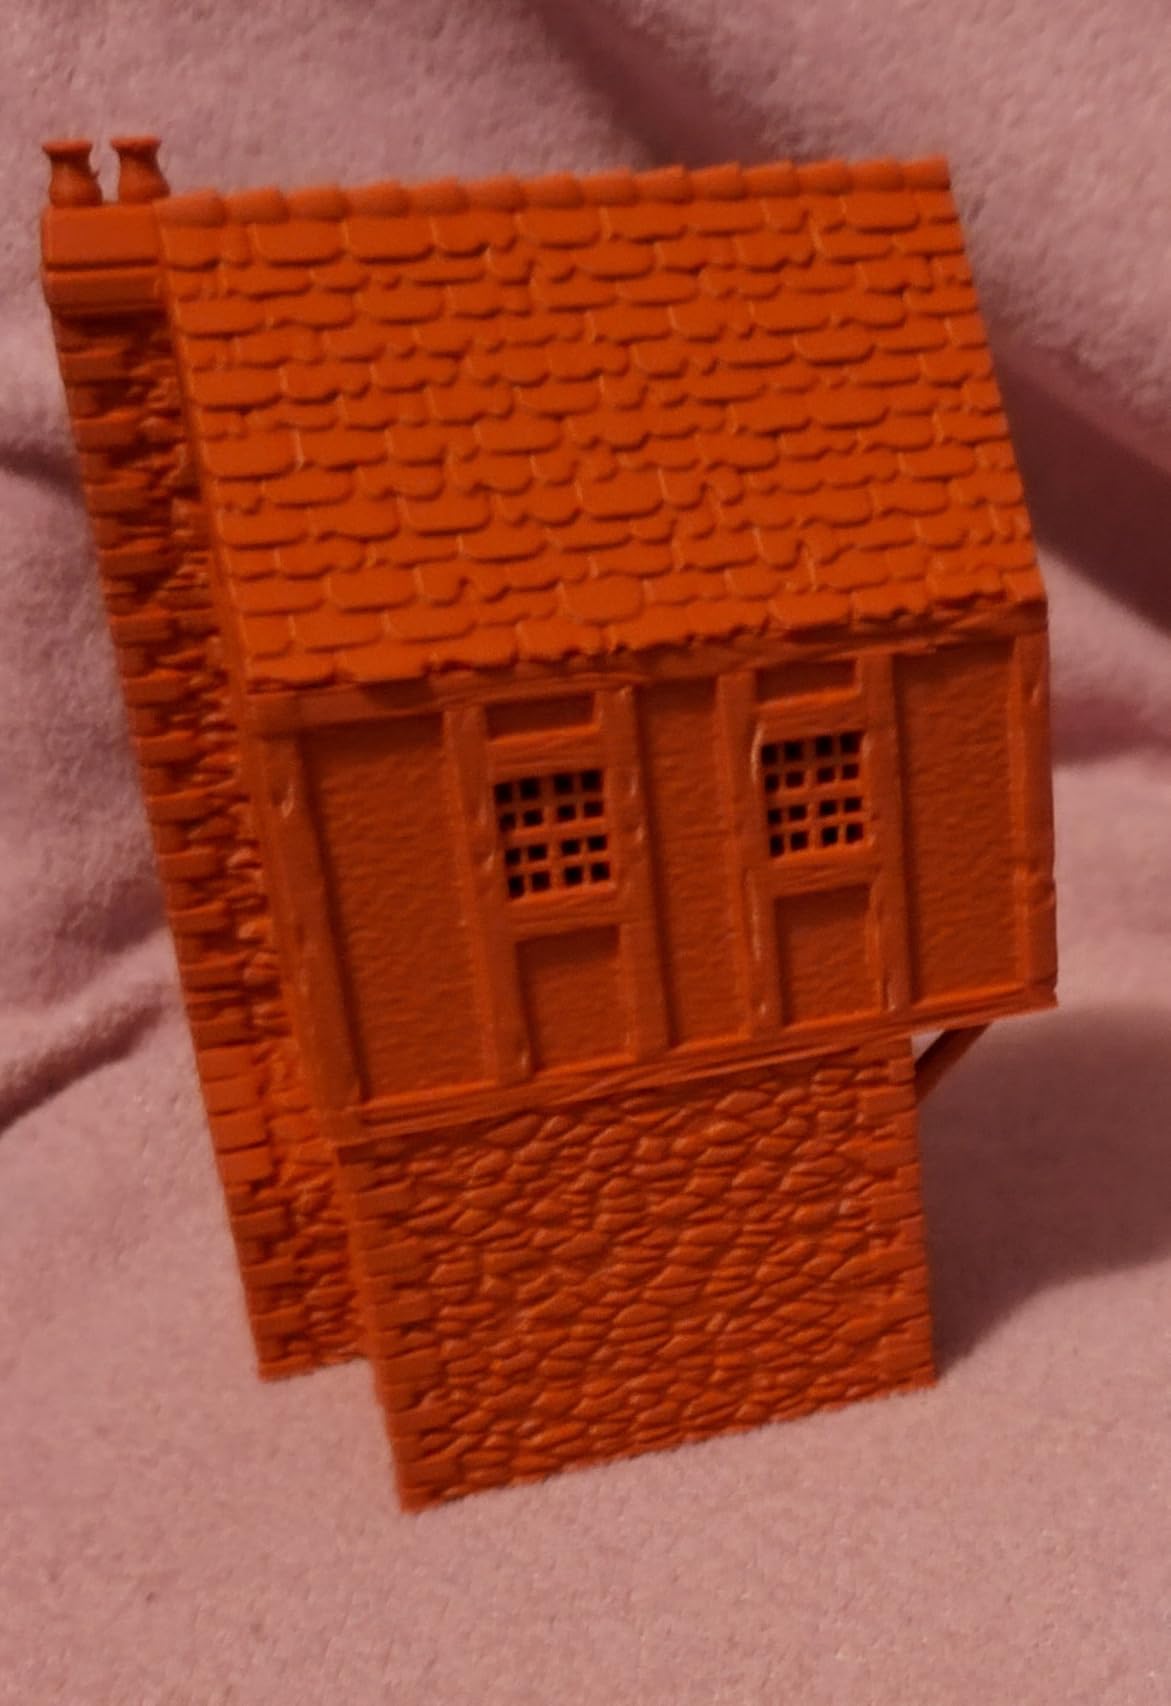
The headline number is 10000 mm/s2 acceleration, which is how aggressively the machine starts and stops without ringing. In practice prints are quick and the walls stay clean. Active motor noise cancellation makes it unusually quiet for a machine this fast, and the simplified touchscreen keeps the controls to the handful of options a beginner needs.
At 22 pounds with a footprint around 21 by 20 inches, it is a substantial desk unit, and that size is what separates it from the mini version below. The practical limit is multi-color: the A1 supports the AMS lite, which is sold separately unless you buy the A1 Combo, and that is the most common regret owners report.
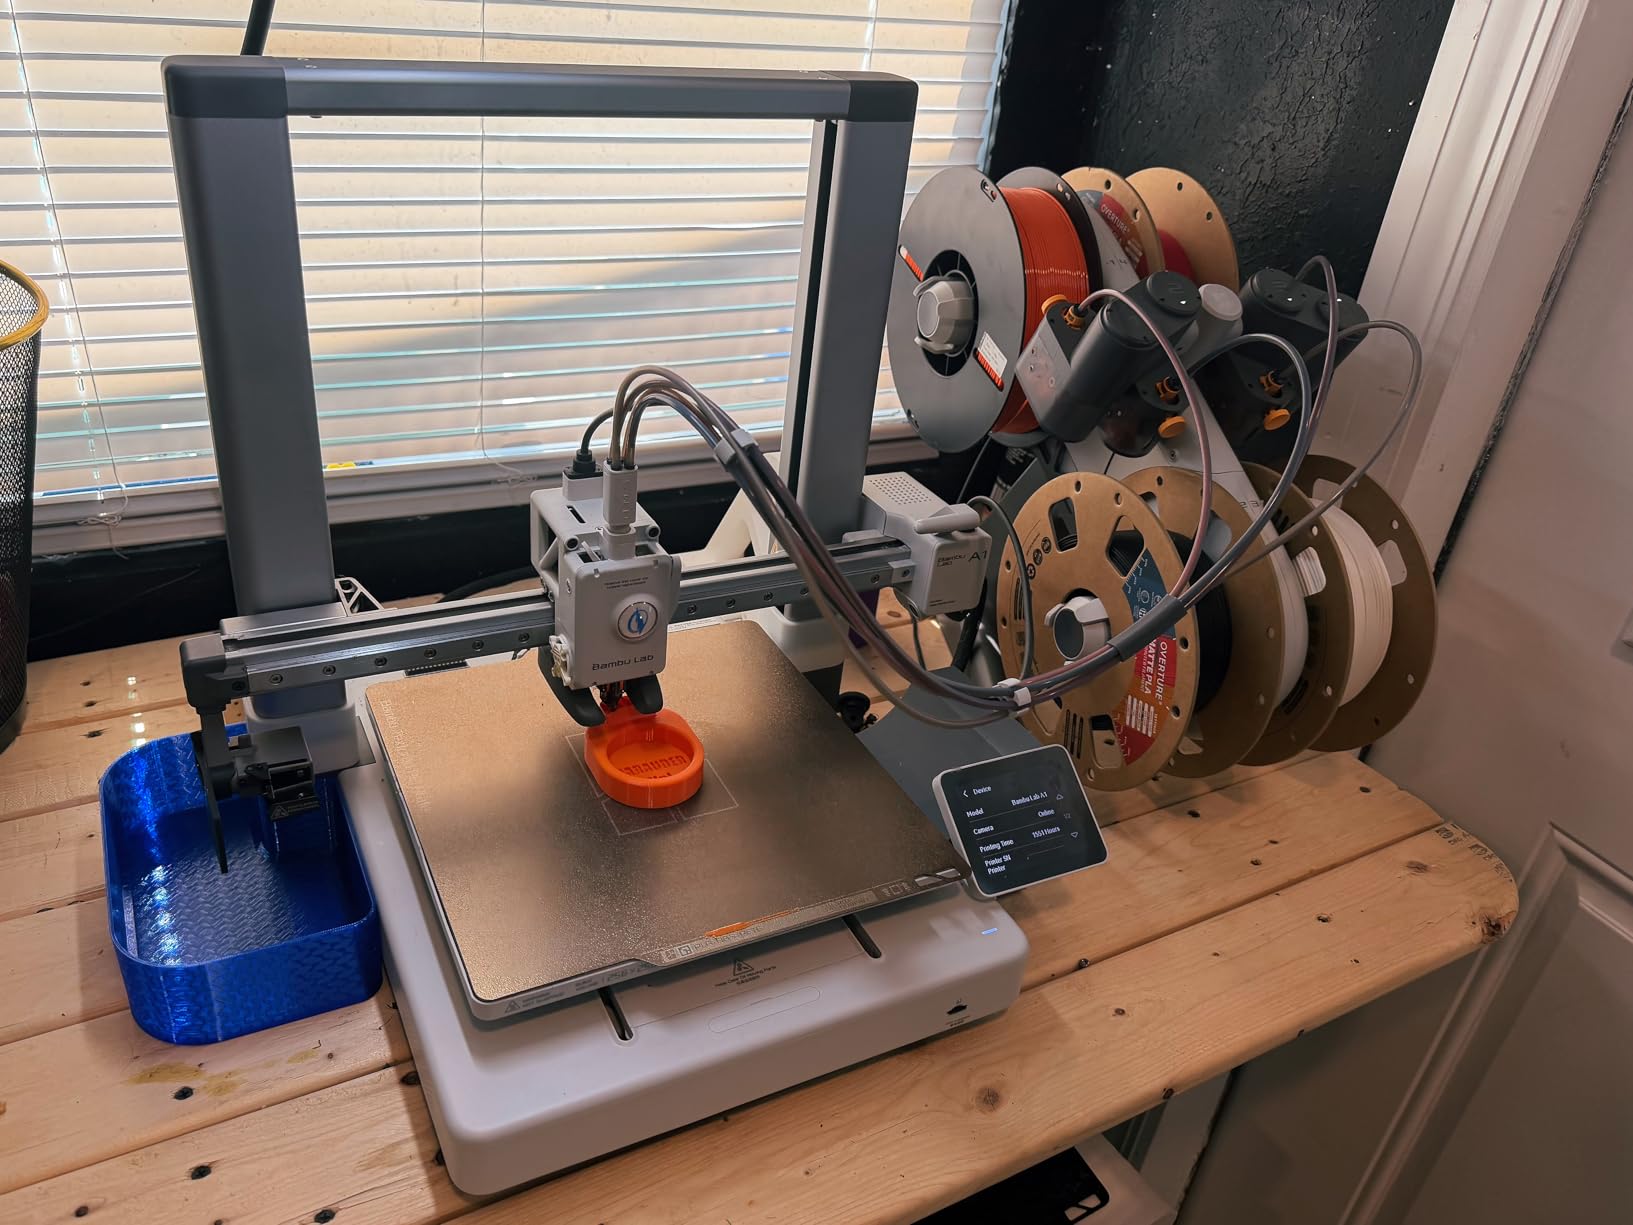
Where the Bambu Lab A1 earns its rating
It is the machine I recommend to anyone who does not want to spend a first weekend debugging. The app and Bambu Studio workflow are genuinely simple, and reports of clogging or maintenance over months of daily use are rare. Prints land accurately across a wide size range, from small clips to large organizers.
For a first machine, automatic reliability is the feature that pays the rent. A printer that works on the first try means you actually make things in your first month instead of learning that your bed needs adjusting before you can start.
Where the Bambu Lab A1 will frustrate you
The software ecosystem is closed, and experienced users who like to tinker with firmware or switch slicers find that limiting. If your plan is to run open-source firmware or compare slicers, Prusa-style ownership suits that temperament better. Multi-color costs more after the fact, so budget for the AMS lite up front if colour matters to you.
There is one common first-run scare worth knowing: a Z axis fault at startup is almost always the USB-C connector not fully seated rather than a broken machine. The bundled slicer workflow also has a short learning curve compared with a simple one-click profile.
3. FLASHFORGE Adventurer 5M – CoreXY Speed and Auto Leveling
FLASHFORGE Adventurer 5M 3D Printer, 600mm/s High-Speed, 1 Click Fully Auto Leveling, Upgraded Direct extruder Quick Detachable 280°C Nozzle, Dual-Sided PEI Coating Plate, Print Size 220x220x220mm
CoreXY 600mm/s
20000 mm/s2 acceleration
One-click auto leveling
280C quick detach nozzle
Pros
- Printing in about 10 minutes from unboxing for most owners
- CoreXY is far more stable than a typical bed slinger
- Vibration compensation keeps ghosting out of finished prints
- Fast and quiet relative to its class
- Flashforge support resolves hardware issues by sending replacement parts
Cons
- Single color only
- multi-color needs a different machine
- Firmware occasionally freezes and manual positioning is missing
- No built-in work light and the touchscreen icons are small
The Adventurer 5M is one of the most complete machines at this level, and that comes down to the motion system rather than the price. Most competitors in the budget tier are bedslingers, where the print head accelerates across a bed that is itself moving. CoreXY keeps the bed still and moves only the head, which is a structural advantage you feel immediately in print quality.
Owners report printing within roughly ten minutes of unboxing, and my own setup matched that. One-click fully automatic bed levelling handled the initial mesh, and the 32mm3/s flow hotend reaching 280 degrees with a 50W heater means the machine is not temperature-limited on ordinary materials.
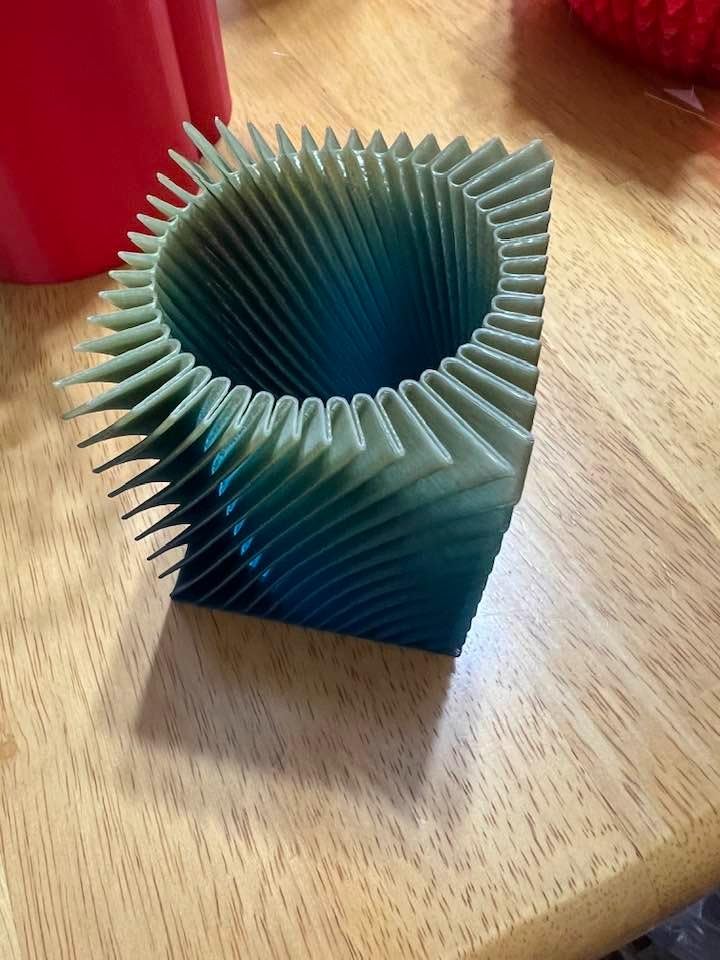
Maximum speed is 600mm/s with 20000 mm/s2 acceleration, and vibration compensation, the same input shaping technique used on much more expensive machines, removes ringing artifacts from corners and vertical walls. A filament runout sensor and power loss recovery protect long prints, and the dual-sided flexible PEI steel plate is a genuinely useful inclusion.
Material support covers PLA, PETG and TPU through the standard 0.4mm nozzle, with PLA-CF and PETG-CF available on a 0.6mm nozzle. That is a wider practical range than most entry machines offer, and the quick detach nozzle means changing sizes is a five-second job rather than a teardown.
Why the Adventurer 5M suits speed-focused beginners
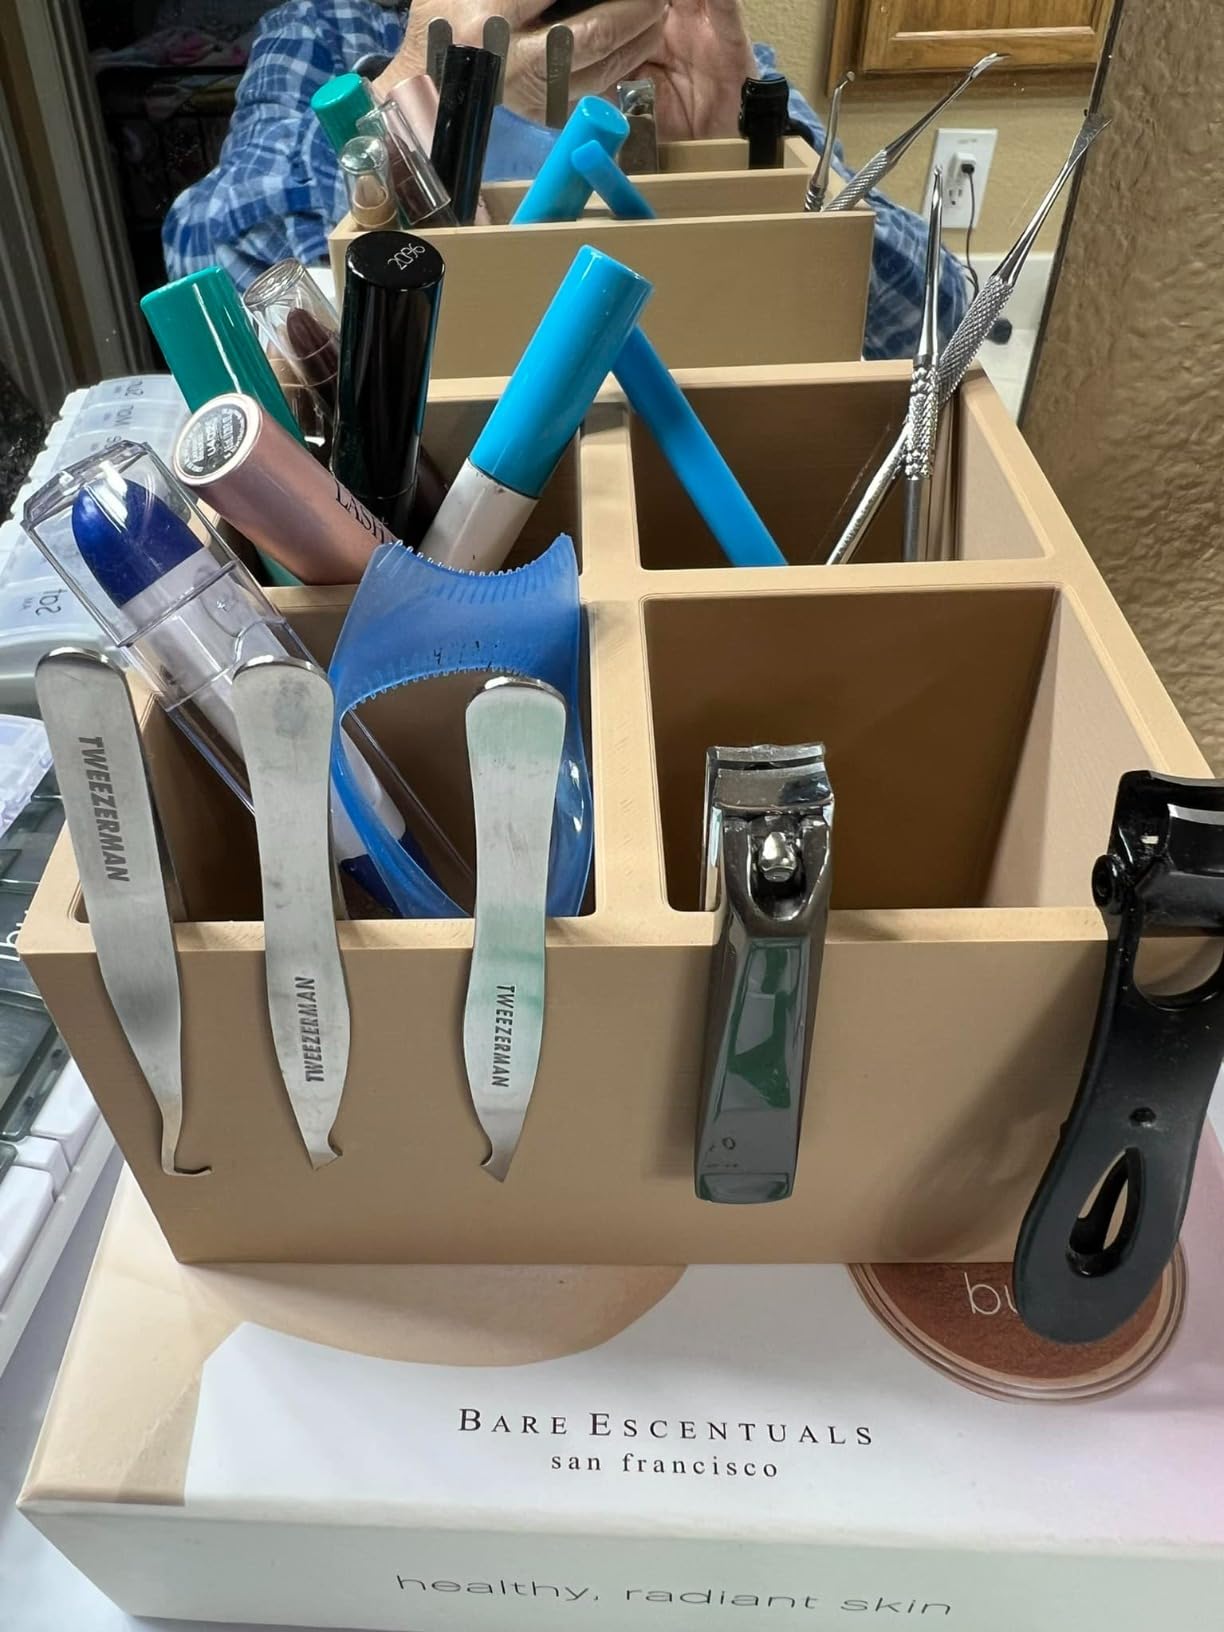
If your models are large or you print a lot, the speed advantage compounds quickly. A 220mm cube build volume with a 600mm/s head means a tall vase or a set of brackets finishes in a fraction of the time a bedslinger would need, and the stable CoreXY frame keeps layer registration tight on those longer prints.
Support is also a genuine strength here. Owners describe Flashforge resolving hardware problems quickly by shipping the needed parts, and that responsiveness matters a great deal when you are dependent on one machine.
Where the Adventurer 5M stops short
It is single colour only, and adding colour on this frame means a different machine entirely. That is the main reason people move up from this tier, so if you know you want painted or multi-material parts, skip past it.
There are smaller annoyances. Firmware freezes occasionally, the menu lacks manual positioning controls, and there is no built-in work light, which matters when you are checking a small print on a textured plate. WiFi reliability depends on your router, and a minority of owners report bowed build plates or inconsistent extrusion that required support involvement.
4. Creality SPARKX i7 – Best Camera and Build Volume Combo
Creality SPARKX i7 3D Printer with AI Camera Monitoring, Auto Leveling, Quiet High-Speed Desktop Printing, Easy Setup, Direct Drive Extruder, WiFi Connectivity, 260×260×255mm Build Volume
AI camera with time-lapse
260 x 260 x 255mm build
Tool-free hotend swap
Pros
- Pre-assembled and printing within minutes
- Camera is genuinely useful for long unattended prints
- Ready-made Creality app profiles work without tuning
- 260mm cube build volume at this price
- Compatible with the CFS Lite for multi-color later
Cons
- Operating noise is higher than buyers expect
- Some arrived with loose internal hardware and a shaky bed
- Camera frame rate and clarity are underwhelming
The SPARKX i7 stands out for one feature: a built-in camera with remote viewing, time-lapse capture and print status detection. For a beginner, that is more useful than it sounds. You can start a twelve-hour print, go to work, and check progress from a phone rather than standing over the machine hoping nothing has gone wrong.
Setup matched the marketing. The printer arrives essentially pre-assembled, automatic bed levelling uses a streamlined calibration routine, and the ready-made Creality app profiles produced good results with no manual tuning. That last point is the real beginner advantage here: the profiles are already correct.
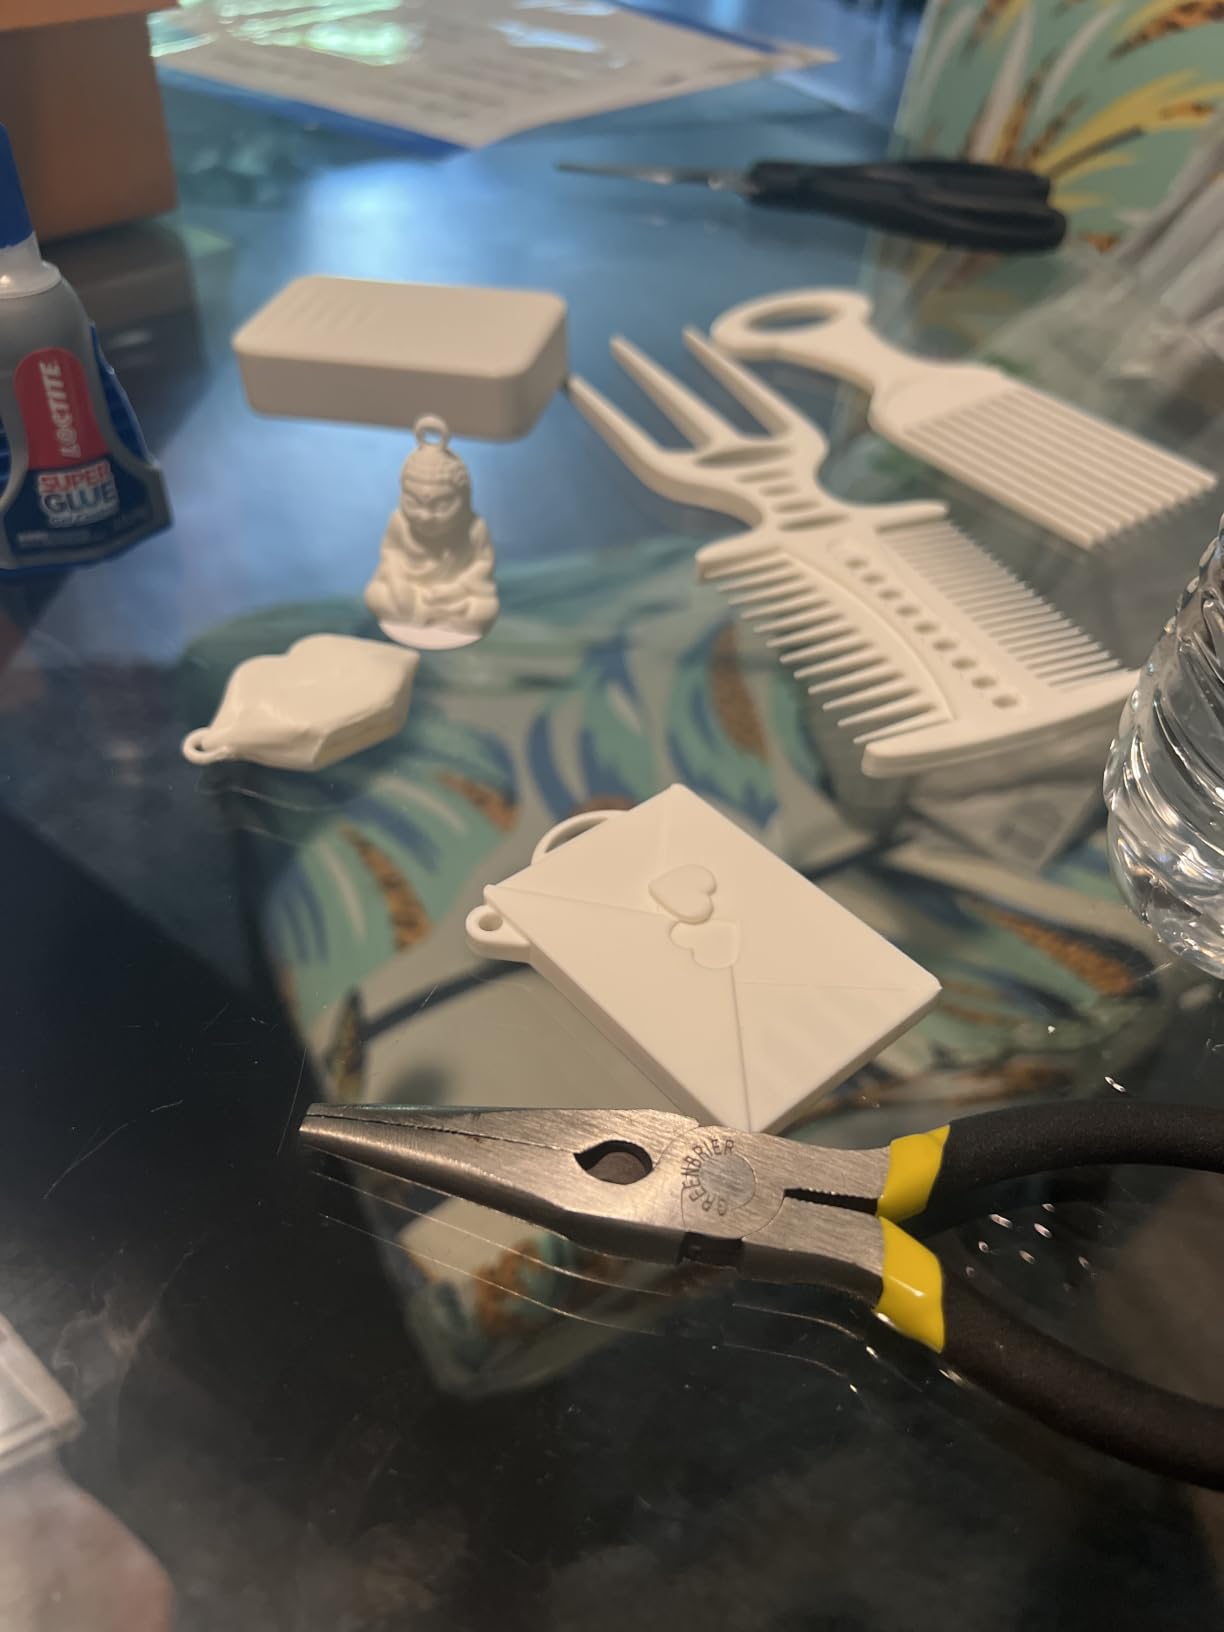
The build volume is a 260 x 260 x 255mm cube, which is generous for this class and comfortably larger than a compact mini. The direct drive extruder handles TPU, the 5-second tool-free quick-swap hotend means a nozzle change is not a project, and WiFi connectivity covers phone and PC monitoring. A flexible PEI build plate is included rather than sold as an accessory.
Multi-color is possible through the optional CFS Lite, so you can start in one colour and add a feeder later without replacing the printer. That upgrade path is one reason this machine appeals to people who are not sure yet whether they need colour.
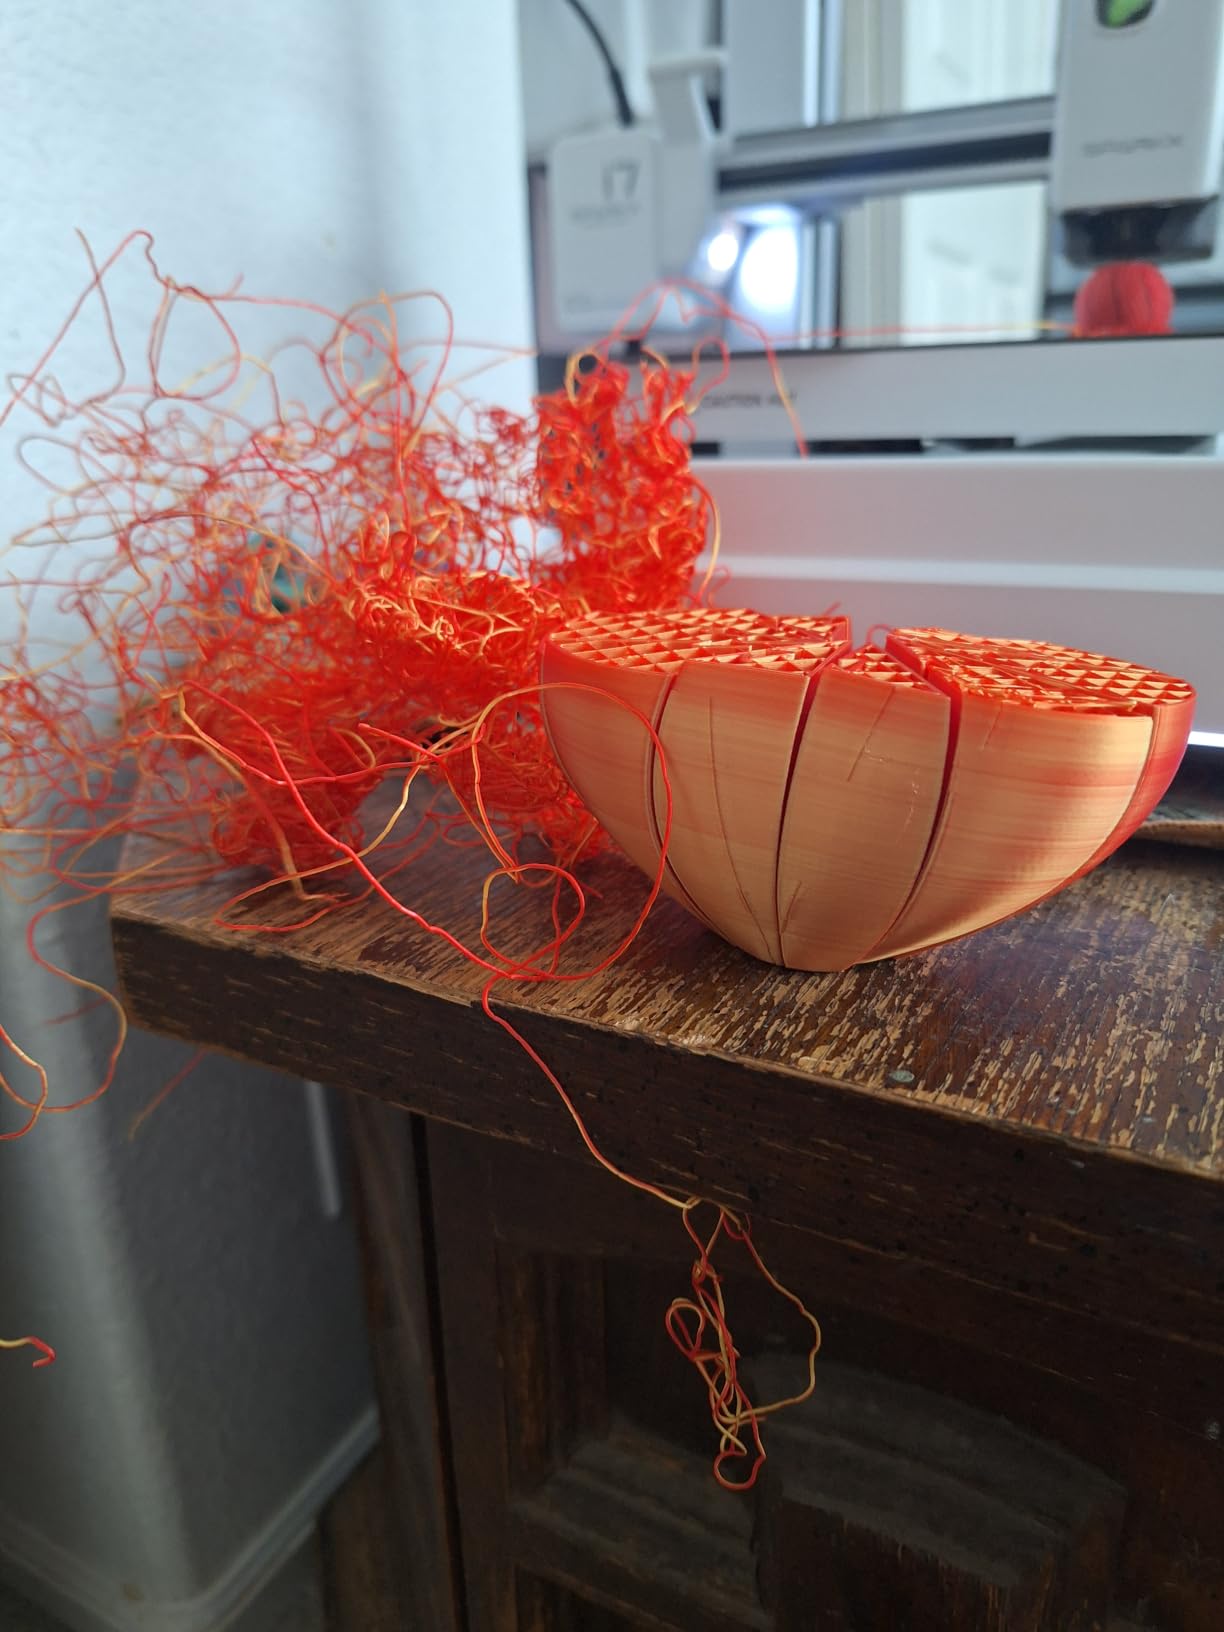
Why the SPARKX i7 works for long unattended prints
The camera turns a printer from something you babysit into something you queue. Status detection can flag a failed layer, and time-lapse recording makes it easy to spot a first-layer problem before the print wastes four hours. Combined with automatic bed levelling and the direct drive extruder, it means fewer reasons to stand over the machine.
It is also a sensible choice for someone who prints large. At 260mm cube you can build desk organisers, shelving brackets and cosplay props without splitting everything into parts, and the 29.7-pound weight keeps the frame planted during fast moves.
Where the SPARKX i7 falls short
This machine has the widest spread in owner satisfaction in the group. Happy users run it daily for hobby and utility prints. A distinct group reports frame, bed and hotend assembly problems that would need tinkering to resolve, and some arrived with loose internal hardware and a shaky bed.
Operating noise is higher than buyers expect, which matters in a small apartment. The camera frame rate and clarity are underwhelming for close-up monitoring, multi-colour prints run long when the CFS Lite is involved, and power loss resume does not work reliably on models printed without supports.
5. Creality K2 SE 4C – Multi-Colour Without Extra Hardware
Creality K2 SE 4C 3D Printer, Multi-Color 3D Printer, 500mm/s Fast Printing
Four colours built in
CoreXY 500mm/s
20000 mm/s2 acceleration
All-metal frame
Pros
- Four colours out of the box with no extra hardware
- Compact multi-colour footprint suits small desks
- CoreXY speed and accuracy deliver fast prints
- Fail-safe features protect long overnight prints
Cons
- 16% of reviews are one-star
- Nozzle and bed contact failures on a minority
- Not enclosed so spools sit exposed to humidity
- Loud during purging and printing
Most multi-colour printers require you to buy a separate feeder unit, plug it in, and accept a much larger footprint. The K2 SE 4C has four colours integrated into the body, which removes the extra hardware most multi-colour printers need. That is a real advantage for a beginner who wants colourful output without learning a second system.
Owners with roughly 300 hours report holding up well, and the machine covers a lot of ground in its firmware: filament runout detection, tangle detection, power loss recovery and a skip-partial-failure mode that protects batch printing. Creality OS with a Fluidd interface, root access and offline USB printing means you are not locked into a cloud account.
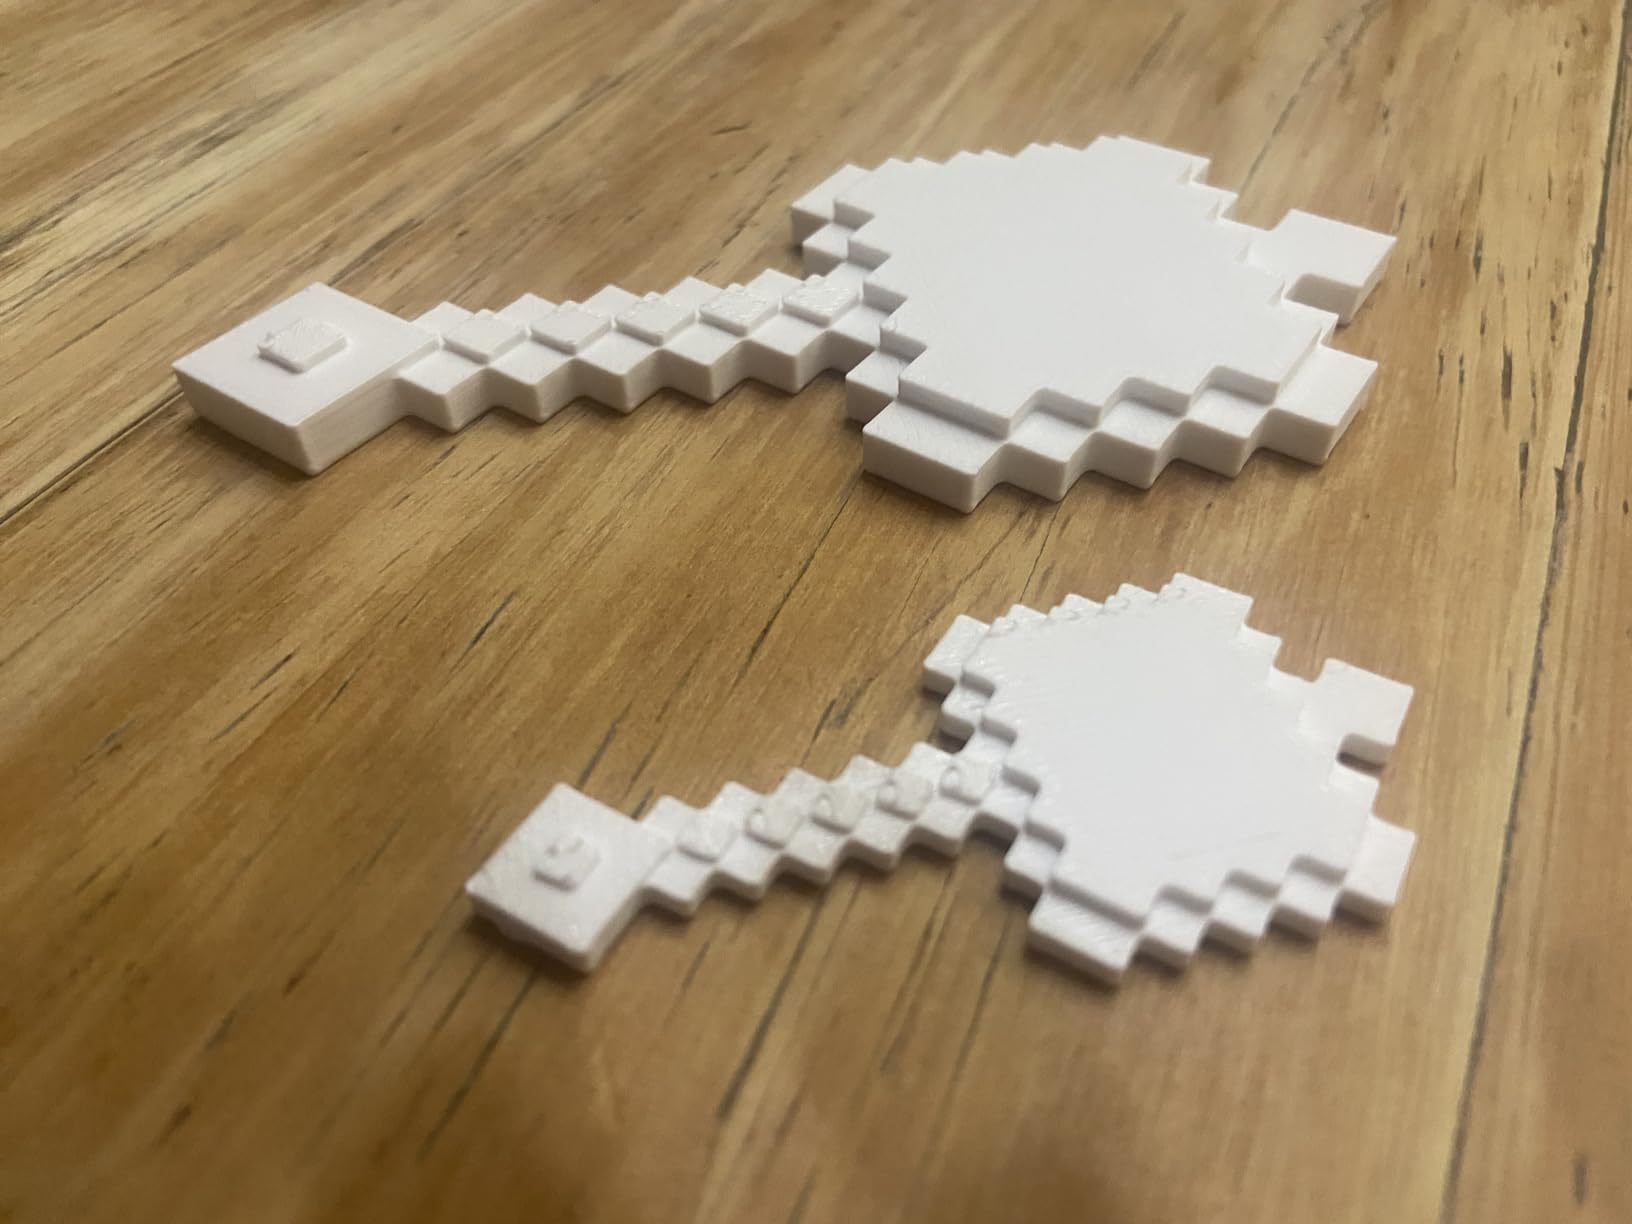
The motion system is CoreXY at up to 500mm/s with 20000 mm/s2 acceleration, on a rigid all-metal frame, which is a solid mechanical base. Intelligent auto bed levelling probes only the active print area, so a large model does not slow the calibration down. The multi-colour system occupies 37% less space than a traditional external feeder arrangement, and PLA, PETG and dual-material breakaway support are all listed.
That offline printing capability is worth flagging for anyone uneasy about mandatory cloud accounts. You can slice on your own machine, transfer over USB, and print without any network dependency at all.
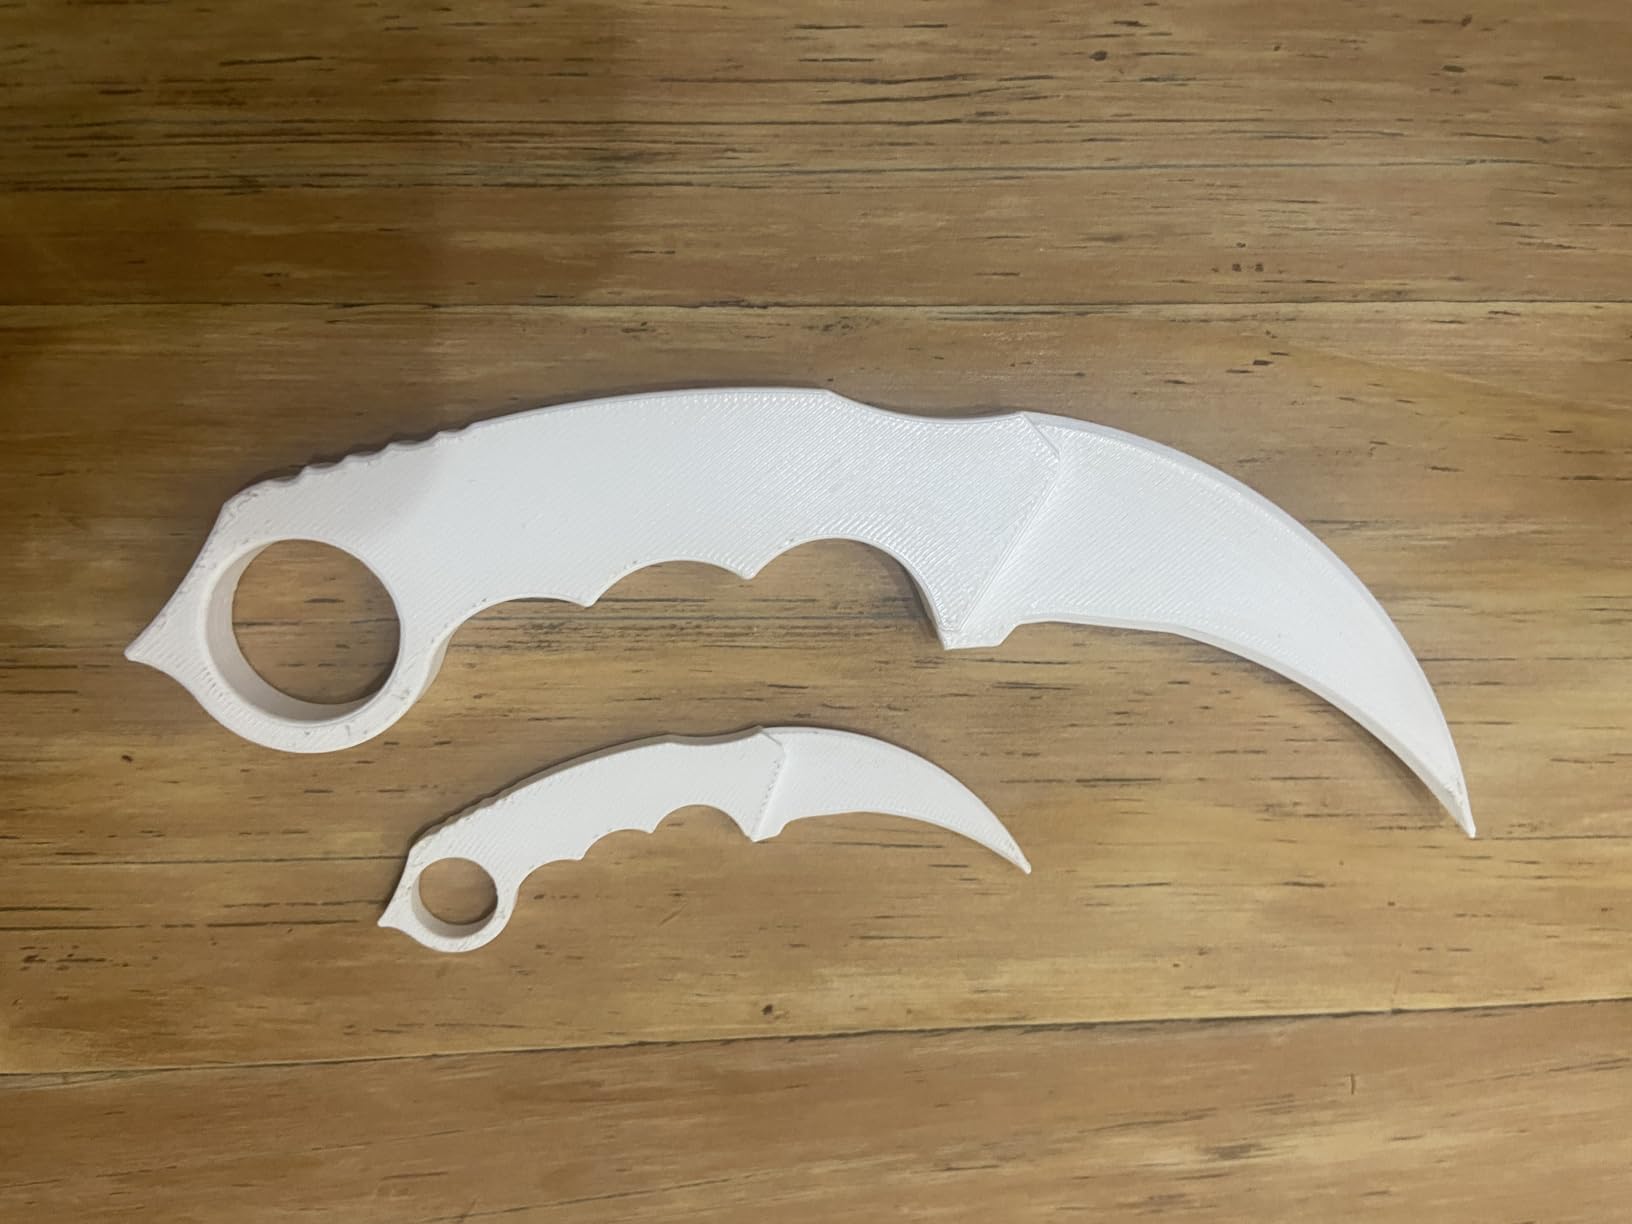
Why the K2 SE 4C suits colour-focused beginners
If your goal is multi-material parts, articulated figures in several colours, or labelled storage bins, the integrated four-colour system removes the most common reason multi-colour setups disappoint people. There is nothing to assemble, nothing extra to buy, and nothing to plug in.
The fail-safe features are also aimed at the beginner case specifically. Runout, tangle detection and partial-failure skipping are all designed to keep an overnight batch going without you, which is exactly the behaviour a first machine needs to earn your trust.
Where the K2 SE 4C carries real risk
Build-to-build variability is the honest limitation. Sixteen percent of reviews are one-star, a wide negative share for an integrated multi-colour system, and buyers who hit multi-colour jams, screen issues or hotend problems judged the machine harshly. Nozzle and bed contact failures also appear on a minority of machines.
Practical costs come with colour. Purge waste from each change can rival the print itself in filament used, and multi-colour print times climb substantially. The machine is not enclosed, so spools sit exposed to humidity, and it runs loud during purging and Z moves.
6. Bambu Lab P1S – The Enclosed All-Rounder
Bambu Lab P1S 3D Printer, Ready-to-Use FDM 3D Printer
Fully enclosed body
500mm/s and 20000 mm/s2
Up to 16 colours with AMS
15-minute setup
Pros
- Enclosed design quiets the machine and supports tougher filaments
- Bambu Studio and MakerWorld give free high-quality models
- Excellent bed adhesion on the included PEI plate
- Owners past 350 hours report no clogging
- Built-in camera with time-lapse and remote monitoring
Cons
- No physical touchscreen on the base model
- AMS sold separately for multi-colour
- Closed software ecosystem frustrates advanced users
The P1S is the machine to buy if you might ever print something beyond PLA and PETG. The fully enclosed body holds heat in, which keeps ABS and ASA warping manageable and cuts noise substantially, and that enclosure is the feature that separates it from the open-frame options in this guide.
Setup takes about fifteen minutes according to owners, and my experience matched it. Automatic bed levelling handled the mesh, the included double-sided PEI plate grips without glue or tape, and the built-in camera covers time-lapse and remote monitoring. Filament support runs from PLA, PETG, TPU and PVA through PET ABS and ASA, with capability for PA and PC.
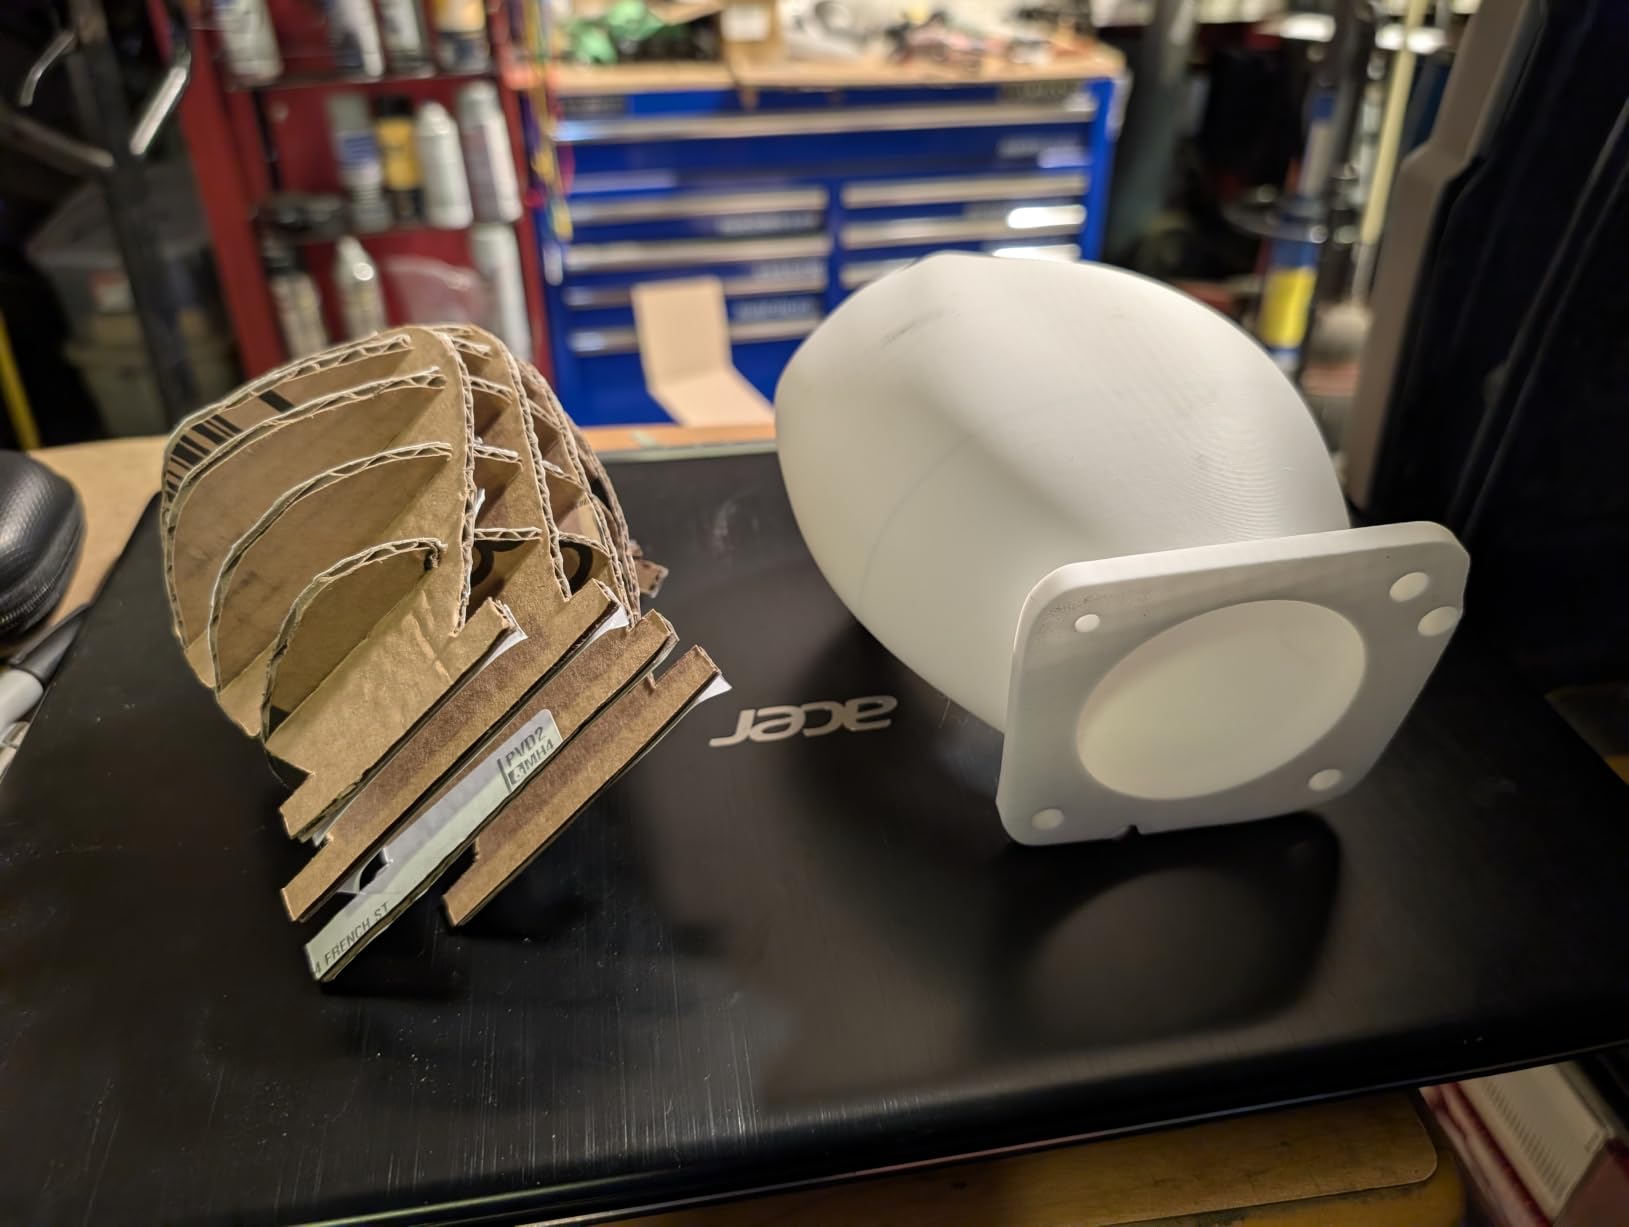
Speed is 500mm/s with 20000 mm/s2 acceleration, and the enclosed chamber does not choke that performance. With the Bambu Lab AMS attached it handles up to 16 colours from a single unit, far more than the four-colour systems in this roundup. The category rank of number one in 3D Printers reflects how well it sells, and the review history backs that up: owners past 350 hours report no clogging.
Weighing 38.9 pounds, it is the heaviest machine in the guide, and that weight is part of why the frame stays stable. The tradeoff is footprint, so plan desk space before ordering.
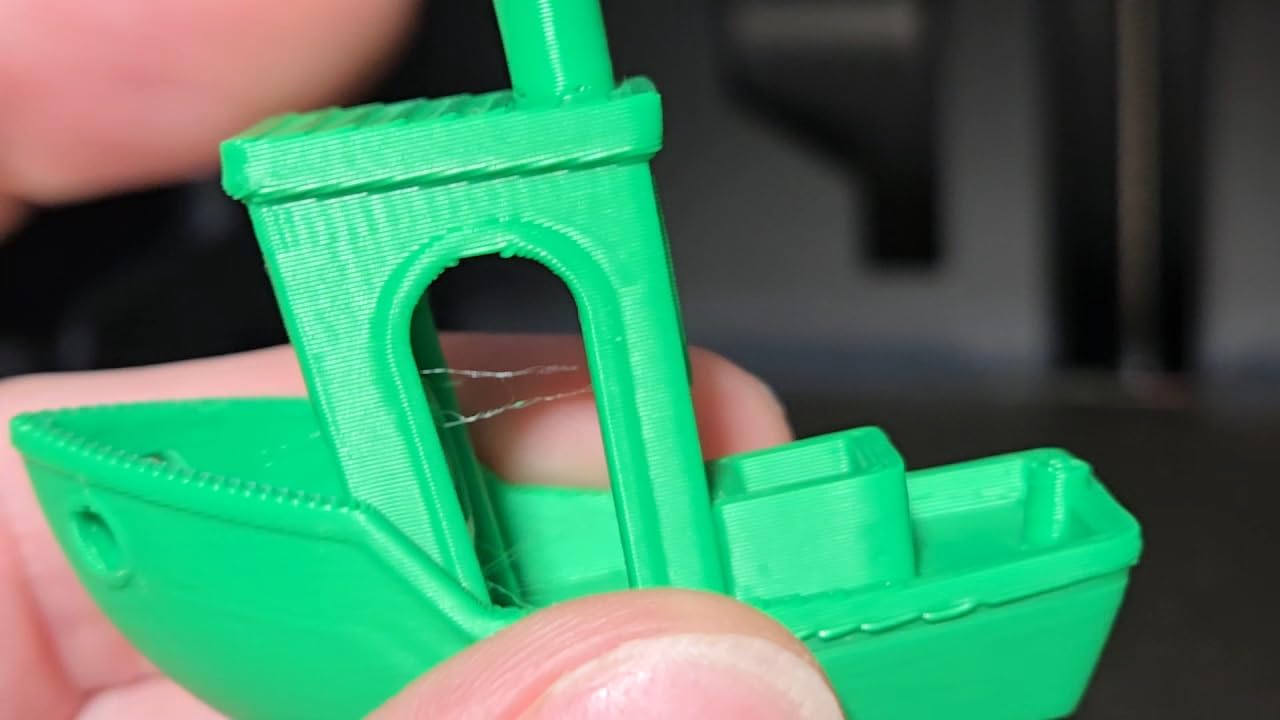
Why the P1S suits people who plan to grow
The upgrade path is the strongest argument. An enclosed printer with wide material support means the machine you start with can print ABS, ASA and eventually nylon and PC without forcing a second purchase. Add the AMS later and the same machine handles 16 colours.
Long-horizon reliability matters here too. Hobbyists who have owned workhorses for years report that the P1S outruns them, and the closed ecosystem that some dislike is exactly what makes the calibration and profiles so consistent.
Where the P1S leaves money on the table
The base model has no physical touchscreen, so control is through a phone or computer, which is inconvenient when you want to start a print from the machine itself. The AMS is a separate purchase for multi-colour, and transparent and silk filaments are prone to clogging on this hotend.
Advanced users are also frustrated by the closed software ecosystem, and a small number of units arrived with missing foot pads or a loose display bezel. If you want an open machine you can run open firmware on, this is the wrong side of that divide.
7. TINA2S Starter Kit – Best for Kids and First Projects
TINA2S Fully Assembled Mini 3D Printer for Kids and Beginners, Starter Kit
Fully assembled starter kit
PLA filament and SD card included
2.4 inch LCD
Pros
- High rating in the group at 4.6
- Arrives fully assembled so there is no build to get wrong
- Filament and a pre-loaded card with models are included
- Light and compact enough for a dorm room or classroom
- Auto leveling and one-touch filament loading
Cons
- Build volume limits it to models about fist sized
- Only the included magnetic plate works with the sensor
- Filament can snap inside the extruder
This is the kit I would hand to a teenager or a parent buying a first machine for a child. It arrives fully assembled with 10 meters of PLA, a pre-loaded microSD card of models, and slicing software, so there is no assembly and no separate first purchase. The footprint is 8.3 by 8.3 by 11.4 inches and it weighs 6.4 pounds, so it fits a dorm room shelf or a classroom desk.
Owners rate it 4.6 on average with 84% five-star reviews, and the reason is consistent: it produces finished, ready-to-use models quickly rather than impressing on specification. Auto levelling with a dual Z-axis rail and one-touch filament load and retract make it forgiving of the fumbling hands that come with a first machine.
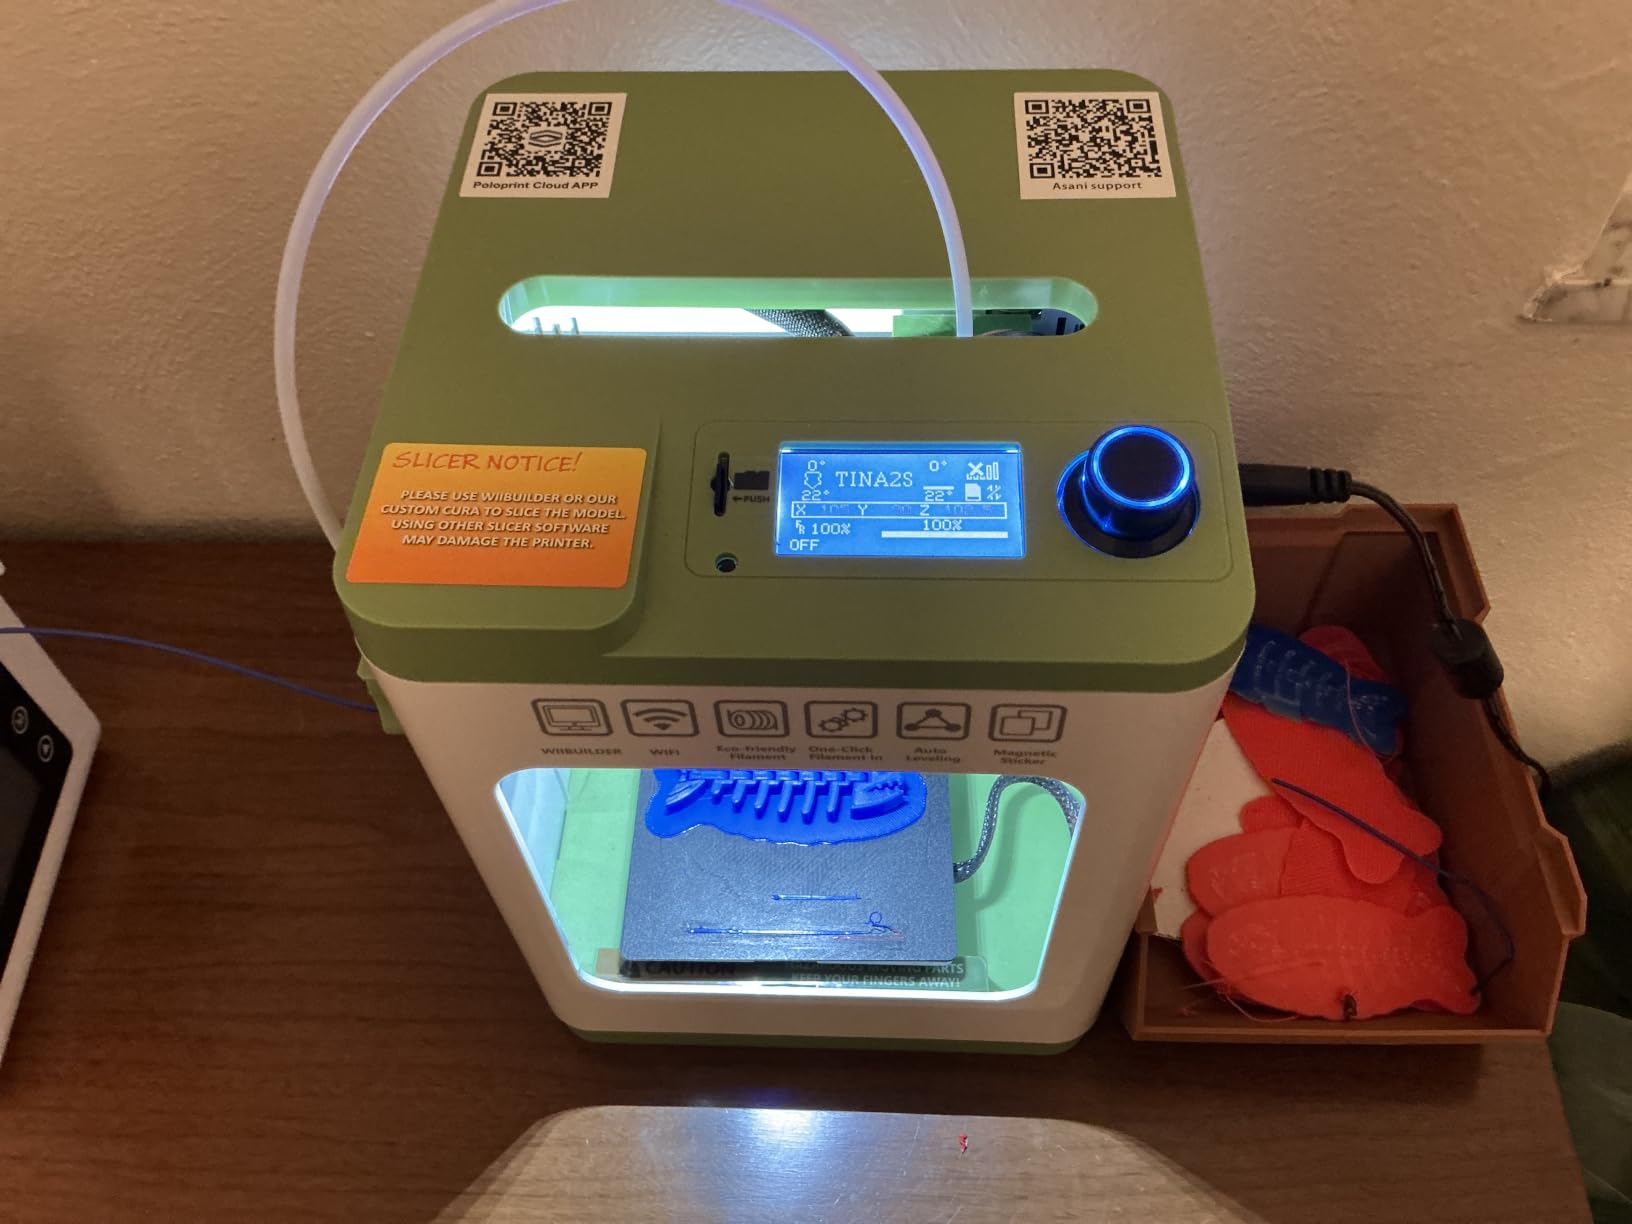
Print quality on small objects is good for the format. The flexible magnetic build plate makes finished models easy to pop off, the 2.4 inch LCD gives basic control at the machine, and active pause and resume stops a print if you need the bed. WiFi printing works with Mac, Windows and Linux, and it is compatible with common slicers including Cura, Simplify3D and Slic3r.
Filament compatibility covers 1.75mm PLA, PLA Pro and TPU, which is a reasonable spread for small functional parts as well as decorative models.
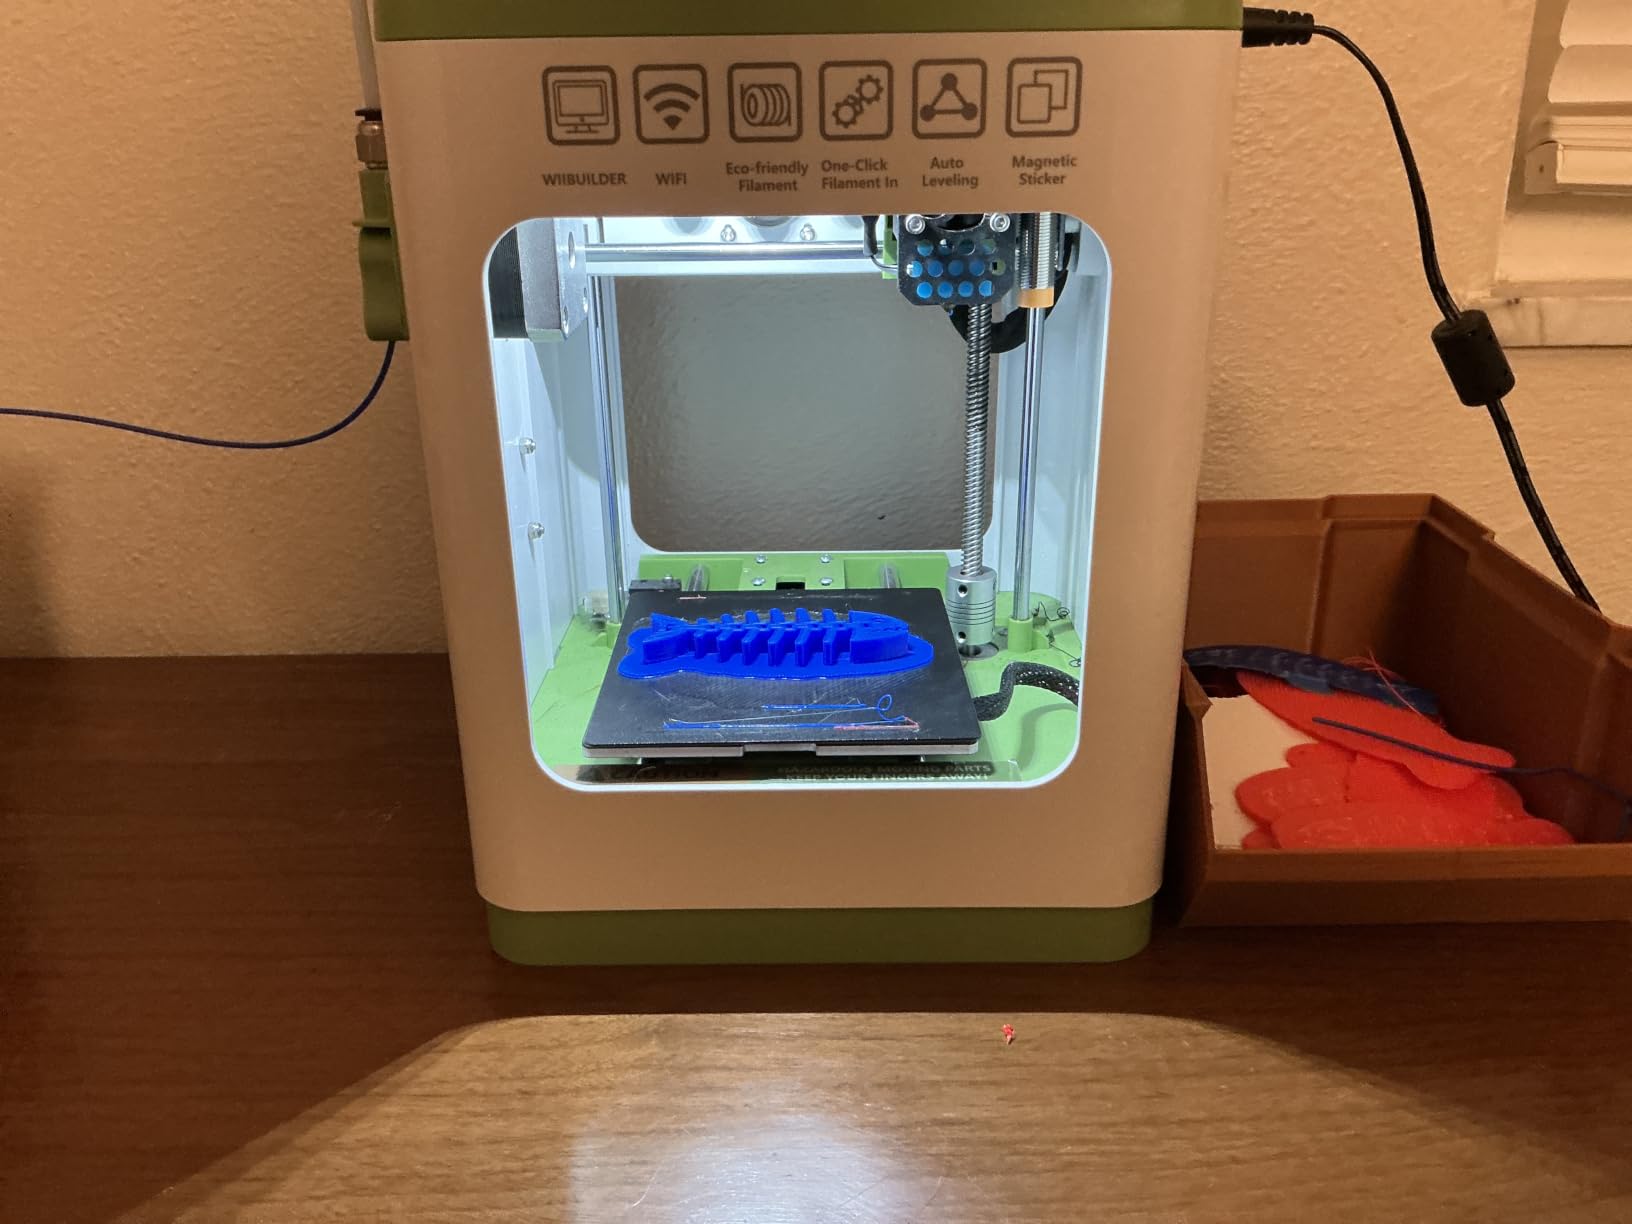
Why the TINA2S Starter Kit works for younger beginners
The learning curve is close to zero, which is the whole point. A child can pick a model from the card, open the software, hit print and be holding a finished object the same evening. That feedback loop matters more at the start than print volume or speed, and it is why the rating sits where it does.
It is also inexpensive to own and cheap to replace parts on. Small machines have small failures, and a first printer that a student can keep without anxiety is worth more than a faster one they are afraid to use.
Where the TINA2S runs out of room
The build volume is the hard limit. It handles models roughly the size of a fist, so anything larger has to be split and assembled, and most owners describe this as the first thing that ends the relationship with the machine. Only the included magnetic metal platform plate works with the proximity sensor, so swapping plates is not a casual upgrade.
A small number of users report filament snapping inside the extruder and occasional prints that come out slightly wobbly. If your interest is cosplay props, large organisers or functional parts at full desk scale, look at the full-size machines above instead.
8. Entina Tina2C – Best Guided App Experience
Entina Tina2C 3D Printer for Kids & Beginners, Fully Assembled Starter Mini 3D Printer, Start in 8 Mins, App & WiFi Control, Auto Leveling, 3000+ Model Library, 20+ Creative DIY Modules for STEM, Home
First print in about 8 minutes
App and WiFi control
3500+ model library
AI photo-to-print
Pros
- Printing successfully within 24 hours of unboxing
- App library and AI photo-to-print are approachable
- Very quiet
- compact and rounded edges for home use
- Integrated LED makes progress easy to follow
- Entina support is singled out as responsive
Cons
- Very small build volume outgrows its purpose fast
- Filament can snap off inside the extruder and clog the nozzle
- Side filament hook will not accept 1kg spools
The Tina2C is an unusually guided machine. The Poloprint Cloud app walks you through setup and the first print takes about eight minutes, with 25 creative modules and STEM learning courses included. For a classroom or a gift, that guided path is the feature, not a gimmick.
It weighs 5.28 pounds, has rounded edges and integrated LED lighting, and runs quietly enough for a shared room. The magnetic flexible plate pops finished models off easily, which matters when a dozen small prints need removing in a hurry. Owners report successful printing within a day of unboxing, and Entina customer service is repeatedly called out as responsive.
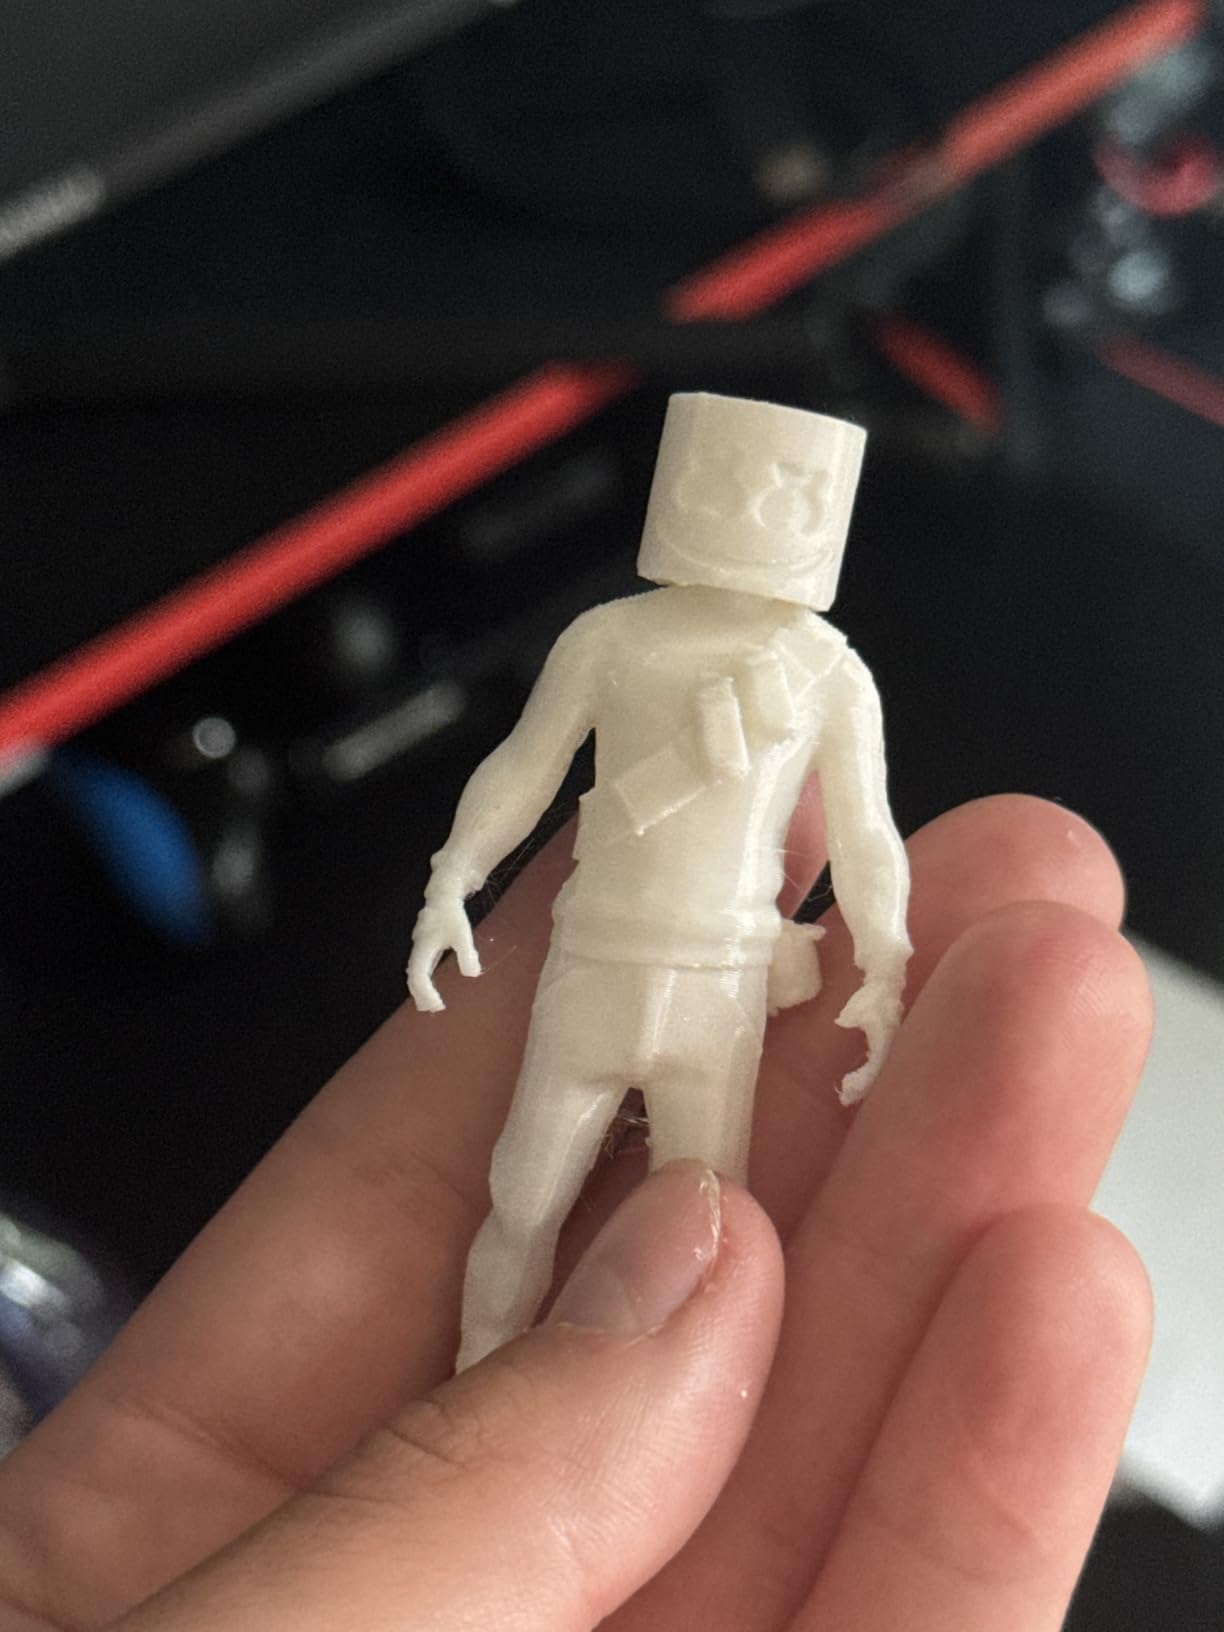
Inside, auto levelling and power loss recovery are both present, and the self-cleaning nozzle design with a quick-swap printhead reduces the clogging that plagues small machines. WiFi printing uses 2.4G, with a TF card offline mode as backup, and it works with Windows, macOS, Linux and Chromebook alongside common slicers.
The AI photo-to-print feature in the app is genuinely fun for a first project. Turning a photo into a printable object is a better first experience than downloading a model from a file-sharing site, and it teaches the whole pipeline in about ten minutes.
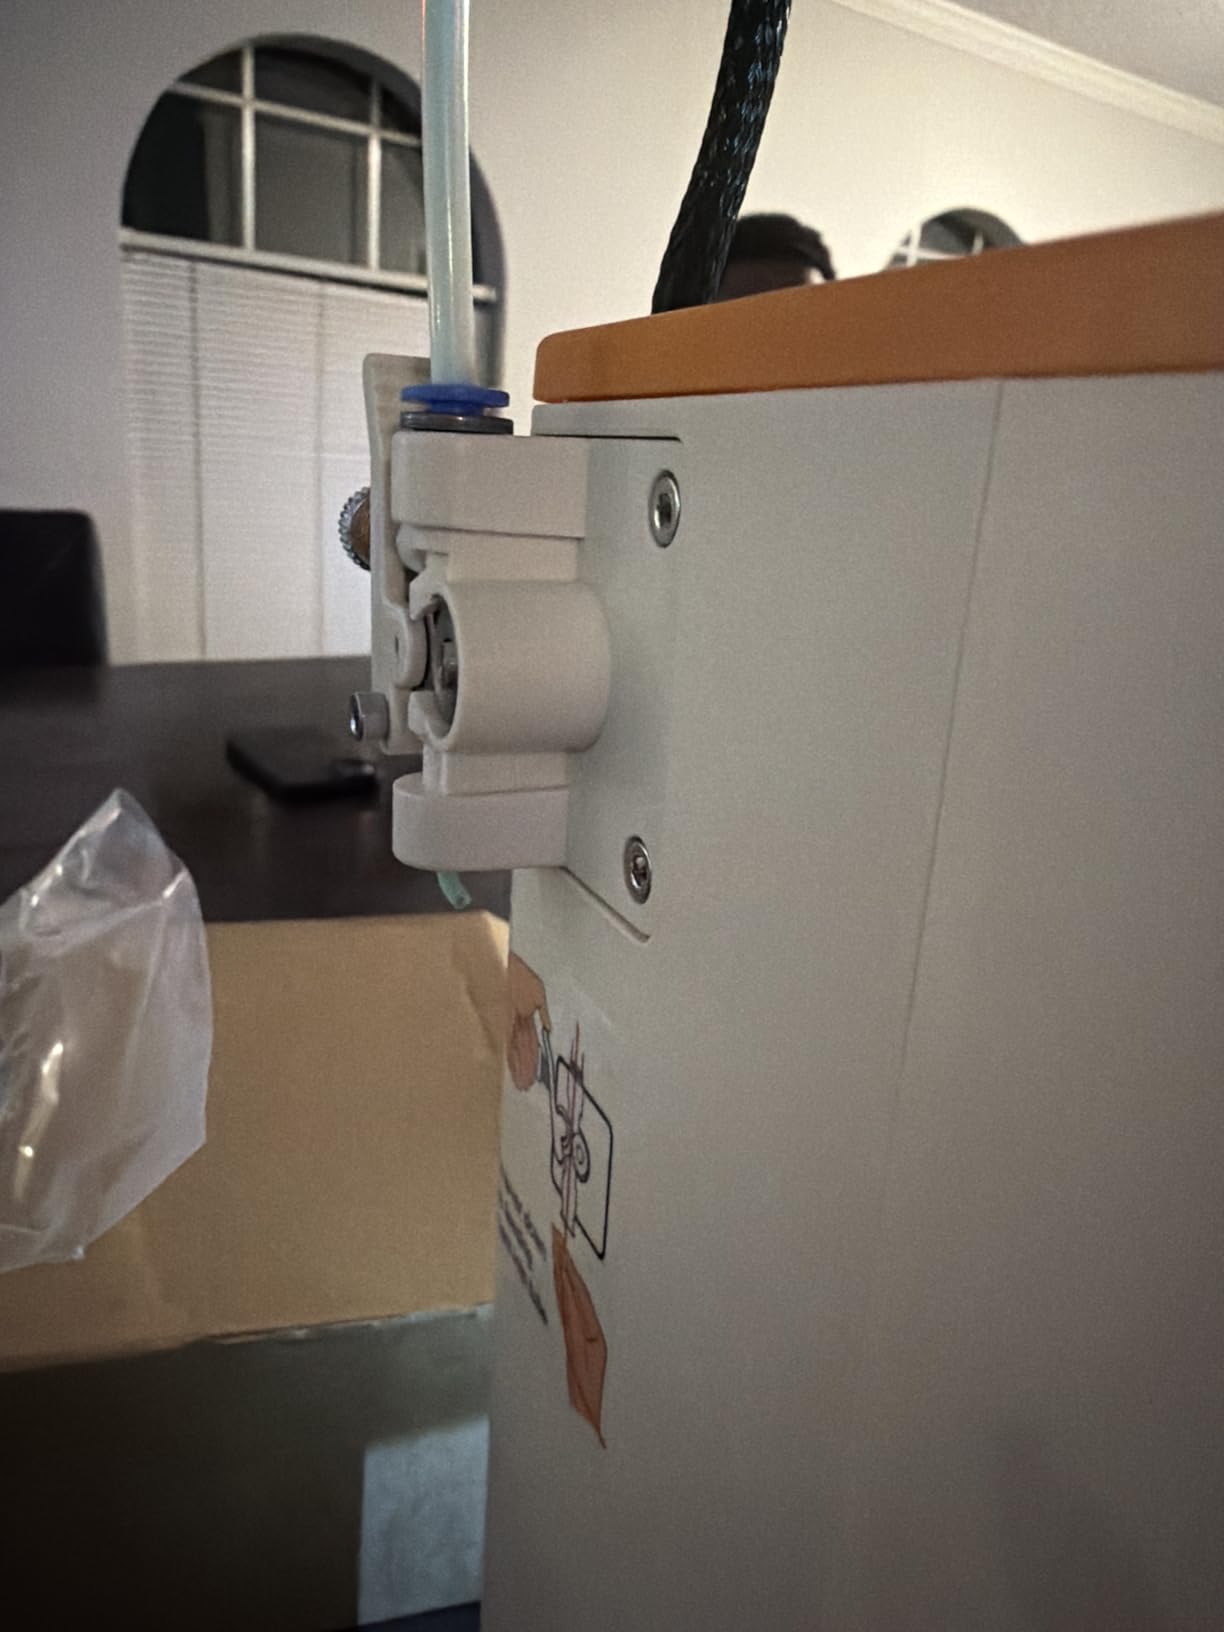
Why the Tina2C suits classrooms and gifts
Guided setup, a built-in model library, quiet operation and safety-oriented rounded edges make it the easiest machine to hand to someone who has never used one. A teacher can get twenty students producing objects without troubleshooting filament, and a parent buying a birthday present gets something that works the same day it is opened.
Support quality matters more than usual for a gift, and the reported experience with Entina is good. That is a smaller thing but a real one when a first machine goes wrong in week two.
Where the Tina2C hits its ceiling
The 3.9 inch cube build volume is the constraint everyone mentions. It is a genuinely tiny print area, and owners describe the machine outgrowing its purpose within a few months. The side filament hook also will not accept 1kg spools, which is an annoying limit once you are printing regularly.
Filament snap-offs inside the extruder are the recurring mechanical complaint, and nozzle clogging tends to follow retraction settings used without tuning. Prints also come out slightly wobbly on occasion. Treat this as a starter or teaching machine rather than a general-purpose printer.
9. Entina Tina2 Basic – The Entry-Level Assembled Printer
Entina Mini 3D Printers Tina2 Basic, Fully Assembled and Auto Leveling 3D Printer for Beginners and Kids, Easy Setup, Safe Design, High Precision Printing FDM Mini 3D Printer for Home & School
Fully assembled, first print in about 5 minutes
100 x 105 x 100mm build
2.4 inch LCD
Pros
- Entry-level cost with a full auto-levelling feature set
- Printing within minutes of arrival
- Dual Z-axis rails improve consistency over single-rail designs
- Lightweight and portable for home
- classroom or dorm
Cons
- Very small 100mm class build volume
- A 4.1 average rating
- TF card workflow only with no WiFi or app printing
- Simple LCD and knob control limit options
The Tina2 Basic sits at the entry point of this roundup, and it is genuinely assembled. First print is around five minutes after it arrives, which is faster than anything else here including the dedicated kid machines. If the goal is the lowest possible commitment to see whether 3D printing interests you, this is the floor.
The feature set is no-frills but not bare. Automatic bed levelling with a flexible removable magnetic build plate, dual Z-axis rails for stability, a 2.4 inch LCD, offline printing from an included microSD card, resume after power outage, and one-button filament in and out. At 6 pounds it is easy to move between rooms.
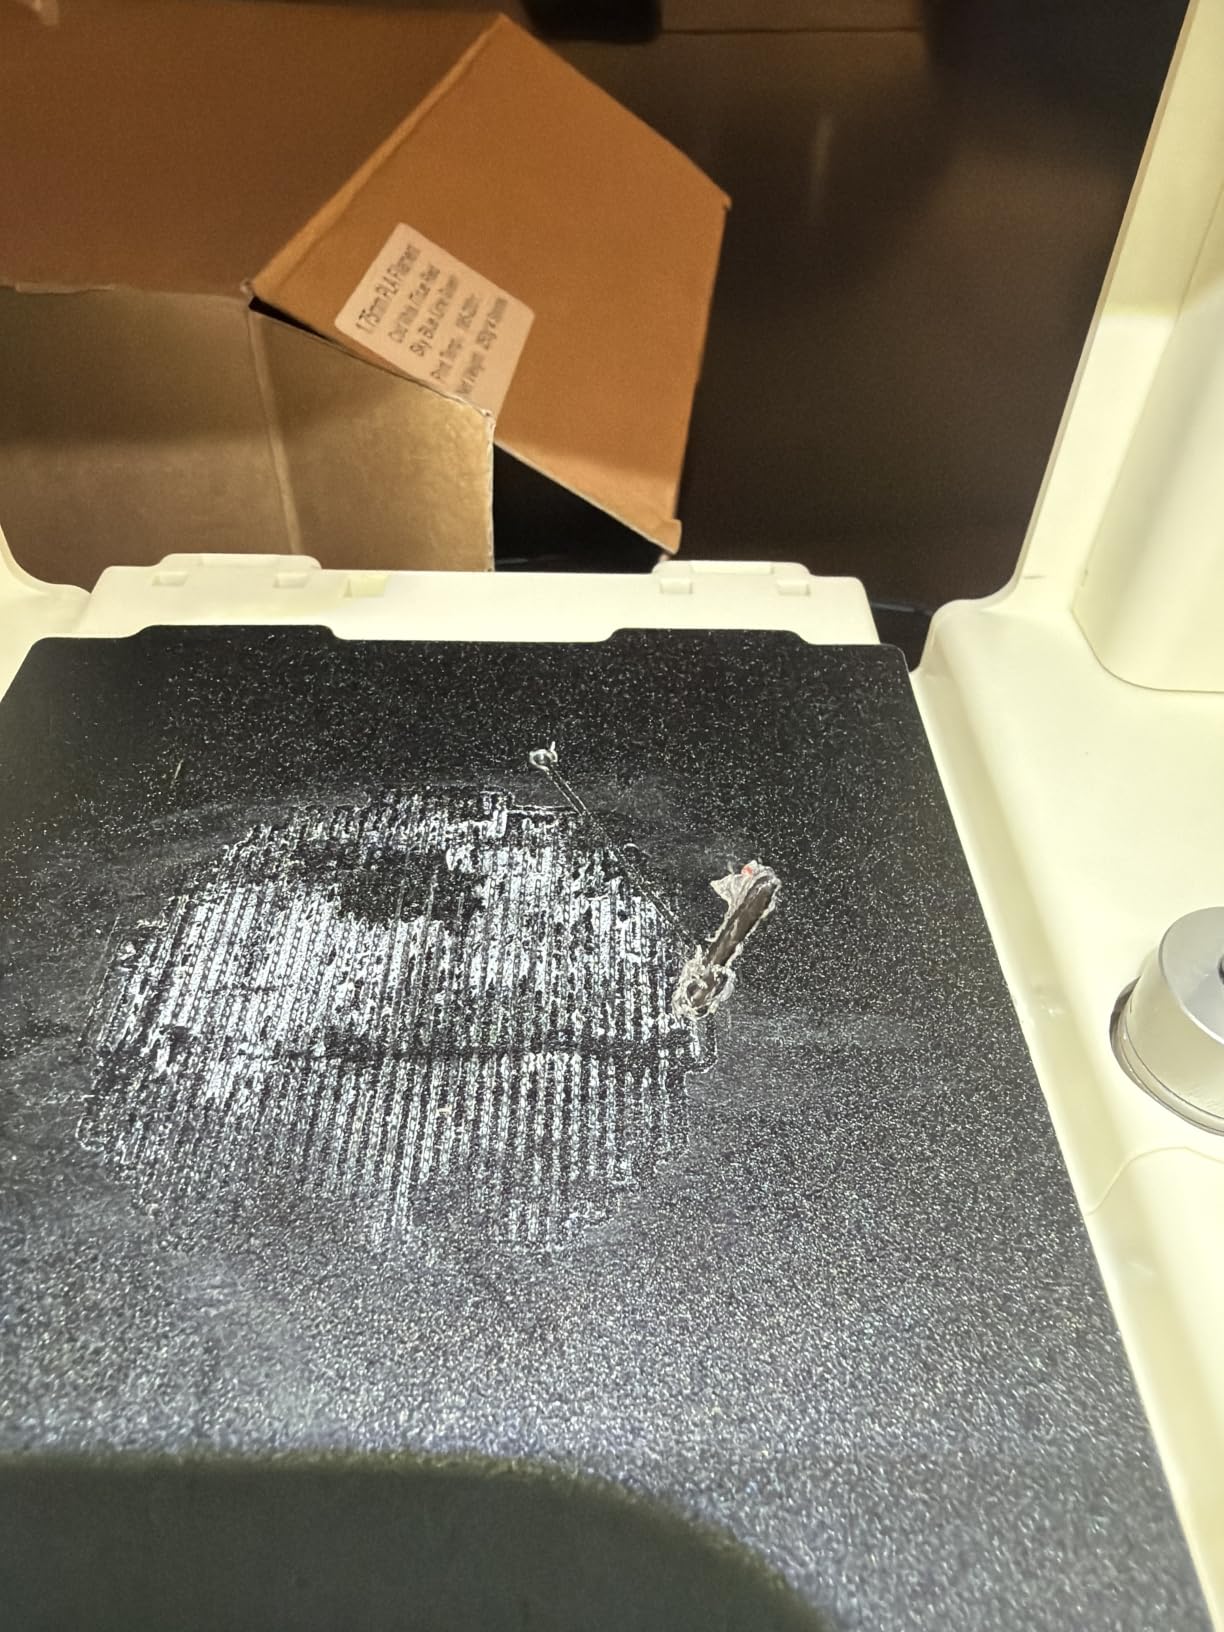
The dual Z-axis rails are the detail worth pausing on, because single-rail designs in this price range are the main reason cheap printers develop a lean on tall prints. Print quality on small objects is good for a 100 x 105 x 100mm build volume, and the open-source software support means you are not locked into a proprietary slicer.
What it does not have is connectivity. This model is TF card only, with no WiFi and no app printing, so every model transfer happens manually.
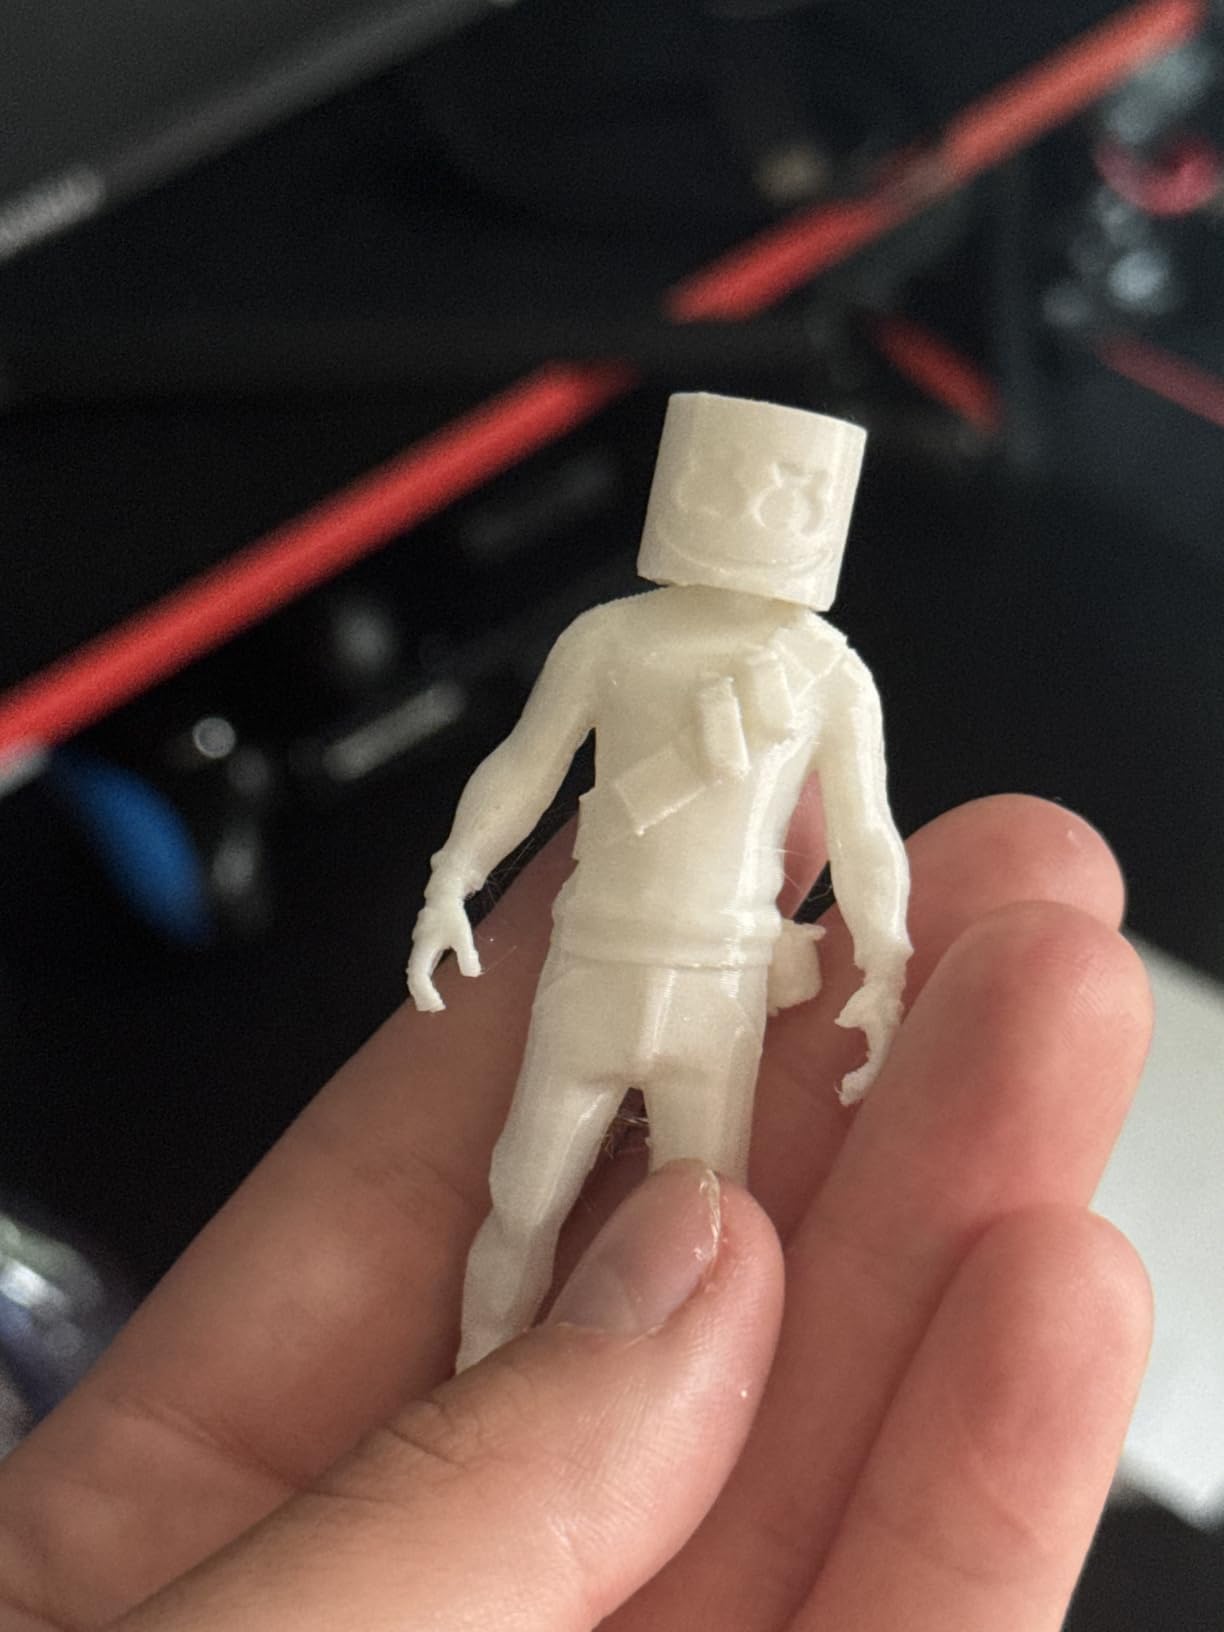
Why the Tina2 Basic is a sensible test of interest
It answers the only question that matters at the start: will you actually use this? For the cost of a small accessory, you get a working printer that produces small objects within minutes and needs no tuning. If the hobby sticks, most owners sell or hand it to a child and move up to a full-size machine.
It is also a reasonable classroom machine given its low cost and light weight, since a damaged unit is an inexpensive replacement rather than a setback.
Where the Tina2 Basic disappoints expectations
It has an average rating of 4.1 with 12% of reviews at one star, and the reason is mostly the feature set. People who compare it with modern entry machines find the knob-and-LCD interface limiting, and its very small build volume means large projects are simply out of reach.
Missing WiFi and app printing is a real quality-of-life gap compared with everything else in this list. Treat it as an inexpensive first step rather than a machine you will still want in two years.
10. Bambu Lab A1 Mini – Best for Small Desks
Bambu Lab A1 mini 3D Printer + LED Lamp Kit, Ready-to-Use for Beginners
LED lamp kit included
Automatic calibration
MakerWorld model library
Compact and quiet operation
Pros
- Bamby's beginner setup in a smaller footprint
- Automatic calibration with little troubleshooting
- LED lamp kit gives an immediate first project
- Quiet operation suited to a shared room
- MakerWorld library access through the Bambu Handy app
Cons
- Small build volume compared with the full-size A1
- Multi-colour still needs the AMS lite sold separately
- Bundled LED kit is only useful with a limited set of models
The A1 Mini is the smaller, cheaper doorway into the Bambu ecosystem, and it inherits most of what makes the full-size A1 so easy to live with. Automatic calibration handles the bed and flow setup, the Bambu Handy app manages prints, and the MakerWorld library gives you thousands of models without searching slicer sites.
Owners rate it consistently with the larger A1, and the feedback centres on the same things: compact size, app reliability and the appeal of the bundled lamp kit. That last point is a genuinely good onboarding idea. Instead of a calibration cube as your first print, you assemble a working LED lamp, which gives a new owner a finished object with a function on day one.
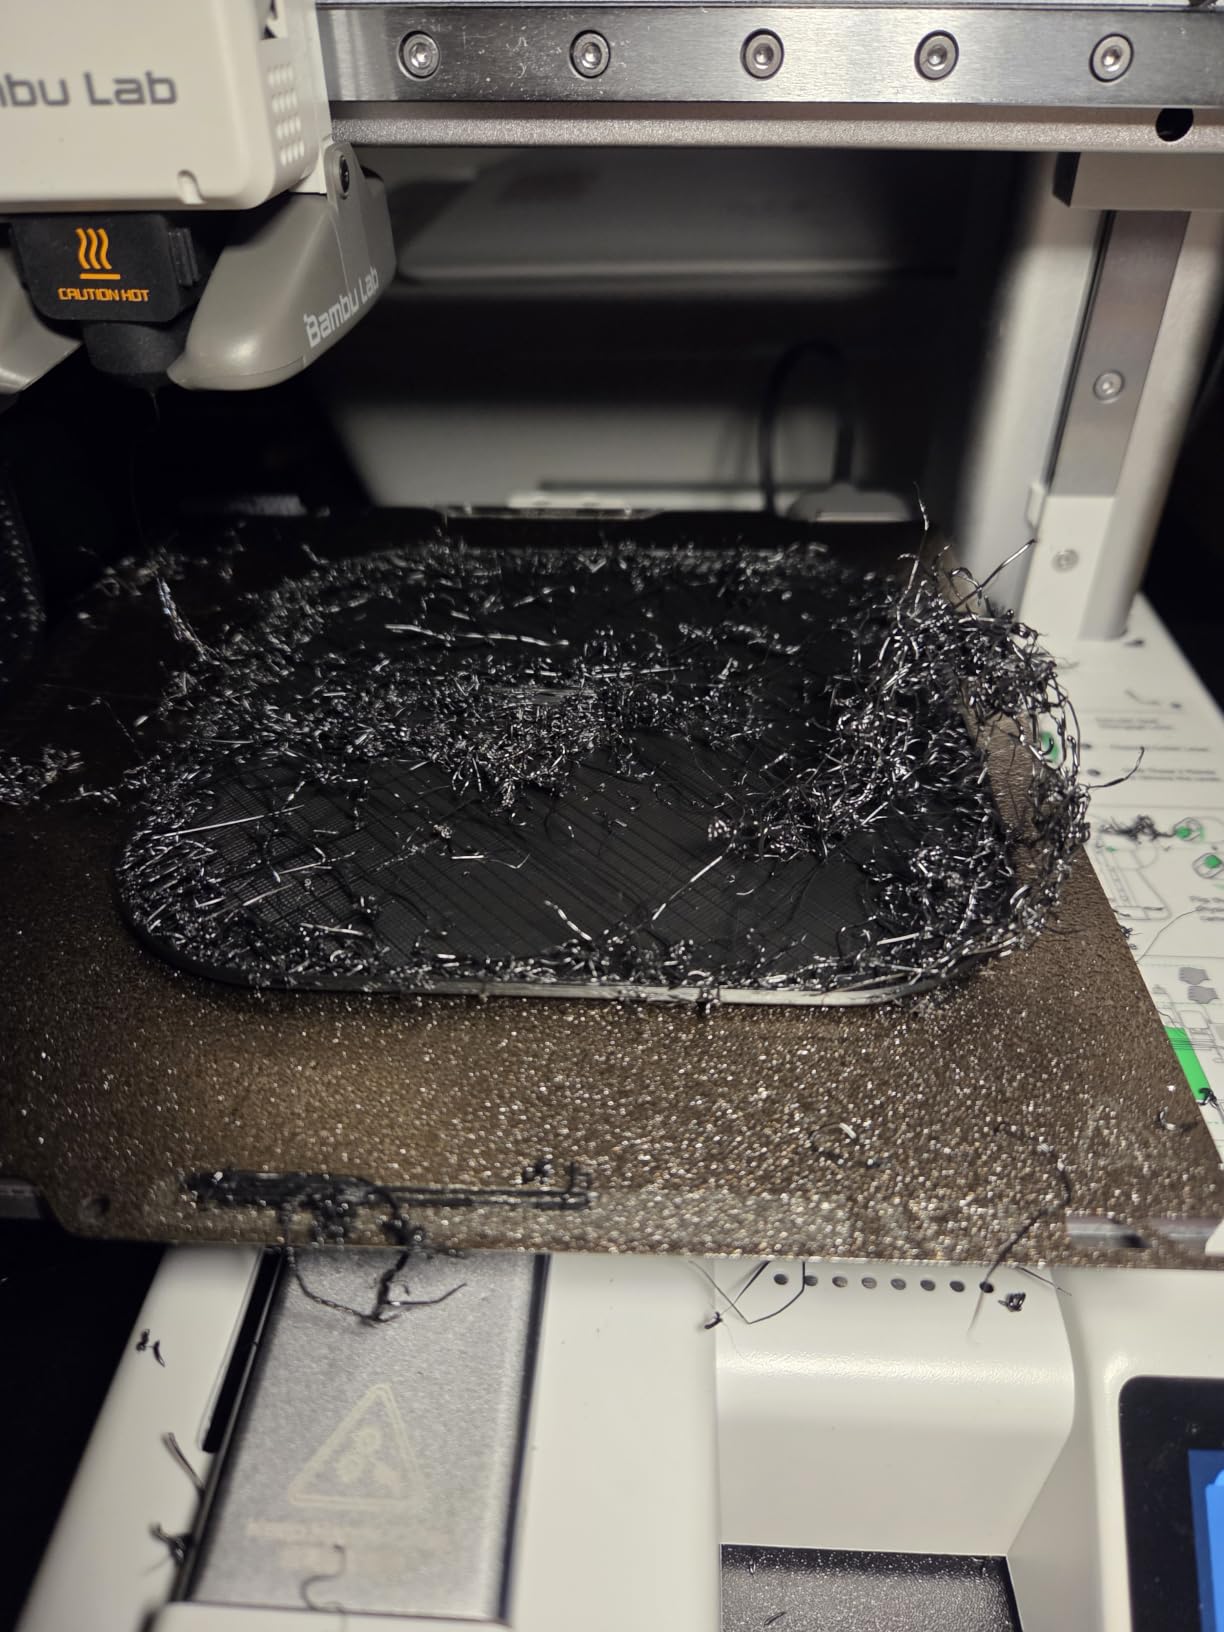
Weighing 12.1 pounds, it is light enough to move between rooms easily, and operation is fast and quiet enough for a home studio or shared workspace. The trade is build volume, which is the main reason buyers outgrow it and step up to the full-size A1.
Multi-colour still requires the AMS lite, sold separately on this kit, and the A1 mini Combo variant includes it if you would rather have it from the start. The bundled LED kit is only useful with the limited set of compatible lamp models, so treat it as a nice first project rather than a feature.
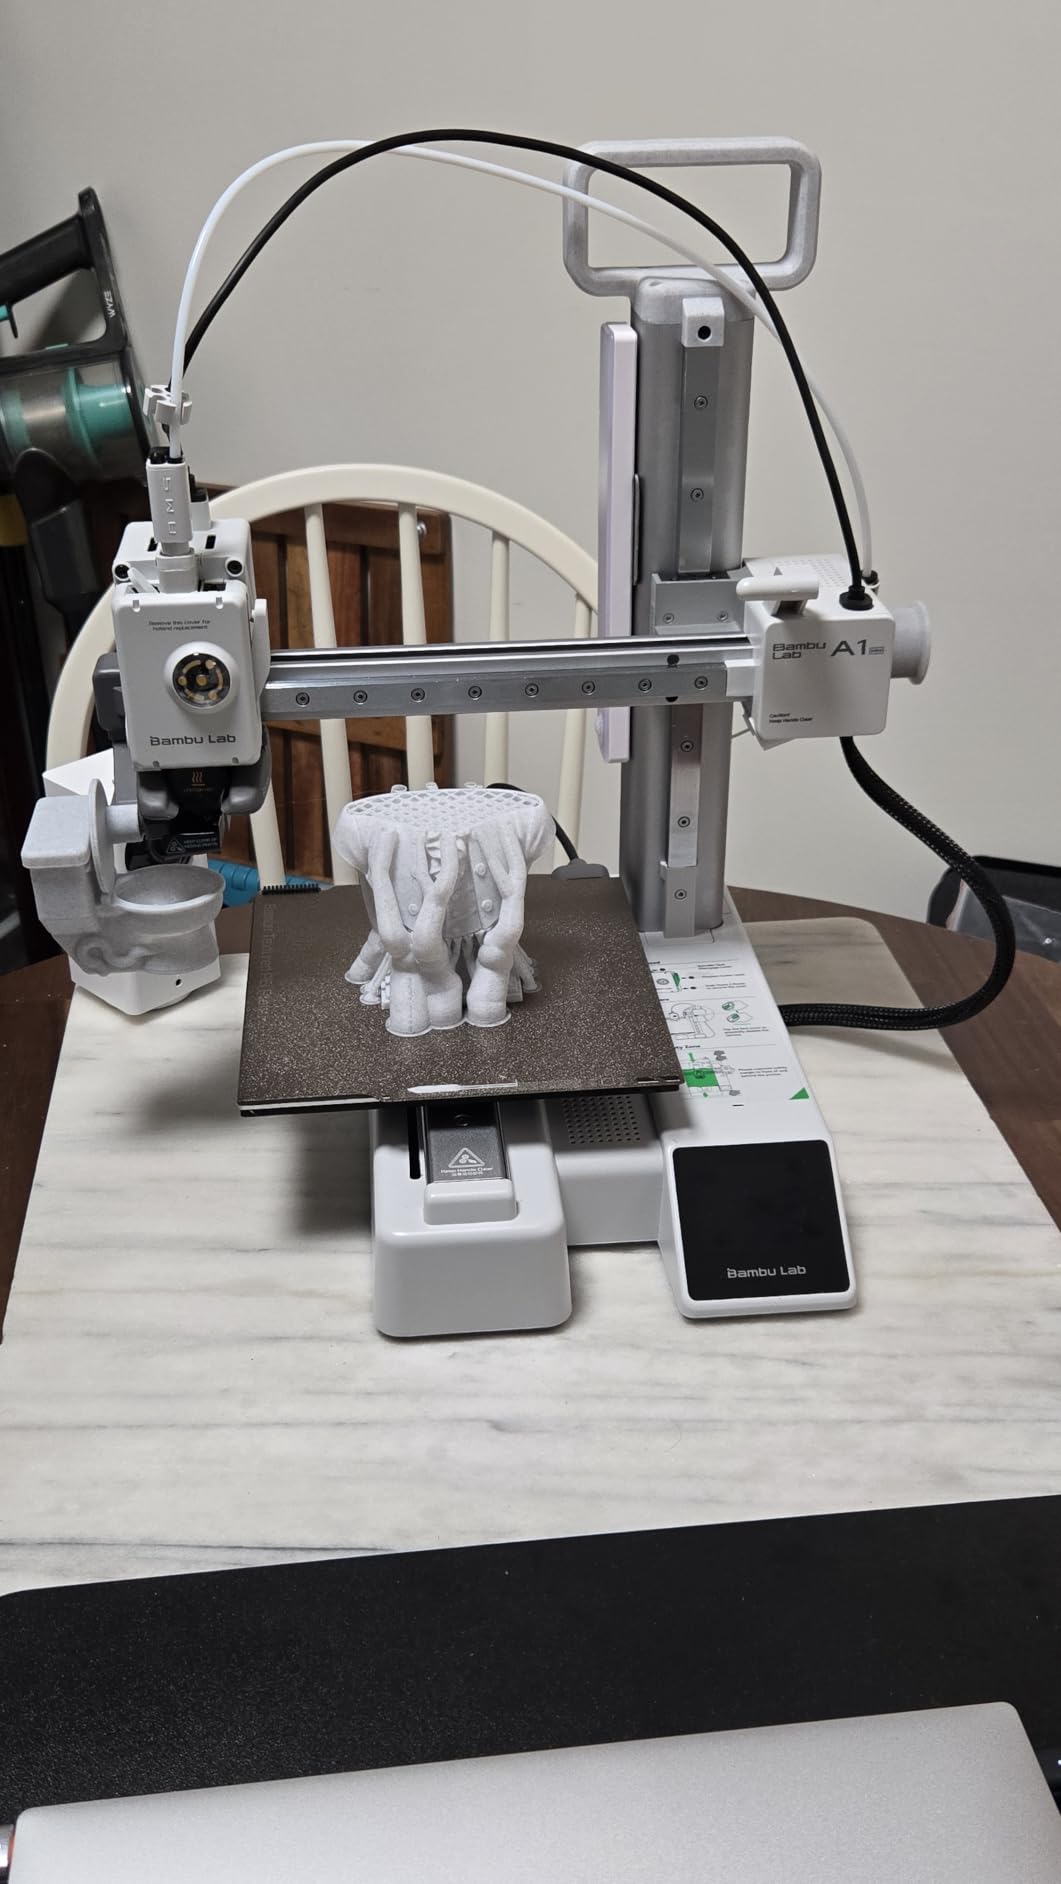
Why the A1 Mini suits small spaces
It solves the two problems that stop people buying a larger machine: desk space and noise. If you share a room with someone who works or studies, a machine that runs quietly through an eight-hour print is worth a lot, and this is one of the quietest options here.
You also get one of the simplest software experiences in the guide. If your concern is that a slicer will confuse you, the Bambu Handy app with MakerWorld models removes that barrier almost entirely.
Where the A1 Mini becomes a limitation
Build volume is the whole story. Anything larger than a modest desktop object will not fit, and that ceiling arrives faster than most buyers expect once the hobby takes hold. The enclosed-body models also run this, so if you plan to print cosplay props or large organisers, budget for the full-size machine instead.
Multi-colour remains an add-on, and if colour is central to what you want to make, the extra cost of the AMS lite on top of this machine may be better spent on a printer with it built in.
11. FLASHFORGE AD5X – Four-Color Prints on a CoreXY Frame
FLASHFORGE AD5X Multi-Color 3D Printer, CoreXY 600mm/s High-Speed, 1-Click Auto Leveling, 300°C Direct Drive Extruder, 220x220x220mm Build Volume, Ideal for Precision and Efficiency
Up to 4 colours at once
CoreXY 600mm/s
300C direct drive extruder
Pros
- Multi-colour capability that is unusual at this price
- CoreXY speed and quality owners compare to Bambu machines
- 1-click auto leveling gets a usable first layer
- 300C hotend handles a wide material range
- Support resolved a major crash by sending replacement parts
Cons
- A 3.9 rating with 17% one-star reviews
- Colour-switching unit jams and deforms its PTFE tubes
- Purge waste is heavy and prints can exceed 24 hours
- Forced software update broke previously working settings
The AD5X prints up to four colours simultaneously on a CoreXY frame at 600mm/s, a combination nothing else in this roundup matches. It also takes interchangeable nozzles from 0.25mm to 0.8mm with 0.4mm pre-installed, which is unusual flexibility for an entry machine.
Performance when it works is excellent. Owners running 1000 to 3000 hours report minimal failures and rate speed and accuracy above Bambu machines they own side by side. Setup is quick, 1-click auto levelling produces a usable first layer, and the 300C direct drive extruder with dual-channel cooling and vibration compensation handles a wide material range.
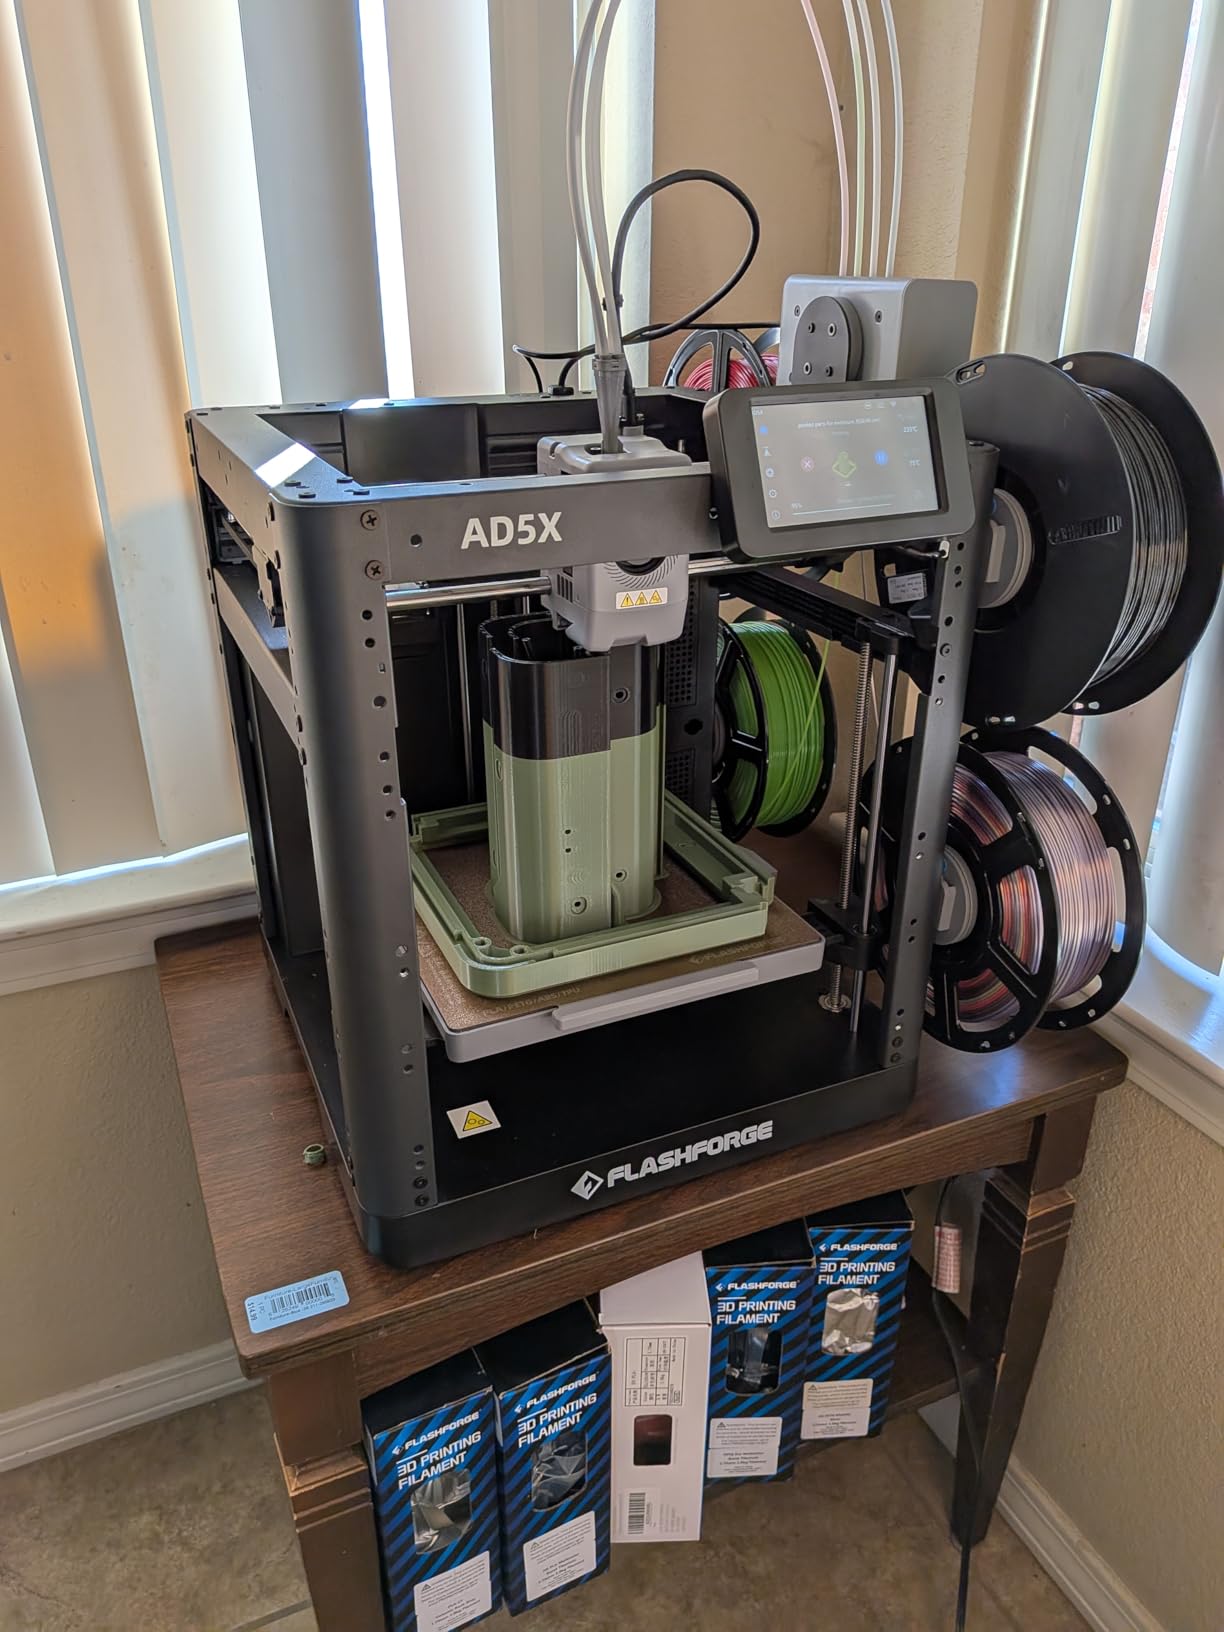
Power loss recovery with automatic filament feed and retract, plus remote monitoring through the Flash Maker app, cover the long-print cases. The 220 x 220 x 220mm build volume is a standard full-size cube, and support has a good record: one owner had a major crash resolved by having nozzle, plate and extruder parts sent to them.
What separates the two camps of owners is multi-colour reliability. The colour-switching unit is the weak point, and when it fails it does so visibly. Multi-colour is also the most filament-hungry mode on any of these machines, because every colour change purges material before it starts again.
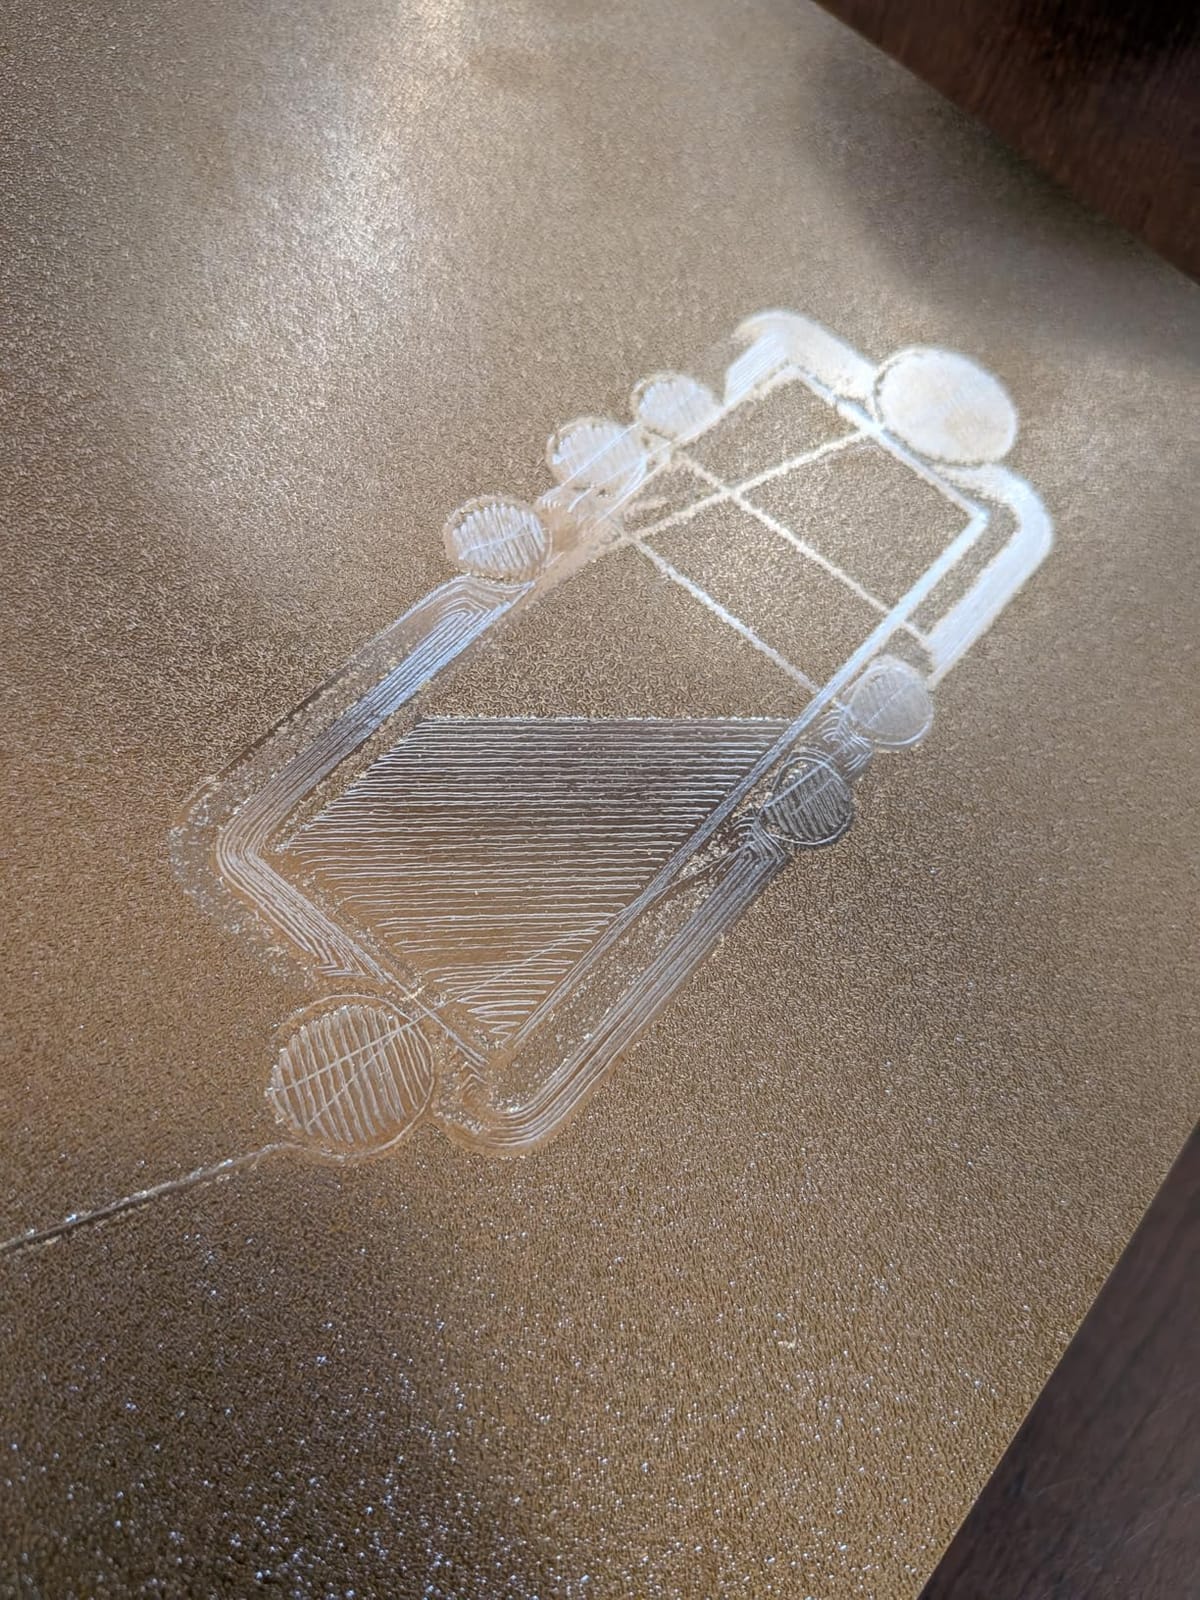
Why the AD5X appeals to multi-colour buyers
If your goal is four-colour models in a single unattended run, this machine combines that with a faster head than the enclosed multi-colour alternative here, and the nozzle range means one machine covers both detail work and production. The high owner base of 1065 reviews means failures and fixes are well documented.
It is also a good machine to grow into. Support is responsive when hardware fails, and the speed means a large batch of parts does not tie up the machine for a weekend.
Where the AD5X is not a beginner machine
It has a 3.9 average rating, with 17% of reviews at one star. The recurring failure is the colour-switching unit jamming and deforming its PTFE tubes, and owners who hit it judge the machine harshly. For a first purchase, that risk lands in the wrong place.
Other problems: purge waste is heavy, multi-colour prints can exceed 24 hours, and it is loud during purging and Z moves while remaining unenclosed. The touchscreen needs firm presses and one side can go unresponsive, and a mandatory Flash Studio software and firmware update broke settings that had been working. Its enclosure upgrade is a catch-22, since the frame must be printed in ABS, which needs an enclosure.
12. Anycubic Kobra X – Quietest Multi-Color Option
Anycubic Kobra X Multicolor 3D Printer, Easy One-Click Printing
Four colours, expandable to 19
LeviQ 3.0 49-point auto leveling
600mm/s
48 dB or quieter
Pros
- Setup and first print inside about 15 minutes
- LeviQ 3.0 levelling gives a clean first layer
- Very quiet for a CoreXY machine
- AI camera with spaghetti detection can save a print
- 260 x 260 x 260mm build volume
Cons
- 14% one-star reviews with filament jams in week one
- Several owners spent more time fixing than printing
- PEI coating can delaminate with no clear remedy
- Bundled slicer did not install on Linux
- Camera clarity is mediocre and support is hard to reach
The Kobra X is the one machine in this roundup that publishes a noise figure, at 48 dB or below, and that specification lines up with what owners report. That matters if you plan to run prints overnight in a flat or a small office, because fans are the dominant source of noise on most CoreXY machines.
Setup took about 15 minutes according to owners, and LeviQ 3.0 uses a 49-point probe to level the bed, which is one of the more thorough routines in the group. Print quality reportedly holds up at 600mm/s and with 0.4mm nozzle detail work, and the adaptive extrusion force compensater handles materials from TPU through to PLA.
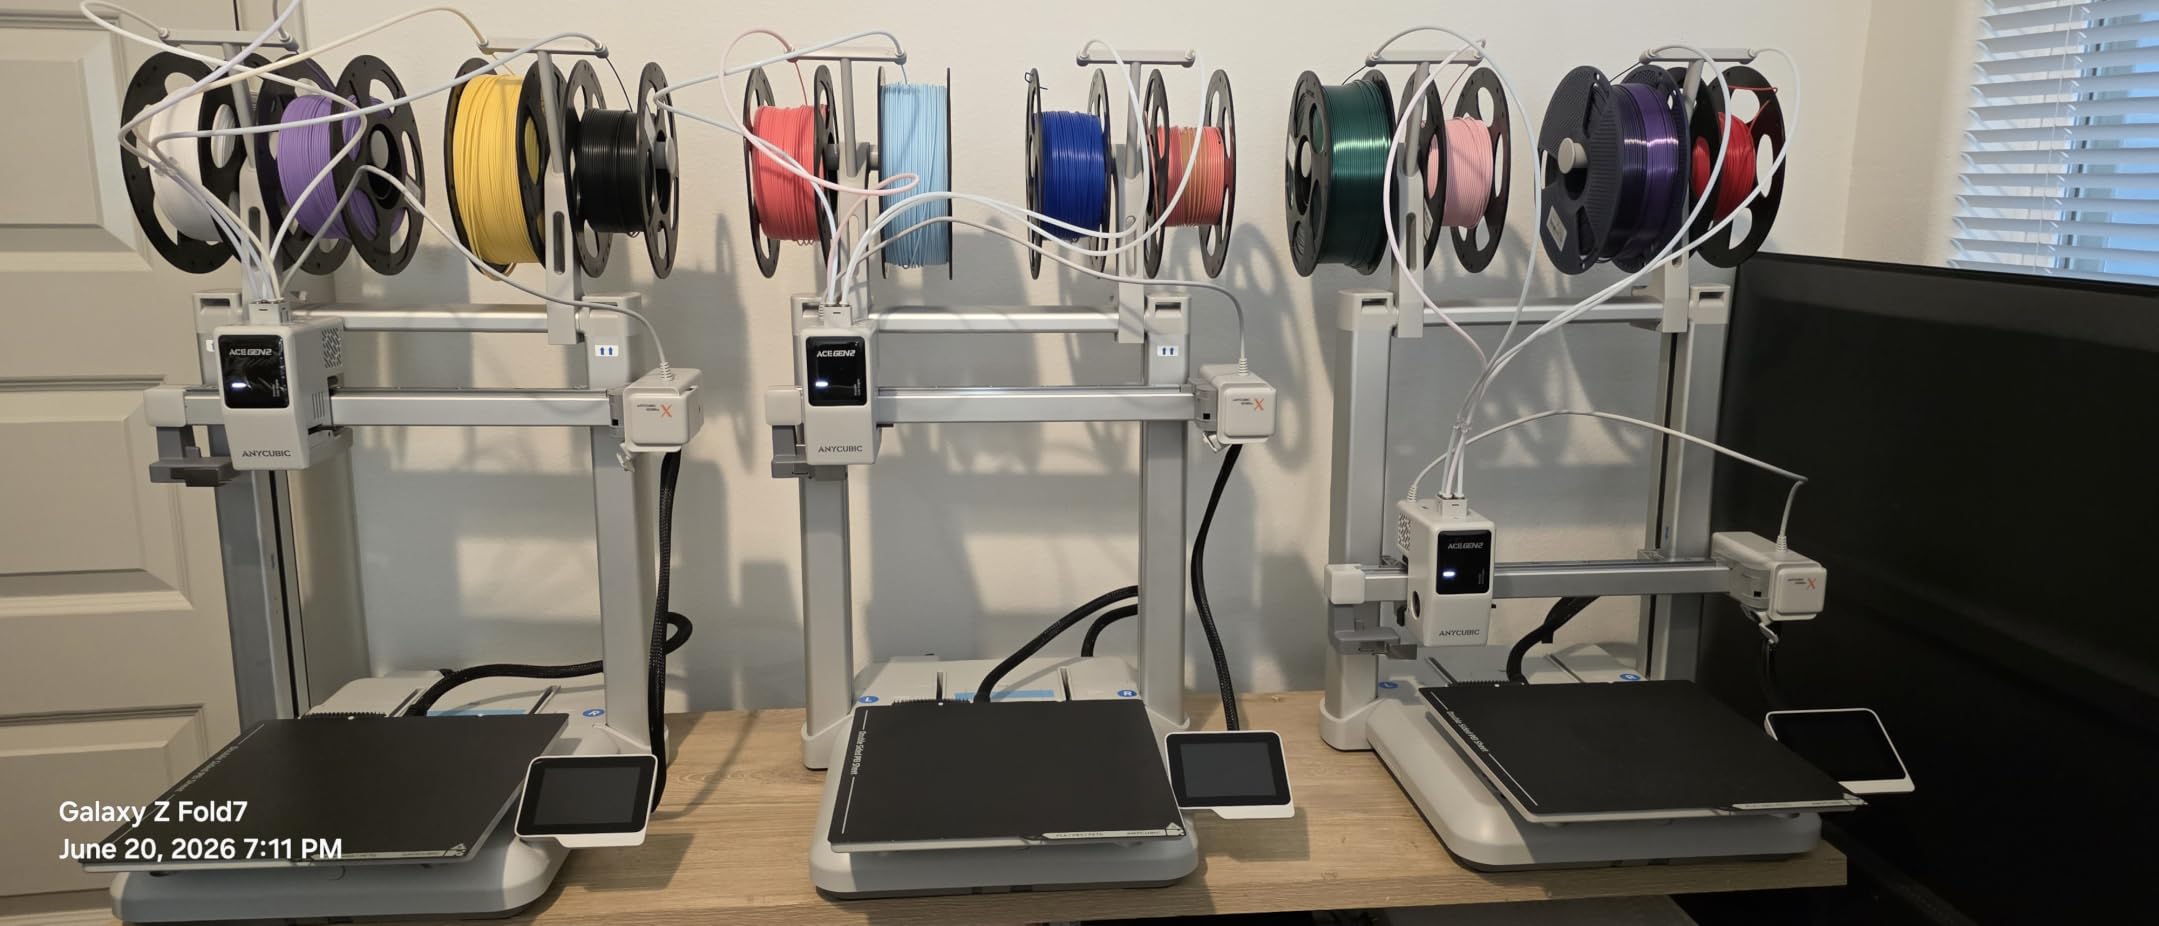
Four colours come standard, expandable to 19 with a 4 ACE 2 Pro unit, and the 260 x 260 x 260mm build volume is among the largest here. The 720P camera adds object detection, spaghetti detection and skip-part for batch prints, which is genuinely useful automation for someone who is not watching the machine. A hardened steel nozzle reaching 300C covers PLA, PETG, TPU, PVA and ASA, with runout sensors and power loss recovery.
This is a newer release with a short review history of 144, so the long-term record is thinner than the machines with thousands of reviews behind them. Early adopters praise the chassis, levelling and speed.
Why the Kobra X suits shared spaces
The noise specification is the reason to choose it. If your printer lives in a bedroom, a studio or a home office where other people work, a 48 dB machine is the difference between a machine you can keep running and one you switch off at night. Combined with the 15-minute setup, it is a low-friction first machine.
The AI monitoring is also worth understanding before you buy. Spaghetti detection and skip-part can save a batch print that would otherwise have wasted a night, and for someone who leaves prints running while they work, that has real value.
Where the Kobra X is a gamble
Fourteen percent of reviews are one-star, and several owners report spending more time fixing the machine than printing, with filament jams and a clogged nozzle in the first week. The PEI coating on the bed can delaminate, and owners report no clear remedy from the manufacturer for it.
There are software and support gaps too. The bundled slicer did not install on Linux, false clog alerts can lock up the machine, camera clarity is mediocre, and customer service is hard to reach. With the thinnest review history in this roundup, the long-term reliability picture is not yet settled.
What to Look for in a First 3D Printer
Automatic bed leveling decides your first week
First-layer adhesion is the most common reason a beginner decides 3D printing is not for them. If the nozzle is a fraction of a millimetre too high you get a broken first layer, too low you gouge the plate. Manual levelling on a warped spring steel bed means solving that problem by feel, repeatedly, and a bad day with a manual bed is how most people quit.
Every machine in this guide has some form of automatic levelling. They differ in method. CR Touch probes a fixed point and builds a mesh, LeviQ 3.0 uses a 49-point probe, and Bambu uses full-auto calibration that also sets Z-offset and flow rate. All three remove the manual chore. What none of them remove is keeping the plate clean, which is the real cause of most first-layer failures people blame on the printer.
Direct drive versus Bowden is simpler than it sounds
A Bowden extruder pushes filament through a tube to the nozzle, which is quiet and light but gives the filament more path to compress and tangle. Direct drive mounts the motor at the hotend, shortening that path. The practical result is cleaner retraction, far better TPU handling, and fewer jams in the extruder.
All-metal hotends are the other half of that. A PTFE-lined tube above 240 degrees releases gases that degrade the tube and eventually clog the hotend. If you plan to print in engineering materials, an all-metal hotend is required rather than preferred.
Build volume is the number beginners get wrong
People compare the cube size on the spec sheet and move on, but build volume decides whether you will still want the printer in a year. Anything under 100mm cube is a toy that outgrows itself. A 220mm cube handles most household parts, and 260mm opens up storage and cosplay projects.
More useful still is height. A tall Z axis means you can print a lamp, a shelf or a vase in one piece instead of assembling sections, and dual Z-axis lead screws are what keep a tall print from leaning.
CoreXY versus bed slinger
A bedslinger has a motor at each end of one axis and the bed moves as the head moves in the other direction, so the print is always in motion along one line. It is cheaper and fine for small PLA objects. CoreXY keeps the bed stationary and moves only the head, which produces far more consistent layers at speed and handles tall thin prints much better.
Input shaping, sometimes called vibration compensation, is the software half of the same idea. It tells the firmware the machine’s resonant frequency and reshapes its motion to cancel ringing, which removes the ghosting you would otherwise see on corners and vertical walls.
Enclosed versus open frame
An enclosure holds heat and blocks drafts, which is what makes ABS and ASA printable. It also reduces noise. If you only ever print PLA and PETG, an enclosure is nice but not necessary, and an open machine will be cheaper and lighter. If you might print engineering materials, start enclosed and you will not need to replace the machine later.
The exception is resin, which needs ventilation rather than enclosure, for a completely different reason. Resin requires a dedicated space, gloves, an enclosed wash station and post-curing, which is why most beginners should choose filament.
Multi-color: manual change, feeder or tool changer
Manual colour change is the simplest option. Pause the print, swap filament, resume. It is fine for two-colour models and costs nothing, though each change means purging and starting a new colour layer.
Feeders automate the swap, whether integrated into the machine or as a bolt-on box. The Bambu AMS, the Creality CFS Lite and the Anycubic ACE units are this approach. The cost is purge waste and time, because each change flushes the nozzle. The machines here that integrate colour directly, like the K2 SE 4C and AD5X, remove the assembly step but not the waste.
Tool changers swap an entire extruder instead of purging, which cuts filament waste substantially. They are also much more expensive and more complex, and none appear in this price bracket. The honest advice from owners is that multi-colour on a first machine is more complex and wasteful than the marketing suggests, and that you can add a feeder later to any machine here rather than buying into it on day one.
Slicer software ecosystems
Every printer needs a slicer to turn a model into machine instructions. Bambu machines use Bambu Studio, which is a fork of OrcaSlicer, and Creality machines use Creality OS, while the Anycubic, Entina and Asani machines use established third-party tools like Cura or Wiibulider.
Closed ecosystems give you profiles that simply work. Open ones give you more control and the ability to switch machines without learning new software. For a first printer, the profiles that work out of the box are worth real money. If you plan to move into 3D animation work, that is a good moment to pick a machine with a permissive toolchain, and our guide to 3D animation software for short films covers the modelling side that feeds into it.
FDM vs Resin for Beginners
FDM printers melt plastic filament and deposit it layer by layer. Resin printers, called SLA or MSLA, cure liquid photopolymer resin with UV or LCD light. Resin produces dramatically finer detail and smoother surfaces, which is why tabletop miniature players and jewellery makers choose it, and it is also why they choose it over an easier machine.
The safety difference is what decides it for a first purchase. FDM is plastic heated to a few hundred degrees in an enclosed hotend, which is unpleasant but not hazardous. Resin is an uncured liquid that is a skin sensitiser before printing and remains toxic to aquatic life after, so it requires nitrile gloves, a ventilated space, careful washing of prints before they are handled, and proper disposal of wash waste. A few accessories sold with resin printers include the PPE.
For a first machine, the honest answer is FDM unless you have a specific need for fine detail. The cost of the safety setup, the handling, and the fact that resin is far less forgiving of a beginner who leaves a print exposed on a desk all outweigh the detail gain. Start filament, learn the workflow, and consider resin later if miniature detail becomes the thing you care about.
What to Buy With Your First Printer and the First 30 Days
The printer is the smallest part of what you will spend. Budget for the extras before the first print, because a new owner who runs out of filament mid-calibration gets a bad impression of the hobby. A two or three kilogram spool of decent PLA is the first purchase, and it will carry you through dozens of test prints.
After that, the priorities are simple. A spare set of hardened nozzles covers most clogging problems, since a fresh nozzle fixes more failures than any other single part. A second build plate gives you a clean surface when the first one is worn or dirty, which is the most common cause of failed first layers. A filament dryer matters if you live somewhere humid, because wet filament pops, strings and prints weak. Beyond that, an enclosure for your printer and a good pair of flush cutters round out the kit.
You will also need modelling software, and the beginner-friendly answer is a browser-based tool with a huge library rather than a professional package. If your interest extends into animation and modelling work, the 3D rendering software for animated shorts guide covers the options that pair well with a home printer for physical props and set pieces.
For the first month, the sequence matters more than the machines. Print a calibration cube and a temperature tower on day one, because they teach you what a bad setting looks like. Then run a known-good model from a library rather than a complicated one you downloaded. Keep filament sealed when it is not on the machine, and clean the plate with water and detergent rather than a scrap of filament, which leaves grit behind. Write down which profile and filament you used for anything that works, because that note is what lets you reproduce a result six months later.
Frequently Asked Questions
What is the best 3D printer for beginners in 2026?
The Creality Ender 3 V3 SE is the best 3D printer for beginners in 2026 for most people, because it has the largest owner base in this roundup and its rough edges are documented rather than discovered. It pairs CR Touch automatic bed leveling with a Sprite direct drive extruder, both of which remove the two most common beginner failures. The Bambu Lab A1 is the alternative if you want zero manual adjustment, and the FLASHFORGE Adventurer 5M is the choice if print speed matters more than price.
What type of 3D printer is best for beginners?
A desktop FDM filament printer is the right type for most beginners. It is safer than resin, easier to clean, forgiving of mistakes and cheap to run on inexpensive filament. Resin printers produce far finer detail for miniatures and jewellery, but they require gloves, ventilation, careful washing and correct disposal, which makes resin a second machine rather than a first one.
How do I pick a beginner 3D printer?
Pick based on what you want to print, not on speed specifications. First decide your typical model size, because anything under 100mm build volume is a toy you will outgrow. Then check for automatic bed leveling and a direct drive extruder, both of which prevent the majority of first-time failures. After that, match the filament support to your materials, and add multi-color only if color is central to your projects.
What all should I buy with my first 3D printer?
Buy filament first, because a two or three kilogram spool of PLA is enough for dozens of test prints and a machine with no filament is a machine you cannot test. Next come spare hardened nozzles, since a fresh nozzle resolves most clogs, and a second build plate for a clean printing surface. A filament dryer helps in humid climates, and a spare set of flush cutters makes removing prints much easier.
Which 3D printer has the least amount of problems?
Among the machines reviewed, the Bambu Lab P1S and Bambu Lab A1 report the fewest problems, with the A1 holding a 4.7 average rating and owners reporting little maintenance over months of daily use. The enclosed P1S reports no clogging past 350 hours. Reviewers also report that Bambu printers can be printing within about 20 minutes of unboxing, which is a meaningful reduction in beginner frustration.
How long does it take to learn 3D printing?
Most beginners produce a usable part within a single sitting. The machines here range from about 5 minutes for the Entina Tina2 Basic and 8 minutes for the Entina Tina2C, through roughly 15 minutes for the Bambu Lab P1S, to 30 minutes for the Creality Ender 3 V3 SE. Learning the wider workflow, including slicing settings and filament drying, takes a few weeks of regular use rather than months of study.
Our Final Picks for First-Time Owners
Buy the Creality Ender 3 V3 SE if you want the most proven first printer, the widest body of owner knowledge, and a machine that will still be useful when you know more than you do now. It is our pick as the best 3D printer for beginners overall because the documentation, community and parts availability matter more at the start than any headline speed figure.
Buy the Bambu Lab A1 if you would rather not tune anything at all and want multi-colour capability later. Buy the FLASHFORGE Adventurer 5M if you print large models and want them finished quickly. Buy the Bambu Lab P1S if you might print ABS, ASA or nylon, and the enclosed design is the thing you will thank yourself for in year two.
Whatever you choose, start with PLA, print a calibration cube, and buy your filament before the printer arrives. Whichever of these best 3D printers for beginners you settle on, the learning curve is real but short, and the first week is the only hard part.