
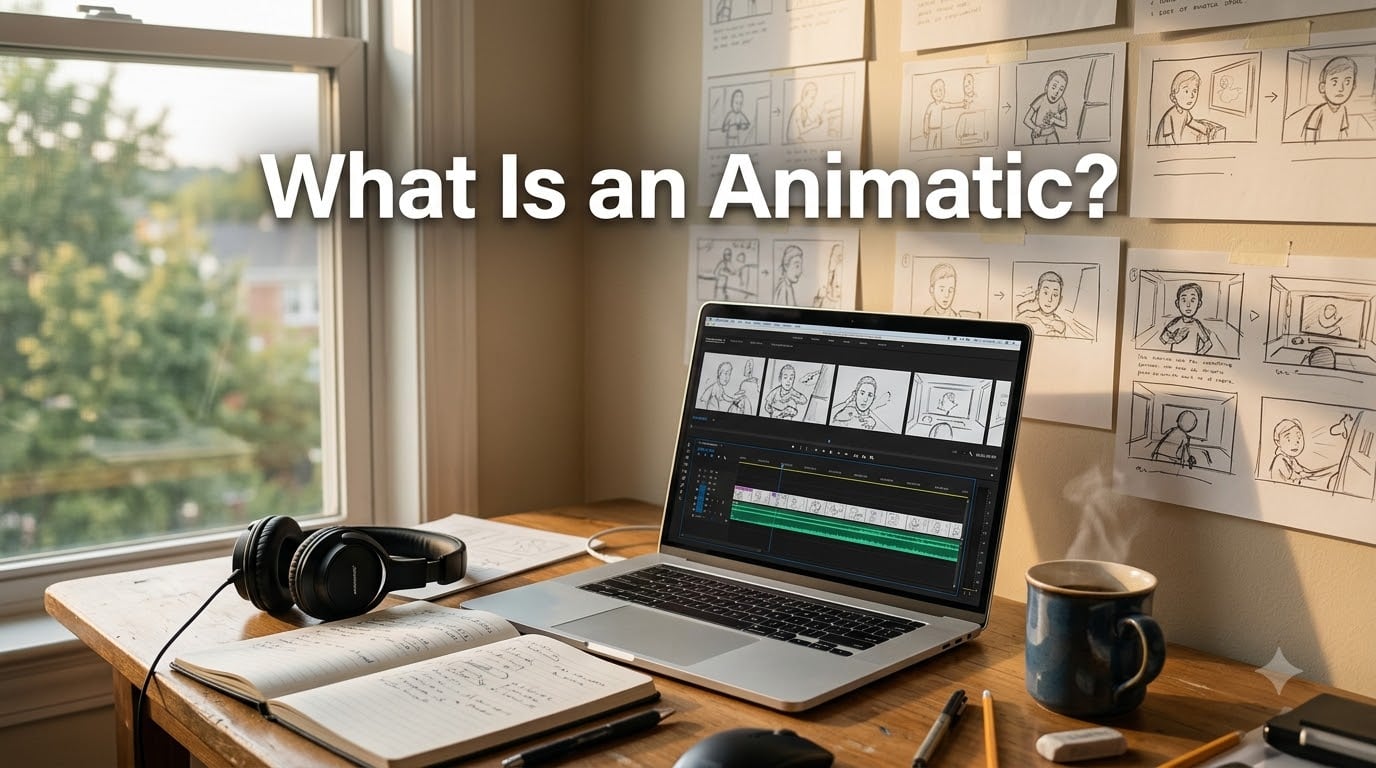
What is an animatic? In short, an animatic is a rough, moving version of your storyboard — storyboard frames laid out on a timeline, with temporary audio underneath, so you can watch your sequence play in real time before you shoot or animate anything final.
I’ve made dozens of short films over the past decade, and the animatic has saved me more time, money, and awkward reshoots than any other pre-production tool. On Short Film Central, we teach this because it’s the single most underrated step for indie filmmakers. In this guide, I’ll walk you through the definition, the differences, the workflow, the tools, and the honest cases where you might skip one entirely.
Here’s exactly what we’ll cover:
A clear definition of an animatic (and what goes into one)
How an animatic differs from a storyboard, finished animation, and pre-visualization
Why animatics save time and money in pre-production
A step-by-step workflow you can follow this weekend
Common mistakes that derail beginners
When it actually makes sense to skip the animatic step
Table of Contents
- What Is an Animatic? A Clear Definition for Filmmakers
- Animatic vs Storyboard vs Animation: A Quick Comparison
- Animatic vs Previs: What’s the Difference?
- Why Use an Animatic? The Core Benefits
- Key Components That Go Into an Animatic
- How to Make an Animatic: Step-by-Step Workflow
- Tools Used to Create Animatics
- Types of Animatics by Discipline
- Common Animatic Mistakes to Avoid
- When to Skip an Animatic (Yes, Sometimes You Should)
- FAQs
- The Bottom Line on Animatics
What Is an Animatic? A Clear Definition for Filmmakers
An animatic is a series of storyboard images edited together on a timeline, with each frame held on screen for its real duration and a scratch track layered underneath. Think of it as a moving blueprint for your film — rough, scrappy, and built to be edited, not admired.
The word itself comes from “animation” and “graphic.” Studios use animatics to test whether a sequence works in pacing, rhythm, and sound before committing to expensive production. Adobe’s own guide describes an animatic as “a rough draft of a sequence or film, sometimes with a soundtrack.” That phrasing captures it perfectly: draft, not finished work.
Here are the key parts that make up an animatic:
Storyboard images — your existing frames, scanned or imported
Timeline — a video editing track where frames play in order
Frame duration — how long each panel stays on screen
Scratch track — temporary dialogue, music, and sound effects
Camera movement notes — simple pans, zooms, or cuts to suggest motion
Watch one at full speed and you’ll see exactly what your finished sequence will feel like. Skip it, and you’re gambling with your shoot day.
Animatic vs Storyboard vs Animation: A Quick Comparison
These three terms get tangled up constantly, even among working filmmakers. The table below breaks down the core differences at a glance, then I’ll explain each row in plain language.
| Element | Storyboard | Animatic | Final Animation |
|---|---|---|---|
| Format | Static panels on paper or PDF | Edited video timeline with audio | Fully rendered moving sequence |
| Primary purpose | Plan shots and composition | Test timing, pacing, and rhythm | Deliver the finished product |
| Level of detail | Loose sketches or thumbnails | Same sketches, timed to sound | Polished, colored, and final |
| Time to create | Hours to a few days | A few hours to a week | Weeks to years |
| Cost | Low | Low to moderate | High |
| Audience | Director, DP, production team | Director, editor, clients, cast | The viewer |
| Has audio? | Usually no | Yes — scratch track | Yes — final mix |
| Can be edited? | Yes, by redrawing | Yes, easily on a timeline | Costly to change |
A storyboard is the planning stage — images on paper that show what the camera will see. An animatic takes those same images and adds time and sound. Final animation is what you ship.
The single biggest distinction: a storyboard shows you what the shots are; an animatic shows you whether they work together. That’s why every major animation studio — Pixar, DreamWorks, Cartoon Network — runs sequences as animatics long before any clean-up animation begins.
Animatic vs Previs: What’s the Difference?
You’ll hear “animatic” and “previs” used interchangeably, but they’re not the same thing. Both live in pre-production, and both save money, but they solve different problems.
An animatic is built from 2D storyboard frames. It’s about timing, rhythm, and how cuts feel. You use it to answer questions like: does this scene drag? Does the music land on the right beat? Are we cutting too fast?
A previs (short for pre-visualization) is built in 3D. It’s about camera blocking, choreography, and spatial relationships. You use it to answer questions like: where does the camera go in this fight scene? How does the light fall? Can the stunt team actually reach that mark?
For a short film, you almost always want an animatic. Previs is reserved for big-budget productions with complex VFX, stunts, or 3D camera moves. If your short film is a four-minute drama with two actors in a kitchen, you need an animatic, not a previs team.
Why Use an Animatic? The Core Benefits
Here’s the case I make to every filmmaker I mentor: an animatic is the cheapest insurance policy you’ll ever buy. The benefits stack up fast.
You catch timing problems early. A shot that felt exciting in your head can play flat on screen. A punchline you thought landed at five seconds might need eight. These problems are trivial to fix in an animatic and ruinous to fix after animation or filming.
You protect your shoot day. Every minute on set costs money. If you’ve already tested your cut rhythm and pacing, your director and DP arrive aligned. No awkward “let’s try it slower” debate with crew waiting.
You align the team. Cast, producers, composers, and clients all see the same thing. I’ve watched investors approve a project on the strength of an animatic alone. It’s that persuasive.
You save money downstream. Studio Binder’s research and our own production experience both confirm: fixing a problem in pre-production is roughly 10x cheaper than fixing it in post. Animatics are pre-production at its cheapest.
You make better edit decisions. Sometimes the right cut is the one you didn’t expect. Animatics let you experiment freely — try the scene at 90 seconds, then at 60, then at 45 — without burning render time.
Key Components That Go Into an Animatic
Every animatic, no matter how simple, contains the same four ingredients. Once you understand them, you can build one in any tool.
1. Storyboard frames. These are your existing panels, scanned or exported as image files. They can be pencil sketches — they don’t need to be pretty. Function beats polish every time.
2. Timing and frame duration. Each frame gets held on screen for a specific number of seconds or frames. A wide shot might hold for four seconds. A reaction shot might hold for one. This is where pacing lives.
3. Scratch track. Temporary audio — usually voiceover from the director reading lines, placeholder music, and rough sound effects. You can record it on your phone. It just needs to suggest the emotional arc.
4. Camera movement notes. Simple pans, zooms, or push-ins applied to the still frames. Most video editors let you scale and reposition a still image to fake camera movement. Even subtle motion makes a huge difference.
How to Make an Animatic: Step-by-Step Workflow
Below is the exact workflow I use on every short film I direct. Follow these seven steps and you’ll have a working animatic by the end of a weekend.
Step 1: Lock your storyboard. You don’t need every panel to be final, but the order and shot selection should be locked. Decide which shots tell the story and which are filler.
Step 2: Export frames as image files. If you draw on paper, scan or photograph each panel. If you work digitally (Storyboarder, Photoshop, Procreate), export each frame as PNG or JPG at a consistent resolution.
Step 3: Import into a video editor. Open DaVinci Resolve, Premiere, Final Cut, or even iMovie. Drop your frames into a timeline in storyboard order. Treat each frame as a single clip.
Step 4: Set frame durations. This is the most important step. Start with rough holds — one second for fast cuts, three to five for wide shots. Then watch it. Adjust. Watch again.
Step 5: Add the scratch track. Lay in temporary dialogue (record yourself reading lines if needed), royalty-free music, and any sound effects that anchor key moments. Sync the audio to the visuals.
Step 6: Add simple camera moves. Use your editor’s scale and position controls to push in on a frame, pan across it, or hold still. Avoid anything fancy — the goal is suggestion, not execution.
Step 7: Play it, share it, iterate. Watch the full sequence at real speed. Then send it to two trusted collaborators. Take notes. Cut, adjust durations, swap frames, repeat. The animatic is meant to be edited.
If you follow this workflow, your animatic will be 80% of the way to your final cut. Storyflow’s complete guide calls this “the storyboard that moves,” and that phrasing has stuck with me ever since.
Tools Used to Create Animatics
The good news: animatic tools are everywhere, and most are free. The bad news: choice can paralyze you. Here’s how I think about the options.
Free tier (great for short films):
DaVinci Resolve — full-featured video editor with audio, free for personal use
Storyboarder by Wonder Unit — purpose-built for storyboards, exports to video
Krita or OpenToonz — free drawing tools if you prefer digital sketching
iMovie or CapCut — surprisingly capable for simple animatics
Mid-tier (paid, professional polish):
Adobe Premiere Pro — industry standard, pairs well with After Effects
After Effects — better for adding subtle camera moves and parallax
Final Cut Pro — Mac-only, fast workflow for solo creators
Storyboard-first platforms:
Boords — web-based storyboard tool with built-in animatic export
Storyflow — purpose-built animatic platform with timeline and audio
LTX Studio — newer AI-assisted storyboard tool
My honest recommendation for short filmmakers: start with paper, a phone camera, and DaVinci Resolve. That’s all you need for your first three animatics. Upgrade when you outgrow the basics.
Types of Animatics by Discipline
Not all animatics look the same. The discipline you’re working in shapes what goes into the animatic and what gets tested. Here are the four main types you’ll encounter.
Animation production animatics. These are the most polished. Studios redraw storyboards as cleaner “animatic” panels, add camera moves, and sync dialogue and music. The goal is to lock every timing decision before any clean animation begins. Pixar’s animatics look surprisingly close to the final film.
Live-action short film animatics. These are scrappier. You use the storyboard frames as-is, focus on shot order and pacing, and use scratch audio to feel out the edit. The animatic here is mainly a rehearsal tool for the director and editor.
Commercial and advertising animatics. Agencies use animatics to sell concepts to clients before expensive production. They’re typically 30 to 90 seconds and built around the script and music. The animatic often doubles as a presentation deck.
Music video animatics. Built tightly around a song, with frame durations locked to the beat. Sometimes the animatic becomes the final video (Gorillaz and other stylized artists release animatic-style videos on purpose).
Common Animatic Mistakes to Avoid
I’ve watched beginners make the same handful of mistakes over and over. Here’s what to watch for, and how to fix each one.
Mistake 1: Polishing too much. An animatic is supposed to be rough. If you spend two days inking panels, you’ve blown your budget on the wrong stage. Keep it scrappy. The goal is timing, not art direction.
Mistake 2: Skipping the scratch track. A silent animatic is just a storyboard with extra steps. The audio is what tells you whether a scene works. Even placeholder music and your own voiceover beat silence every time.
Mistake 3: Setting hold durations once and walking away. Your first timing pass is a guess. Watch it, then adjust. Watch it again. A 30-second adjustment to a single hold can save an entire scene.
Mistake 4: Not sharing it. An animatic that lives on your laptop doesn’t help anyone. Send it to your collaborators, your composer, your editor. Their notes will sharpen it faster than solo revision.
Mistake 5: Treating it as finished work. The moment you fall in love with your animatic is the moment you stop improving it. It is a draft. Act like it.
When to Skip an Animatic (Yes, Sometimes You Should)
Now the section most guides skip: the honest cases where an animatic is overkill. Pre-production is supposed to save you time, not eat it.
Skip it when the project is found footage or documentary. If your “storyboard” is real life, there’s nothing to time. Documentary filmmakers plan coverage, but they don’t build animatics in the traditional sense.
Skip it when the shot list is trivial. A two-person conversation with locked coverage doesn’t need a timeline test. You already know the rhythm.
Skip it when budget and time are tight. If you have three days before shoot and no animatic, build a strong shot list and trust your rehearsal. An animatic forced under deadline becomes a liability, not an asset.
Skip it when you’ve already shot a similar sequence. If you’re making your second short in the same style and you’ve already proven the timing works, reuse what you learned.
The general rule: if the cost of an animatic (in time) is greater than the cost of a timing mistake (in reshoots or wasted animation), skip it. For most short films, the animatic still wins — but not always.
FAQs
What is an animatic used for?
An animatic is used to test the timing, pacing, and rhythm of a sequence before expensive production begins. Filmmakers use it to catch pacing problems, align the team, save shoot days, and experiment with edit decisions cheaply.
How do you make an animatic?
You make an animatic by importing storyboard frames into a video editor, setting each frame’s duration on a timeline, layering a scratch track of temporary dialogue and music, and adding simple camera moves. Then you watch it, share it, and iterate.
What is the difference between an animatic and an animation?
An animatic is a rough, draft version built from static storyboard frames held for specific durations with placeholder audio. An animation is the fully rendered, polished final product with finished motion, color, and sound. Animatics are made first; animation is what comes after.
What does animatic mean?
The word animatic comes from animation and graphic. It refers to a moving, timed draft of a film or sequence, used in pre-production to test pacing before the final animation or live-action shoot.
Do short films need animatics?
Short films benefit from animatics when timing, pacing, or rhythm matter to the story. For found footage, documentaries, or very simple shots, an animatic may be overkill. Most narrative shorts gain from even a rough animatic built over a weekend.
The Bottom Line on Animatics
So, what is an animatic? It’s the moving, timed, scratch-audio version of your storyboard — the cheapest and fastest way to know whether your sequence works before you commit real time and money.
If you take one thing from this guide, take this: build an animatic for your next short film, even if it’s just 90 seconds of paper sketches dragged into DaVinci Resolve. You’ll spot pacing problems, save shoot days, and arrive on set knowing exactly what you need to capture.
For more pre-production workflows tailored to short filmmakers, browse the rest of Short Film Central. And if you build an animatic using these steps, send us a link — we love seeing what our community is making in 2026.