
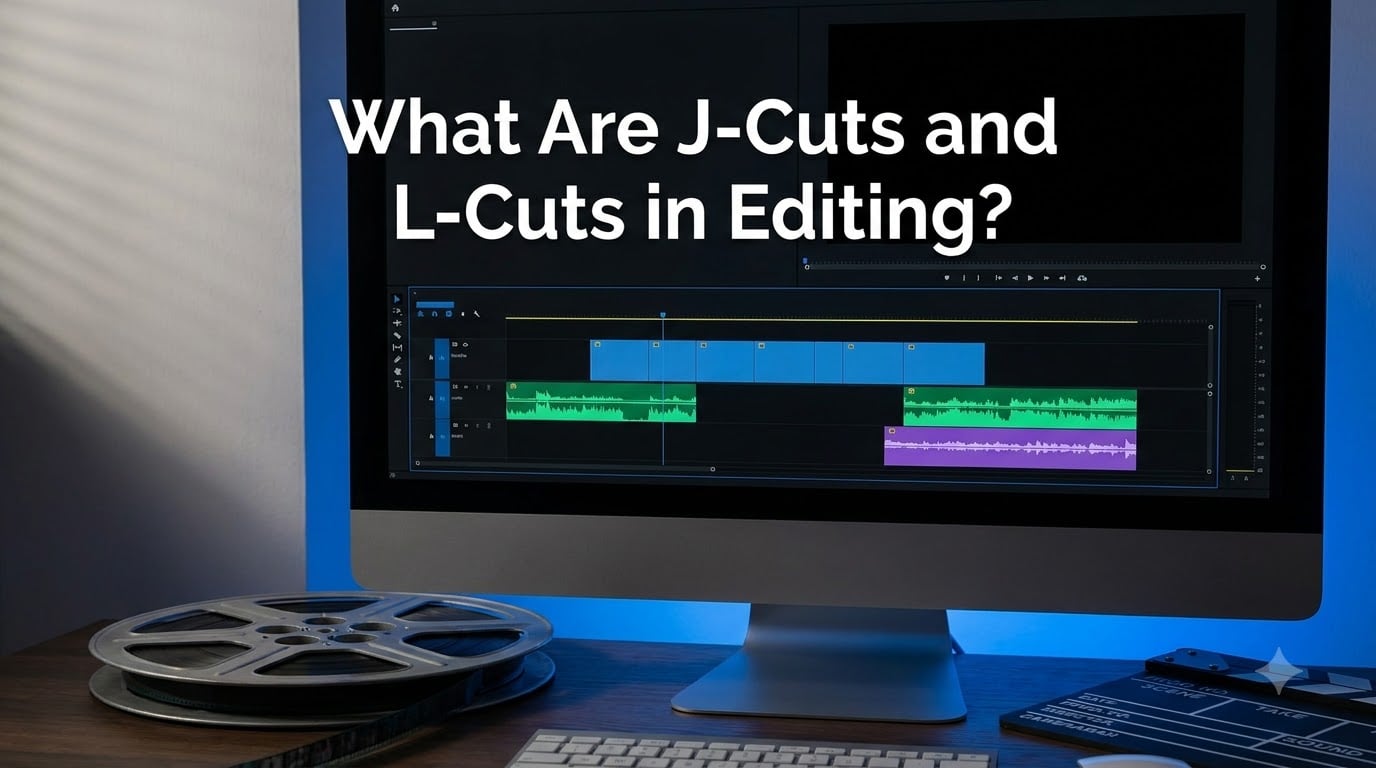
J-cuts and L-cuts are split edit transitions where the audio and video of two clips change at different times. In a J-cut, the next scene’s audio plays before its picture appears. In an L-cut, the previous scene’s audio keeps playing after the picture has already switched.
These two transitions are among the most powerful tools in any editor’s toolkit, yet they rarely get the attention they deserve outside of film school. I have spent years cutting short films, and the moment I started using split edits, my dialogue scenes stopped feeling like PowerPoint slideshows.
If you have ever watched a conversation on screen and felt it flowed naturally, chances are a J-cut or an L-cut was doing the heavy lifting behind the scenes. They are the difference between an edit that calls attention to itself and one that disappears into the story.
In this guide, I will break down exactly what J-cuts and L-cuts are, why they earned those names, when to use each one, how to create them in your editing software, and which mistakes to avoid. Whether you are cutting a five-minute short, a documentary interview, or a YouTube video, these techniques will immediately level up your post-production work.
Table of Contents
What Are J-Cuts and L-Cuts in Editing?
At their core, J-cuts and L-cuts are both types of split edits. A split edit is any transition where the audio cut point and the video cut point happen at different times on your timeline. Instead of both switching simultaneously like a hard cut, one lags behind the other.
Think about what happens in a standard hard cut. At a single frame, the video jumps from Clip A to Clip B, and the audio does the same thing. Everything swaps at once. It works, but it can feel abrupt, especially during dialogue.
A split edit breaks that synchronized swap. By separating when the audio changes from when the video changes, you create a moment where the audience is hearing one thing and seeing another. That overlap is where the magic happens. It lets the sound lead the viewer into the next scene, or lets it linger behind like an echo.
This technique is fundamental to non-linear editing. Every modern editing program, from Premiere Pro to DaVinci Resolve to CapCut, supports it. And once you understand how to offset audio and video on your timeline, you can start using split edits to solve real storytelling problems.
The reason these two cuts have letter names comes down to what they look like when you build them on a timeline. I will explain that visual naming system in the next two sections.
What Is a J-Cut?
A J-cut is a split edit where the audio from the incoming clip plays before its video appears. The viewer hears the next scene before they see it. That audio could be dialogue, music, a sound effect, or ambient room tone. Whatever it is, it arrives early.
On your editing timeline, the audio track for Clip B starts slightly to the left of the video track for Clip B. When you look at the blocks, the top video block is shorter, and the bottom audio block sticks out to the left like the hook of a letter J. That is where the name comes from.
The J-cut creates anticipation. The audience hears something happening offscreen, and their brain immediately wants to know what it is. Then the video catches up, and the new scene is revealed. That tiny gap between hearing and seeing builds curiosity and pulls the viewer forward.
Imagine a scene where a character is sitting alone in a quiet room. Before the camera cuts away, you hear the sound of a door creaking open from the next scene. Two seconds later, the image shifts to show who is arriving. The audio prepared the viewer for the visual change, making the transition feel organic instead of jarring.
What Is an L-Cut?
An L-cut is the mirror image of a J-cut. In an L-cut, the audio from the outgoing clip continues playing after the video has already moved on to the next scene. The viewer sees the new picture but still hears the previous sound.
On your timeline, the video track for Clip A ends before the audio track for Clip A. The video block is shorter on the right side, while the audio block extends further, forming an L shape. That is the origin of the name.
The L-cut creates continuity. It lets a character’s words hang in the air while the camera shows a reaction, a location, or B-roll. This is why L-cuts are the backbone of natural dialogue editing. Real conversations do not happen in clean, synchronized chunks. People talk over each other, react while others speak, and leave emotional residue after a line lands.
A classic example is a two-person interview. Person A finishes a powerful statement. Instead of cutting to Person B’s response the instant Person A stops talking, the editor cuts to Person B’s face a beat early, while Person A’s final words are still echoing. You see the reaction form on Person B’s face as Person A’s voice trails off. That is an L-cut doing its job.
J-Cut vs L-Cut: Quick Comparison
Here is a side-by-side breakdown to help you tell the two apart at a glance.
| Aspect | J-Cut | L-Cut |
|---|---|---|
| Audio timing | Incoming audio plays first | Outgoing audio continues playing |
| Video timing | Video changes after audio | Video changes before audio ends |
| Timeline shape | Looks like the letter J | Looks like the letter L |
| Primary effect | Builds anticipation and curiosity | Creates smooth continuity |
| Best for | Scene introductions, reveals, openings | Dialogue, reaction shots, B-roll transitions |
| Direction of flow | Pulls viewer forward into next scene | Lets viewer linger on what just happened |
| Emotional feel | Tension, excitement, surprise | Reflection, emotion, natural pacing |
The simplest way to remember the difference is this: a J-cut leads with sound to pull you ahead, while an L-cut holds onto sound to keep you grounded.
When to Use Each Cut
One of the most common questions I see in editing forums is, “How do I know whether to use a J-cut or an L-cut?” It is a fair question because both techniques overlap in their application. But there are clear patterns that can guide your decision.
When to Use a J-Cut
Use a J-cut when you want to build anticipation or draw the audience into the next scene before they see it. The incoming audio acts like a hook that pulls attention forward.
Opening a new scene: Let the sounds of the next location bleed in before the visual cut. Traffic noise, birdsong, or crowd chatter can establish a setting before the audience sees it.
Revealing a character or object: If someone important is about to appear, let their voice or the sound of their action arrive first. The viewer’s curiosity spikes, and the reveal lands harder.
Building suspense or tension: Hearing a threat before seeing it is a classic horror and thriller technique. The audio overlap creates dread because the viewer’s imagination fills in the visual gap.
Energy and pacing shifts: When you need to accelerate from a quiet scene into a fast-paced one, starting the music or sound effects early bridges the energy gap smoothly.
When to Use an L-Cut
Use an L-cut when you want to create smooth continuity and let the emotional weight of a moment settle before moving on. The outgoing audio lingers, giving the viewer space to process.
Dialogue scenes: This is the number-one use case. Let one character’s words continue as you cut to the listener’s face. The reaction shot becomes more powerful when the line is still hanging in the air.
Reaction shots: Cut to the person reacting while the speaker is still talking or just after they finish. The L-cut makes the conversation feel like a real exchange rather than a tennis match of back-to-back shots.
Covering cuts with B-roll: When you need to hide a jump cut in an interview or talking-head segment, cut to B-roll while the speaker’s audio continues underneath. The viewer stays engaged with the message even though the picture has changed.
Emotional transitions: After a powerful line or moment, hold the audio as the camera pulls away or cuts to a new image. The lingering sound lets the emotion breathe.
Quick Decision Guide
Still unsure? Run through this simple checklist:
Do I want the audience to feel pulled forward into what comes next? Use a J-cut.
Do I want the audience to linger on what just happened? Use an L-cut.
Am I introducing a new scene or location? Use a J-cut.
Am I in the middle of a conversation? Use an L-cut.
Do I need to create tension or surprise? Use a J-cut.
Do I need to show someone’s emotional reaction? Use an L-cut.
Am I covering an edit with B-roll over an interview? Use an L-cut.
When neither applies, a hard cut is perfectly fine. Not every transition needs to be a split edit.
Documentary and Interview Use Cases
No major competitor in this space covers documentary editing, but J-cuts and L-cuts are arguably more important in documentary work than in narrative film. In documentary post-production, you are constantly reshaping raw interview footage into a coherent story, which means hundreds of cuts that need to feel invisible.
L-cuts are essential for masking edit points within a single interview. When you trim out an “um” or condense two thoughts together, the video jump is obvious. But if you let the audio flow continuously and cut the video to B-roll of the subject’s environment, the viewer never notices the edit. This is the standard technique for every documentary from Ken Burns films to Netflix docuseries.
J-cuts work beautifully in documentary scene transitions. You can use a subject’s voice from an upcoming interview to bridge into a new visual sequence. Hearing the person speak before seeing them creates a thread of narrative that ties segments together.
How to Create J-Cuts and L-Cuts?
Creating split edits follows the same fundamental process in every editing program. The specific tools and shortcuts differ, but the concept is identical: you separate the audio from the video on at least one clip, then offset them on the timeline.
Step-by-Step: Creating a J-Cut
Here is the process from start to finish.
Step 1: Place your clips on the timeline. Put Clip A and Clip B next to each other with both video and audio aligned. At this point, it is just a standard hard cut between the two.
Step 2: Unlink the audio from the video on Clip B. Select Clip B and unlink or detach the audio. In Premiere Pro, right-click and choose “Unlink.” In DaVinci Resolve, use the “Link Clips” toggle. In Final Cut Pro, press Shift+Cmd+G to detach. In CapCut, use the “Split” tool to separate audio from video.
Step 3: Drag the audio of Clip B to the left. Move the detached audio earlier on the timeline so it starts playing before the video of Clip B appears. Now there is a window of time where the viewer sees Clip A’s video but hears Clip B’s audio.
Step 4: Trim and fine-tune. Adjust exactly how much the audio leads the video. Start with a 1-to-2 second overlap and refine from there. Nudge frame by frame until the timing feels natural.
Step 5: Add a short audio fade. Apply a quick fade-in to Clip B’s audio so it does not pop in abruptly. A 2-to-5 frame fade is usually enough to smooth the entry point.
Step-by-Step: Creating an L-Cut
The L-cut follows the same steps, but you offset the audio in the opposite direction.
Step 1: Place your clips on the timeline. Again, start with Clip A and Clip B as a standard hard cut.
Step 2: Unlink the audio from the video on Clip A. This time, detach the audio from the outgoing clip, not the incoming one.
Step 3: Extend the audio of Clip A to the right. Drag the end of Clip A’s audio further down the timeline so it keeps playing after Clip A’s video has ended. Now the viewer sees Clip B’s video but still hears Clip A’s sound.
Step 4: Trim and fine-tune. Adjust how long the audio tail extends. For dialogue, a 1-to-3 second overlap usually works well. For music or ambient sound, you can stretch it further.
Step 5: Add an audio crossfade. Apply a fade-out or crossfade to Clip A’s audio tail so it blends smoothly into Clip B’s audio. This prevents any harsh transition between the two sound sources.
Software Notes for Popular Editors
Every major editing program handles split edits, but the tools vary. Here is what to look for in the most common options.
Premiere Pro: Alt-click (or Option-click on Mac) the audio track to select it independently, then use the Rolling Edit tool or simply drag the audio on the timeline. Premiere also has dedicated J-cut and L-cut keyboard shortcuts in the Sequence menu.
DaVinci Resolve: In the Edit page, unlink clips with the Link Selection button, then trim audio independently. Resolve’s Trim tool makes frame-accurate adjustments easy. The free version includes full split-edit functionality.
Final Cut Pro: Use the Detach Audio command (Shift+Cmd+G) or expand audio components to edit audio separately from video. The Blade tool with audio expansion gives you precise control.
CapCut: The mobile and desktop versions support split edits through the “Split” and “Extract Audio” tools. While CapCut is less precise than professional software, it is capable of clean J-cuts and L-cuts for social media content.
How Much Audio Overlap Should You Use?
This is the question I see asked most often in editing communities, and almost no guide addresses it with specific numbers. The truth is, the ideal overlap depends on context, but here are practical starting ranges.
For dialogue L-cuts: A 15-to-30 frame overlap (about half a second to one second at 24fps) is a solid starting point. This gives the audience enough time to register the visual change while the previous speaker’s words are still fresh.
For J-cut scene transitions: Start with 24-to-48 frames (1 to 2 seconds). If the audio is ambient sound or music, you can go longer. If it is dialogue, keep it tight so the viewer does not get confused about who is speaking.
For interview B-roll coverage: The overlap can be as long as the B-roll clip itself. The audio runs continuously under whatever visuals you choose.
For suspense and tension: Longer overlaps of 2-to-4 seconds work well. The extended gap between audio and video creates a deliberate sense of unease.
The best approach is to cut it longer than you think you need, then trim back until it feels right. Your ears will tell you when the timing clicks.
J-Cut and L-Cut Examples in Film
Studying real examples is one of the fastest ways to internalize how these cuts work. Here are some well-known scenes worth analyzing, along with how to apply the same principles to short films.
The Wolf of Wall Street
Martin Scorsese is a master of split edits, and this film is loaded with them. During Jordan Belfort’s rapid-fire monologues, the editor frequently uses L-cuts to cut to reaction shots of the audience while Belfort’s voice keeps driving forward. The technique makes the scenes feel electric because the energy never pauses for a visual cut. Watch the office sequences and count how many times you hear a character speaking while the camera is on someone else’s face.
Dune: Part One
Denis Villeneuve uses J-cuts extensively to bridge between the sparse, quiet world of Arrakis and the dense political scenes. Sound design leads the way: the hum of a spacecraft or the whisper of sand arrives before the image shifts, pulling the viewer into the next location. This is a textbook example of using ambient audio as a J-cut bridge between scenes.
There Will Be Blood
Paul Thomas Anderson’s film features long stretches of dialogue where L-cuts carry the emotional weight. After Daniel Plainview delivers a cutting line, the camera often stays on or moves to the other character’s face while Plainview’s words continue. The L-cut lets the damage of the line land visually before the sound moves on.
Applying These Techniques to Short Films
The beauty of J-cuts and L-cuts is that they work regardless of budget. You do not need a Hollywood production to use them effectively. In a short film, every second of screen time matters, and split edits help you make the most of limited footage.
If your short film has a two-character dialogue scene, use L-cuts to intercut between the speakers. Instead of cutting at the exact moment the dialogue switches hands, offset the cuts by half a second. Let the listener react while the speaker finishes, and let the next speaker’s voice start before the camera moves to them. Your scene will instantly feel more like a real conversation.
For your opening sequence, consider a J-cut. Start with audio from the first scene playing over a black screen or a slow visual build. When the picture finally arrives, the audience is already engaged because the sound has been pulling them in.
When studying any film, try this exercise: close your eyes and listen for moments where you hear audio that does not match what you remember seeing. Those are almost always split edits. Then rewind and watch with your eyes open to see exactly how the editor built the overlap.
Common Mistakes to Avoid
J-cuts and L-cuts are simple in concept, but there are several pitfalls that catch editors, especially beginners. Forum discussions consistently highlight these recurring issues.
Mistake 1: No Audio Crossfade
This is the most common technical error. When you offset audio from video, you create a point where two audio segments meet. If there is no fade at that junction, you will hear a click, pop, or abrupt volume change that instantly calls attention to the edit.
Always apply a short crossfade, fade-in, or fade-out at the audio junction. Most editing software has a default crossfade you can drag onto the cut point. A 2-to-10 frame crossfade is usually enough to smooth the transition without noticeably blurring the sound.
Mistake 2: Too Much Overlap
More overlap is not always better. If you drag the audio too far from the video, the audience loses the connection between what they are hearing and what they are seeing. The split edit stops feeling intentional and starts feeling like a mistake.
For dialogue, keep the overlap tight. If the audio and video are separated by more than 3 to 4 seconds, viewers may become confused. For ambient sound and music, you have more flexibility, but always ask yourself whether the extended overlap serves the story or just pads the runtime.
Mistake 3: Overusing Split Edits
I frequently see comments from experienced editors frustrated by the trend of overusing J-cuts and L-cuts, particularly in YouTube content. Not every cut needs to be a split edit. If every single transition in your video offsets the audio, the technique loses its impact and starts to feel like a gimmick.
Use split edits where they serve the story. Use hard cuts where a clean break is more effective. Action sequences, for instance, often benefit from hard cuts because the sharp transitions match the energy. Reserve J-cuts and L-cuts for moments where the audio-visual offset adds genuine value.
Mistake 4: Forgetting to Unlink Before Editing
If you try to move audio independently without first unlinking it from the video, your editing software will move both together. This can accidentally pull your video out of sync and create gaps in your timeline. Always confirm that the audio is detached or unlinked before you start dragging it.
In Premiere Pro and DaVinci Resolve, a small chain icon indicates whether audio and video are linked. Toggle it off before working on split edits. In Final Cut Pro, expand the audio components to work on them separately without detaching entirely.
Mistake 5: Using a Split Edit Where a Hard Cut Is Better
Split edits solve specific problems, but they are not a universal upgrade over hard cuts. If a scene calls for a sharp, jarring impact, a hard cut delivers that better than any split edit. Horror jump scares, comedic timing beats, and fast-paced montages often rely on the precise synchrony of a hard cut.
Ask yourself: does the audio-visual offset add something to this moment? If the answer is no, keep the cut hard and synchronized.
FAQs
When to use J Cut vs L-cut?
Use a J-cut when you want to pull the audience forward into the next scene by letting them hear it before they see it, which builds anticipation and works well for scene introductions and reveals. Use an L-cut when you want the audio from the current scene to continue as the video changes, which creates smooth continuity and is ideal for dialogue scenes, reaction shots, and B-roll coverage.
What is an L-cut in editing?
An L-cut is a split edit where the audio from the outgoing clip continues playing after the video has already switched to the next clip. The viewer sees the new picture but still hears the previous sound. It gets its name from the L shape the clips form on the timeline.
What is the J cut in video editing?
A J-cut is a split edit where the audio from the incoming clip plays before its video appears. The viewer hears the next scene before seeing it. On the editing timeline, the audio block extends to the left of the video block, forming a J shape, which is how the cut got its name.
What does u0022J cutu0022 mean?
The term u0022J cutu0022 refers to the visual shape the audio and video clips form on a timeline when the audio is offset to play before the video. The audio track sticks out to the left of the video track, resembling the hook of the letter J. It is a type of split edit used to let incoming audio precede the visual cut.
Putting It Into Practice
Understanding what J-cuts and L-cuts are in editing is only the first step. The real growth happens when you open your timeline and start experimenting with audio offsets on your own footage. Start with a single dialogue scene in your next short film project and try adding L-cuts to the character exchanges. Then try opening a new scene with a J-cut using ambient sound from the upcoming location.
These two split edits are small techniques that make an outsized difference. They turn synchronized, mechanical cuts into flowing, human-feeling transitions. Once you develop an ear for them, you will start noticing them in every film and video you watch, and your own editing will never be the same.