
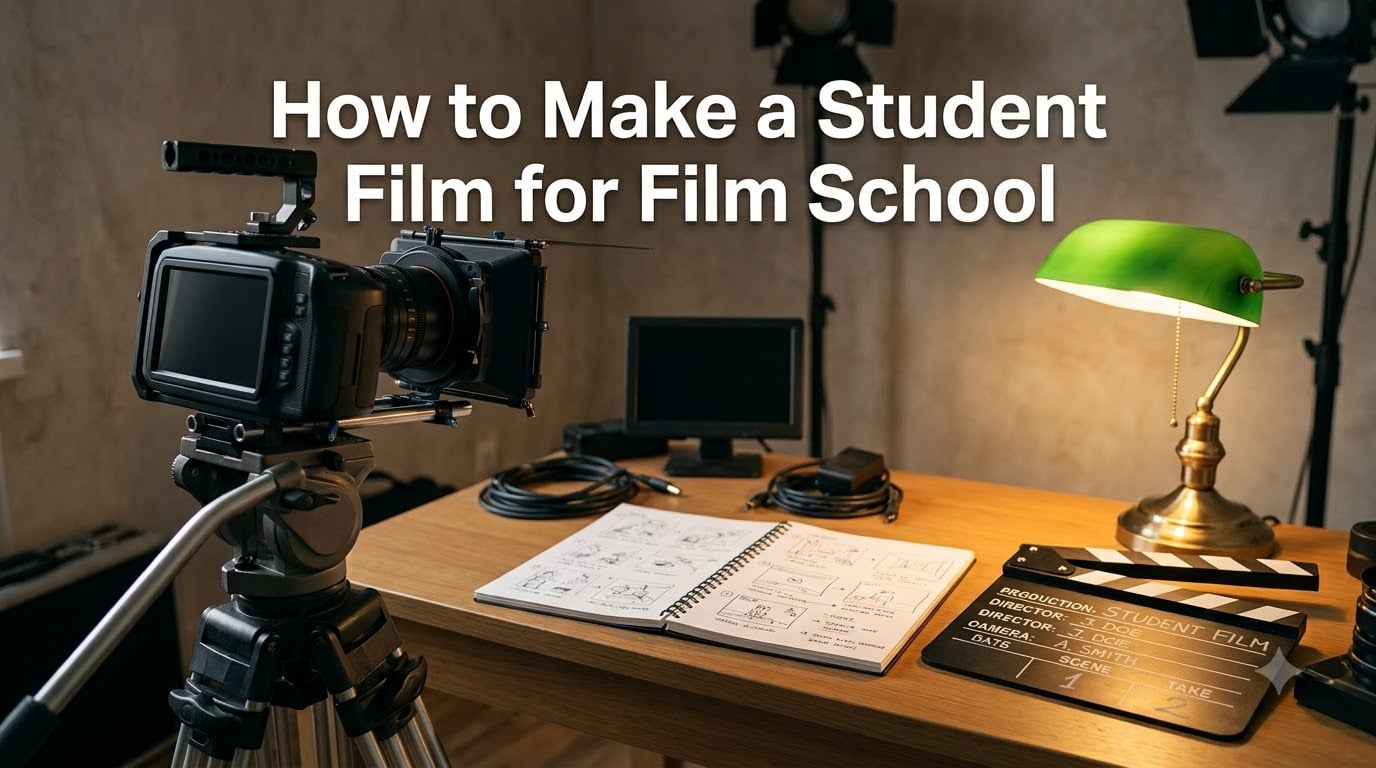
Learning how to make a student film for film school is one of the most exciting and intimidating challenges an aspiring filmmaker can take on. Whether you are putting together your first class assignment, building a portfolio piece for admissions, or trying to prove you have what it takes to a competitive program, the process is the same. You need a strong story, careful planning, solid execution, and enough post-production polish to make your work stand out.
I have talked with film students across Reddit communities like r/Filmmakers and r/filmstudents, and the same themes come up every time. Students feel lost about where to start, struggle with tight budgets, and worry their finished film will look amateur. The good news is that every working director started exactly where you are now. The difference between a forgettable student film and one that opens doors comes down to preparation and a few key decisions you make before you ever press record.
This guide walks through the entire process from concept to final cut. You will learn the seven-step filmmaking process, what equipment actually matters on a student budget, how to make your film look professional rather than like a typical student project, and what film school admissions committees really want to see. By the end, you will have a clear roadmap for your next production.
If you are serious about getting into a top program, understanding how to make a student film for film school is not just about completing an assignment. It is about demonstrating that you can tell a compelling story with limited resources, which is exactly what admissions officers and future collaborators want to see.
Table of Contents
- How to Make a Student Film for Film School: The Complete Step-by-Step Process
- Essential Equipment for Student Filmmakers
- How to Make Your Student Film Look Professional (Not Like a Student Film)
- Film School Submission Requirements You Need to Know
- Budget-Friendly Filmmaking: Making the Most of Limited Resources
- FAQs
- Wrapping Up: Your Next Steps as a Student Filmmaker
How to Make a Student Film for Film School: The Complete Step-by-Step Process
The filmmaking process breaks down into three phases: pre-production, production, and post-production. Most student films fail not because of bad cameras or weak acting, but because the filmmaker skipped planning steps. Here is the exact process I recommend, organized into seven sequential steps.
Step 1: Develop Your Concept
Every great student film starts with a single, focused idea. The biggest mistake I see first-time filmmakers make is trying to pack too much story into a short runtime. A five-minute film cannot support a sprawling cast, multiple locations, and a complex plot twist. Choose one central conflict, one main character, and one emotional arc.
Start by asking yourself a question. What happens when a character wants something and cannot get it? That tension drives every scene. A student who desperately needs to pass an exam, a roommate confrontation over something borrowed, a first date that goes wrong. These small, relatable scenarios make excellent short films because they are achievable with limited resources.
One filmmaker on r/Filmmakers put it well: keep it simple. Simple stories are almost always the easiest to develop into a student film, and they give you room to focus on execution rather than complicated logistics.
Step 2: Write the Script
Once you have your concept, write a proper screenplay. Film school instructors and admissions committees expect industry-standard formatting, not a Word document with scene descriptions. Use free screenwriting software like Celtx, WriterDuet (free tier), or Fade In’s trial version to format your script correctly.
A standard screenplay page equals roughly one minute of screen time. For a five-minute student film, aim for a five to seven-page script. Each scene should have a clear slug line indicating whether it is interior or exterior, the location, and the time of day.
Write dialogue sparingly. Student films often suffer from over-explanation, where characters say exactly what they are feeling instead of showing it through action. Show, do not tell. A character silently staring at a rejection letter communicates more than three lines of dialogue about being sad.
Once your first draft is done, get notes from at least two people you trust. Rewrite based on their feedback. Then rewrite again. The script is the foundation of everything that follows, and a weak script cannot be fixed by good cinematography or editing.
Step 3: Create Storyboards and a Shot List
Storyboards are visual blueprints of your film. You do not need to be a great artist. Stick figures and basic shapes are enough as long as they communicate framing, composition, and camera placement for each shot. What matters is that you think through the visual language before you arrive on set.
Your shot list is the companion document. It is a detailed inventory of every shot you need to capture, organized by scene and location. Include the shot type (wide, medium, close-up), camera angle, any camera movement, and a brief description of the action. A well-prepared shot list keeps your shoot on schedule and ensures you do not discover missing shots during editing.
One practical tip from working filmmakers: take the hard shots first. When you and your crew are fresh, tackle the scenes that require the most setup time, the most complex blocking, or the most emotional range from your actors. Save the simpler shots for when fatigue sets in.
Step 4: Find Your Cast and Crew
Finding reliable cast and crew is one of the biggest challenges student filmmakers face. For actors, reach out to your school’s theater department, local community theater groups, or acting classes. Posting on casting call websites like Backstage or local Facebook film groups can also connect you with aspiring actors looking for reel material.
Be honest about what you can offer. You probably cannot pay much, so offer copies of the finished film, meals on set, and a professional credit. Treat your cast with respect, keep them informed about schedules, and never waste their time. Actors who feel valued will give you better performances.
For crew, you need at minimum a director, a camera operator, and someone dedicated to audio. If you can recruit more help, fill roles like a gaffer (lighting), a script supervisor (continuity), and a production assistant. Student film sets often have people wearing multiple hats, and that is fine. The key is making sure everyone knows exactly what their role is before the camera rolls.
Reddit filmmakers consistently emphasize one point: plan ahead and make sure everyone knows their roles. A set where people are confused about responsibilities is a set where nothing gets accomplished.
Step 5: Scout and Secure Locations
Your locations affect every creative and logistical decision in your film. When scouting, think about three things: visual appeal, audio environment, and practical access. A location might look perfect on camera but sit next to a noisy highway that makes dialogue recording impossible.
Visit potential locations at the same time of day you plan to shoot. Natural light changes dramatically from morning to afternoon, and what looks great at noon might be unworkable at dusk. Take photos, note where electrical outlets are, and check whether you need permission or permits to film there.
For student films, you often can shoot in dorms, apartments, classrooms, or public parks without formal permits. However, if you are filming in a business or a public space that requires one, get the permit. Getting shut down mid-shoot because you skipped this step is a mistake you only make once.
Limit yourself to one or two locations if possible. Every new location adds travel time, setup time, and the risk of continuity errors. The best student films often take place entirely in a single room.
Step 6: Shoot the Film
Production day is where all your planning pays off. Arrive early to set up, run through the day’s schedule with your crew, and make sure everyone has a copy of the shot list and call sheet. A call sheet is a one-page document with the day’s schedule, location address, contact information, and weather forecast.
Shoot more takes than you think you need, but know when to move on. Three solid takes of each shot is a good baseline. If something is not working after five or six takes, the problem is likely in the blocking or the script, not the performance.
Record clean audio on set. This cannot be stressed enough. Audiences will forgive shaky camera work and imperfect lighting, but they will not forgive dialogue they cannot understand. Use a dedicated microphone (a shotgun mic or lavalier), monitor audio with headphones during recording, and always capture room tone (30 seconds of silence in each location for editing later).
Review your footage and audio at the end of each shoot day. Filmmakers call these dailies, and checking them saves you from discovering a problem after your actors and locations are no longer available. If a shot is out of focus or audio is distorted, you can reshoot the next morning before everyone goes home.
Step 7: Edit and Polish in Post-Production
Post-production is where your film actually becomes a film. Start by organizing all your footage into folders sorted by scene and shot. Then do a rough cut, assembling your best takes in the order they appear in the script. Do not worry about perfect timing or transitions yet. The rough cut is about seeing the story come together.
Once your rough cut feels right, refine it. Tighten every edit, cut dead air at the beginning and end of shots, and remove anything that does not serve the story. Most student films are too long. If a scene does not advance the plot or reveal character, cut it.
After picture lock (the point where you commit to your final edit), move to sound design. Add ambient sound, music, and any necessary sound effects. Balance dialogue levels so every word is audible. Many student filmmakers underestimate how much good sound design elevates a film from amateur to professional.
Finish with color correction and color grading. Color correction fixes exposure and white balance issues so your footage looks natural. Color grading applies a creative look that supports the emotional tone of your story. Even basic color adjustments can transform flat footage into something visually striking.
Essential Equipment for Student Filmmakers
You do not need expensive gear to make a strong student film. What matters is understanding the equipment you have and using it well. Here is what I recommend at different budget levels.
Camera Options
Your smartphone is a legitimate filmmaking tool. Modern phones shoot in 4K, offer decent low-light performance, and work with affordable gimbal stabilizers for smooth movement. If you are using a phone, invest in a tripod or stabilizer and learn manual settings through apps like Filmic Pro.
If you have access to a dedicated camera, entry-level mirrorless cameras and DSLRs from brands like Sony, Canon, and Panasonic give you interchangeable lenses, manual controls, and better depth of field. A mirrorless camera with a kit lens is the sweet spot for most student films.
The camera you have is always better than the camera you do not. Do not let equipment envy stop you from making your film. Focus on composition, lighting, and story instead of pixel peeping.
Audio Gear
If you only invest money in one area, make it audio. Viewers forgive imperfect visuals. They abandon films with bad sound within seconds. At minimum, you need a shotgun microphone that mounts on your camera or a set of wireless lavalier mics for your actors.
A budget shotgun mic like the Rode VideoMic series or a Deity microphone runs under $150 and dramatically improves dialogue clarity. For dialogue-heavy scenes, lavalier mics clipped to your actors’ clothing provide consistent, close-up audio regardless of camera distance.
Always monitor audio with wired headphones while recording. Built-in camera speakers cannot reveal distortion, wind noise, or background interference. If you hear a problem in your headphones, fix it on set.
Lighting Basics
Natural light is your best friend as a student filmmaker. Shoot near windows during the day, position your subjects so light falls on their faces, and avoid backlighting unless you are going for a silhouette effect. Overcast days provide soft, even lighting that flatters faces and requires no equipment.
When you need artificial light, affordable LED panels from brands like Neewer or Godox offer adjustable brightness and color temperature for under $100. A basic three-point lighting setup (key light, fill light, and backlight) using LED panels or even desk lamps with diffusion material can give your film a professional look.
The goal of lighting is not to make everything bright. It is to create depth, direct the viewer’s eye, and establish mood. Shadows are just as important as light.
How to Make Your Student Film Look Professional (Not Like a Student Film)
One of the most common questions on film forums is how to avoid making films that look like typical student work. Reddit users in r/Filmmakers have strong opinions on this, and their advice comes from real experience. Here is what separates professional-looking student films from amateur ones.
Prioritize Story and Characters Over Gimmicks
The number one piece of advice from experienced filmmakers is to stop focusing on gimmicks, camera tricks, plot twists, and visual effects. These things draw attention to themselves when they are not earned by the story. Focus on writing characters the audience cares about and placing them in situations with genuine stakes.
A simple conversation between two well-drawn characters, shot in a single room with competent lighting, will always feel more professional than an ambitious action sequence executed poorly. Restraint signals maturity. Admissions committees can tell the difference.
Use Deliberate Shot Composition
Every shot should have a purpose. Before pressing record, ask yourself why this particular framing serves the story. Is this a close-up because the character’s emotion is the focus? Is this a wide shot to establish the environment? Random coverage that you will sort out in editing leads to a disjointed final product.
Study basic cinematography techniques: the rule of thirds, leading lines, depth of field, and headroom. These are not rigid rules, but understanding them gives you control over your visual language. Filmmakers on r/cinematography consistently recommend making every shot as good as possible rather than rushing through coverage.
Keep Credits Short and Professional
This might sound minor, but it matters. Do not include endless credits at the start of your film. A five-minute student film should not open with two minutes of title cards, scrolling names, and animated logos. Open with a simple title and get into the story immediately. Save full credits for the end, and keep them concise.
Admissions reviewers watch hundreds of films. If yours takes too long to start, they may tune out before the first scene. Respect their time and hook them early.
Master the Edit Pacing
Professional films have a rhythm. Scenes start in the middle of action, cuts happen on motion, and nothing lingers longer than it needs to. Student films often hold shots too long, leaving uncomfortable dead air that kills momentum.
Watch your edit with someone who has not seen the film before. Note when they shift in their seat, check their phone, or lose interest. Those are the moments where your pacing drops. Trim them.
Film School Submission Requirements You Need to Know
Every film school has different submission requirements, and understanding them before you start production can save you from having to reshoot or re-edit later. Here is what to research and prepare.
Check Length Requirements
Most film schools that require a creative portfolio ask for a short film between three and ten minutes. Some programs accept shorter pieces or video essays. Check the specific requirements for each school you are applying to and plan your runtime accordingly.
If you are applying to multiple schools with different length limits, plan your edit so you can create multiple versions. A five-minute cut for one program and a three-minute cut for another is easier to manage when you plan for it from the beginning.
Follow Format Specifications
Programs typically specify acceptable file formats (often MP4 or MOV), resolution (usually 1080p or higher), and submission method (upload portal, Vimeo link, or file sharing service). Follow these exactly. Submitting the wrong format signals that you cannot follow basic instructions, which is not the impression you want to make.
Export your final film at the highest quality your equipment supports. Even if you shot on a phone, 1080p or 4K resolution output looks far more professional than a compressed 720p file.
Understand What Admissions Committees Look For
Film school admissions committees are not expecting Hollywood production values. They are looking for potential. They want to see that you can tell a coherent story, demonstrate visual awareness, and work within constraints. A well-executed simple film beats an ambitious but incoherent one every time.
Show them you understand basic filmmaking fundamentals: clear audio, proper exposure, intentional editing, and a story with a beginning, middle, and end. Include a brief statement (often required) explaining your creative choices and what you learned from the process. Self-awareness and growth mindset matter as much as the film itself.
Budget-Friendly Filmmaking: Making the Most of Limited Resources
Most student films are made for under $200, and many are made for nothing at all. Limited resources are not a weakness. They force creativity, discipline, and problem-solving, which are exactly the skills film schools and the industry value. Here is how to make a strong film without spending much.
Use Free and Low-Cost Software
You do not need paid software to edit a professional-looking film. DaVinci Resolve offers a free version with industry-grade editing, color correction, and audio tools. For screenwriting, WriterDuet and Celtx both have free tiers with full formatting capabilities.
If DaVinci Resolve feels too complex for your first project, iMovie (Mac) and CapCut (cross-platform) handle basic editing, transitions, and audio mixing without a learning curve. Start simple and upgrade your tools as your skills grow.
Work With Non-Professional Actors
Hiring professional actors is rarely an option for student films. Friends, classmates, and community theater performers can deliver great results if you direct them well. Give your actors clear, actionable notes. Instead of saying “do it more sad,” try “in this moment, your character just realized they failed. Show me what that looks like in their body.”
Rehearse before shoot day. Even one table read where everyone sits together and reads through the script builds comfort and chemistry. Actors who understand the material perform more naturally on camera.
Manage Your Time Realistically
Time is your most limited resource. A student balancing filmmaking with coursework, a job, or family obligations cannot afford a chaotic production. Build a realistic schedule that includes buffer time for setbacks. A scene you think will take two hours to shoot will probably take four.
Schedule your shoot days close together. Spreading production across multiple weekends increases the risk of continuity errors, cast availability conflicts, and lost momentum. If possible, shoot your entire film over two or three consecutive days.
Borrow and Barter for Equipment
Your school likely has an equipment checkout system if you are already enrolled. If you are not yet in film school, check local libraries (many now lend cameras and audio gear), ask friends, or partner with another aspiring filmmaker who has complementary gear.
Offer to help on someone else’s film in exchange for their help on yours. Filmmaking is collaborative by nature, and the relationships you build on student sets often become your professional network later.
Build a Portfolio, Not Just One Film
One film is a start, but a portfolio of two or three short pieces demonstrates range and commitment. After completing your first film, identify what you want to improve and make another one. Each project teaches you something the last one could not.
Consider submitting your finished films to student film festivals. Even small local festivals provide feedback, exposure, and validation. A festival laurel on your portfolio signals to admissions committees that your work has been recognized beyond your own classroom.
FAQs
How to produce a student film?
Producing a student film involves seven key steps: develop a focused concept, write a properly formatted screenplay, create storyboards and a shot list, recruit cast and crew, scout and secure locations, shoot with attention to audio and visuals, then edit with attention to pacing, sound design, and color. The most important factor is thorough pre-production planning.
What is the 60/30/10 rule in filmmaking?
The 60/30/10 rule is a color design principle used in visual storytelling and production design. It suggests that 60% of the frame should be a dominant color, 30% a secondary color, and 10% an accent color. This creates visual balance and helps guide the viewer’s eye to what matters most in each scene.
What is the 30/30 rule in film?
The 30/30 rule in filmmaking refers to the guideline that when editing between shots, the camera should move at least 30 degrees in angle or the shot size should change by at least 30 percent. This prevents jump cuts that feel jarring and helps maintain visual continuity between angles of the same subject.
How long should a student film be?
Most student films for film school applications or assignments run between three and ten minutes. A five-minute film is a common sweet spot that gives enough time to tell a complete story without overextending your resources. Always check the specific length requirements of each program you are applying to.
What equipment do I need for a student film?
At minimum, you need a camera (a smartphone works), a dedicated microphone for clean audio, a tripod or stabilizer, basic lighting (natural light or affordable LED panels), and editing software like the free version of DaVinci Resolve. Audio gear is the most important investment since bad sound is the quickest way to lose an audience.
Wrapping Up: Your Next Steps as a Student Filmmaker
Knowing how to make a student film for film school comes down to mastering the fundamentals. Start with a simple, focused concept. Write a tight script. Plan your shots. Capture clean audio. Edit with purpose. These are the skills that admissions committees, instructors, and future collaborators care about, and none of them require a big budget.
The best thing you can do right now is start. Pick an idea, grab whatever camera you have, and make your first film. It will not be perfect, and that is exactly the point. Every filmmaker learns more from finishing a flawed project than from planning a perfect one that never gets made.
Your student film is more than an assignment or an application requirement. It is proof that you can take an idea from your head and turn it into something real. Take it seriously, trust your preparation, and let your voice come through. That is what makes a film worth watching.
2 thoughts on “How to Make a Student Film for Film School (2026 Complete Guide)?”