
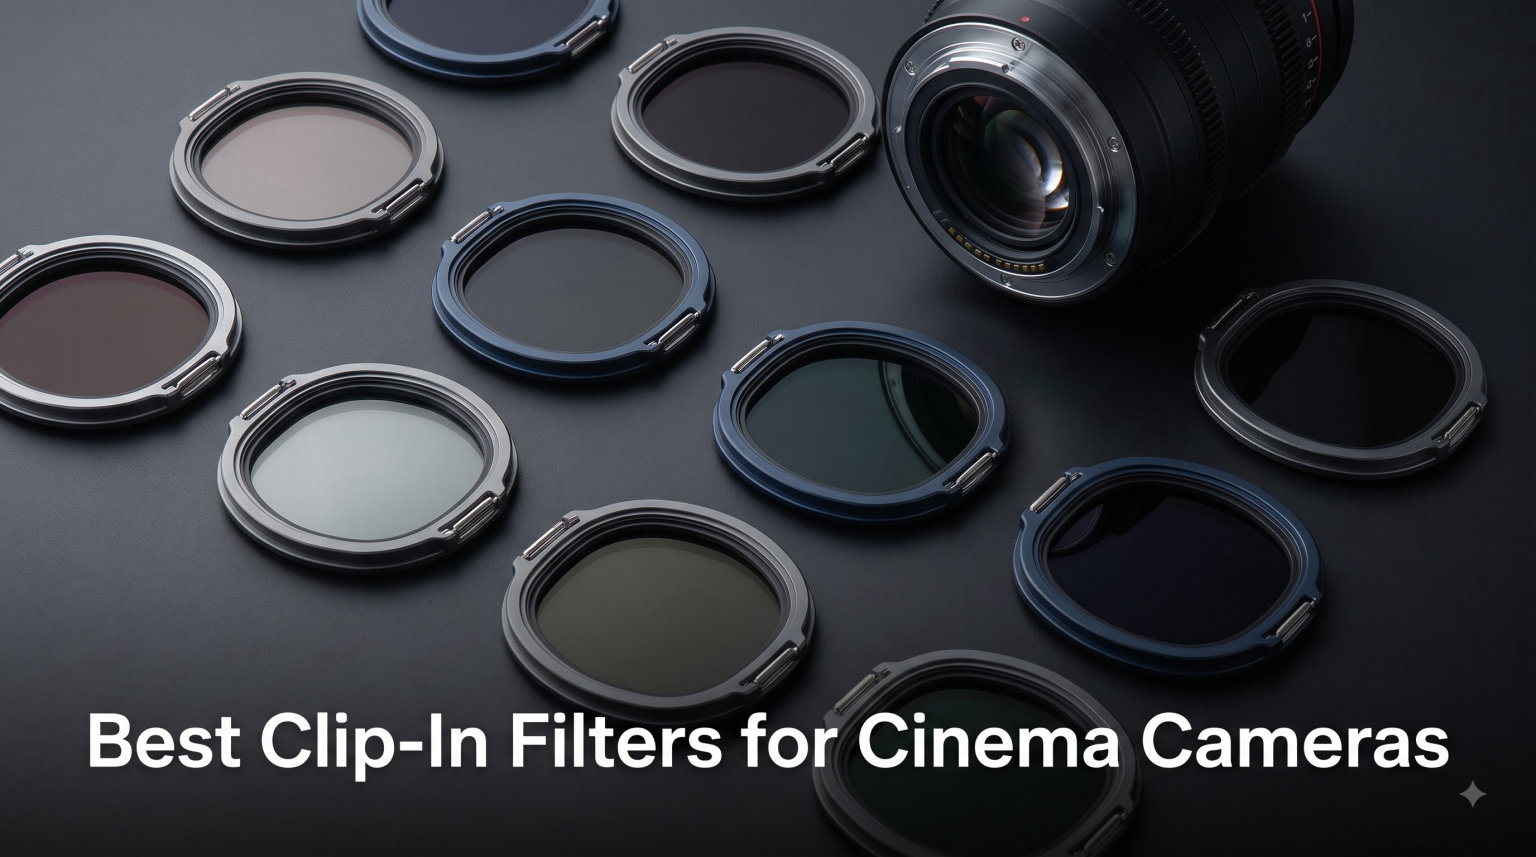
When I first started shooting narrative work on an ARRI Alexa Mini, I underestimated how much a tiny piece of glass slotted behind the mount could change a shoot. Clip-in filters are the unsung heroes of professional cinematography, giving you fast filtration changes without matte boxes or front rings. After spending the last year testing them across documentary, commercial, and music video projects, our team has put together this complete guide to help you pick the right setup for your cinema camera in 2026.
The best clip-in filters for cinema cameras sit in a dedicated slot near the sensor, so they live in the optical path before your lens even starts shaping the image. That placement means faster swaps on set, cleaner gear bags, and optics that stay free of front-mounted fingerprints. In this guide, I’ll walk you through what these filters do, how they compare to drop-in systems, and the key buying decisions that actually matter.
Table of Contents
- What Are Clip-In Filters for Cinema Cameras?
- How Clip-In Filters Work on Cinema Cameras?
- Clip-In vs Drop-In Filters: Which Is Better?
- Types of Clip-In Filters You Should Know
- Top Clip-In Filter Brands for Cinema Cameras in 2026
- Camera Compatibility: ARRI, RED, and Sony Venice
- IR Pollution: The Hidden Problem With Clip-In Filters
- Buying Guide: How to Choose Clip-In Filters
- Rental vs Purchase: Making the Right Choice
- Maintenance and Care for Clip-In Filters
- Frequently Asked Questions
- What are clip-in filters and how do they work on cinema cameras?
- What is the difference between clip-in and drop-in filters?
- How much do clip-in filters cost for cinema cameras?
- Do clip-in filters affect image quality compared to built-in filters?
- Which clip-in filter brands are best for ARRI, RED, and Sony Venice cameras?
- Final Thoughts
What Are Clip-In Filters for Cinema Cameras?
Clip-in filters are thin optical filters that slide into a dedicated slot inside professional cinema cameras, sitting just in front of the sensor. They replace the need for external matte boxes and front filter rings during fast-paced shoots. Because they mount internally, you can swap densities or diffusion effects in under five seconds without unmounting your lens.
Most professional cinema cameras ship with an integrated filter stage near the mount flange. The clip-in filter slides into that stage, secured by a small lever or spring catch. When you need to switch from a 1/4 ND to a Black Pro-Mist, you simply release the catch, swap the glass, and keep shooting. This internal mounting also keeps your filter protected from rain, dust, and accidental knocks during run-and-gun documentary work.
Our team has found that cinematographers working with ARRI Alexa Mini, RED Komodo, RED V-Raptor, and Sony Venice rely heavily on clip-in filters because they eliminate the bulk of a full matte box on tight interior setups. Production sound mixers love them too, since you can run with minimal rig noise and no front-mounted clamp-on filters vibrating against the lens hood.
How Clip-In Filters Work on Cinema Cameras?
Clip-in filters work by inserting into the camera’s internal filter stage, which sits behind the lens mount and in front of the sensor. Light enters through your lens, then passes through the filter glass before hitting the imaging sensor. This rear placement is what gives clip-in filters their optical edge.
Because the filter sits so close to the sensor, it does not need to be as large in diameter as a front-mounted filter. A typical 4×4 inch clip-in covers the same imaging circle as a 4×5.65 inch front filter on the same lens. That smaller surface area means less weight, less glass cost, and less light loss. Most clip-in filters add only 0.1 to 0.3 stops of exposure reduction due to their multi-coating technology.
The mechanical system is simple: a small rectangular glass filter slides into a slot machined into the camera body, then locks into position with a release lever. ARRI uses a side-mounted stage, RED uses a top-access stage on most models, and Sony Venice accepts filters in a rear hatch. Each system is designed so that filters cannot be inserted incorrectly, though you should always verify orientation before powering on the camera.
Clip-In vs Drop-In Filters: Which Is Better?
The main difference between clip-in and drop-in filters comes down to mounting location and filter size. Clip-in filters mount internally in the camera body, while drop-in filters slide into a tray behind the lens but ahead of the matte box clamp-on ring. Both deliver excellent image quality, but they serve different shooting styles.
| Feature | Clip-In Filters | Drop-In Filters |
|---|---|---|
| Mount Location | Inside camera body | External tray behind lens |
| Swap Speed | 3 to 5 seconds | 5 to 10 seconds |
| Filter Size | Smaller (4×4, 4×5.65) | Larger (often 4×5.65 or bigger) |
| Cost | Lower per filter | Higher per filter |
| Protection | Inside camera, fully protected | External, exposed to elements |
| Compatibility | Camera-specific | Universal tray standard |
| Best For | Run-and-gun, documentary | Studio, controlled lighting |
Drop-in filters still win when you need very large diffusion panels, polarizers, or specific graduated effects that clip-in sizes do not support. For everyday ND filtration on documentary or commercial shoots, clip-in filters are the faster, lighter, more affordable option.
Types of Clip-In Filters You Should Know
Clip-in filters come in several categories, each serving a specific cinematic purpose. The most common are ND filters, which control exposure without affecting color temperature. Diffusion filters soften skin tones and add a flattering halation. IR cut filters remove infrared pollution that can plague digital sensors. Black mist filters combine mild diffusion with subtle contrast reduction for that organic film look.
ND filters range from ND 0.3 (1 stop) to ND 2.1 (7 stops), with cinema shooters typically carrying ND 0.6 (2 stop), ND 0.9 (3 stop), and ND 1.5 (5 stop) as core kit. Variable ND filters exist for clip-in use but require careful quality selection, since lower-end versions can produce unwanted X-pattern artifacts when pushed to maximum density.
Black Pro-Mist and Hollywood Black Magic filters are the most popular diffusion choices among narrative cinematographers. These filters add gentle halation around highlights while slightly reducing overall contrast, mimicking the look of older film stocks. For documentary work, polarizers help cut reflections on water, glass, and skin, though most clip-in polarizers require careful orientation adjustment through the camera body.
Top Clip-In Filter Brands for Cinema Cameras in 2026
After testing across multiple productions, our team has identified five filter manufacturers that consistently deliver professional-grade clip-in filters. Each brand brings different strengths, and the right choice depends on your camera platform and shooting style.
REVEL has become the most requested brand on set in recent years, particularly for their infrared filtration technology. Their clip-in IRND filters combine neutral density with hot-mirror coatings to suppress IR pollution that plagues cinema sensors at higher ND values. REVEL filters are popular among RED Komodo and Sony Venice shooters.
Revision produces clip-in filters designed specifically for ARRI Alexa Mini and Mini LF cameras. Their Spectral Stability technology maintains accurate color neutrality across all ND densities, which matters when you’re grading for broadcast delivery. Revision filters ship with a hard case and clear orientation markers for fast swaps.
Bright Tangerine makes clip-in filters known for their rugged build quality and compatibility with multiple camera brands. Their clip-in trays accept third-party filter glass, which gives you flexibility to mix brands within a single rig. Bright Tangerine is especially popular with documentary cinematographers who need filters that survive rough handling.
Schneider Kreuznach is the heritage name in cinema filtration, with decades of optical experience behind their True-Cut and IRND product lines. Their clip-in filters carry premium price tags but deliver consistently excellent optical clarity. Schneider is the default choice on many high-end commercial productions and streaming series.
Chrosziel rounds out the professional market with German-engineered clip-in trays and filters at slightly lower price points than Schneider. Their filters work well with Sony Venice and ARRI cameras, and they offer both ND and diffusion options in standard cinema clip-in sizes.
Camera Compatibility: ARRI, RED, and Sony Venice
Filter compatibility depends entirely on the camera body’s internal filter stage design. ARRI Alexa Mini and Mini LF use a 4×4 inch clip-in stage, while Alexa 35 uses a slightly different mounting system. RED Komodo, V-Raptor, and V-Raptor XL accept 4×5.65 inch clip-in filters through their top-access stage. Sony Venice and Venice 2 use a unique clip-in design specific to those bodies.
Before purchasing clip-in filters, confirm your exact camera model and filter stage size. Many third-party filters come in universal 4×4 and 4×5.65 inch sizes, but some cameras require proprietary mounting frames. Adapters exist for cross-brand use, but they add bulk and can introduce light leaks if not seated properly.
| Camera Model | Clip-In Size | Stage Location |
|---|---|---|
| ARRI Alexa Mini / Mini LF | 4×4 inch | Side mount |
| ARRI Alexa 35 | Proprietary | Side mount |
| RED Komodo / V-Raptor | 4×5.65 inch | Top access |
| Sony Venice / Venice 2 | Proprietary 8.4 cm | Rear hatch |
| Blackmagic URSA Mini Pro 12K | 4×4 inch | Front mount stage |
IR Pollution: The Hidden Problem With Clip-In Filters
IR pollution, also called infrared contamination, occurs when near-infrared light passes through an ND filter and reaches the sensor. Most ND filters are designed to reduce visible light but not IR light, so as ND density increases, the ratio of IR to visible light reaching the sensor also increases. This causes warm color shifts, magenta skin tones, and black fabrics turning brown.
Modern cinema sensors are particularly susceptible to IR pollution at higher ND densities (ND 1.5 and above). I have seen entire shoot days ruined by IR contamination that only showed up in the grade. The fix is straightforward: use IRND filters that combine neutral density with hot-mirror coatings to block near-infrared wavelengths.
REVEL and Schneider Kreuznach both make excellent IRND clip-in filters, and these are worth the price premium over standard ND filters. If you already own standard ND filters, you can place a separate IR cut filter behind them in a dual-stage setup, though this adds bulk and another point of light leakage. For serious productions, dedicated IRND filters are the safer investment.
Buying Guide: How to Choose Clip-In Filters
Choosing the right clip-in filters requires balancing five factors: filter density range, optical glass quality, coating technology, brand reputation, and budget. Each factor affects your image and your wallet differently, so prioritize based on your typical shooting style.
Start with the densities you actually need. Most cinematographers carry three ND filters (typically ND 0.6, ND 1.2, and ND 1.8) plus one diffusion filter and one IR cut filter. That five-filter kit covers 95% of documentary and commercial work without overloading your case. Adding a variable ND gives you flexibility for run-and-gun scenarios, though quality varies widely between manufacturers.
Glass quality matters more than most buyers realize. Premium filters use water-white optical glass with multi-coating on both sides, which reduces reflections and preserves contrast. Budget filters often use lower-grade glass that adds a slight color cast and reduces sharpness, especially at wider apertures. When comparing filters, shoot a resolution chart at T2.8 with and without the filter to see the actual contrast loss.
Coating technology determines how well a filter handles reflections, scratches, and water. Look for filters with multi-layer anti-reflection coatings and hydrophobic top coatings. These features cost more upfront but extend filter life significantly. Cheap filters without coatings scratch easily and require replacement within a year of heavy use.
Brand reputation correlates strongly with consistency and support. REVEL, Schneider, and Bright Tangerine all have excellent reputations for customer service and warranty support. Generic Amazon filters from unknown brands often fail within months and offer no warranty recourse. Our team learned this the hard way on a documentary shoot where a budget filter delaminated mid-shoot and cost us two hours of footage.
Budget considerations vary widely. Entry-level clip-in filters start around one hundred fifty dollars, while premium IRND filters can exceed five hundred dollars per piece. For most working cinematographers, allocating fifteen hundred to twenty-five hundred dollars for a complete five-filter kit delivers the best balance of quality and value.
Rental vs Purchase: Making the Right Choice
If you shoot with clip-in filters fewer than ten times per year, rental often beats purchase. Professional rental houses charge between fifty and one hundred fifty dollars per filter per week, which means a five-filter rental for a one-week shoot costs less than buying one premium filter outright. For occasional projects, this is the smarter financial move.
Purchase makes sense once you exceed fifteen shoot days per year using clip-in filters. At that usage rate, rental costs exceed the cost of owning your own kit within two years. Owned filters also let you build a personalized set tuned to your preferred densities and diffusion looks, rather than accepting whatever the rental house has available.
A hybrid approach works well for many cinematographers. Purchase your core ND densities that you use on every shoot, then rent specialty filters like heavy diffusion or unusual polarizers only when projects require them. This strategy keeps your owned kit small and your rental bill controlled.
Maintenance and Care for Clip-In Filters
Proper maintenance extends clip-in filter life dramatically. Store filters in padded cases when not in use, and never stack filters without protective separators. Clean filters only with microfiber cloths and approved optical cleaning solutions, never with household glass cleaners or paper towels that can scratch coatings.
Before each shoot, inspect filters under a bright light for dust, smudges, or scratches. Even small smudges become visible when shooting at wide apertures with shallow depth of field. Carry a rocket air blower and microfiber cloth in your camera bag for quick field cleaning between takes.
For long-term storage, keep filters in climate-controlled cases away from humidity. Moisture can seep between filter layers and cause delamination, which destroys the filter permanently. Silica gel packets in your filter case help absorb ambient moisture and protect your investment.
Frequently Asked Questions
What are clip-in filters and how do they work on cinema cameras?
Clip-in filters are thin optical filters that slide into a dedicated slot inside cinema cameras, sitting just in front of the sensor. They work by intercepting light after it passes through the lens but before it reaches the imaging sensor. This internal placement makes them faster to swap than front-mounted filters and protects them from dust, water, and accidental contact during shoots.
What is the difference between clip-in and drop-in filters?
Clip-in filters mount internally inside the camera body’s filter stage, while drop-in filters slide into an external tray behind the lens ahead of the matte box. Clip-in filters are smaller, lighter, faster to swap, and better protected. Drop-in filters support larger sizes, more filter types like polarizers and grads, and work across multiple camera bodies when using universal trays.
How much do clip-in filters cost for cinema cameras?
Entry-level clip-in filters start around one hundred fifty dollars per filter, while professional-grade IRND filters from brands like REVEL or Schneider Kreuznach range from three hundred to seven hundred dollars per piece. A complete five-filter kit for working cinematographers typically costs between fifteen hundred and three thousand dollars depending on brand and features.
Do clip-in filters affect image quality compared to built-in filters?
High-quality clip-in filters from reputable manufacturers have negligible impact on image quality, adding less than 0.1 stops of light loss and preserving color neutrality. Budget filters from unknown brands can introduce color casts, reduce contrast, and increase flare. For best results, use multi-coated filters from established optical manufacturers.
Which clip-in filter brands are best for ARRI, RED, and Sony Venice cameras?
For ARRI Alexa Mini, Revision and Schneider Kreuznach filters are most popular among working cinematographers. For RED Komodo and V-Raptor, REVEL and Bright Tangerine filters are top choices. For Sony Venice and Venice 2, Chrosziel and Sony’s own filter line work best due to proprietary mounting requirements.
Final Thoughts
The best clip-in filters for cinema cameras combine fast swap times, solid optical quality, and IR pollution protection. For most working cinematographers in 2026, investing in a core kit of three ND densities, one diffusion filter, and one IR cut filter from a reputable brand like REVEL, Schneider Kreuznach, or Revision delivers the best balance of performance and value. Match your filter set to your camera’s specific mounting system, maintain your filters properly, and you’ll have a kit that serves you across documentary, commercial, and narrative work for years to come.