
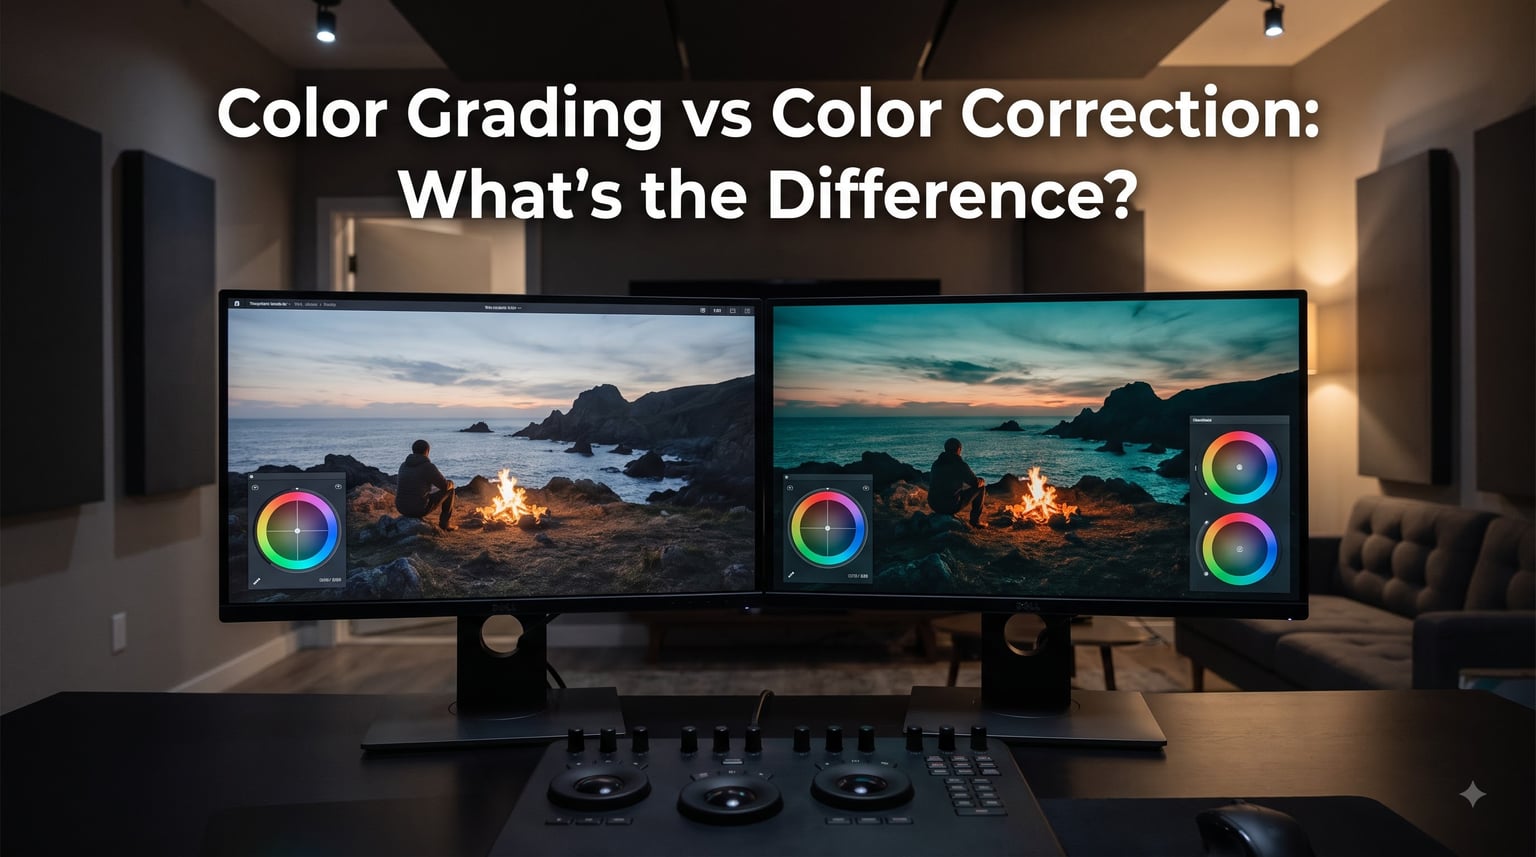
If you’ve ever finished editing a short film and felt something was “off” but couldn’t name it, the answer usually lives in the difference between color grading vs color correction. These two stages of post-production sound similar, look related, and share the same end goal of visual consistency. But they serve very different purposes.
Color correction fixes technical issues in your footage. Color grading adds creative styling. One restores truth. The other builds mood. I’ve spent years color-correcting documentary footage in the morning and grading music videos in the afternoon, and the line between the two is something every filmmaker needs to understand.
In this guide, I’ll break down the exact difference between color grading and color correction, walk through when to use each, and show you how they work together in a real short film workflow. You’ll learn the 5 key distinctions professionals rely on, the tools that handle both processes, and the mistakes most beginners make on their first project.
Table of Contents
- What Is Color Correction?
- What Is Color Grading?
- 5 Key Differences Between Color Grading and Color Correction
- Which Comes First: Color Correction or Color Grading?
- Color Grading vs Color Correction in Short Films
- Common Mistakes to Avoid
- Tools and Software for Both Processes
- Frequently Asked Questions
- Final Verdict: Bringing Color Grading and Color Correction Together
What Is Color Correction?
Color correction is the technical process of adjusting your footage so it looks natural and accurate. Think of it as fixing what the camera got wrong, or what the lighting conditions created that you don’t want. A white shirt should actually look white, not slightly blue or yellow.
The core adjustments in color correction are exposure, white balance, and contrast. Exposure controls how bright or dark your image is. White balance removes unwanted color casts so whites look white. Contrast adjusts the difference between shadows and highlights. Together, these three adjustments handle roughly 80% of correction work.
Underneath those basics sits color theory. Every color in your footage can be described using three properties: hue (the actual color), saturation (how intense that color is), and brightness (how light or dark it appears). The color correction process manipulates these three properties to bring footage back to a natural state.
Primary vs Secondary Color Correction
Primary color correction affects your entire image at once. You lift the shadows, drop the highlights, or shift the overall color balance. It’s the broad-stroke first pass.
Secondary color correction targets specific colors, objects, or regions. You isolate a blue sky to deepen it, or pull saturation out of a distracting red shirt in the background. Tools like qualifiers, masks, and Power Windows let you work selectively without affecting the rest of the frame.
The Scopes That Guide Correction
Colorists don’t trust their eyes alone. They use three scopes to measure what’s actually happening in the image.
The waveform monitor shows brightness values across your image. The vectorscope shows color saturation and hue in a circular display. The histogram maps the distribution of tones from black to white. Watching these scopes while you adjust prevents the most common beginner mistake: making decisions based on what your monitor shows you instead of what the data says.
Without calibrated monitors and scopes, your “accurate” correction might still look green on someone else’s screen. That’s why professionals consider scopes non-negotiable.
What Is Color Grading?
Color grading is the creative process of applying a stylistic look to your corrected footage. Where correction asks “does this look real?”, grading asks “does this feel right for the story?”.
Grading is how every dystopian thriller gets that cold blue-green tint. It’s how romantic comedies feel warm and golden. It’s how horror films sink into shadow. The grade is what makes the visual tone memorable and emotional.
When I grade a short film, I start by asking the director three questions: What time of day does this scene feel like? What emotion should the audience carry into the next scene? Is there a reference film whose look you admire? The answers shape every decision I make with the color wheels.
LUTs: The Shortcut Most Beginners Use First
A LUT (Look-Up Table) is a preset file that remaps the colors in your footage to match a target look. Think of it as an Instagram filter, but precise and professional. You apply a LUT, then tweak the result to match your specific footage.
LUTs save time, but they’re a starting point, not a destination. Two clips shot under different lighting will need different LUT intensities to match. And a generic cinematic LUT will never capture the exact mood your short film needs.
Color Wheels and Curves for Fine Control
Beyond LUTs, colorists use three-way color wheels (shadows, midtones, highlights) and RGB curves to shape the grade precisely. Push the shadows toward blue, lift the midtones toward orange, and you’ve created a classic teal-and-orange blockbuster look without touching a LUT.
Curves give even finer control. An S-curve adds contrast and punch. A lifted curve gives the faded, washed-out look popular in indie dramas. Every stylistic choice in grading reduces to combinations of these fundamental tools.
5 Key Differences Between Color Grading and Color Correction
The simplest way to remember the distinction: correction is about fixing problems, grading is about creating style. Here are the five differences that matter most.
- Goal. Correction aims for accuracy and consistency. Grading aims for mood, emotion, and a signature look.
- Tools. Correction relies on scopes (waveform, vectorscope, histogram). Grading relies on style controls (LUTs, color wheels, curves).
- Stage in workflow. Correction comes first, as prep work. Grading comes second, as polish.
- Approach. Correction works clip by clip to match each shot. Grading works globally to unify the whole project.
- Mindset. Correction is objective and measurable. Grading is subjective and creative.
One professional colorist I follow describes it this way: “Color correction is making white actually look white. Color grading is putting a spin on it.” That line has stuck with me for years because it captures both the technical and creative split.
Which Comes First: Color Correction or Color Grading?
Always correct before you grade. This is the single most important rule in post-production color work, and it’s the one beginners skip most often.
The reason is practical. If your footage is overexposed, has a green color cast, or mismatches between shots, no grade will fix that. A grade only styles what’s already there. Trying to grade uncorrected footage is like trying to style a house with no foundation.
The standard workflow order looks like this:
- Import and organize footage
- Apply primary correction to balance exposure and white balance
- Match clips so cuts feel seamless
- Apply secondary correction for problem areas
- Build your creative grade on top of the corrected base
- Fine-tune the grade for consistency across the project
When I teach this workflow to indie filmmakers, I tell them to spend 70% of their color time on correction and 30% on grading. Most beginners reverse that ratio, then wonder why their grades look muddy or inconsistent.
Color Grading vs Color Correction in Short Films
Short films have unique color challenges that long-form productions don’t face. You have less footage, tighter deadlines, and often a smaller budget. But you also have more creative freedom to make bold stylistic choices.
For short films, color correction matters even more than in feature work. Festival judges and online viewers judge your film within the first 30 seconds. If the exposure is off or the colors don’t match between cuts, viewers notice immediately, even if they can’t articulate what’s wrong.
Building Color Narrative in Short Films
Short films benefit from a strong color narrative. Because your runtime is limited, every visual choice carries weight. A shift from cool blue in a lonely scene to warm gold when the protagonist finds connection tells a story without dialogue.
I’ve graded short films where the entire emotional arc was carried by color. One project moved from desaturated gray (isolation) to vibrant warm tones (love) across just 8 minutes. The director said the grade did more for the story than the score.
Budget-Friendly Color Workflow for Indies
You don’t need expensive equipment to get professional results. Here’s the budget setup I recommend for short filmmakers:
- Software: DaVinci Resolve (free version handles both correction and grading at a professional level)
- Monitor: Any modern IPS display, but calibrate it with a free tool like DisplayCAL
- Scopes: Built into Resolve, no extra purchase needed
- LUTs: Start with free packs from companies like SmallHD or Lutify.me
The free version of DaVinci Resolve is what Hollywood colorists use daily. There’s no upgrade needed for short film work unless you’re doing 8K HDR deliverables, which most indie projects never need.
Common Mistakes to Avoid
After watching hundreds of short film color sessions, I’ve seen the same mistakes derail beginners. Here’s what to watch out for.
Skipping correction and going straight to grading. Your grade will only be as good as your correction. If the base footage is uneven, no LUT will save it. Spend time on correction first.
Relying on eyes instead of scopes. Your eyes adapt to whatever screen you’re looking at. Scopes give you objective data. Watch the waveform for exposure, the vectorscope for color balance, and the histogram for tone distribution.
Over-grading. When beginners discover color wheels, they tend to push every slider to the max. Heavy grades look impressive in isolation but quickly become distracting. A subtle grade often serves the story better than an extreme one.
Inconsistent results across clips. If your first clip looks warm and the second clip looks cool, viewers notice even if they don’t know why. Always match your correction across all clips before applying the grade globally.
Working on an uncalibrated monitor. Your laptop screen, your phone, and your living room TV all show different colors. Calibrate your primary editing monitor with a hardware calibrator or at minimum a software tool. Without calibration, you’re grading blind.
Tools and Software for Both Processes
The good news is that most modern editing software handles both color correction and color grading. You don’t need separate tools for each stage.
DaVinci Resolve
DaVinci Resolve is the industry standard for color work, and its free version is powerful enough for any short film. The Color page gives you scopes, color wheels, curves, qualifiers, and Power Windows in one workspace. Most professional colorists I know use Resolve as their primary tool.
Adobe Premiere Pro
Premiere Pro handles both processes through its Lumetri Color panel. It’s not as deep as Resolve for pure color work, but if you’re already editing in Premiere, it keeps everything in one project. The learning curve is gentler for beginners.
Final Cut Pro
Final Cut Pro includes color boards, color wheels, and curves that handle both correction and grading. Mac-exclusive, but a solid choice if you’re already in the Apple ecosystem.
Free and Budget Options
Beyond Resolve’s free tier, tools like Kdenlive and Shotcut handle basic color correction, though they lack the professional grading features of paid software. For short film projects on tight budgets, Resolve remains the best free option by a wide margin.
Frequently Asked Questions
Do you color correct before color grading?
Yes. Always correct before grading. Correction fixes technical issues like exposure, white balance, and clip matching. Grading styles the corrected footage. Skipping correction leads to muddy, inconsistent grades that look unprofessional.
What is color correction and grading?
Color correction is the technical process of adjusting exposure, white balance, and color balance to make footage look natural and accurate. Color grading is the creative process of applying stylistic color choices to evoke emotion and establish visual tone. Both work together in post-production.
Is color correction worth it?
Yes, especially for short films. Correction ensures your footage looks accurate and professional by fixing technical issues from the shoot. Without correction, even the best grade will look uneven and amateur. Most viewers notice color problems within seconds, even if they can’t name them.
Do I need expensive equipment to color correct and grade?
No. DaVinci Resolve’s free version handles both correction and grading at a professional level. Combined with a calibrated monitor and built-in scopes, you have everything needed for short film color work without spending on software.
Final Verdict: Bringing Color Grading and Color Correction Together
The difference between color grading vs color correction comes down to intent. Correction fixes what’s wrong. Grading adds what’s intentional. Both processes are essential, and both belong in your short film workflow.
If you’re starting a new project, begin with correction. Balance exposure, fix white balance, and match clips until cuts feel invisible. Then build your grade on that solid foundation. Apply a LUT, tweak with color wheels, and shape the mood with curves.
Your next step is simple: download DaVinci Resolve, import a recent short film project, and try the workflow yourself. Watch the scopes while you correct. Apply a grade only after correction feels complete. You’ll see the difference in your footage within an hour, and that hands-on practice is the fastest way to make these concepts stick.
1 thought on “Color Grading vs Color Correction (September 2026) What’s the Difference?”