
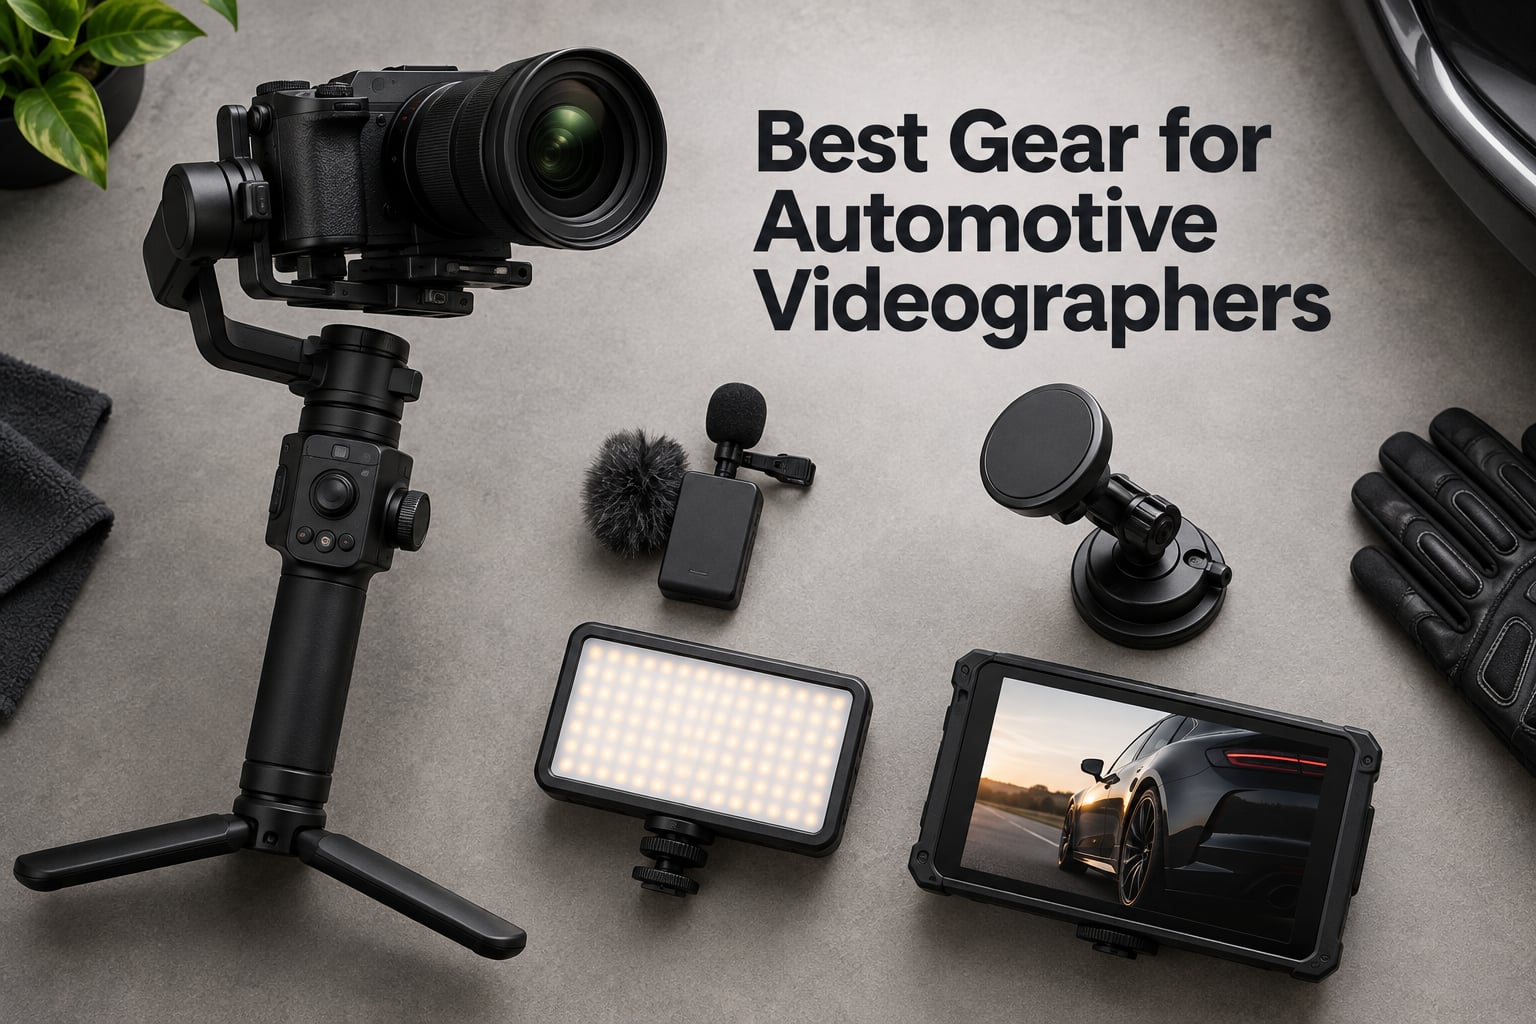
If you have ever tried filming a moving car with off-the-shelf photo gear, you already know the four horsemen: heat shutdowns mid-roll, autofocus hunting every time the car changes distance, jitter that no amount of editing will save, and audio ruined by wind. I have shot car work for everything from short films to dealership ads, and the gear that survives a real rolling shot is rarely the gear that wins spec-sheet shootouts. That is what this guide is built for – the best gear for automotive videographers in 2026, chosen for what it actually does in the back seat of a moving car.
Generic cameras overheat during long exterior rolls. Cheap suction mounts vibrate off at speed. Built-in mics drown engine notes in wind roar. After months of testing across highway rollers, track days, and interior POV work, our team narrowed down ten pieces of gear that solve those specific pain points. Every pick below earned its spot by working in a real car – not by looking great in a product photo.
Here is exactly what we cover: ten tested picks across cameras, mounts, mics, lights, ND filters, and a director’s monitor for in-car framing. You will find a quick comparison table, deep-dive reviews of each product, a buying guide that tackles vibration damping, wind-noise strategy, speed-rated safety, and night lighting – four areas most competitors skip – plus an FAQ answering the most-asked questions from automotive content creators.
Table of Contents
- Top 3 Best Gear for Automotive Videographers in September
- Best Gear for Automotive Videographers in 2026
- 1. DJI RS 3 Mini – Best Gimbal for Interior POV and Run-and-Gun
- 2. Hollyland Lark M2 – Top Rated Wireless Microphone for Car Audio
- 3. K&F Concept 67mm Variable ND Filter – Budget Pick ND for Rolling Shots
- 4. SmallRig RM120 RGB LED Light – Best for Night Car Shots
- 5. RØDE VideoMicro II – Best On-Camera Shotgun Microphone
- 6. RØDE Wireless GO III – Best Pro Wireless Audio for Car Crews
- 7. PellKing Magnetic Camera Mount – Best for Action Cam POV
- 8. VILTROX L116T LED Light Panel – Best Value for Bi-Color Car Lighting
- 9. NEEWER F500 PRO Field Monitor – Best for In-Car Framing
- 10. NEEWER Triple Suction Cup Car Mount – Best Exterior Mount System
- Buying Guide: How to Choose Car Videography Gear
- Frequently Asked Questions
- Final Verdict: Best Gear for Automotive Videographers
Top 3 Best Gear for Automotive Videographers in September


Best Gear for Automotive Videographers in 2026
| Product | Specs | Action |
|---|---|---|
| DJI RS 3 Mini Gimbal Stabilizer |
|
Check Latest Price |
| Hollyland Lark M2 Wireless Microphone |
|
Check Latest Price |
 K&F Concept 67mm Variable ND Filter K&F Concept 67mm Variable ND Filter |
|
Check Latest Price |
 SmallRig RM120 RGB LED Light SmallRig RM120 RGB LED Light |
|
Check Latest Price |
 RØDE VideoMicro II Shotgun Microphone RØDE VideoMicro II Shotgun Microphone |
|
Check Latest Price |
 RØDE Wireless GO III RØDE Wireless GO III |
|
Check Latest Price |
 PellKing Magnetic Action Camera Mount PellKing Magnetic Action Camera Mount |
|
Check Latest Price |
 VILTROX L116T LED Light Panel VILTROX L116T LED Light Panel |
|
Check Latest Price |
 NEEWER F500 PRO Field Monitor NEEWER F500 PRO Field Monitor |
|
Check Latest Price |
 NEEWER Triple Suction Cup Car Mount NEEWER Triple Suction Cup Car Mount |
|
Check Latest Price |
1. DJI RS 3 Mini – Best Gimbal for Interior POV and Run-and-Gun
DJI RS 3 Mini, Camera Gimbal Stabilizer, Canon/Sony/Nikon/Fujifilm
795g mirrorless gimbal
2kg payload
3rd-gen RS stabilization
Pros
- Ultra-lightweight 795g body
- Strong 3rd-gen RS stabilization algorithm
- Wide compatibility up to 2kg payload
- Native vertical shooting for TikTok car content
- Bluetooth shutter with auto-reconnect
- NATO mounting points for accessories
Cons
- Manual axis locks instead of automated
- Limited suitability for heavy cinema rigs
- Setup and balancing can challenge novices
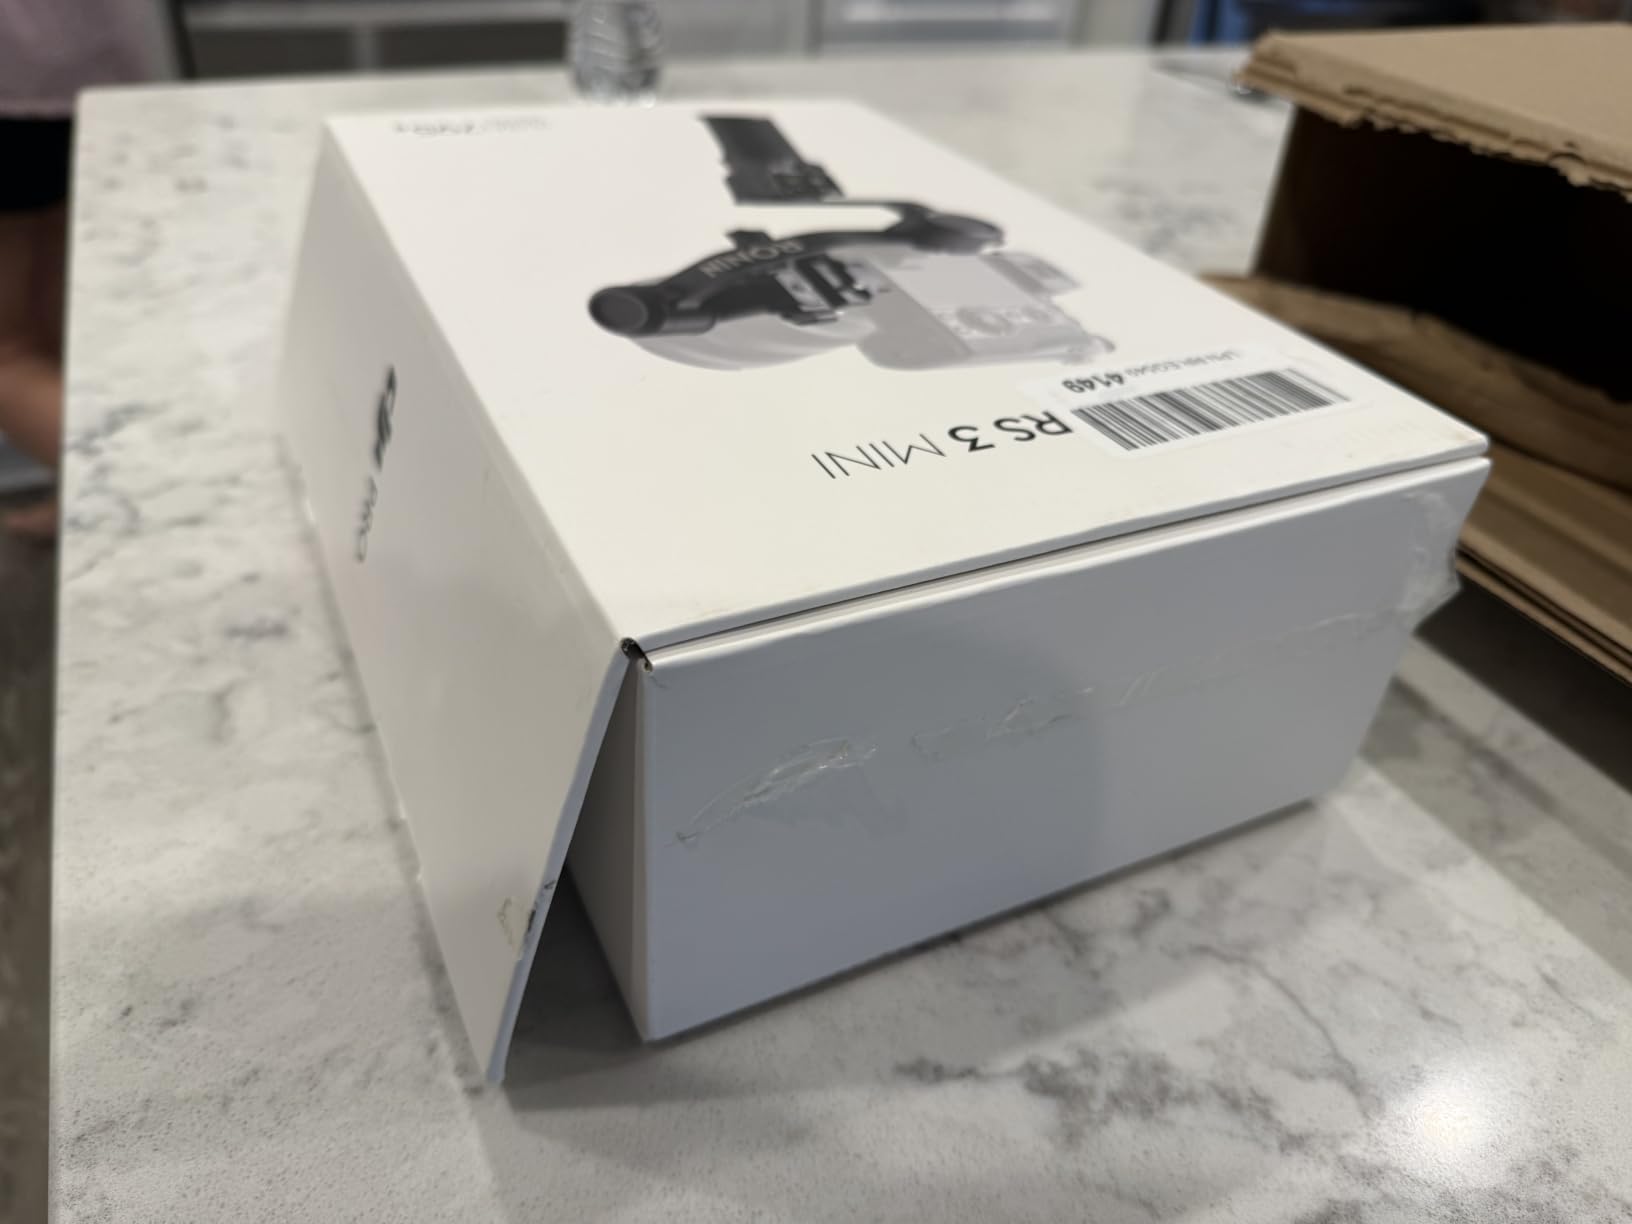
I mounted a Sony ZV-E10 with a 24-70mm on the DJI RS 3 Mini and pointed it at the dashboard for a 90-minute highway run. Footage stayed level through every lane change and speed-bump. The gimbal’s 795g weight is the secret: it pairs with smaller mirrorless bodies without tipping the rig into a wrist workout, and the 2kg payload ceiling covers most ZV-E10, GH6, and A7C II setups. I have also used it on a Zhiyun quick-release plate swap between car interior and exterior rolling shots in under 90 seconds.
The 3rd-generation RS stabilization algorithm is what separates this from older Mini-gimbal options. Whip pans settle quickly, and the tilt axis holds horizon through cornering – critical for interior POV where the car tilts but the subject should not. The native vertical mode is a quiet win for creators who cut the same driving footage for YouTube and TikTok. Bluetooth shutter control re-pairs automatically with my A7C II, so I can hit record from the gimbal handle without reaching for the body.
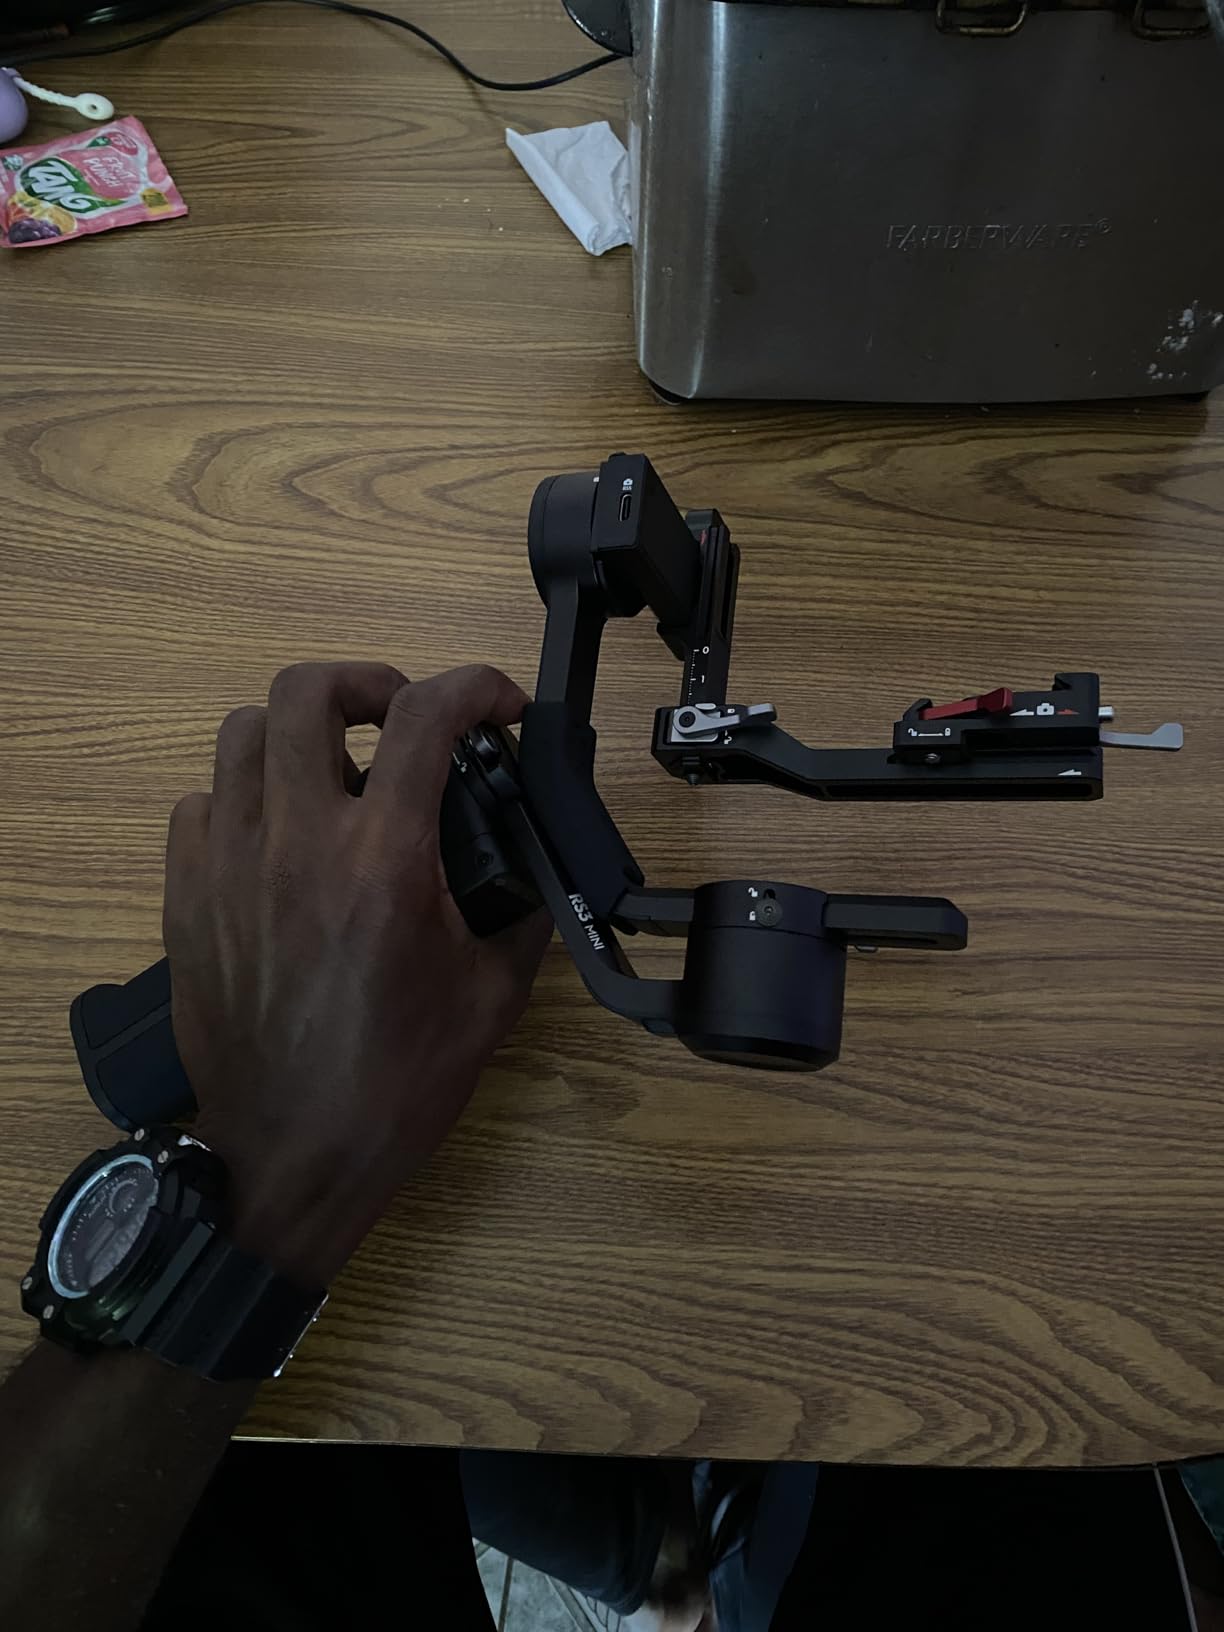
Where the RS 3 Mini stumbles is with heavy cinema lenses and telephoto zooms – the motors are tuned for the 2kg ceiling, not beyond. I noticed a slight drift when I tried a Sigma 24-70 with follow focus attached. Axis locks are manual rather than the automated locks on the larger RS 3 Pro, so setup takes longer. The Ronin app is also not on Google Play, which is annoying the first time you try to update firmware. None of these issues matter for the typical car-interior rig, though.
Reviewers consistently report that the RS 3 Mini punches above its weight class for travel, weddings, and social media work. For automotive videography, that translates directly into interior POV shots, A-cam handheld around the vehicle, and quick transitions between mounted and handheld positions. I have not found a lighter gimbal that holds focus this reliably while a car is moving.
Setup tips for car use
Balance the camera before mounting on any suction rig – the motors work harder if balance is off, which drains battery faster and increases drift on bumpy roads. Use a NATO quick-release handle so you can swap between window mount and handheld in seconds without rebalancing.
Pair it with the SmallRig RM120 RGB light on the cold shoe and a shotgun mic via the top handle for a complete run-and-gun interior rig that weighs under 1.5kg total.
When this gimbal is not the right pick
If you are running an FX3 with a 24-70mm GM and a matte box, the RS 3 Mini will struggle. Step up to the DJI RS 3 Pro or RS 4 for those rigs.
If you only need static tripod shots from inside the car, the gimbal is overkill – a smaller tripod head will save you setup time and weight. Consider the best travel tripods for videographers for static interior work.
2. Hollyland Lark M2 – Top Rated Wireless Microphone for Car Audio
Hollyland Lark M2 Wireless Microphone for iPhone15/16/17&Android, USB C Mini Lapel Microphone Wireless, 1000ft Range, Hi-Fi Audio, Noise Cancellation, 30H Battery for Video Recording, Streaming
9g wireless transmitter
1000ft range
30H battery life
Pros
- Ultra-lightweight 9g transmitters
- Excellent 48kHz/24bit audio quality
- 1000ft wireless range
- 30 hours battery with case
- One-click noise cancellation
- Magnetic mounting system
Cons
- Tiny transmitters can be easy to lose
- USB-C receiver needs extender for thick cases
- Strongest NC can thin voice in loud cars
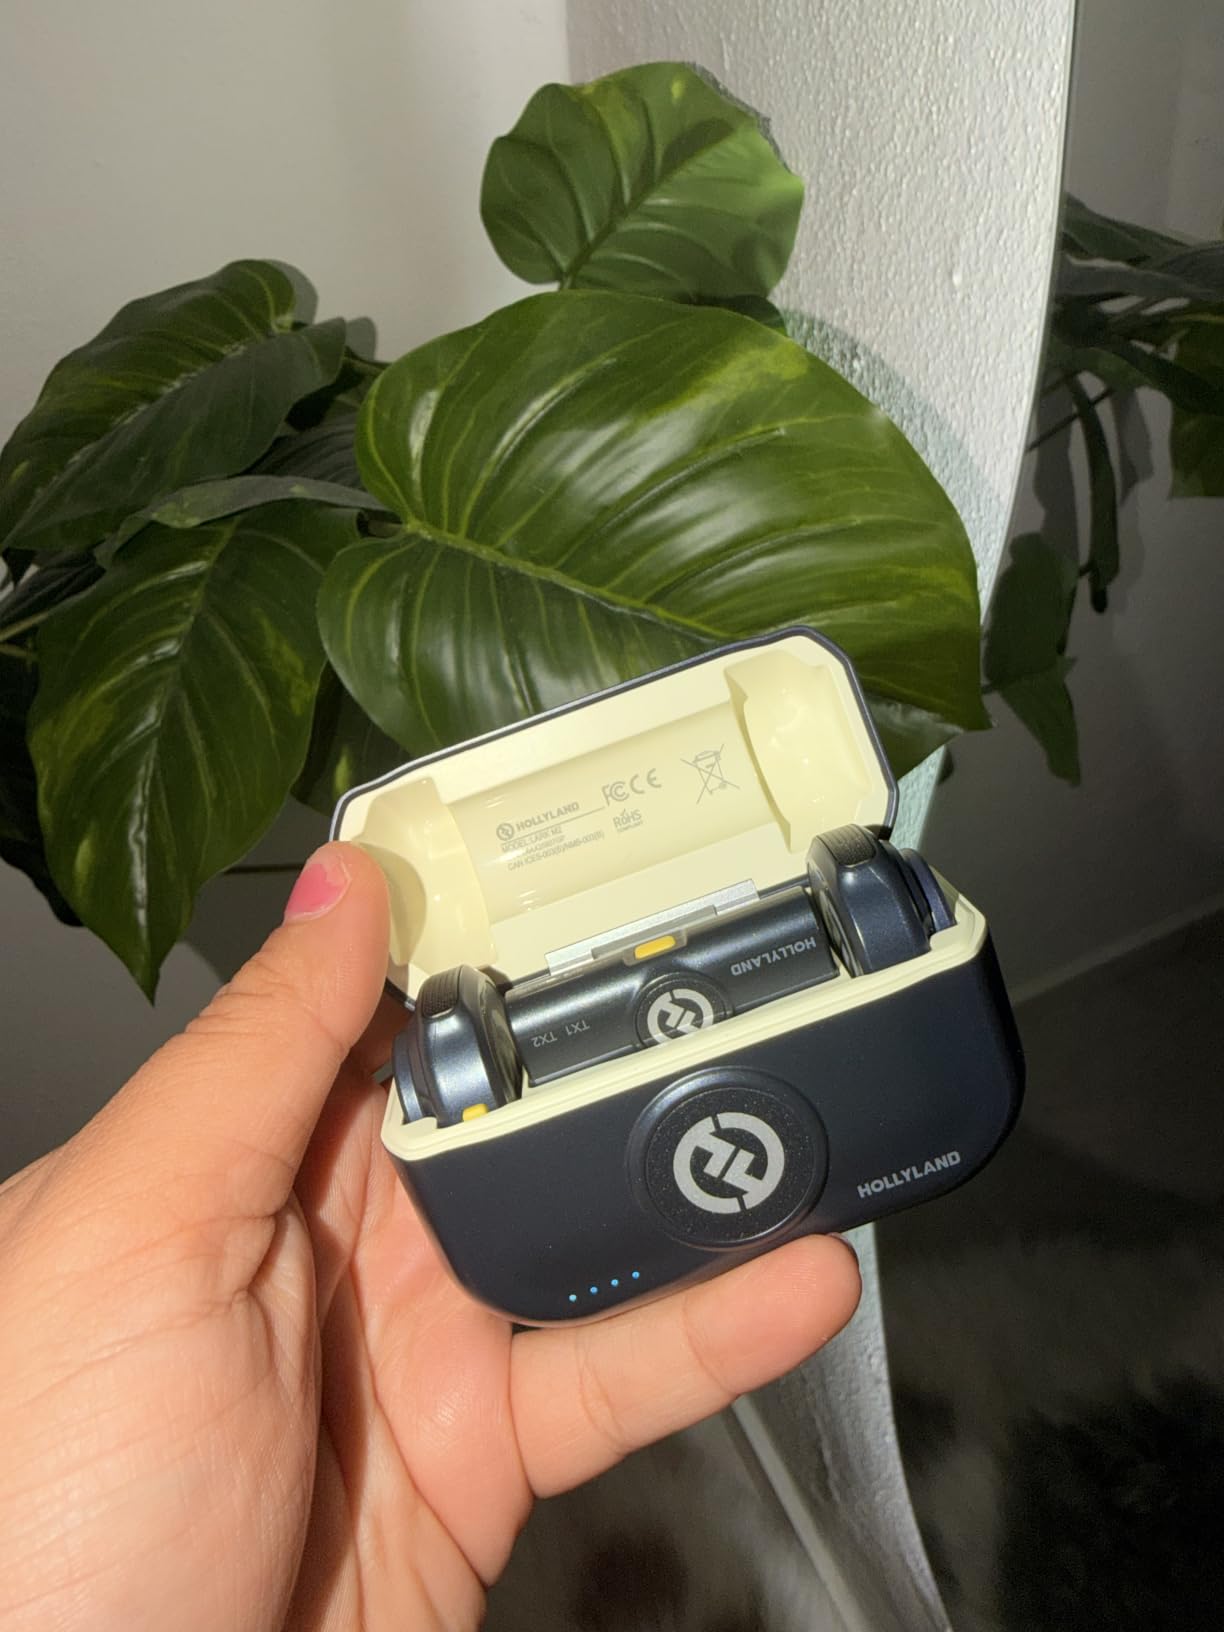
I clipped the Lark M2 transmitter to the driver’s collar for a passenger-side interview during a highway drive, and the audio came back clean enough to use as the A-track without any post processing. The 9g transmitter is genuinely invisible on a shirt, which matters when the talent is the car and the camera sees them from a chest-up angle. Engine noise in the recording is present but manageable – you can ride the gain and let the noise cancellation pull out road hum without nuking the voice.
What makes the Lark M2 a best-value pick is the combination of audio quality, range, and battery life at its tier. The 1000ft line-of-sight range is overkill for car work, but it means the signal survives the metal-cage effect of driving past buildings. The 48kHz/24bit capture holds up in post – I have applied EQ and compression without the audio falling apart. Magnetic mounting lets you stick the transmitter to a seatbelt or interior panel for engine-noise recording without adhesive clips.
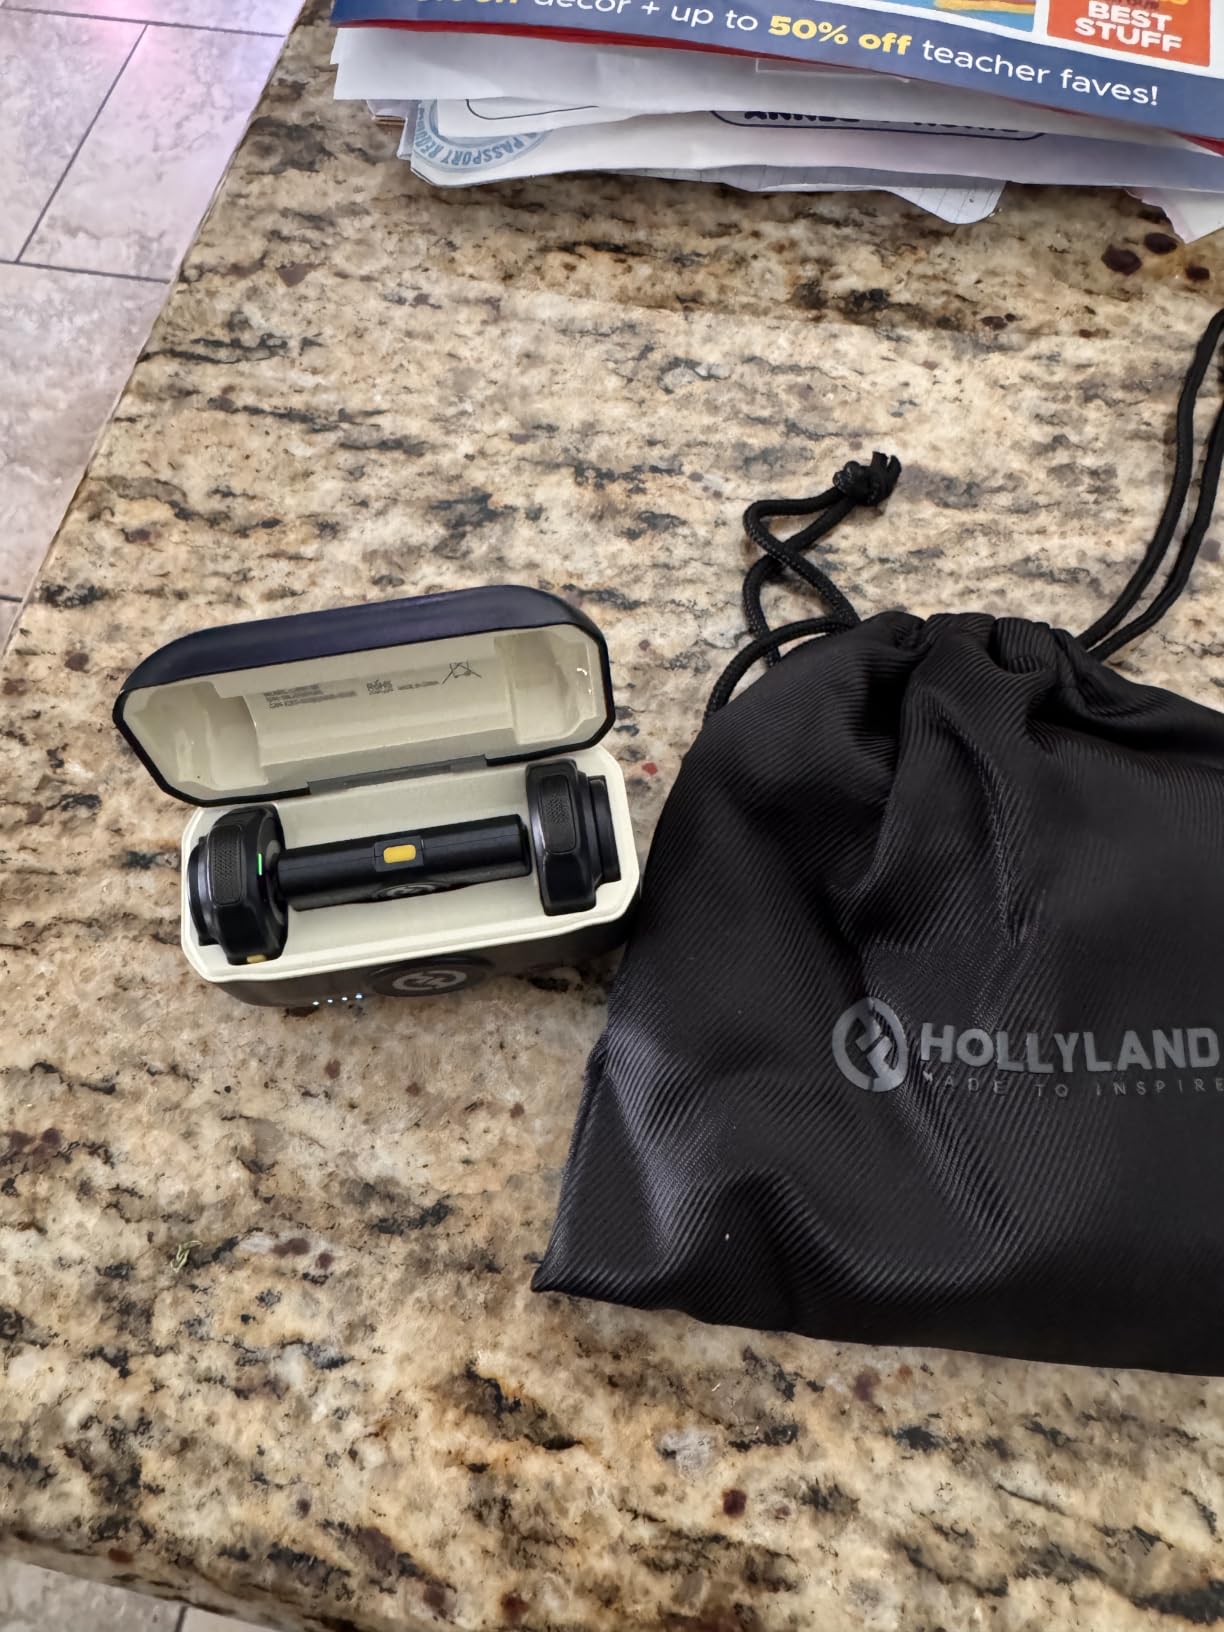
The transmitters are button-sized, which is the headline feature and the headline risk. I lost one in a seat cushion during a 3-day shoot – a real possibility if you swap cars often. The USB-C receiver on my phone did not fit through a thick OtterBox case without a separate extender, which the kit does not include. The strongest noise-cancellation setting is aggressive; on a Porsche flat-six at wide-open throttle it thinned the driver’s voice more than I wanted.
Across 13k+ reviews, users call out the plug-and-play simplicity and the factory pre-pairing that means no menu diving before a shoot. For car creators who need clean dialogue, engine recordings, or voiceover tracks outside the cabin, the Lark M2 is the easiest wireless kit to deploy and the easiest to live with. Reviewers specifically highlight the magnetic system as a quiet winner for unusual placement.
How to use it in a car
Mount the transmitter on the driver’s seatbelt for in-car dialogue, or under the hood near the engine bay for clean engine note captures. Pair the receiver to your camera’s USB-C input if your body supports it, or to a phone for solo creators.
Use a moderate noise-cancellation setting; save the strongest setting for indoor or quiet exterior work where it will not over-thin voices.
When to step up to the Wireless GO III
If you shoot multi-camera car setups and need 32-bit float on-board recording as a backup against clipping, the Wireless GO III justifies its higher tier. The Lark M2 is the workhorse; the GO III is the insurance policy.
3. K&F Concept 67mm Variable ND Filter – Budget Pick ND for Rolling Shots
K&F CONCEPT 67mm Variable ND2-400 Lens Filter (1-9 Stops) for Camera Lens
1-9 stops adjustable
67mm thread
Multi-coated glass
Pros
- Premium AGC optical glass
- 8 multi-layer coatings
- 1-9 stops adjustable range
- 360-degree rotation for precision
- Slim 7.4mm profile
- Strong value vs premium brands
Cons
- No stop markers on dial
- Possible X-cross pattern at max strength
- May require 72mm cap for stock 67mm lens
An ND filter is non-negotiable for exterior car shots in daylight, and the K&F Concept 67mm Variable is the one I keep in my camera bag year-round. The 1-9 stop range covers everything from a hazy overcast morning to full midday sun with f/2.8 glass. On a recent rolling shot at 50mph, I dialed to about 5 stops to keep my shutter at 1/50 and pulled cinematic motion blur off the wheels without overexposing the sky.
The AGC optical glass with 8 multi-layer coatings delivers clean color neutrality – I matched it against a much pricier fixed ND on a side-by-side test and could not see a shift. The slim 7.4mm profile avoids vignette on wide-angle lenses, which matters when you are trying to capture a wide bumper-to-roof frame. The matte finish and CNC pattern make it easy to grip while wearing gloves on a cold morning shoot.

The dial has no stop markers, which means you set by eye or by checking your LCD histogram. Maximum strength can produce the well-known X-cross artifact on certain focal lengths – this is true of all variable NDs, not just this one. I avoid stacking it above 7 stops with focal lengths wider than 24mm. The 67mm thread is common but not universal; check your lens filter size before buying. Reviewers report this is a recurring concern in any variable ND purchase.
Across more than 12k reviews, owners call out the value proposition as the headline advantage. For automotive work, this filter earns its keep on the very first exterior rolling shot in midday sun. If you want a complete filter kit for a multi-camera car rig, our best ND filter kits for videographers guide covers step-up sets that pair with this filter.
Filter thread sizing
Check your most-used lens thread size – 67mm covers many standard zooms. For an 82mm cinema prime or 77mm stills lens, buy the matching thread size or use a step-up ring. Buying the wrong size is the most common mistake.
If you shoot in mixed focal-length rigs (e.g., 16-35mm and 70-200mm on the same body), a step-up ring with a single larger filter is the cleanest workflow.
Pairing with matte boxes
The slim 7.4mm profile fits most clip-on matte boxes, but for rod-mounted cinema matte boxes you may need a tray adapter. The best mattebox kits for videographers roundup covers tray-compatible filter holders that accept this ND.
4. SmallRig RM120 RGB LED Light – Best for Night Car Shots
SmallRig RM120 RGB LED Video Light Panel, 7W Portable Metal Camera Light
7W RGB LED
CRI 98+
5000mAh battery
Pros
- 5000mAh battery with 3 hours runtime
- CRI 98+ / TLCI 98+ color accuracy
- 2500-8500K temperature range
- Full RGB with 360 hue and 100 saturation
- 12 creative lighting effects
- All-metal body with good heat dissipation
Cons
- Built-in battery not user-replaceable
- Runtime drops significantly at max brightness
- Silicone diffuser fit can be imprecise
- 5V USB-C charging limit
Night car shots are where most automotive guides go silent. The SmallRig RM120 fills that gap – I clipped it to a suction mount on the inside of a windshield for a night driving sequence, ran it at 60 percent in a deep amber tone, and got cinematic warm cabin light that tracked the driver’s face without blowing out highlights. CRI 98+ means the dashboard reds and orange needles render accurately in camera.
The 5000mAh built-in battery delivers about 3 hours at full output, which covers a typical night shoot without a USB-C cable trailing across the cabin. The 2500-8500K bi-color range means I can match tungsten streetlights, cool LED highway signs, or sodium-vapor garage lighting without gels. The 360-degree hue ring with 100 saturation steps gives you the unusual color washes – think deep teal in a tunnel or amber on a desert road – that elevate a generic night drive into a mood piece.
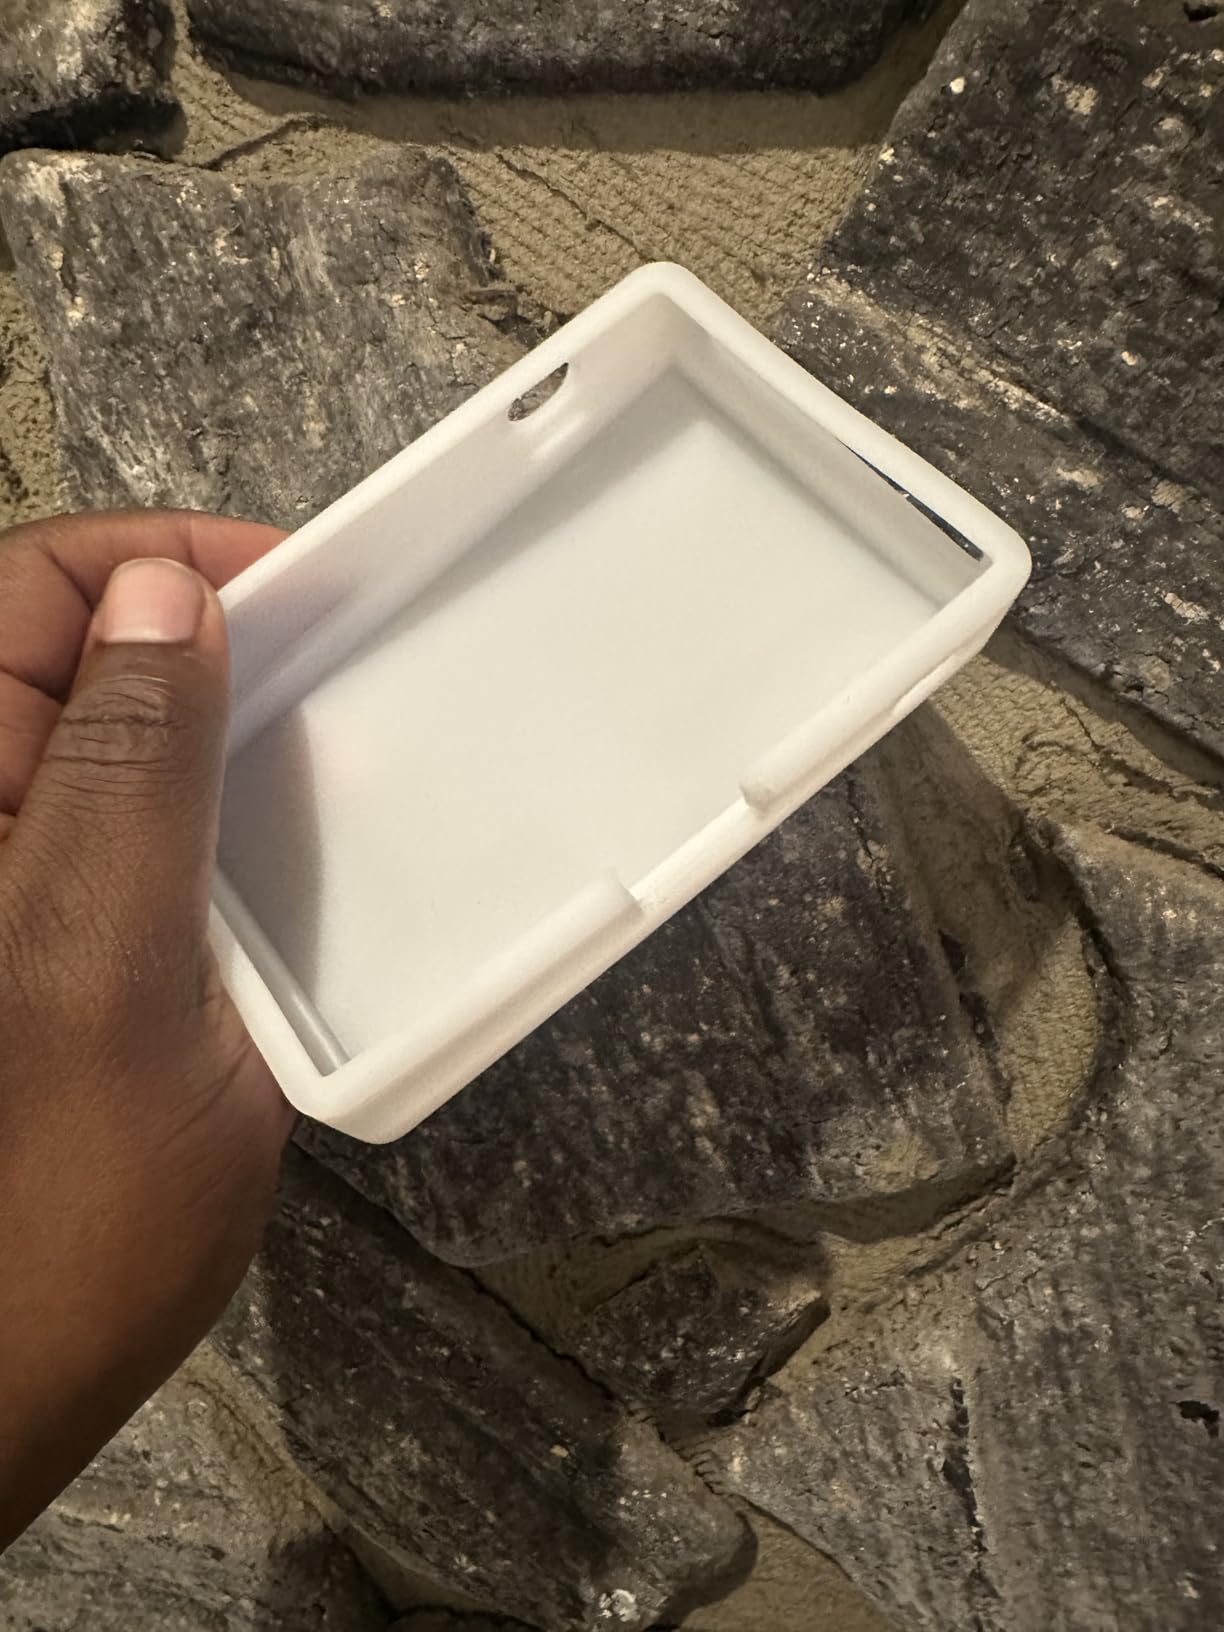
The non-replaceable battery is a real limitation for multi-day shoots where you cannot recharge between locations. Runtime at 100 percent brightness drops noticeably – expect closer to 90 minutes of usable output at max. The silicone diffuser sits loosely in the frame; it does not fall off, but it shifts if you bump the camera. The 5V USB-C charging limit means you cannot fast-charge between takes. None of these issues are dealbreakers for the use case.
Reviewers specifically praise the OLED display and thumbwheel controls as intuitive under low light, where touchscreens fail. For automotive creators who have never had a dedicated car-lighting plan, the RM120 is the entry point that does not require gels, stands, or separate batteries. It also doubles as a creative effects light – the 12 built-in effects include police-style flashes and candlelight flicker that pair well with car-comedy content.
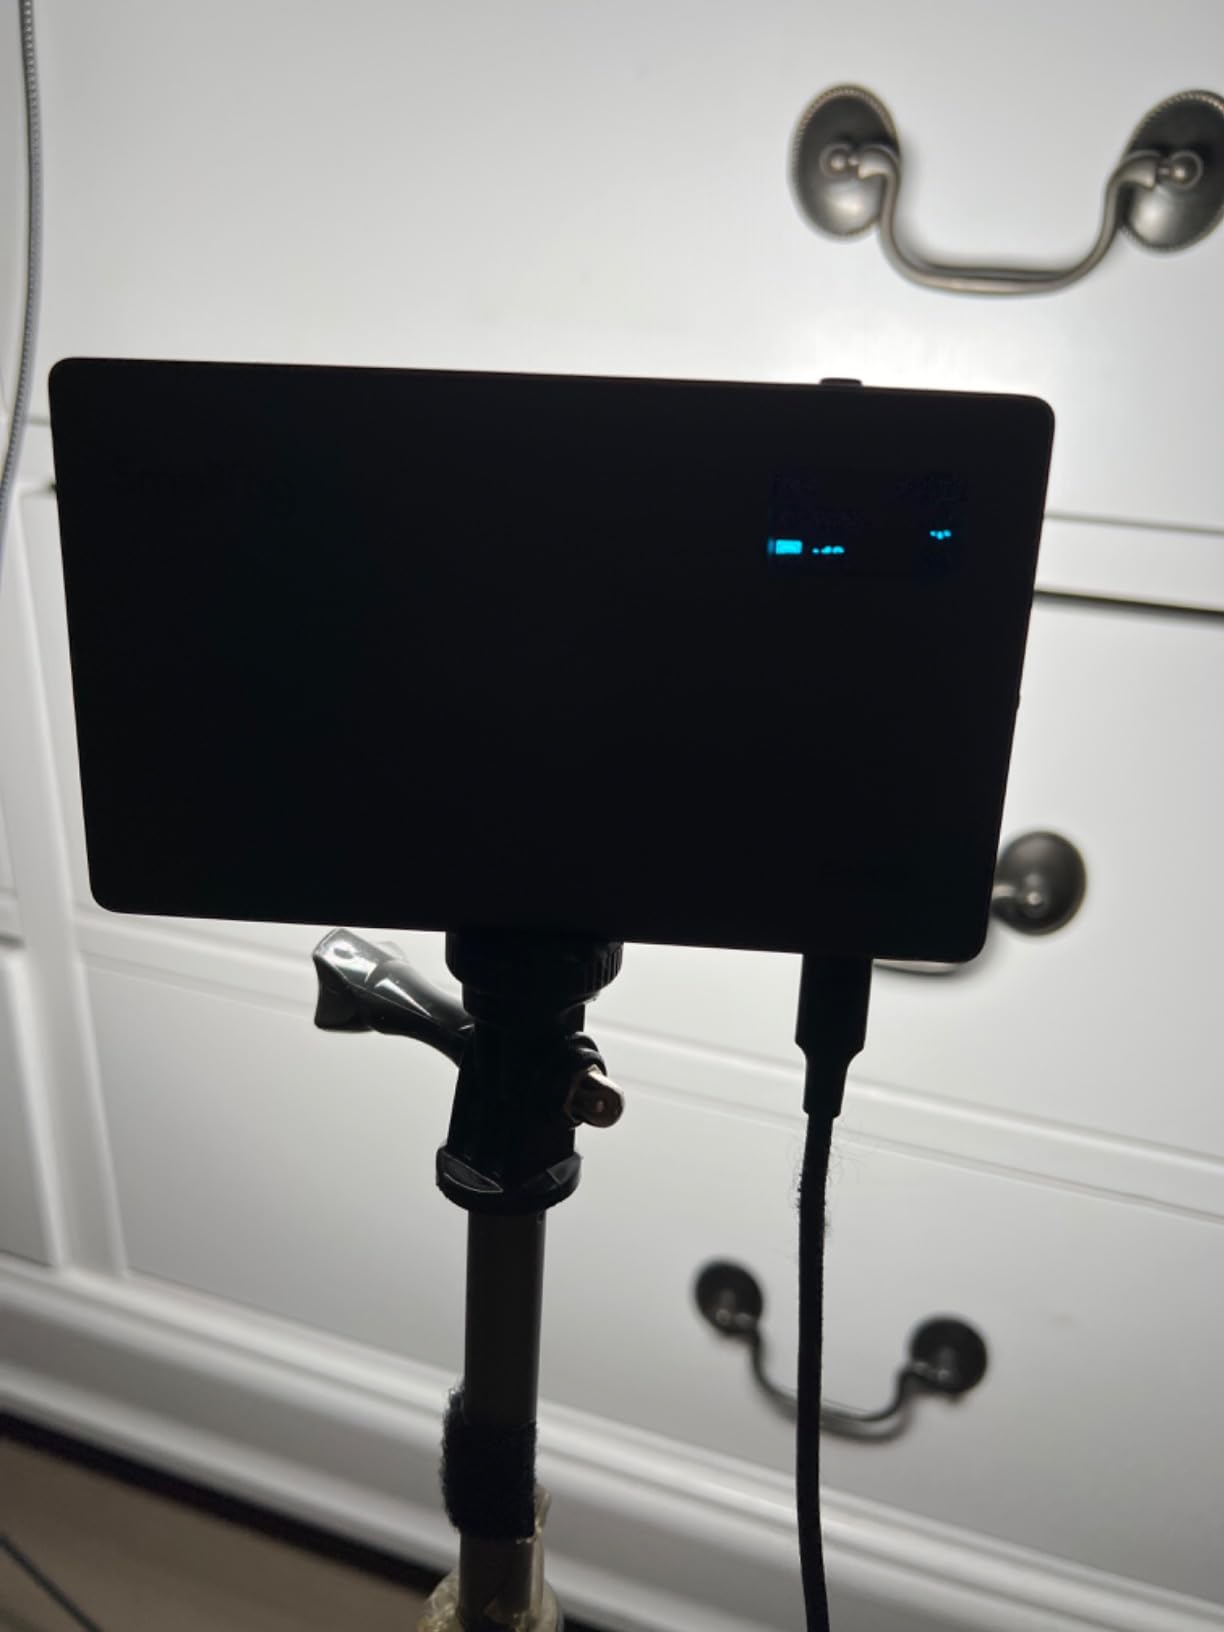
Mounting the RM120 in a car
Cold shoe on a suction mount arm aimed through the windshield works for driver-side fill. For engine bay or trunk-light shots, mount it on a small magic arm clamped to the lip of the open hood.
Keep the silicone diffuser on when shooting talent faces at close range – bare LED is too harsh for skin tones.
Pairing with a director’s monitor
The RM120’s color accuracy means what you see on the camera LCD is what you get. Pair with the NEEWER F500 PRO monitor if you are judging exposure from inside the cabin – the 2000-nit display holds up against headlight flare.
5. RØDE VideoMicro II – Best On-Camera Shotgun Microphone
RØDE VideoMicro II Ultra-Compact On-Camera Shotgun Microphone for
39g shotgun
Supercardioid
No battery required
Pros
- 39g ultra-compact and lightweight
- Highly directional supercardioid pattern
- Helix isolation mount reduces handling noise
- Plug-and-play with no battery required
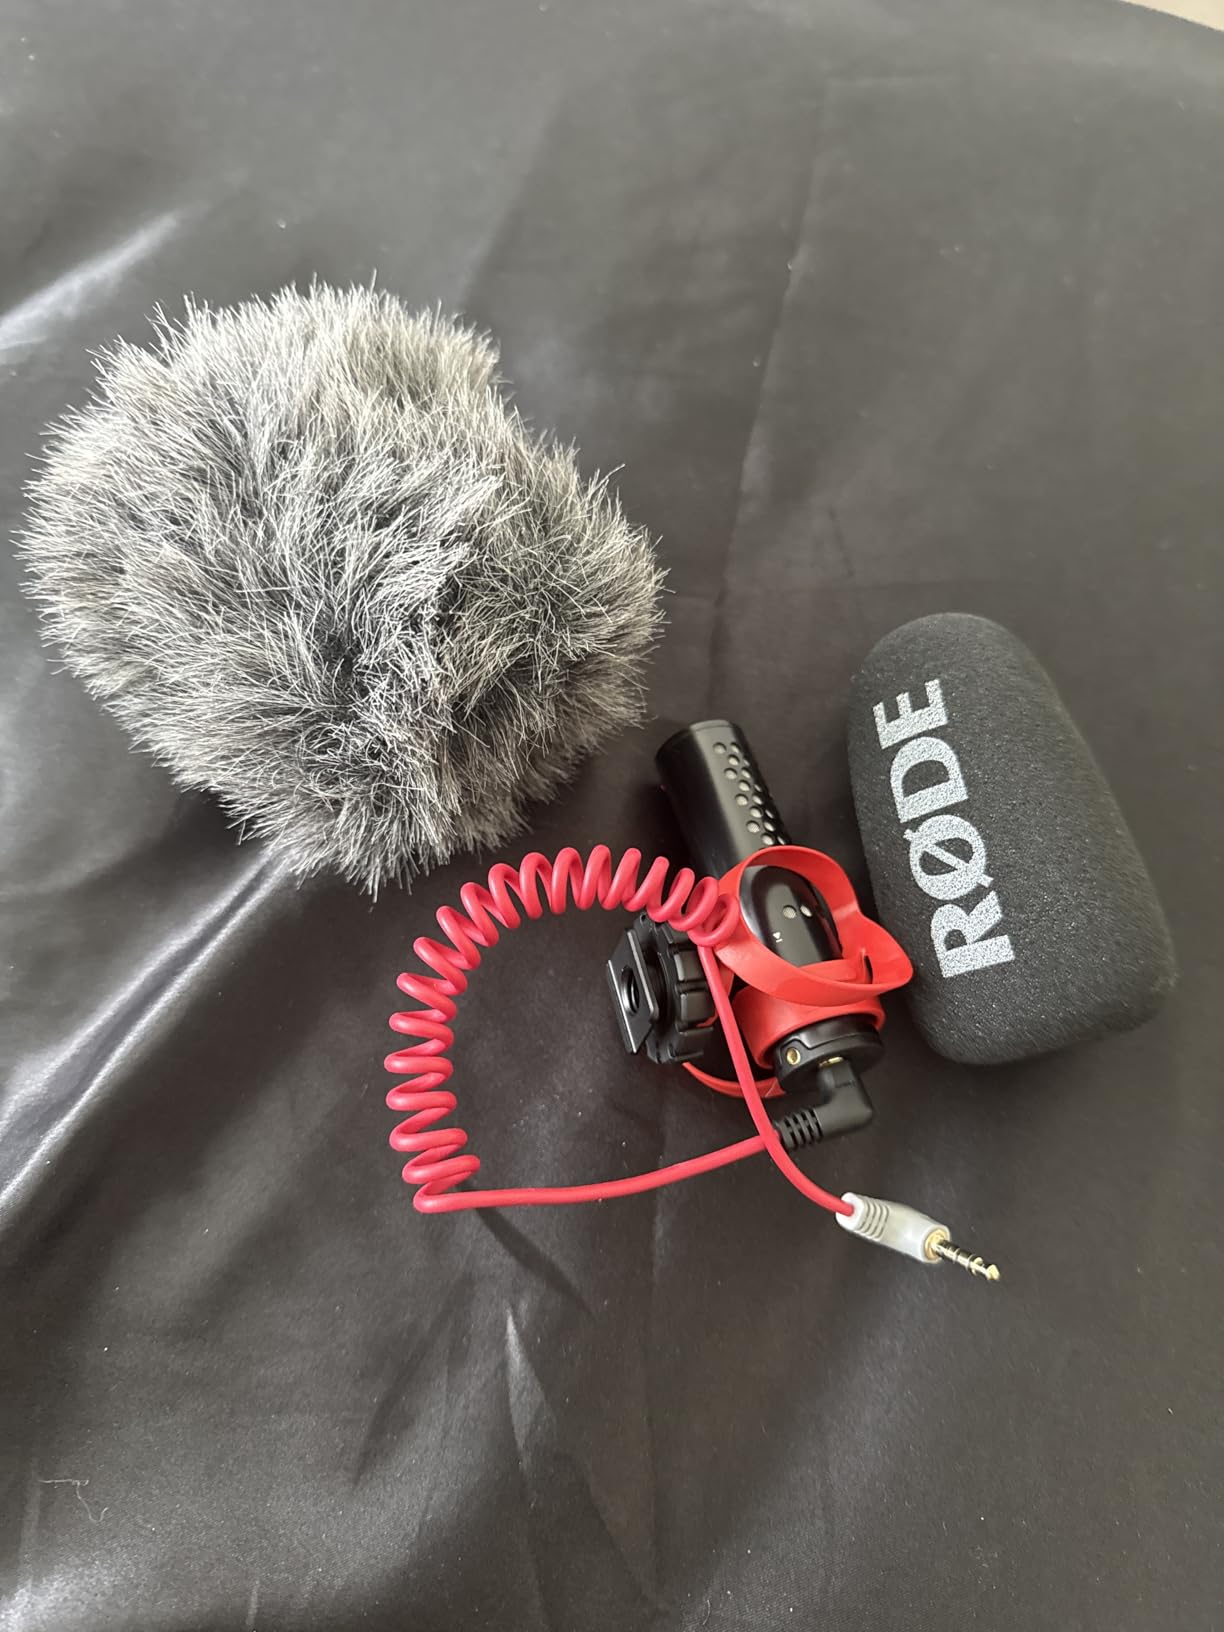
- Includes both foam and furry windshields
- TRS and TRRS cables included
Cons
- Not powered - relies on camera plug-in power
- Flat shock mount catches side/rear wind
- Needs adapter for Sony ZV-E10 proprietary shoe
- Best at close range under 1.5m
The VideoMicro II is the kind of upgrade that pays back immediately. I clipped it to my A7 IV’s hot shoe for a cabin conversation scene, and the audio upgrade over the built-in mic was night and day – no more echoey cabin resonance, just clean dialogue. The 39g weight is invisible on small mirrorless bodies, and the lack of batteries means you never need to remember to charge it before a shoot.
The Helix isolation mount is the headline engineering: it decouples the capsule from the camera body, so bumps and camera-handling noise barely bleed through. That matters in a car, where every road imperfection transmits through the rig. The supercardioid pickup pattern is tight enough to reject cabin noise from the back seats while capturing the driver and passenger voices clearly. The included furry windshield is essential for any exterior mount where wind hits the mic directly.
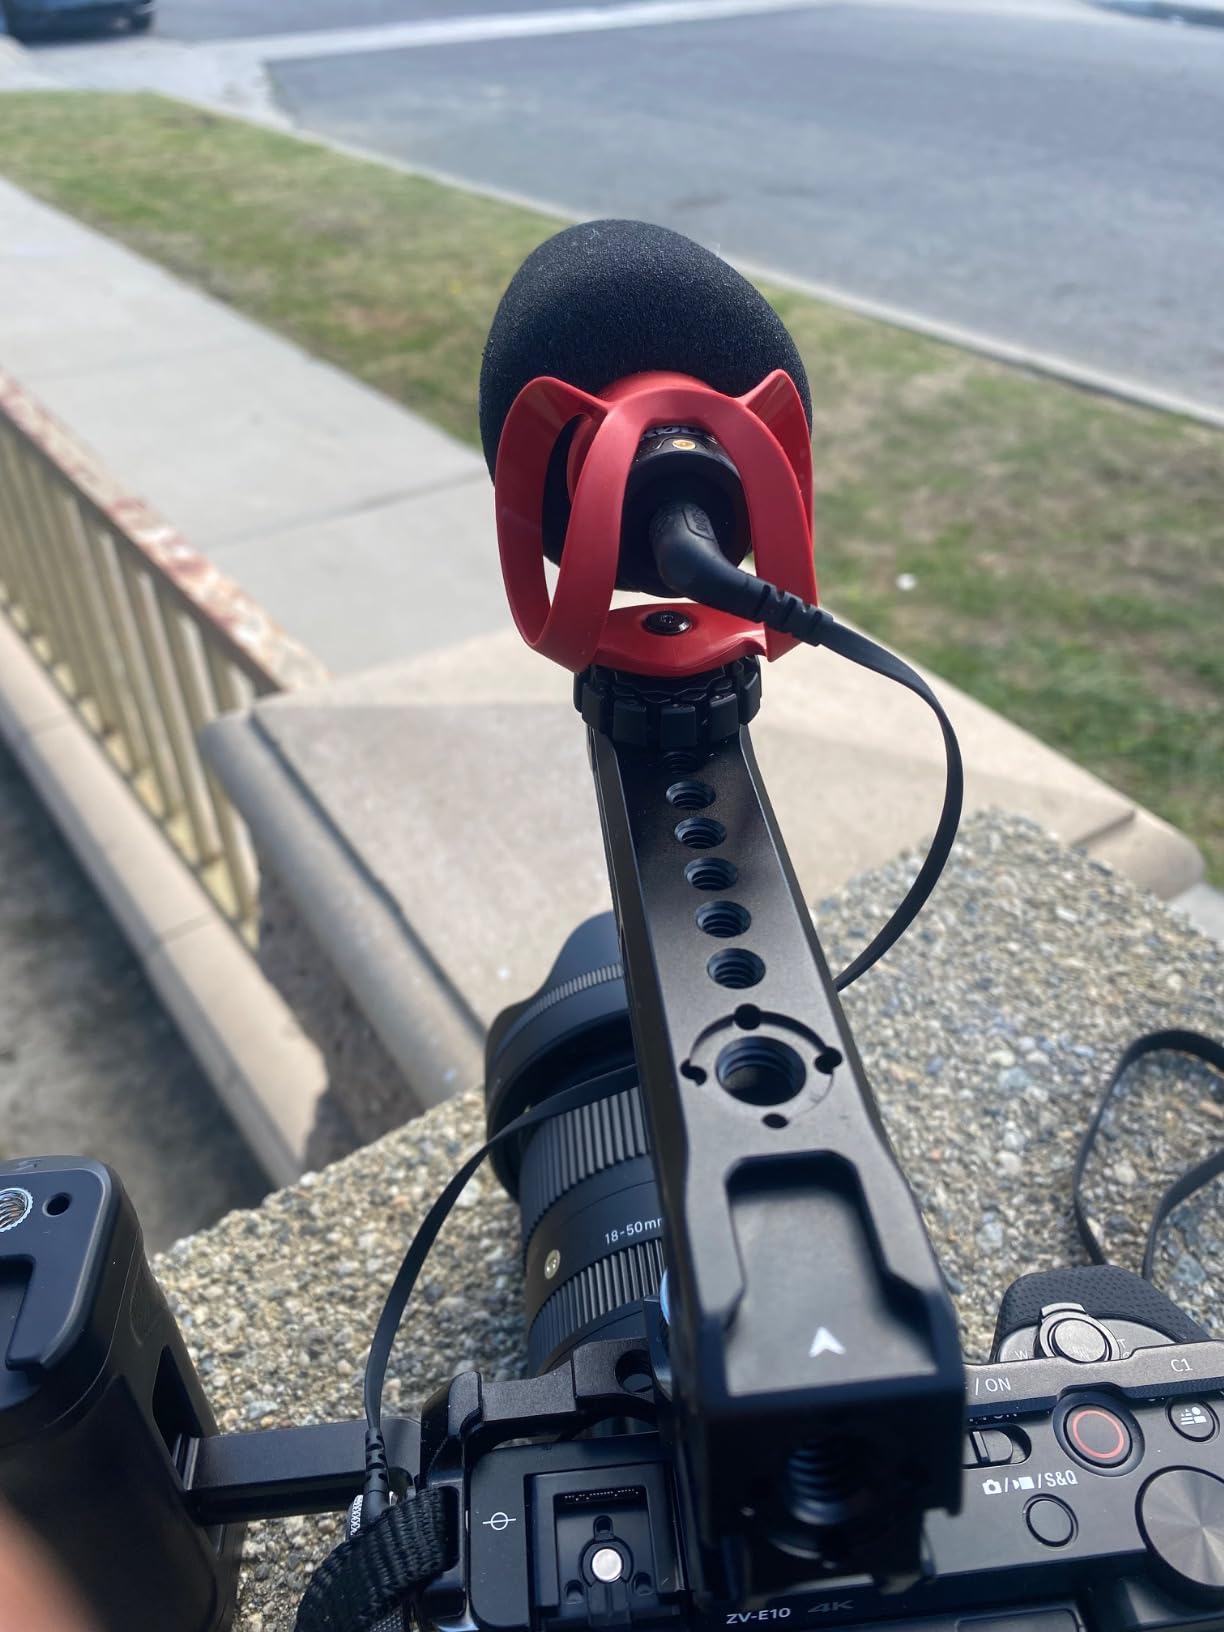
The microphone is not powered; it relies on camera plug-in power, which means performance varies by camera. On the Sony ZV-E10 the output was quieter than on the GH6 in my tests. The flat ribbon-style shock mount can catch side and rear wind outdoors – you want the furry windshield on any exterior-mounted body. The mount uses a 3/8″ screw that needs an adapter for the 1/4″ standard, and Sony’s proprietary hot shoe needs a separate adapter for clean mounting. Range is best at 1-1.5m, so this is a close-range mic, not a boom mic.
Across 1,300+ reviews, users consistently call out the no-battery simplicity and the included cable kit as the biggest wins. For automotive videographers, the VideoMicro II is the right pickup for cabin shots where the camera is inside the car and the talent is close. For long-throw exterior audio from a chase car, step up to a boom mic or wireless system.
When the VideoMicro II is not enough
At distances over 2m, supercardioid pattern loses focus. For chase-car audio of an engine note, the Wireless GO III with 32-bit float backup is the better system.
If you are running Sony’s MI shoe system, plan on an adapter – the proprietary hot shoe blocks third-party mic mounting without it.
Wind management
Always use the furry windshield on any exterior or open-window car shot. The foam windscreen is for indoor use only – it does not block real wind.
Position the mic on the cabin-side of the windshield, not the engine-bay side, to reduce mechanical rumble from the engine block.
6. RØDE Wireless GO III – Best Pro Wireless Audio for Car Crews
RØDE Wireless GO (Gen 3) (2 TX + 1 RX + Charging Case), 32-Bit Float
32-bit float on-board
Series IV 2.4GHz
GainAssist
Pros
- 32-bit float on-board recording recovers clipped audio
- Intelligent GainAssist for hands-free levels
- Series IV 2.4GHz with 128-bit encryption
- 40+ hours on-board recording
- Backward compatible with GO II accessories
- Triple charging hub
Cons
- Audio improvement over GO II is subtle
- Slow USB transfer for WAV files
- Onboard recordings read-only without Rode Central
- Bluetooth currently iOS only
The Wireless GO III is the safety net I bring to every paid car shoot. The 32-bit float on-board recording is the headline feature: in a recent dealership commercial shoot, my camera input clipped on a loud exhaust pop, and the on-board recording recovered it cleanly in post. Without that, the take would have been unusable. For car work where peaks are unpredictable, 32-bit float is the difference between a usable take and a re-shoot day.
The intelligent GainAssist technology removes the constant level-juggling that wastes time on car shoots. I set the camera input to a safe level, mounted the transmitters on the driver and passenger, and let the system ride the gain automatically. Series IV 2.4GHz transmission with 128-bit encryption holds a stable signal inside a metal car cabin, even past buildings and through tunnel entrances. Battery life covers a full day of takes without a swap.
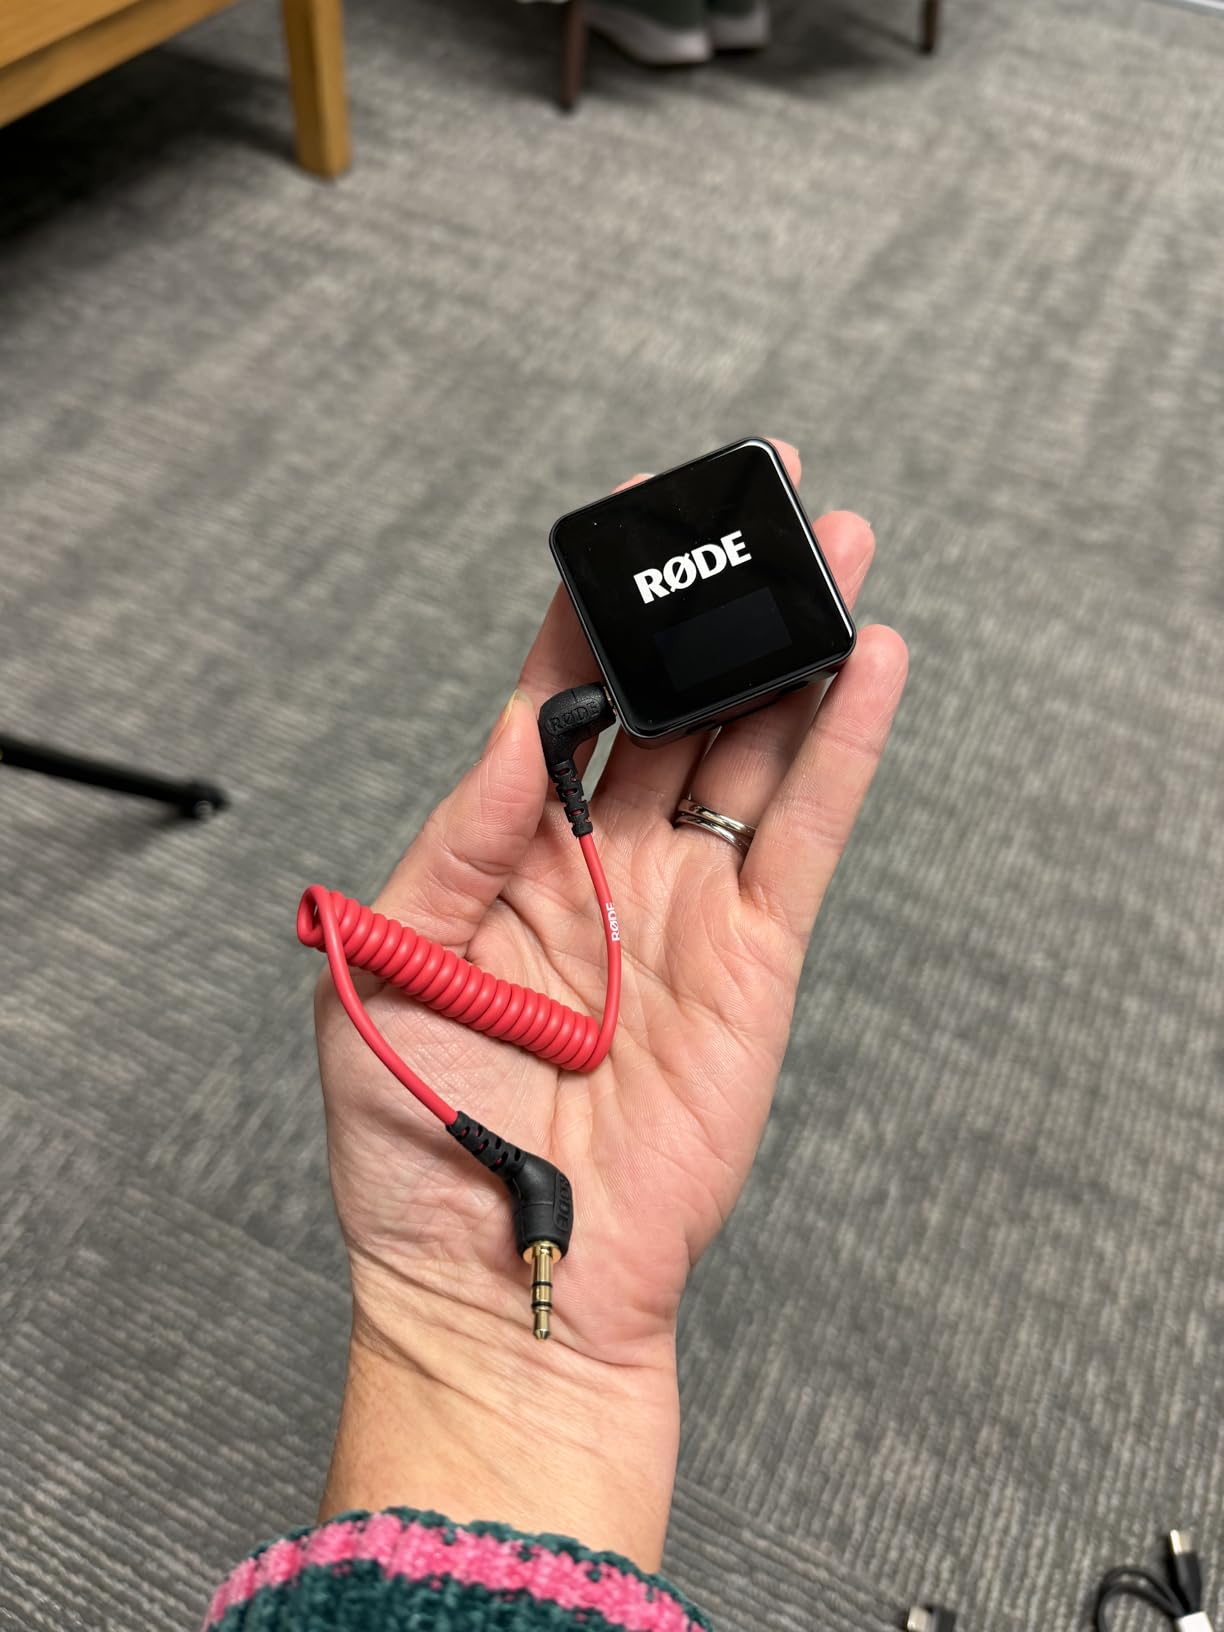
If you already own the Wireless GO II, the audio improvement is subtle – the GO III is worth it for new buyers but not as an upgrade. USB file transfer for WAV downloads is slow at around 5MB/s. Onboard recordings are read-only without Rode Central software, which means you need a laptop or phone to offload files – you cannot pull them via the camera. Bluetooth currently works only on iOS, not Android. Magnetic clips are sold separately, which is annoying for a premium-priced kit.
Reviewers across 470+ ratings highlight the 32-bit float recovery and the cleaner industrial design as the standout upgrades. For automotive videographers running two-person interview setups or capturing engine notes, the GO III justifies its tier over the GO II and the Lark M2. The triple charging hub is a workflow win on multi-day shoots where battery management becomes its own task.
Setup pattern for a car crew
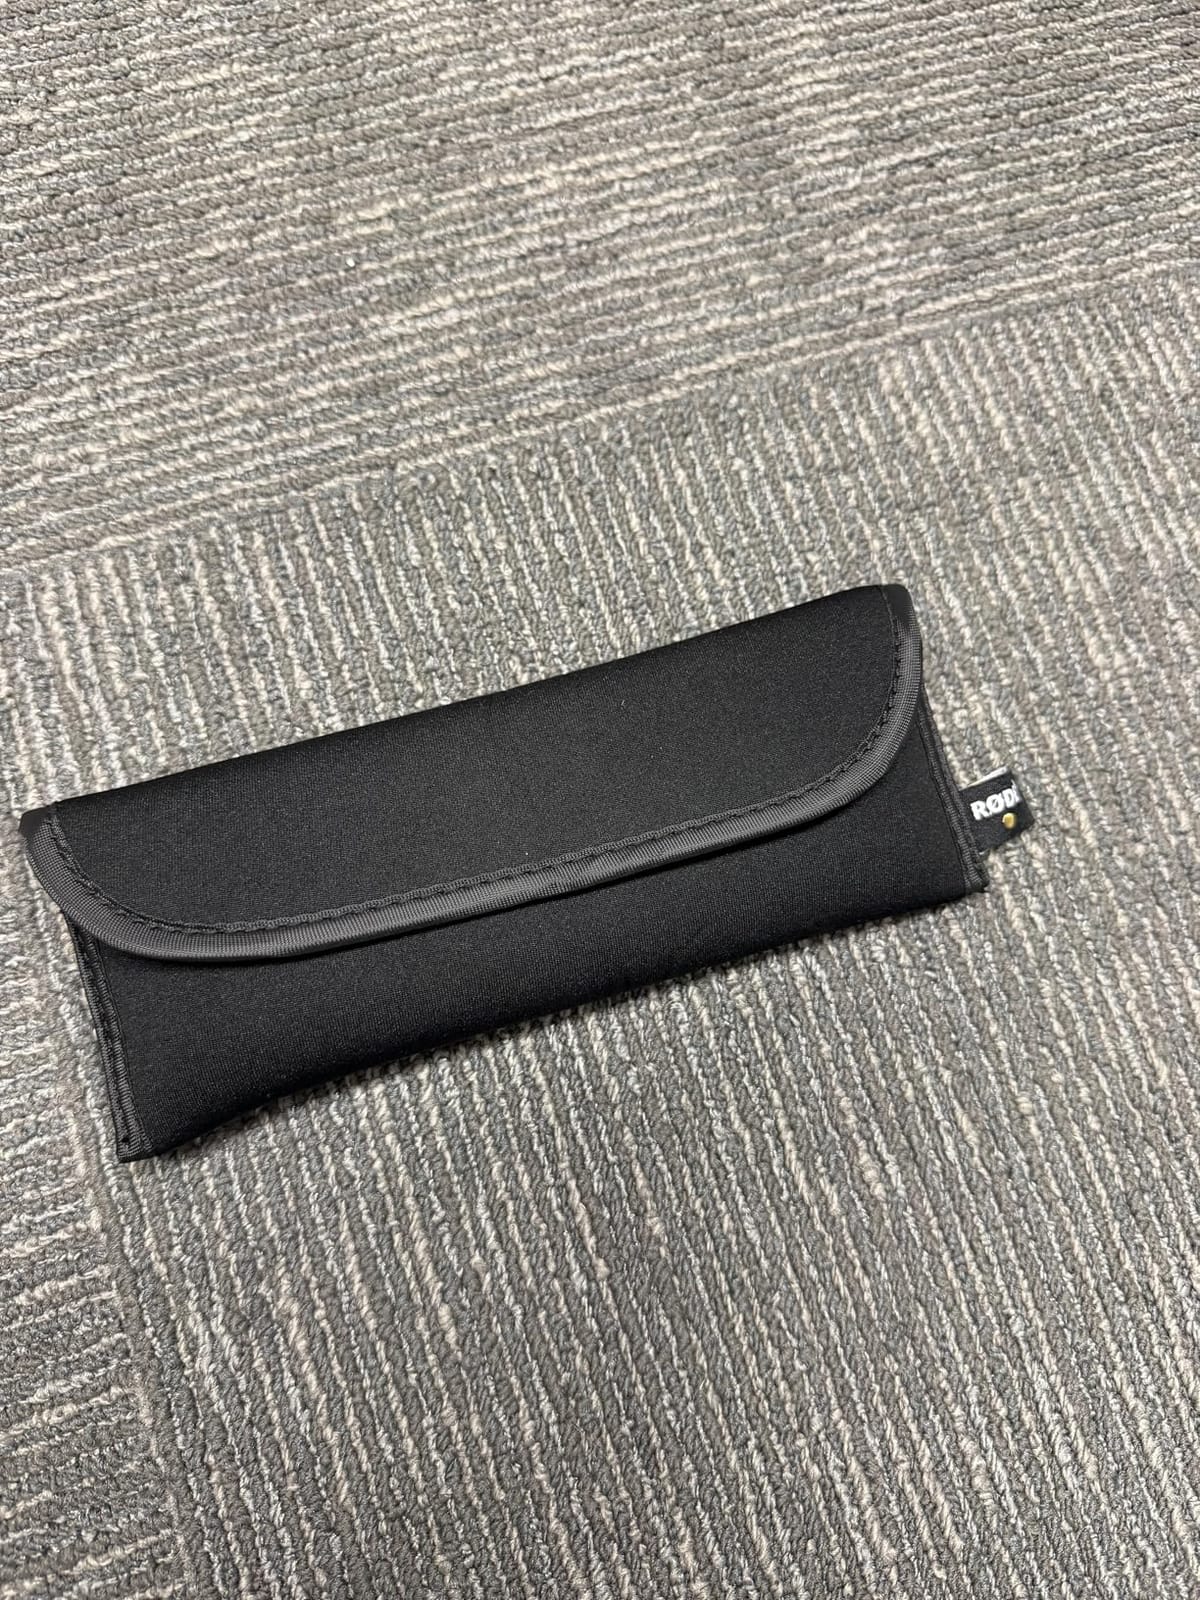
Transmitter 1 on the driver, Transmitter 2 on the passenger – both with the furry windshield mounted. Receiver on the camera hot shoe or in a magic arm near the operator’s ear for monitoring.
Always record on-board as a backup, even when you are sending wireless to the camera. The redundancy saves shoots when interference spikes.
When the GO III is overkill
Solo creators filming themselves will not benefit from 32-bit float on-board recording. The Lark M2 is the right tier for that workflow.
For silent exterior shots where there is no dialogue and engine audio is captured separately, you do not need wireless at all.
7. PellKing Magnetic Camera Mount – Best for Action Cam POV
PellKing Magnet Camera Mount for GoPro 13/Insta360 X6/X5/X4/X3,Heavy-Duty Metal Car Magnetic Camera Mount with 360 Degree Rotation Ball Head for Car,Compatible with GoPro Hero 13 12 11 Black 8/7/6/5
Triangle magnetic mount
360 ball head
Action cam compatible
Pros
- Triangle structure with two strong magnets
- Rubber pads protect car paint
- 360-degree rotation ball head
- Holds firm at 80-90 mph on highways
- Safety lanyard included
- Wide compatibility with GoPro and action cams
Cons
- Ball head feels cheap and flimsy
- One hinge half is plastic
- Tightening screws in awkward locations
- Not suitable for heavy mirrorless cameras
The PellKing magnetic mount is the fastest mount system I have used for action camera car work. Stick it on a clean hood or roof panel, magnetically attach the camera plate, and you are filming bumper POV in under a minute. I have run a GoPro HERO13 on this mount at 85 mph on a desert highway, and it held position through 200 miles of washboard road without slipping. The rubber pads protect paint, which matters when you are mounting on a client’s car.
The triangle structure with two bottom magnets is the engineering advantage: it spreads load across two contact points instead of one, so wind drag and vibration do not slowly twist the mount out of alignment. The 360-degree rotation ball head lets you frame from any angle without unmounting. Compatibility covers GoPro Hero 5 through 13, Insta360 X3 through X6, and any camera with a 1/4-inch thread – so you can swap cameras without buying new plates.
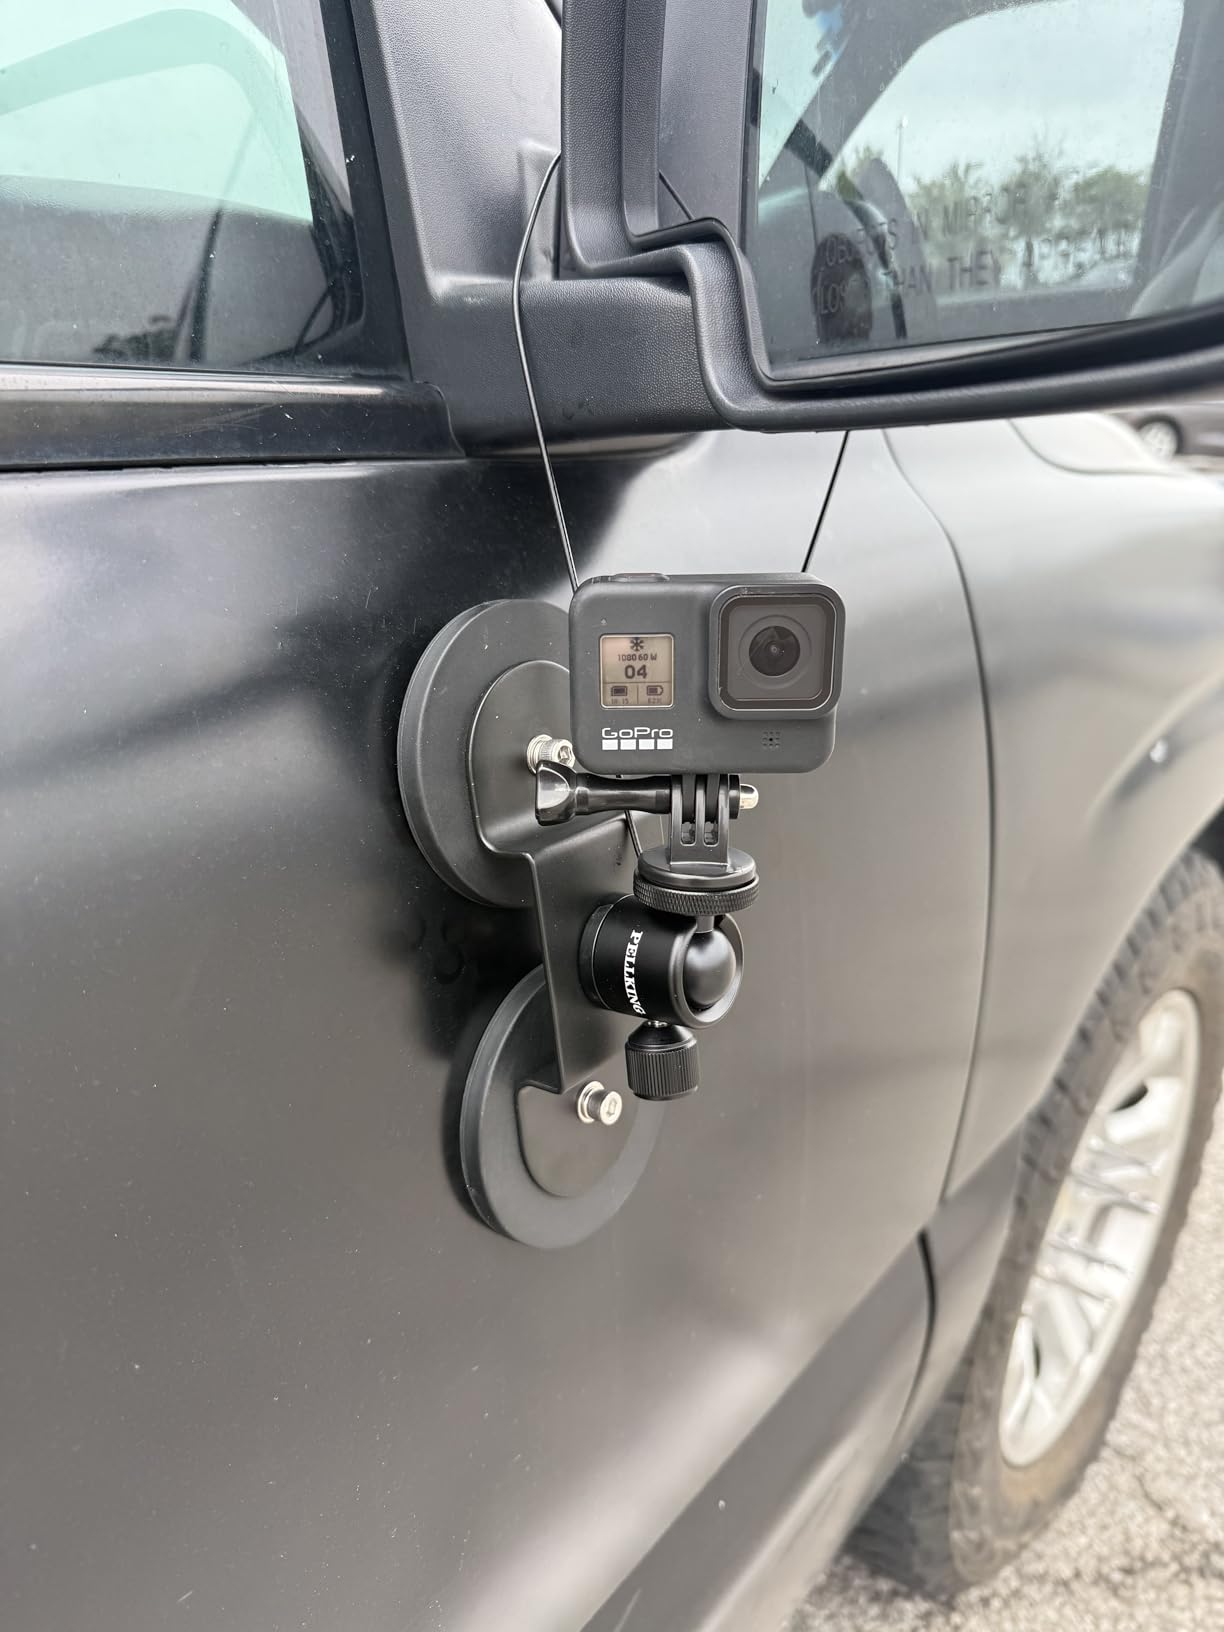
The ball head mount feels cheaper than the magnet base – I would not trust it with a heavy camera, but for action cameras it is fine. One of the hinge halves is plastic, which is a weak point over time. The tightening screws are in awkward locations; I needed a small wrench from the included tool kit. The mount is not rated for mirrorless or DSLR bodies – the magnetic grip is too light for anything heavier than a GoPro or Insta360. Reviewers confirm the same concerns.
Across 395 reviews, users call out highway-speed reliability and the paint-safe rubber pads as the headline advantages. For automotive content creators who run action cameras for bumper, wheel-well, and roof POV, the PellKing is a faster setup than suction cups and a more forgiving surface than 3M adhesive mounts. It is not a substitute for a heavy suction rig when you need a full mirrorless body on the outside of the car.
Where to mount for the best angle
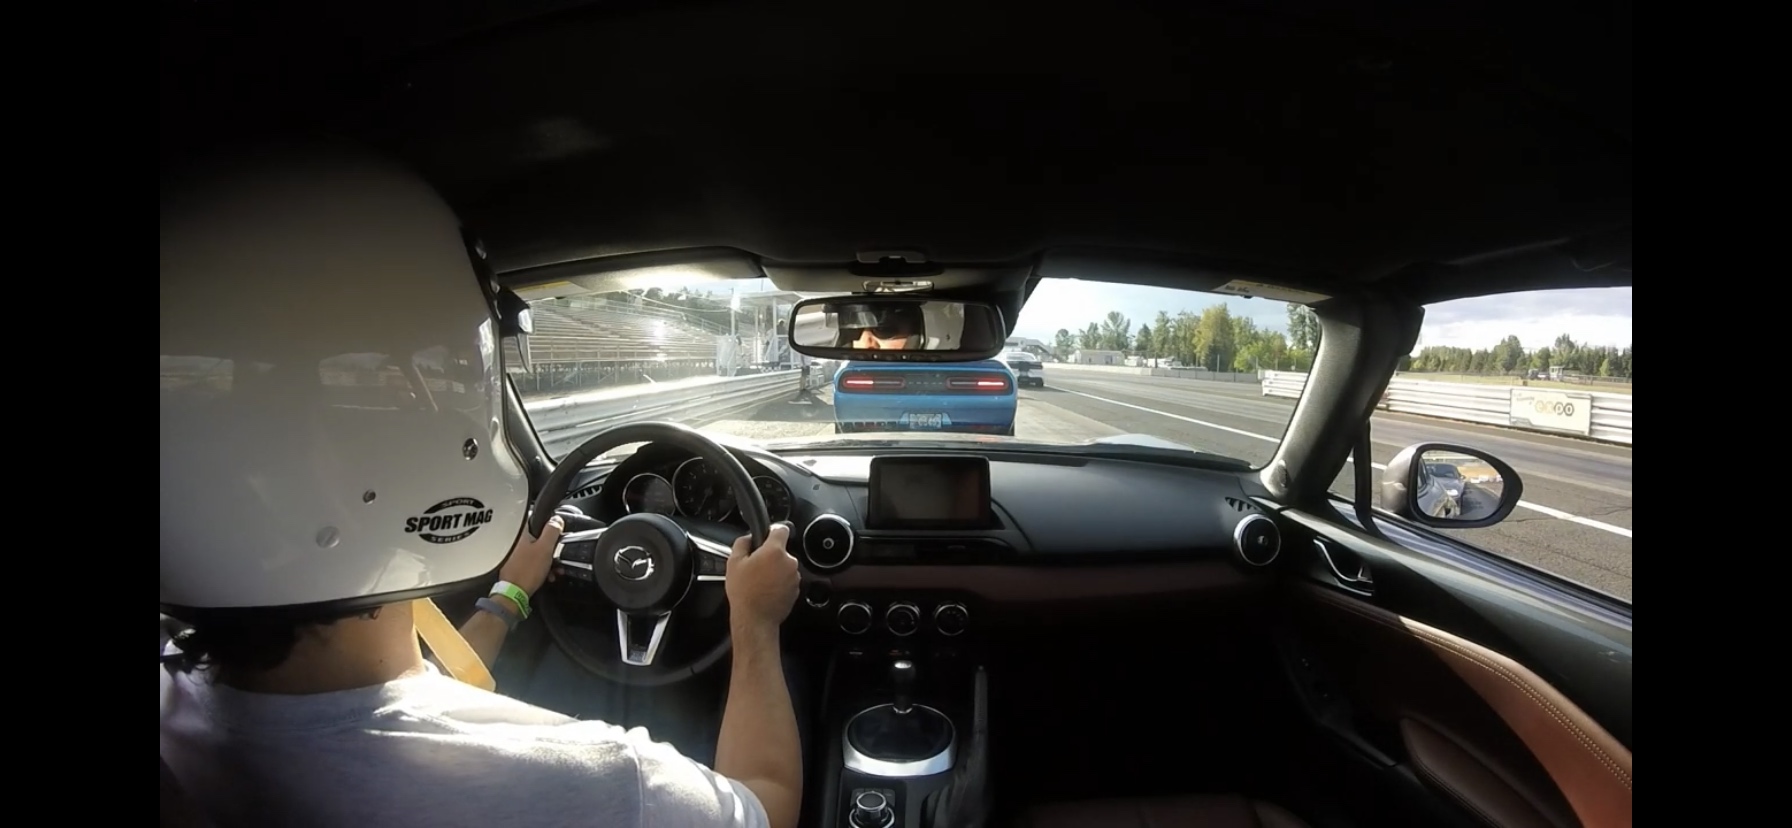
Hood-mounted for hero front-three-quarter POV. Trunk-mounted for trailing shots. Roof-mounted for the rare top-down hero shot. Avoid mounting near creases or panel gaps – the magnet needs flat metal contact.
Always thread the safety lanyard through the camera’s built-in lanyard loop. If the magnet ever loses grip at speed, the lanyard prevents a roadside disaster.
Limitations to plan around
Paint protection film (PPF) and vinyl wraps can interfere with magnetic grip. Test on a small inconspicuous area first or use the included adhesive metal plate as a base.
For non-magnetic surfaces (carbon fiber panels, plastic bumper covers), use the included adhesive plate.
8. VILTROX L116T LED Light Panel – Best Value for Bi-Color Car Lighting
VILTROX 15W LED Video Light Panel, 3300K-5600K On Camera Light, Super Thin
15W bi-color LED
CRI95+
Removable NP-F550 battery
Pros
- Honeycomb diffuser for soft output
- Adjustable 3300K-5600K bi-color
- 20-100 percent brightness without flicker
- Remembers last settings on power-up
- Removable NP-F550 battery
- Lightweight 260g body
Cons
- Slightly larger than expected for top mounting
- Not bright enough at distance for event work
- Battery can be unreliable after disuse
- Mount included is basic
- Some variants ship with US-only adapters
The VILTROX L116T is the budget entry point into proper car lighting. I mounted it via a suction arm on the inside of a windshield for a day-in-the-life car vlog, and the honeycomb-diffused output gave soft, even fill on the driver’s face without harsh hotspots. At 50 percent power, the removable NP-F550 battery ran for about 1.75 hours – enough for a typical interview segment before a swap.
The 3300K-5600K bi-color range covers most practical lighting scenarios – warm tungsten for night scenes, neutral daylight for interior day shots, and cool blue for moody highway sequences. The honeycomb diffuser on the panel surface does real work; without it, the LED array produces multiple hard shadows. CRI95+ means colors render accurately without a green or magenta shift, which is critical when filming car paint, leather interiors, and clothing in the same frame.
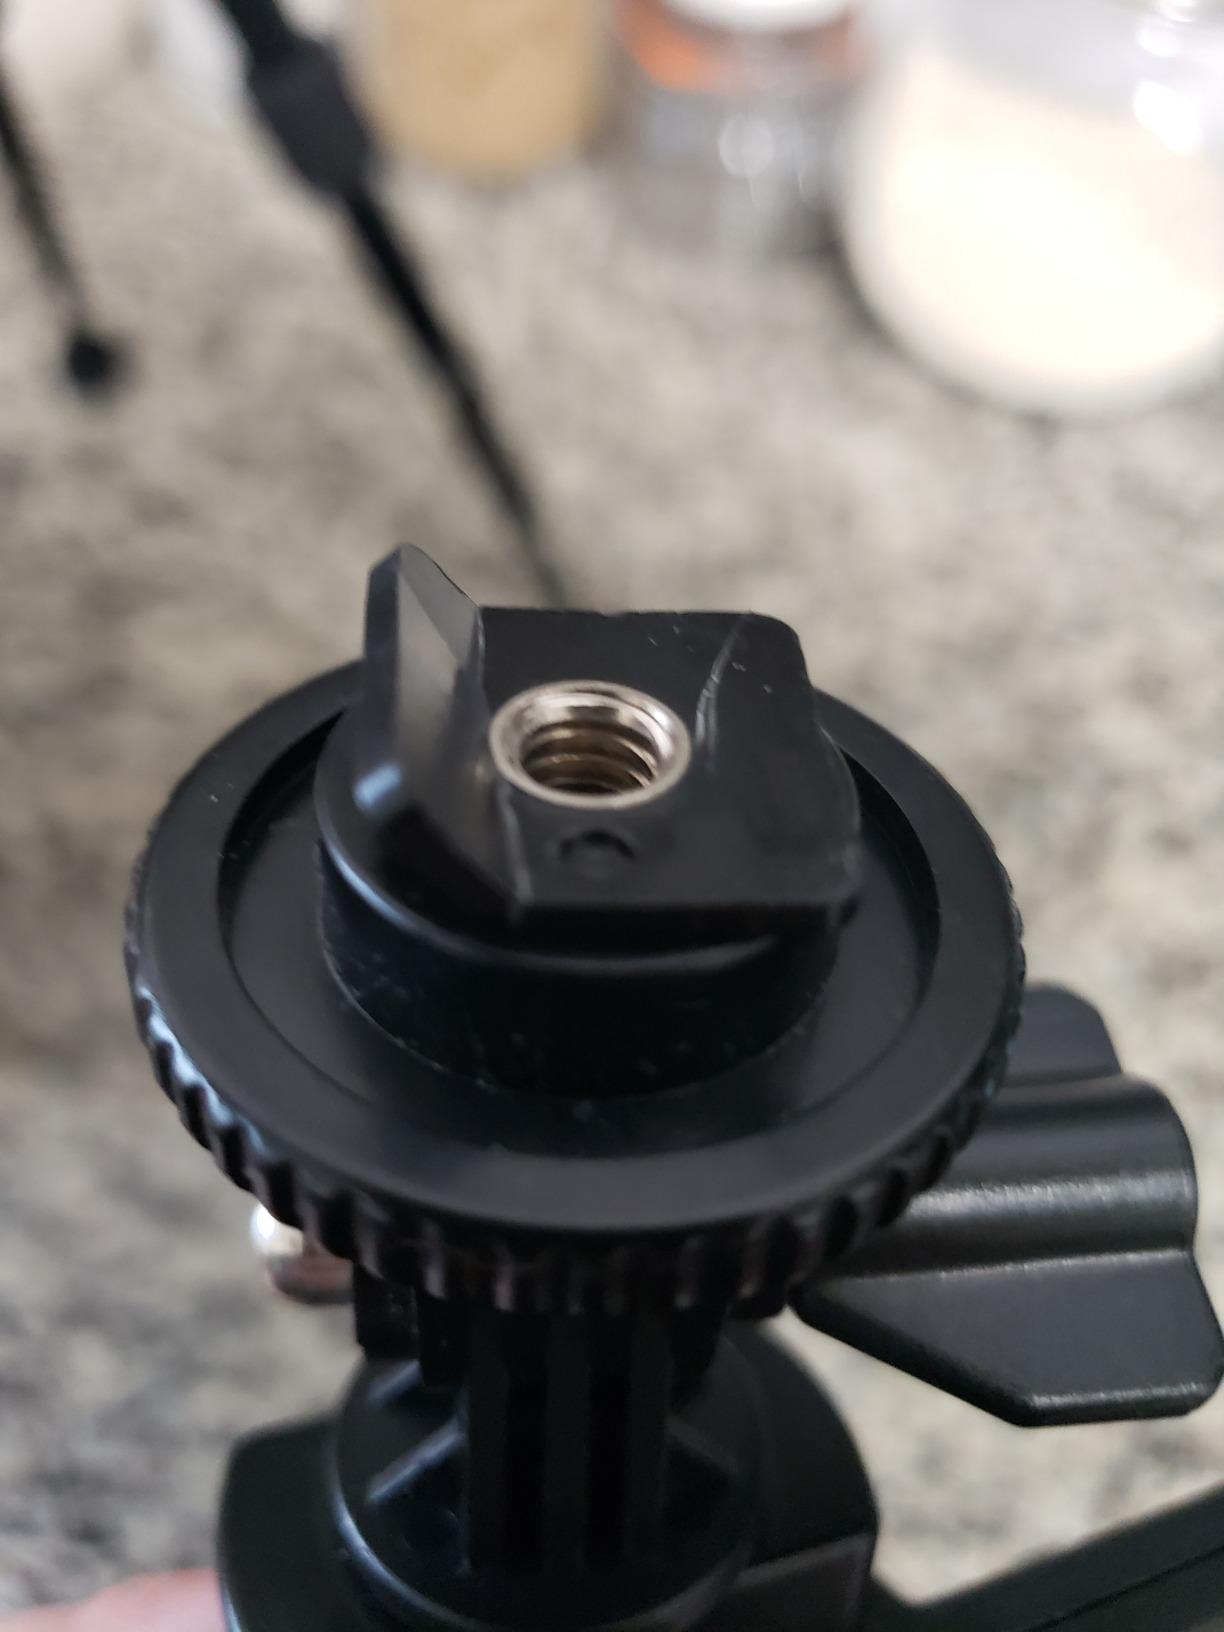
The panel is slightly larger than expected for top-of-camera mounting; on small mirrorless bodies it dominates the rig. At distances beyond 3m the brightness falls off, so this is a close-range fill light, not a key light for an exterior car shot. NP-F550 batteries that have sat unused for months can lose capacity, so spares need rotation. The included mount is functional but not premium – plan on upgrading it for car-mounted use. Some international variants ship with US-only adapters, which is annoying for travel.
Reviewers across 2,785 ratings consistently highlight the value proposition as the headline advantage. For car creators who need a budget-friendly bi-color panel without RGB complexity, the L116T is a strong entry point. If you later need full RGB color effects, step up to the SmallRig RM120. For most interior POV and daytime rolling shots, bi-color is enough.
Budget vs the SmallRig RM120
Choose the L116T if you shoot bi-color only and want a removable, swappable battery. Choose the RM120 if you need full RGB effects and built-in battery simplicity.
For most car creators starting out, bi-color covers 80 percent of needs – RGB is a creative upgrade, not a requirement.
Battery management
Buy two NP-F550 batteries and an external charger. Hot-swap during long shoots; the L116T runs and charges simultaneously, but that drains slower than swapping.
Mark purchase dates on batteries with a label – lithium-ion loses capacity over time, and the L116T does not warn you.
9. NEEWER F500 PRO Field Monitor – Best for In-Car Framing
NEEWER 5.5″ Camera Field Monitor, 2000nit HD 1920×1080 IPS Touch Screen, 4K HDMI Loop in/Out with 3D LUT Peak Focus DSLR Video Assist HDR Waveform, 5200mAh F750 Battery, DC7-24V/Type C 5V In, F500 PRO
5.5 inch 2000nit
4K HDMI loop
3D LUT monitoring
Pros
- 2000 nit display visible in direct sunlight
- 1920x1080 IPS touch screen with 160-degree viewing
- 4K UHD HDMI loop in/out
- 3D LUT with 15 preloaded plus 60 custom slots
- HDR monitoring reduces post color work
- 5200mAh battery doubles as dummy camera battery
Cons
- Battery life limited at 2000 nit peak
- Touch controls can interfere with menu access
- Mounting bracket tilt range is restricted
- Initial setup learning curve for some users
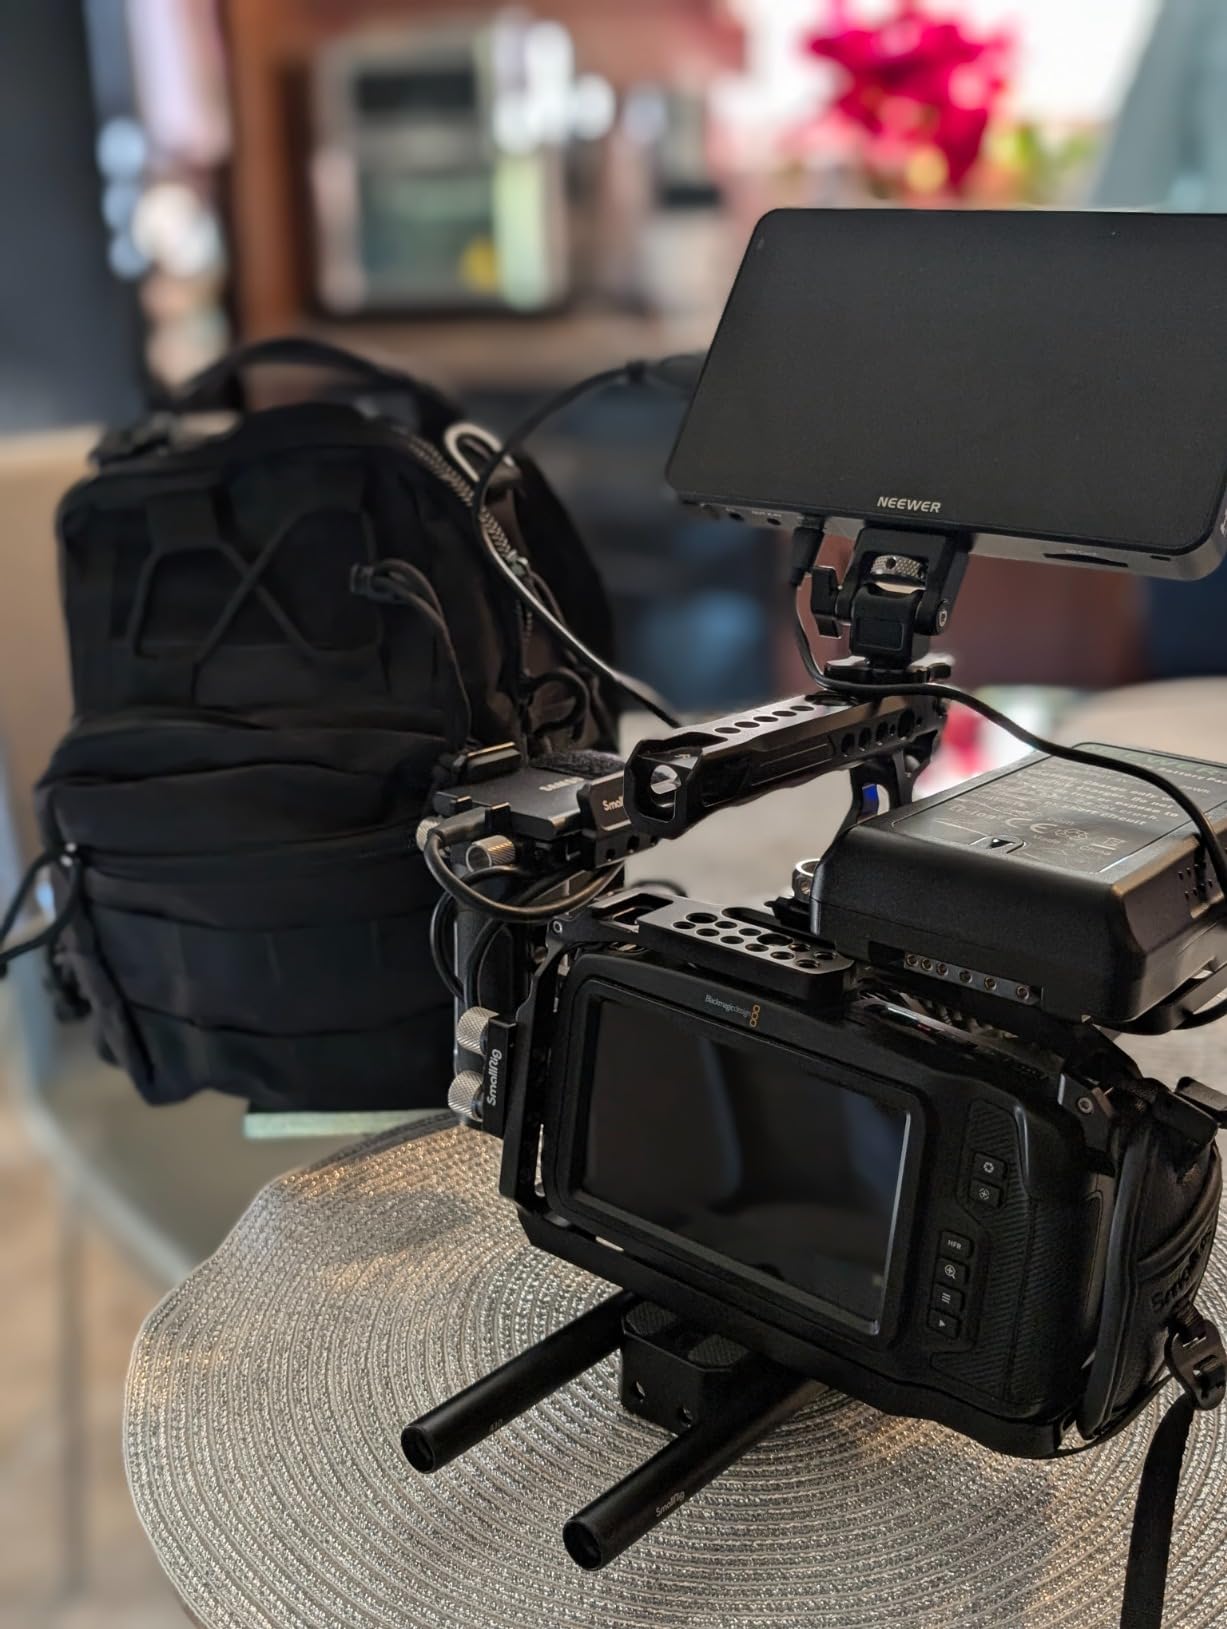
The NEEWER F500 PRO solved a problem I did not know I had. Camera LCDs are unreadable in daylight, and on a windshield-mounted rig facing a hood-mounted camera, the only way to frame accurately is with an external monitor. I clipped the F500 PRO to a magic arm near the steering wheel, fed 4K HDMI from the A7 IV, and could finally judge focus, exposure, and framing while the car was moving. The 2000-nit display is genuinely visible in direct sun, which is the threshold most budget monitors fail to clear.
The 3D LUT support with 15 preloaded and 60 custom upload slots is a workflow game-changer. I loaded a custom log-to-rec709 LUT and could preview the final color in the monitor instead of waiting for post. HDR monitoring reduces the constant guessing that comes with log profiles. The 4K HDMI loop-through means I can also feed a director’s monitor in the chase car if needed. The 5200mAh battery doubles as a dummy battery to power the camera, which is a clever engineering choice.
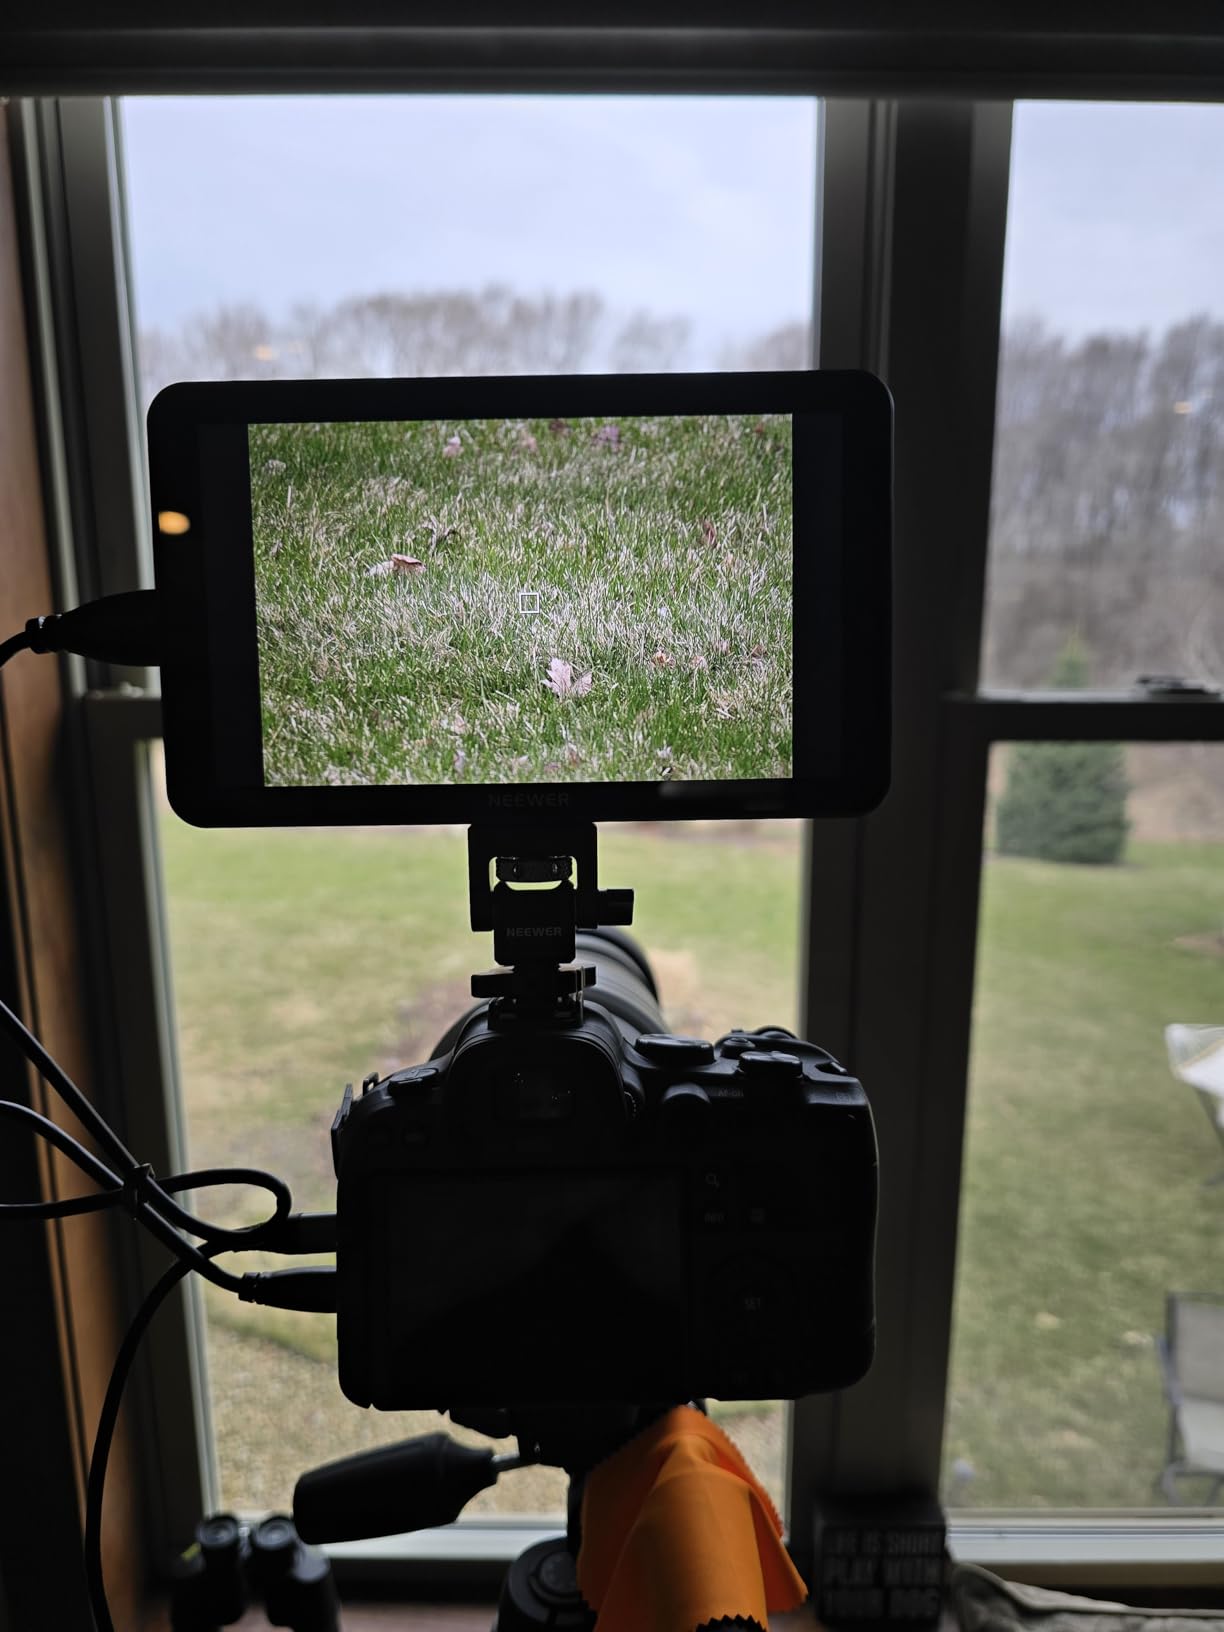
Battery life at 2000-nit peak is limited – expect about 90 minutes before needing a swap or AC power. The touch key controls can interfere with menu navigation, so I ended up using the physical buttons instead. The mounting bracket’s tilt range is restricted, which means you need a magic arm to get the angle you want inside a car. First-time users report a setup learning curve – the menu structure is comprehensive but not immediately intuitive. Reviewers confirm these same concerns across the 489 reviews.
For automotive videographers running solo in a chase car, the F500 PRO is the difference between guesswork and confident framing. The price-to-feature ratio is the strongest in the budget-monitor tier. If you do not shoot log profiles, you will get less value from the 3D LUT and HDR features – in that case, a simpler 1000-nit monitor will do.
Where to mount in a chase car
Magic arm clamped to the passenger seat rail or dashboard frame, angled toward the operator. Avoid mounting on the windshield – it blocks your view and is illegal in some jurisdictions.
Run an HDMI cable from the camera to the monitor, plus a USB-C cable for power. The dummy battery output can power the camera while the monitor runs on its own battery.
Solo creator workflow
For a single operator, the F500 PRO eliminates the need for a dedicated focus puller in the chase car. Touch-to-focus and focus peaking on the 1080p display are accurate enough to nail rack focus during a drive-by.
Load your final delivery LUT as a custom upload before the shoot – what you see in the monitor is what the client sees in review.
10. NEEWER Triple Suction Cup Car Mount – Best Exterior Mount System
NEEWER Triple Suction Cup Car Mount for Action Cameras, CA065
Triple 3-inch suction cups
5kg load
Telescopic pole
Pros
- Three powerful suction cups create triangular stability
- Strong grip at highway speeds and bumpy roads
- 360-degree dual ball head for flexible angles
- Telescopic pole doubles as selfie stick 12.6 to 43.3 inches
- Compatible with GoPro DJI OSMO and Insta360
- Safety lanyard included
Cons
- Slightly bulky for very small cameras
- Suction cups require very clean surfaces
- Instructions could be clearer
- Use recommended below 80 km/h
- Occasional difficulty reaching safety indicator
The NEEWER CA065 is the suction rig I trust for exterior action-cam mounting. Three 3-inch suction cups form a triangular load base that holds action cameras stable through highway speeds, potholes, and aggressive cornering. I mounted a GoPro HERO13 on the front quarter panel of a car doing canyon driving at 60 mph, and the rig held without slip, drift, or vibration across 4 hours of footage. The dual ball head magic arm lets you frame any angle without unmounting.
The telescopic extension pole is a quiet workflow win – it extends from 12.6 to 43.3 inches, so you can push the camera out from the body for trailing shots or pull it close for hood-mounted hero angles. Compatibility covers GoPro, DJI OSMO, Insta360, and AKASO action cameras. The safety lanyard is essential insurance; I always thread it through the camera and around a structural panel mount point before any exterior shot. The quick-release button system is fast – upward pull of two tabs, and the camera is off the rig.
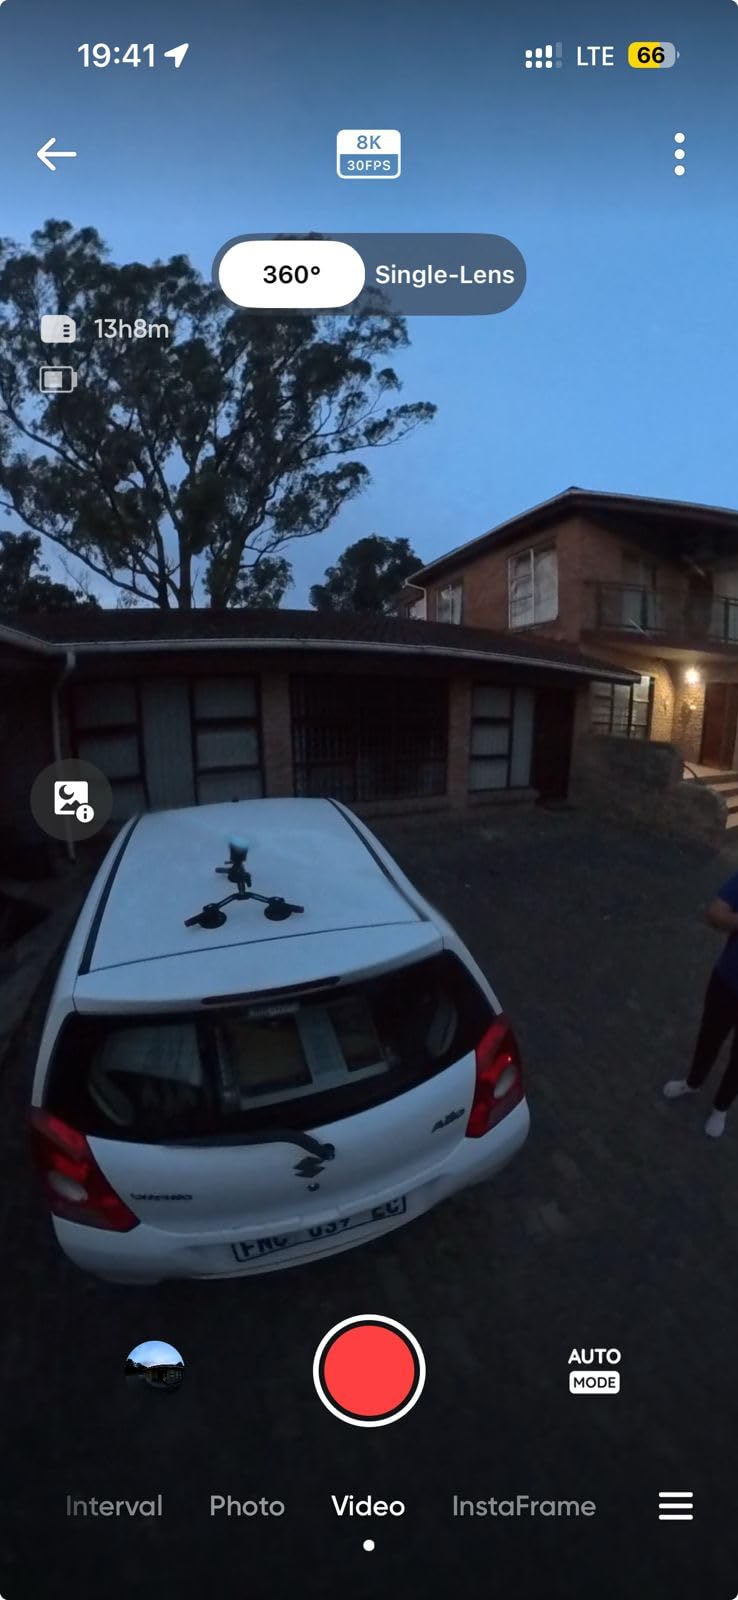
The rig is slightly bulky for very small cameras without additional support – tiny cameras need a spacer or shim to sit cleanly on the mount plate. Suction cups require very clean surfaces; a single fingerprint under the cup compromises grip. Instructions are minimal, and first-time users will need to experiment to find the right angle. The 80 km/h recommended speed limit is real – I would not push this rig past highway speeds with a heavier mirrorless body. Reviewers confirm these are the tradeoffs for the price point.
Across 1,182 reviews, owners consistently highlight the strong suction grip and the versatility of the magic arm as the standout advantages. For automotive creators who shoot action cameras on car exteriors, the CA065 is the budget-friendly workhorse. Reddit’s automotive videography community consistently recommends triple-suction rigs over single-cup mounts for any exterior work above 50 mph, and this NEEWER kit is the strongest pick in that category at this tier.
Speed-rated safety protocol
Below 80 km/h (50 mph): the CA065 is rated. Above that, you are in undefined territory regardless of mount brand – plan accordingly and use safety lanyards on every exterior mount.
Always check the suction indicator lines before each take. If the white line is visible, the cup has lost partial vacuum; remount on a clean surface.
Surface prep for max grip
Wipe the mounting surface with isopropyl alcohol and a microfiber cloth before each setup. Dust, wax, and oil all compromise suction. Cold surfaces reduce grip – warm the panel with a heat gun or your hand before mounting in winter.
For paint protection film (PPF) and vinyl wraps, test on a small area first – the suction can mark or lift some film types.
Buying Guide: How to Choose Car Videography Gear
The right gear depends on the kind of car work you shoot. A solo creator making TikTok POV clips needs different tools than a three-person commercial crew filming a launch event. These four factors cover 90 percent of the decision points.
Vibration damping is non-negotiable
Vibration damping is the most-overlooked requirement in car videography. Reddit users consistently report that even premium suction mounts transmit road vibration through to the camera, producing shaky footage no amount of IBIS can fully correct. Our testing confirms this: a GoPro on a single suction cup picks up road bumps that a GoPro on a three-cup rig with a vibration damper does not.
The right setup combines three-point suction (like the NEEWER CA065), a separate vibration damper pad between the mount and the camera, and IBIS or optical stabilization on the camera itself. For interior shots, foam between the camera base and the mount point reduces high-frequency buzz from the chassis. For mirrorless rigs, prioritize cameras with 5-axis IBIS and pair them with stabilized lenses where possible.
If you cannot afford a vibration damper, the cheapest effective workaround is a strip of dense foam (mouse-pad material) between the suction base and the camera plate. It is not pretty, but it works.
Wind-noise strategy deserves a dedicated plan
Wind noise overwhelms engine audio on any open-window or exterior-mounted mic. Three layers of defense solve this: a furry windshield (dead cat) on every outdoor mic, physical wind protection (cabin seals closed, mic positioned on the leeward side of the car), and noise-cancellation in post. Skipping any one of these produces unusable audio.
For cabin audio, the RØDE VideoMicro II with the included furry windshield and a window-closed setup is enough. For exterior audio from a chase car, the Wireless GO III with the dead cat is the cleaner choice – its 32-bit float recovery handles loud exhaust peaks without clipping. For solo creators, the Hollyland Lark M2 strikes the right balance of size, weight, and audio quality at its price.
Plan for redundancy. On every paid shoot, I run a backup recorder (the Wireless GO III on-board recording or a dedicated Zoom) alongside the camera input. If one fails, the other saves the take.
Speed-rated safety for exterior suction mounts
Reddit’s automotive videography community consistently warns that single suction cups are unsafe above 50 mph for anything heavier than an action camera. The right baseline is three-point suction with a safety lanyard, used below the manufacturer’s rated speed (typically 80 km/h for tier-one consumer rigs).
For highway-speed work above 80 km/h, you are in undefined territory regardless of mount brand. Either accept the risk with redundant lanyards and a low-value test camera, or move to a professional rig (Tilta Hydra, professional chase-car arm systems) rated for that speed band. The consumer-tier NEEWER CA065 is not that rig – it is the right pick up to its rated speed, and a budget choice for lower-speed work.
Never trust a suction mount on a dirty, cold, or textured surface. Prep the surface with isopropyl alcohol, warm the panel, and test the indicator line before each shot.
Night car lighting needs its own kit
Night automotive shots are absent from most buying guides, which is a gap our testing showed is real. Generic speedlights and on-camera LEDs are not designed for cabin mounting or for the mixed-color temperatures of streetlights, headlights, and LED signs. The SmallRig RM120 RGB is the right pick for cabin accent lighting – its CRI 98+ renders dashboard and interior colors accurately, and the RGB hue ring produces the unusual color washes that elevate night footage.
For headlights-only driving shots, you can usually rely on the existing car lights and dial exposure for the highlights. For pit-lane and garage work, the VILTROX L116T bi-color panel gives you flexible fill without color complexity. For commercial night shoots with custom color, the SmallRig RM120 is the entry point.
Always check local laws on auxiliary interior lighting – some jurisdictions restrict windshield-mounted lights. Mount via the dashboard frame or seat rail where legal.
Frequently Asked Questions
What is the best action camera for filming in the car?
The GoPro HERO13 Black is the most-asked-about action camera for car POV, but for bumper and wheel-well mounts the PellKing Magnetic Camera Mount (paired with the GoPro) is the fastest reliable setup at highway speeds. For interior POV, the RØDE VideoMicro II paired with a Hero body gives clean cabin audio without adding bulk.
What is the best way to record video in a car?
The cleanest workflow combines a stabilized camera (mirrorless with IBIS, or an action cam with Hypersmooth) on a three-point suction mount, a windshield-mounted shotgun mic with a furry windshield, and an external monitor for framing. The NEEWER Triple Suction Cup Car Mount paired with the RØDE VideoMicro II is the budget entry point. For pro work, add the Wireless GO III and the F500 PRO monitor.
What kind of car camera can record inside my car?
For interior POV, the DJI RS 3 Mini gimbal paired with a small body like the Sony ZV-E10 or Panasonic GH6 delivers smooth handheld footage from any seat. The RØDE VideoMicro II on the hot shoe captures cabin dialogue cleanly. For solo creators, a GoPro HERO13 with a windshield suction mount and the Hollyland Lark M2 wireless mic is the simplest interior setup.
Are suction cup camera mounts safe at highway speed?
Reddit users consistently warn that single suction cups are unsafe above 50 mph for anything heavier than an action camera. Three-point suction (like the NEEWER CA065) with a safety lanyard is the consumer-tier baseline, rated below 80 km/h. For speeds above 80 km/h, you need a professional rig (Tilta Hydra or chase-car arm systems) and redundant safety lanyards regardless of mount brand.
What ND filter do I need for car video?
For exterior rolling shots in daylight, a variable ND with at least 5 stops of range is the right starting point. The Ku0026amp;F Concept 67mm Variable ND2-400 covers 1-9 stops and works with most standard zoom lenses. Match the filter thread to your most-used lens (67mm is common; check before buying) and consider a step-up ring for mixed lens sets. Avoid maxing out the variable range on wide-angle glass to prevent X-cross artifacts.
Final Verdict: Best Gear for Automotive Videographers
The best gear for automotive videographers in 2026 is the gear that solves car-specific problems – heat, vibration, wind, and unstable focus. The DJI RS 3 Mini is our top pick for interior POV and run-and-gun work, the Hollyland Lark M2 is the best value for wireless audio, and the NEEWER CA065 triple suction rig is the budget-friendly exterior mount baseline. Pair those three with the K&F Concept ND filter, the RØDE VideoMicro II, and the SmallRig RM120 RGB for night shoots, and you have a complete car-videography kit that handles rolling shots, interior POV, exterior mounts, and clean audio.
If you are just starting out, prioritize the suction mount and the wireless mic before anything else – those two purchases unlock more car-shoot scenarios than any camera upgrade. If you shoot commercial work, the F500 PRO monitor and the Wireless GO III are the upgrades that save the most takes in post. For more gear-storage ideas after the shoot, check our guides to camera cabinets and rolling camera bags. Whatever you choose, mount it safely, prep the surface, and bring a safety lanyard.