
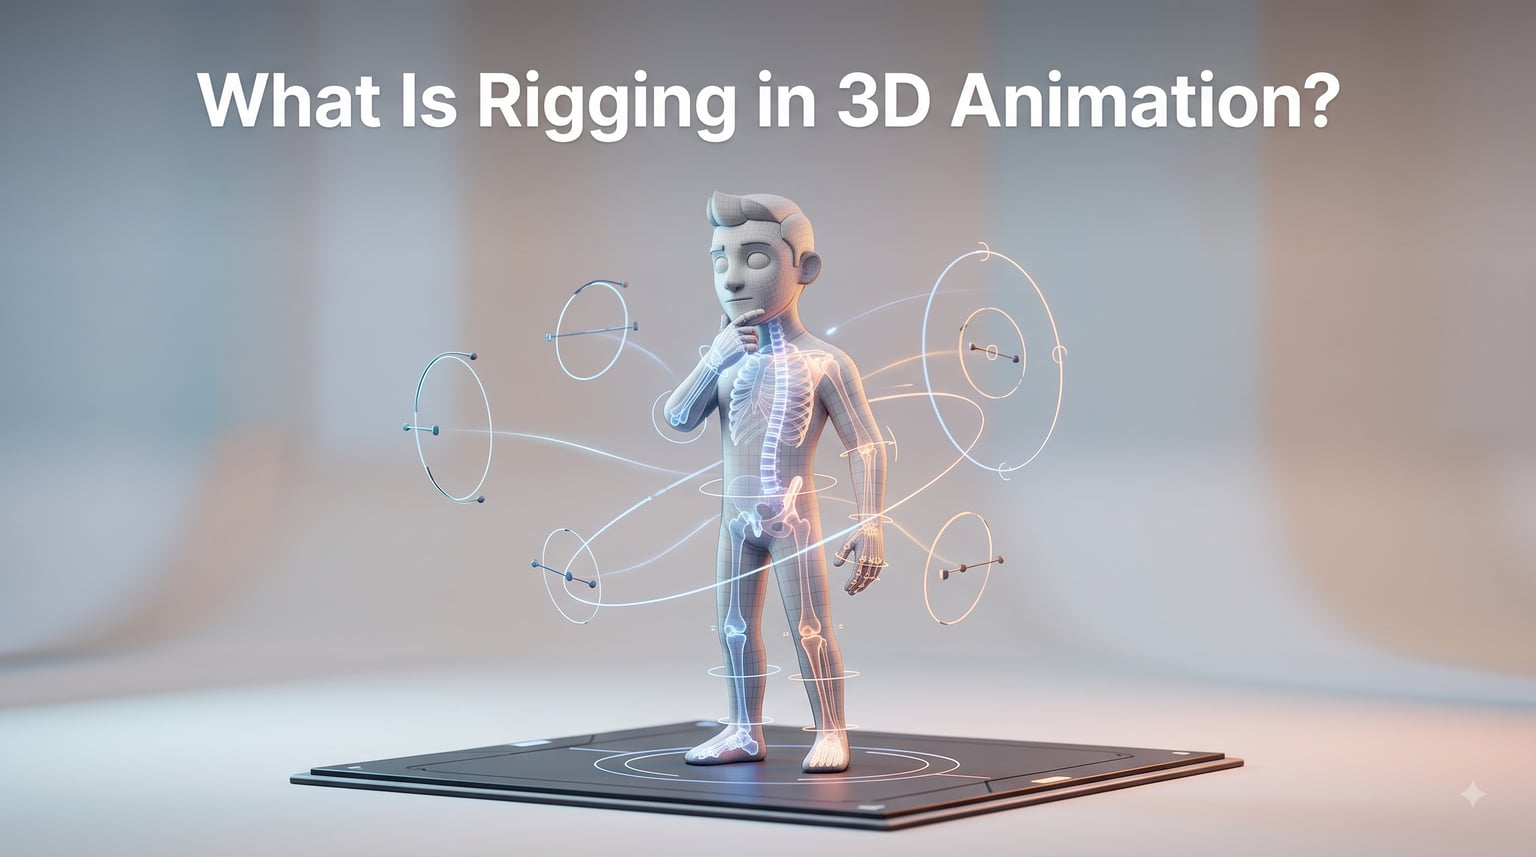
If you have ever wondered how a still 3D model becomes a character who walks, talks, and smiles on screen, the answer is rigging. In 3D animation, rigging is the technical bridge between a static mesh and a living, moving performance. Without it, your carefully sculpted character cannot bend an elbow, raise an eyebrow, or react to another actor in a scene.
I have spent the last few years collaborating with riggers on short film projects, and I have watched even talented animators struggle when they do not understand how a rig works underneath the hood. This guide breaks down what rigging in 3D animation actually is, why it matters for filmmakers, and how the major parts of a rig fit together. By the end, you will know the vocabulary, the workflow, and the common traps beginners run into.
Table of Contents
- What Is Rigging in 3D Animation? A Clear Definition
- The Rigging Process: From Static Model to Poseable Character
- Forward Kinematics vs Inverse Kinematics Explained
- Skinning and Weight Painting: Making the Mesh Move Naturally
- Understanding the Control Rig
- Facial Rigging and Blend Shapes
- Common Rigging Mistakes and How to Avoid Them
- Career Paths and Tools for Rigging Artists
- FAQs
- Conclusion
What Is Rigging in 3D Animation? A Clear Definition
Rigging in 3D animation is the process of building a digital skeleton and control system inside a 3D model so that it can be posed and animated. Think of a mesh as a statue and a rig as the puppet strings, hinges, and handles that allow a puppeteer to move it. The rigger builds that skeleton and exposes simple controls the animator can grab, push, and rotate.
The rig itself is made of three connected layers working together:
Joints and bones: an invisible hierarchy of points that mimics real anatomy, from a spine root up through the shoulders, arms, fingers, and face.
Skin binding: the rule that connects each vertex on the mesh to one or more nearby joints, so movement travels from the skeleton into the visible surface.
Animation controls: the user-friendly shapes and sliders an animator actually touches, designed to be intuitive instead of fiddly.
Wikipedia and Adobe both summarize the same idea in plain terms: rigging is what turns a 3D asset into something an artist can actually animate. For short filmmakers, this matters because every moving character, prop, or creature in your film depends on a working rig, whether you build it yourself or license it from a library.
The Rigging Process: From Static Model to Poseable Character
A reliable rigging workflow follows a predictable sequence. Skipping steps is the fastest way to produce a rig that looks fine in a still pose but breaks the moment your character walks. Here is the process I follow when I brief a rigger for one of our short films.
Audit the model. Check edge loops, topology, and scale. A clean mesh with proper geometry around joints will skin smoothly. Bad topology causes bad deformation no matter how clever the rig is.
Plan the joint hierarchy. Draw a skeleton diagram before touching software. Decide where the root goes (usually the hips), how many spine bones you need, and whether the character is human, quadruped, or creature.
Build the skeletal system. Place joints inside the mesh following the planned hierarchy. Parent-child relationships determine how rotation cascades down the chain.
Bind the mesh and paint weights. Attach the skin to the skeleton, then refine how much each vertex follows each bone using weight painting.
Add deformers and constraints. Use blend shapes, corrective shapes, and constraints to handle muscle bulging, cloth folds, and overlapping motion.
Build the control rig. Wrap the technical skeleton in animator-friendly handles, color-coded shapes, sliders, and switches.
Test in extremes. Push the rig into the most extreme poses your story requires. If something breaks here, it will break in production.
School of Motion and CADA both emphasize that the model itself is the foundation. I learned this the hard way on a student film: a beautifully rigged character could not sell a simple wave because the shoulder geometry collapsed. Fix the mesh first, then rig.
Forward Kinematics vs Inverse Kinematics Explained
Once your skeleton exists, the rig needs rules for how it moves. The two core approaches are forward kinematics (FK) and inverse kinematics (IK), and most production rigs use both.
Forward kinematics rotates each joint from the root outward. To lift a hand, you rotate the shoulder, then the elbow, then the wrist. Animators get precise control over the arc of every bone, which is why FK is the preferred choice for swings, tail flicks, and anything with strong overlap.
Inverse kinematics works the opposite direction. You move a target at the end of the chain, and the solver figures out how the shoulder, elbow, and wrist should rotate to reach that target. IK is the go-to for planted feet, hands grabbing objects, and any motion where a limb must stay attached to a specific point in space.
Most rigs ship with an FK/IK switch. A simple attribute lets the animator flip a forearm between the two systems or blend between them. As Rokoko’s guide points out, switching gives you the precision of FK for arcs and the stability of IK for contact poses without rebuilding the rig.
Use FK when the limb is free in the air and you want artistic arcs. Use IK when the limb needs to plant, push, or follow a moving object. That single rule covers about 80% of decisions I make on a short film set.
Skinning and Weight Painting: Making the Mesh Move Naturally
Skinning is the step where the mesh is bound to the skeleton. Weight painting is where you refine that binding so the surface deforms believably. Every vertex gets a value from 0 to 1 for each nearby bone, describing how strongly that bone pulls the vertex when it rotates.
Good weight painting is the difference between a character who moves like a human and one who looks like a balloon animal. Reddit’s animation and Maya forums are full of threads where beginners complain about candy-wrapper twisting at the shoulders or knees that bend the wrong way. Almost every one of those issues traces back to weights, not to the rig logic itself.
When I troubleshoot a broken mesh, I follow the same three-step check:
Lock down influence boundaries. The shoulder should not be pulling wrist vertices, and the upper arm should not be stretching into the chest.
Mirror and symmetrize. Paint one side cleanly, then mirror across. Asymmetrical weights create subtle but obvious glitches.
Add corrective blend shapes. When pure weights cannot handle a fold, a small blend shape triggered by joint rotation can fix the elbow crease or hip pinch.
If weights are a struggle, start with a low-resolution proxy mesh and practice on simple cylinders. The skill transfers to complex characters faster than people expect.
Understanding the Control Rig
The control rig is the layer the animator actually touches. Inside the mesh, the skeleton is rigid and unintuitive. Outside, the rigger builds custom shapes (curves, circles, boxes) named clearly and color-coded by job: red for left, blue for right, yellow for body, and so on.
A solid control rig usually includes several standard pieces:
World control and root control for moving the entire character without disturbing its internal pose.
Limb controls for hands, feet, elbows, and knees, often with IK/FK switches.
Attribute sliders on a main control for squash and stretch, finger curls, and global tweaks.
Corrective controls that trigger blend shapes when a joint rotates past a threshold.
Rig picker panels or custom shapes that group controls logically, so the animator never hunts for a button.
The Rokoko guide on control rigs is one of the most thorough I have read. They stress that a great control rig is invisible: the animator thinks about acting, not about software. That is the bar to aim for when you brief a rigger or evaluate a free rig online.
Facial Rigging and Blend Shapes
Body rigs get most of the attention, but facial rigging is often where a character truly comes alive. Faces rely heavily on blend shapes (also called morph targets), which are pre-sculpted deformations stored as targets. Sliding a “smile” blend shape from 0 to 1 turns the mesh from neutral into a grin.
A practical facial rig combines three layers:
Joint-based setups for jaw open/close and tongue movement.
Blend shapes for brow raises, smiles, sneers, and phonemes used in lip syncing.
Corrective shapes that fire when the jaw opens wide to prevent the neck from stretching unnaturally.
For short film dialogue scenes, even a dozen well-chosen blend shapes outperform a hundred poorly tuned ones. Focus on the expressions your script actually needs, not on covering every possible emotion.
Common Rigging Mistakes and How to Avoid Them
Across forums and studio pipelines, the same rigging mistakes show up again and again. Spotting them early saves days of cleanup later.
Skipping model cleanup. If your mesh has ngons, poles in the wrong place, or non-manifold geometry, the rig will fight you. Clean the topology first.
Too many controls. A cluttered control rig confuses animators. Hide the technical joints and keep only the essentials on screen.
No testing in extremes. A rig that looks good at rest can collapse at a full stretch. Always test your most extreme pose before approving the rig.
Ignoring scale. A character rig built in millimeters behaves differently from one built in meters. Match your scene scale across assets.
Forgetting the animator’s perspective. Name controls clearly, group them on a picker, and document hotkeys. The rig is a tool, not a puzzle.
One tip I now use on every project: ask an animator to test the rig before sign-off. Their hands will catch issues a righter does not see, and it costs an hour instead of a week.
Career Paths and Tools for Rigging Artists
Rigging sits between character modeling and animation, and skilled riggers are consistently in demand at short film studios, game studios, and VFX houses. Forum threads on r/animationcareer consistently describe rigging as a more technical lane than animation, with strong salaries for artists who master Python scripting, deformation math, and pipeline tools.
The main software choices for rigging in 2026 are:
Autodesk Maya, the long-standing industry standard for film and high-end production rigs.
Blender, free and open source, with a Rigify add-on that builds solid humanoid rigs quickly.
Cinema 4D, popular in motion design for its deformers and approachable workflow.
Houdini, favored when rigs need procedural logic and complex constraints.
For independent short films, many artists start with Mixamo’s free auto-rigged library to block out scenes, then upgrade to custom rigs for hero characters. There is no single right path, only the path that matches your project’s budget and complexity.
FAQs
What is rigging in a 3D model?
Rigging in a 3D model is the process of building a digital skeleton of bones and joints inside the mesh and adding animation controls so the model can be posed and animated. It is what turns a static sculpture into a character an animator can actually move.
Is 3D rigging hard?
3D rigging has a steep learning curve, especially weight painting and corrective shape work. Beginners can build simple rigs within weeks, but production-quality rigs take months of practice and a solid grasp of anatomy, math, and scripting.
Can I animate without rigging?
You can animate simple motion directly on vertices or use shape keys, but for anything beyond basic effects, rigging saves enormous time. A rig lets you pose a character intuitively instead of nudging thousands of vertices by hand.
Is rigging better than frame by frame animation?
Rigging and frame by frame serve different purposes. Rigging is efficient for character motion, walk cycles, and reusable poses. Frame by frame is still preferred for stylized 2D work and for performance choices rigs cannot easily replicate.
Conclusion
Rigging in 3D animation is the craft of building the digital skeleton, the skin binding, and the friendly control rig that lets a model come to life. Every strong character performance in a short film rests on a clean joint hierarchy, careful weight painting, and a control rig that gets out of the animator’s way.
If you are just starting, build a simple humanoid rig in Blender, push it into extreme poses, and study why it breaks. That cycle teaches faster than any tutorial. For deeper study, the School of Motion introduction, the CADA academic guide, and Rokoko’s control rig breakdown all offer useful next steps as you grow from definition to practice.