
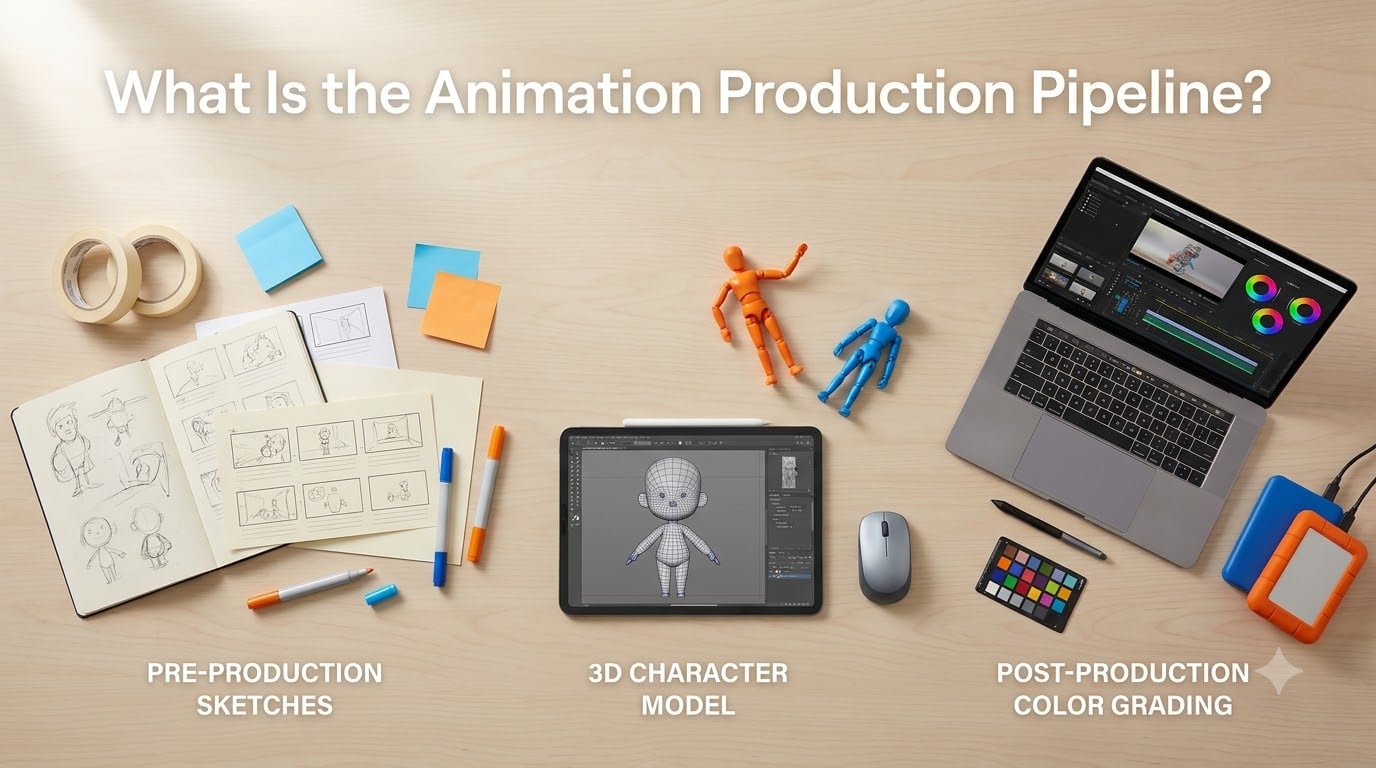
The animation production pipeline is the structured, step-by-step workflow that guides an animated project from the first sketch on a napkin all the way to the final rendered shot you see on screen. I have spent the last several years talking to animators at festivals, indie studios, and student showcases, and one thing comes up over and over: the people who finish their short films are almost always the ones who treat their work like a pipeline, not a single heroic effort.
Whether you are a first-year animation student, a solo filmmaker trying to finish a 90-second piece for a festival, or a producer trying to understand how your team fits together, this guide will walk you through every stage of the animation production pipeline. We will cover pre-production, production, and post-production, then compare 2D and 3D workflows, look at the tools that power modern studios, and finish with the questions I get asked most often.
Quick Answer. The animation production pipeline is a three-phase workflow:
Pre-Production: ideation, script, storyboards, animatic, concept art, character design, technical planning.
Production: layout, modeling, texturing, rigging, animation, lighting, shading, VFX and simulations.
Post-Production: compositing, color correction, sound design, music, final render and export.
Table of Contents
- Why Understanding the Animation Production Pipeline Matters?
- The Animation Production Pipeline at a Glance
- Pre-Production: Planning the Animation Production Pipeline
- Production: Building the Animation Production Pipeline
- Post-Production: Finishing the Animation Production Pipeline
- 2D vs 3D Animation Production Pipeline Differences
- Common Challenges in the Animation Production Pipeline
- Tools and Software That Power Modern Animation Pipelines
- How Studios Like Pixar Structure Their Animation Production Pipelines?
- Frequently Asked Questions About the Animation Production Pipeline
- Conclusion: Building Your Own Animation Production Pipeline
Why Understanding the Animation Production Pipeline Matters?
I remember my first short film. I jumped straight into animating a character and figured I would “design the look later.” Four months in, I had 18 seconds of inconsistent footage, two redesigns, and a render that looked nothing like the storyboards I had in my head. The moment I sat down and mapped out a real pipeline, the project finally moved forward.
The animation production pipeline is not bureaucracy. It is the difference between an idea that ships and an idea that dies in a folder. It keeps a team coordinated across hundreds of shots, prevents costly rework, and gives you a clear checkpoint at every stage so you can decide whether to push forward or rethink.
For short film creators in particular, a pipeline lets you compress a studio-scale process into something a one-person team can actually finish. Instead of improvising every step, you follow a checklist, reuse assets, and avoid redoing work.
The Animation Production Pipeline at a Glance
Every animation project, whether it is a 90-second hand-drawn piece or a feature-length CG film, follows the same three-phase structure. The names occasionally shift between studios, but the underlying logic is identical.
Pre-Production: where the idea becomes a plan.
Production: where the plan becomes footage.
Post-Production: where the footage becomes a finished film.
Think of it as a relay race. Each phase ends with a deliverable that the next phase needs. The storyboards hand off to layout. Layout hands off to animation. Animation hands off to lighting and compositing. When a handoff breaks, the whole project stalls.
Pre-Production: Planning the Animation Production Pipeline
Pre-production is where you do the cheapest, most valuable work on the entire animation production pipeline. Every minute spent here typically saves an hour of rework later. Studios know this, which is why pre-production on a feature film can eat up a third of the total schedule.
Step 1: Ideation and Script Development
Everything starts with a written idea. In a studio this is a development department reading scripts, pitching loglines, and writing treatments. For a short film, this is usually you, a notebook, and a very honest first draft.
Your script should answer three questions before you touch a storyboard: what is the story, who is the character, and what does the audience feel at the end. If any of those is fuzzy, the rest of the animation production pipeline will inherit that fuzziness and magnify it.
A useful trick I learned from a Pixar technical director is to write the script as if you are pitching it out loud. If you cannot say the story in 30 seconds, the script is not ready for storyboards.
Step 2: Storyboarding and Animatics
Storyboards turn your script into drawings that show camera, action, and pacing. They are the first visual checkpoint in the animation production pipeline. A good storyboard tells you whether the story works before you spend a single frame on finished artwork.
An animatic is the next step. You edit the storyboard panels together with scratch sound and temporary music to test timing. Many production problems show up here. Jokes that fall flat, cuts that feel slow, camera moves that hide important action. The animatic stage is where most of those issues get caught while they are still cheap to fix.
Step 3: Concept Art and Character Design
Once the storyboard holds up, you develop the visual language. Concept art establishes the world. Character design turns your cast into a set of drawings with clear silhouettes, expressions, and turnarounds.
The character design deliverable is not just one pretty picture. It is a model sheet that any animator can pick up and draw the character consistently from any angle. That model sheet is what keeps your hero looking like your hero across 200 shots.
Step 4: Technical Planning and Asset Preparation
This is the step that indie creators skip the most, and the one they regret the most. Technical planning means deciding on your software stack, your naming conventions, your folder structure, your frame rate, your aspect ratio, and your delivery specs before you start producing anything.
If you are making a short film for festivals, your deliverable is usually a ProRes 4444 file at 24fps in 1920×1080 or 2048×1080. If you are also delivering to YouTube, you need a different export. Locking these decisions now prevents the “we have to redo everything” moment in post.
Production: Building the Animation Production Pipeline
Production is the phase most people picture when they think about animation. It is also the most expensive and the most team-dependent stage in the animation production pipeline. Every shot you see in a finished film was built here.
Step 5: Layout and Blocking
Layout is where storyboards become virtual or physical camera shots. A layout artist places characters and props in the scene, sets the camera angle, and times the action. The output is a rough pass that shows where everyone stands, where the camera is, and how long each beat lasts.
In a 3D pipeline, layout is built in software like Maya or Blender. In a 2D pipeline, layout is a tighter, more detailed storyboard pass with backgrounds. Either way, layout is where your animatic graduates into actual shots.
Step 6: Modeling, Texturing, and Rigging
Modeling is the process of sculpting the 3D geometry of your characters, props, and environments. Texturing adds color, surface detail, and material properties. Rigging builds the digital skeleton that lets an animator pose the character.
A good rig is the difference between an animator who finishes on time and an animator who fights the software for three weeks. Rigging includes controls for facial expressions, clothing, hair, and any props the character holds.
For 2D animation, this stage looks different. You are cutting out characters digitally in software like Toon Boom Harmony or building character rigs inside After Effects. The principle is the same: turn artwork into something an animator can actually move.
Step 7: Animation
This is the heart of the animation production pipeline. Animation itself breaks into predictable steps. Blocking lays down the key poses. Splining or in-betweening fills in the frames between those poses. Polish adds follow-through, secondary action, and small adjustments that sell the illusion of life.
Every animator I have ever spoken to has a slightly different version of this rhythm. The constant is that you never start a shot in finished detail. You start with the broadest possible version of the performance and refine layer by layer.
Step 8: Lighting, Shading, and Visual Effects
Lighting turns a flat animation into a scene that feels real or feels stylized. Lighting artists decide where the light comes from, how shadows fall, and how the mood reads. In a 3D pipeline, this is where render passes start to take shape.
Visual effects include simulations like fire, smoke, water, cloth, and particles. Studios often run these on a render farm so that heavy simulations do not crash an animator’s workstation.
Post-Production: Finishing the Animation Production Pipeline
Post-production is where everything comes together. The footage from production is polished, combined, graded, and given sound before final render and export. Skipping steps here is how good-looking work ends up feeling rough on screen.
Step 9: Compositing
Compositing is the process of combining all the separate layers of a shot into one final image. That includes the character render, the background, the lighting pass, the effects pass, and any 2D elements added on top.
Software like Nuke, After Effects, and Fusion are the industry standards. The compositor is essentially a digital painter who makes sure all those layers feel like they live in the same world.
Step 10: Color Correction and Grading
Color correction fixes technical inconsistencies between shots so they match. Color grading adds a stylistic look that supports the story. A good grade is invisible. A bad grade is the first thing the audience notices.
For short films, this step often happens in DaVinci Resolve, which combines editing, color, and finishing in one tool. It is free for the personal version, which matters for indie creators.
Step 11: Sound Design, Foley, and Music
Sound is half the experience. Sound design builds the ambient world. Foley adds the small physical details like footsteps and fabric rustles. Music supports the emotional arc of the story.
Dialogue recording for animated shorts is usually done before animation, called scratch track, so animators can lip-sync to real audio. If you are doing a non-dialogue short, you still need scratch audio so your animatic and final edit have something to time against.
Step 12: Final Rendering and Export
The last step in the animation production pipeline is rendering and export. Rendering is the actual computation that turns your 3D scene into a final image. For features, this can take weeks on a render farm. For short films, it can take hours or a couple of days.
Export means delivering the file in the right format for each destination. Festival deliverables, streaming platforms, and broadcast each have their own specs. Get them wrong and your film might be rejected before it ever screens.
2D vs 3D Animation Production Pipeline Differences
The three-phase structure is the same for both 2D and 3D, but the steps inside each phase look different. Here is how they compare at each stage of the animation production pipeline.
| Pipeline Stage | 2D Animation Pipeline | 3D Animation Pipeline |
|---|---|---|
| Pre-Production | Script, storyboards, model sheets, color scripts | Script, storyboards, concept art, technical planning |
| Layout | Detailed storyboard panels with backgrounds | 3D camera and rough placement in Maya or Blender |
| Asset Creation | Cleanup of drawings, cut-out character rigs | Modeling, sculpting, UV unwrapping, texturing |
| Rigging | Bone rigs for cut-out or puppet animation | Full skeletal rigs with controls, blend shapes |
| Animation | Frame-by-frame drawing or cut-out manipulation | Blocking, splining, and polish in 3D space |
| Effects | Hand-drawn or 2D simulated effects | Physics simulations, particle systems, fluids |
| Lighting | Limited, mostly during compositing | Dedicated 3D lighting pass with full control |
| Compositing | Layered in After Effects or Harmony | Multi-pass compositing in Nuke or Fusion |
| Render | Export of layered or flattened scenes | Heavy render farm or cloud render compute |
Both pipelines end at the same place: a finished film. The difference is mostly where the heavy lifting happens. In 2D, drawing skill carries the load. In 3D, technical setup and compute power carry the load.
Common Challenges in the Animation Production Pipeline
Every studio, including a one-person studio, runs into the same categories of pipeline trouble. Knowing them in advance lets you build checkpoints into your schedule.
Version control chaos. Files get overwritten. The wrong version gets sent to render. The animatic on the editor’s drive does not match the animatic on the animator’s drive. This is the number one pipeline problem mentioned in animator forums, and the reason tools like ShotGrid and Perforce exist.
Mid-production story changes. The moment a director decides the third act needs to change, the entire animation production pipeline needs to be replanned. Studios use a change-request process to manage this. Solo creators need their own version: a hard rule that story changes are decided before production starts.
Render time and compute cost. A single frame that takes an hour to render becomes a serious bottleneck when you have 8,000 frames. Studios use render farms. Indie creators use cloud rendering services or accept longer render times.
Communication breakdowns between departments. Hand-offs fail when one team does not know what the other team needs. A clean pipeline has written specs for every handoff: file format, naming convention, frame range, and resolution.
Skipping pre-production. The most common mistake among beginners. Skipping the script and storyboard stages feels like a time-saver. It is actually a time-multiplier once production starts.
Tools and Software That Power Modern Animation Pipelines
There is no single “right” software stack. There are good fits and bad fits for your budget, your team size, and your project type. Here is how the tools map onto the animation production pipeline.
Storyboarding and pre-visualization: Storyboarder, Toon Boom Storyboard Pro, Photoshop, Krita. For animatics, Premiere or DaVinci Resolve.
2D animation: Toon Boom Harmony is the studio standard. OpenToonz and Krita are strong free options. Adobe Animate remains common in broadcast work.
3D animation: Autodesk Maya and Blender are the two most widely used packages. Blender is free and has closed the gap with Maya for most short film work. Houdini from SideFX is the standard for complex effects and simulations.
Modeling and sculpting: ZBrush for high-detail sculpting, Maya or Blender for production modeling. Substance Painter is the standard for texturing.
Compositing and finishing: Nuke is the studio standard. Fusion is a strong free alternative. After Effects handles lighter compositing and motion graphics. DaVinci Resolve combines editing, color, and finishing in one tool.
Pipeline management: ShotGrid (now owned by Autodesk) tracks assets, shots, and reviews. Perforce and Git handle version control. Smaller teams often rely on Dropbox or Google Drive with strict naming rules instead.
Rendering: RenderMan, Arnold, and V-Ray are common production renderers. Blender has Cycles and Eevee built in. Cloud rendering services like Conductor Technologies and AWS Thinkbox Deadline distribute heavy jobs across many machines.
For most short film creators, a free stack of Blender, Krita, OpenToonz, DaVinci Resolve, and Fusion will cover every stage of the animation production pipeline without spending a cent on software.
How Studios Like Pixar Structure Their Animation Production Pipelines?
The reason Pixar films look the way they do is not magic. It is pipeline. Pixar’s Universal Scene Description (USD) format was developed because their pipeline had become too complex for traditional file management. Today USD is an open standard used across the industry.
Studio Ghibli, by contrast, runs a hand-drawn pipeline that uses digital ink and paint but keeps traditional animation principles at its core. Their short films and features follow the same pre-production discipline as any CG studio: tight scripts, exhaustive storyboards, and clean production hand-offs.
Netflix, Illumination, and Sony Pictures Animation all run hybrid pipelines that combine hand-drawn elements with CG. The pattern is consistent: every studio adapts the three-phase animation production pipeline to its own tools, but the structure itself is universal.
Frequently Asked Questions About the Animation Production Pipeline
What are the 4 types of animation?
The four main types of animation are 2D animation (hand-drawn or digital frames), 3D animation (computer-generated geometry and rigging), stop-motion animation (physically manipulated objects captured frame by frame), and motion graphics animation (graphic design elements animated for explainers, titles, and broadcast). Each type uses a different animation production pipeline adapted to its medium.
What is the production process in animation?
The production process in animation is the middle phase of the animation production pipeline, where pre-production plans become finished shots. It includes layout, modeling, rigging, animation, lighting, shading, and visual effects, with each step handing a structured deliverable to the next until every shot is ready for post-production.
What is the difference between 2D and 3D animation pipeline?
A 2D animation pipeline centers on hand-drawn or vector artwork, with animation created frame-by-frame or through cut-out rigs in software like Toon Boom Harmony. A 3D animation pipeline centers on digital geometry, with modeling, texturing, rigging, and rendering done in tools like Maya or Blender. Both share the same three-phase structure of pre-production, production, and post-production.
How long does the animation production pipeline take?
A typical short film of one to five minutes takes two to twelve months through the animation production pipeline, depending on complexity and team size. A feature-length animated film typically takes three to five years, with pre-production alone often consuming six to twelve months. Studio pipelines run longer because they include review cycles, while solo creators can compress the schedule by combining roles.
What software is used in the animation pipeline?
Common software across the animation pipeline includes Blender, Maya, and Houdini for 3D, Toon Boom Harmony and OpenToonz for 2D, Nuke and Fusion for compositing, DaVinci Resolve for color and finishing, Substance Painter for texturing, and pipeline management tools like ShotGrid and Perforce for version control and asset tracking.
Conclusion: Building Your Own Animation Production Pipeline
The animation production pipeline is not a studio luxury. It is a thinking tool. Once you understand the three-phase structure of pre-production, production, and post-production, every project becomes easier to plan, easier to schedule, and easier to finish.
My honest advice for short film creators reading this: start with the free tools, write a tight script, board every shot, and only then touch a 3D viewport or a drawing tablet. If you respect the pipeline, the pipeline will respect your deadlines.
For 2026, the animation production pipeline is also more accessible than ever. Free software, cloud rendering, and AI-assisted tools have flattened the cost of entry. What has not changed is the core truth: a clear pipeline is the single biggest predictor of whether your short film sees the light of a festival screen.